




Likes
5
Share


@ccred
Follow
Die Blüten wachsen weiter, die Fuchsschwänze auch ... Wir haben das Regal noch um eine Bücherreihe höher gestellt aber damit die anderen Triebe auch noch Licht bekommen, muss das jetzt reichen.
Nach dem Fütterungsplan von "Crazy-Hill ist sie jetzt in der Blütenwoche 9, bekommt jetzt also nur noch Wasser (und CalMag).

Likes
36
Share


@valiotoro
Follow
Super frosty & rock hard buds💥
Delicious terps🤤
Perfect buds leaf ratio

Likes
Comments
Share

@Ninjabuds
Follow
Discount code NINJABUDS: Air cube GROwACE.com
Discount code NINJABUdS: ELUfAH
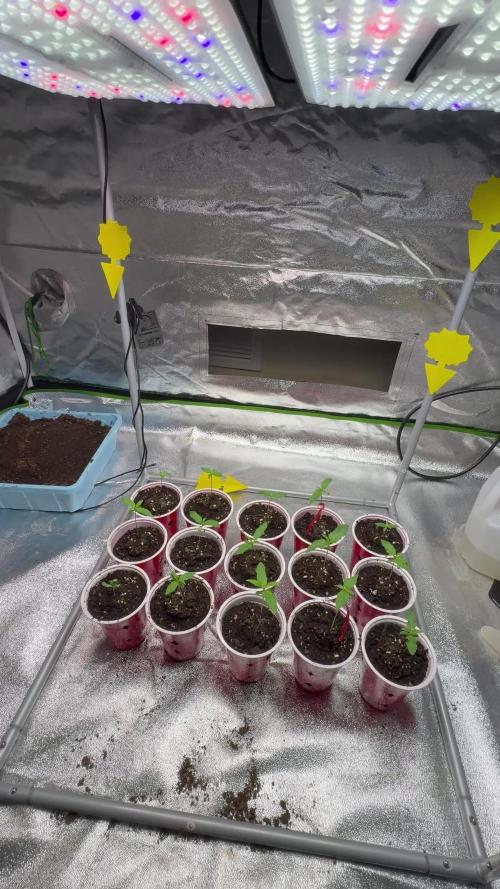
Everything looks healthy for now. Nothing big to update yet I have not chosen which 6 plants I’m going to keep yet. I’m only going to keep one plant of each strain


Likes
13
Share


@KingSalomonsWeed
Follow
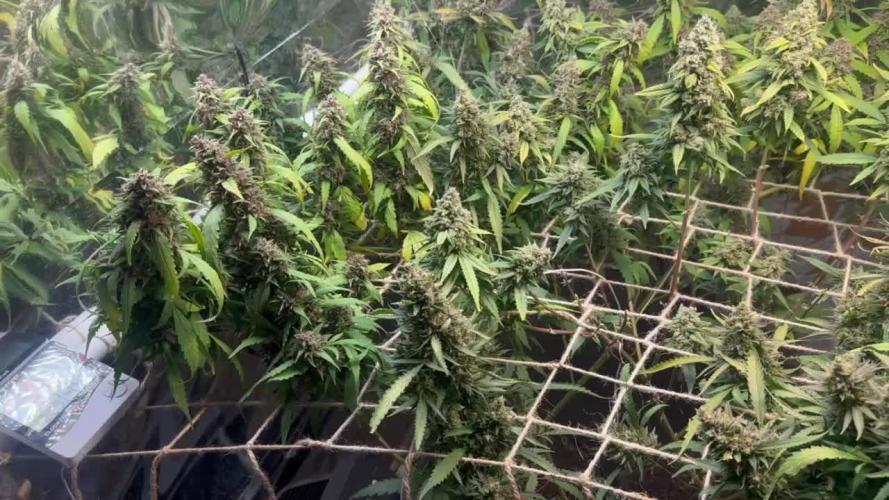
Hello and welcome to day40 of flowering of this little lovely plant.
The smell is incredible. Zkittlez. No joke.
Very sweet with a a
hit of Watermelon too, not so strength by now, but i will report.
Ill try to catch up some photos.
Not only that the phylaxien re going brown.
The colors on the buds, rose, Lila.(edit i was wrong Lila color was from the Greenception GC4)
Till now.
BARNEY FARM!!!
At this BARNEYS FARM grow they bring a smile on my face.
A very pretty strain
Thank you!
The BioBizz TOP MAX is from ny next noise forbidden to use because of a unholy smell it turns after some weeks.

Likes
18
Share


@2Byte
Follow
After I ran into (read: caused) some critical problems with my last grow I took some of the lessons I learned and am already back with my nose to the grindstone.
I've made a few changes to my setup, namely I decided to switch to using seperate buckets instead of the combined tote for a number of reasons; Less risk of TPK from shared issues, less wasted nutes, higher air/water ratio, easier to inspect the plants, the whole nine yards.
I also went and decided to upgrade from the SF1000 to the SF2000, because I could, so there.
These are the last of the Green Crack seeds I got from a localish seed bank, this time I started the germ by soaking them for 24hrs in a glass of water and then transferring them to the paper towel method, were they only spent a grand total of two days in before they were already shooting out tap roots and I moved them to the Rockwool (with a dash of Great White) and into the lot new homes today.
And I definitely learned a lesson from last time in regards to my feeding, they're just on straight tap water here until they pop and get past their baby leaves. Learned my lesson about lockout the last time.


Likes
6
Share

@Weed_Wizard
Follow
Welcome to week 8 🌱✨
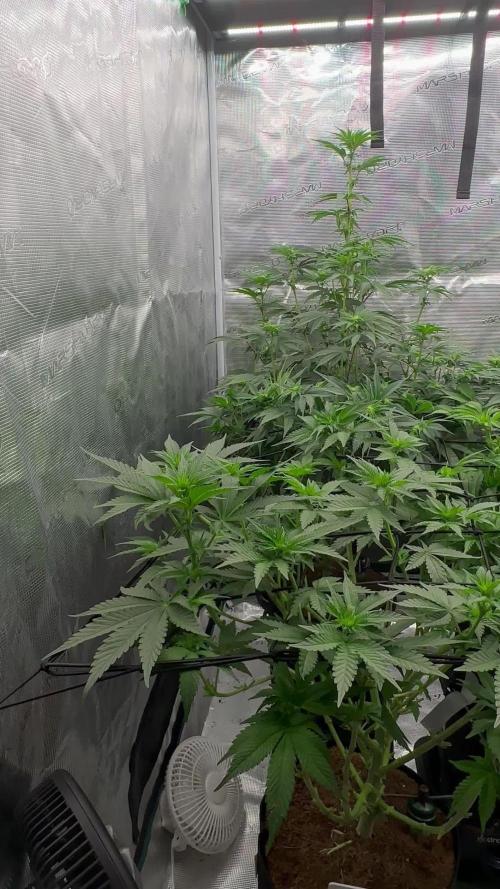
The Girl Scout Cookies ladies are doing good so far. I did some more defoliation and lollipopping. I guess the stretch will be done soon. Unfortunately Salem and Morgana are still standing tall in the back. I still have no idea how to get those main stems out of the hotspot.
Edit: I installed an automatic watering system today. Individual treatment for every lady. Let’s see how they’ll like it. 🧙♂️
Likes
Comments
Share


@HideAndFly420
Follow
02/11 strong LST still going on. Today news ferrisilosation, last 2-3 days of veg and the push all into flowering.
Still pushing this plant trying to get all the brush are possibles.
980 ppm
Ph 6.2
Let’s see!!
Likes
6
Share


@Bread_n_Buds
Follow
We don't hide behind a finger, nor behind a rolled joint nor behind anything, the Permanent Marker is the strain that has the most Hype at the moment in a few years and we also expect a lot from this one from Zamnesia.
The cover of the seed pack alone is something spectacular, it seems to have been made by the best Street Writers. I know he is a master of Tattoo but here I see at least a minimum of past in Writing, in the hip hop sense of the term.
If you only look at them a week ago it doesn't seem true, but when the plants start, they go and the Permanent Marken go like a rocket.
In this diary you will find the plant worked with the techniques in this case the first topping was done, we cleaned everything else creating the Mainfold and we are going to work everything with the main lining. We are at the first topping and we have two mini branches growing.
The other one you can find in the diary next worked without the application of techniques that involve cuts to preserve its speed.
The comparison is the salt of the experience.
We have started the Plagron fertilization program, we are in 100% organic configuration, the soil is recycled Promix + 1/3 fresh soil + 10% Perlite + RQS Mycorrhiza Mix (4gr in the mix, 1 gr under the small fiber pot).
We are administering // 1 ml/l of Power Roots - 1 ml/l of Pure Zym - 1 ml/l of Sugar Royal - 3 ml/l of Alga Grow
I have doubts about the compatibility of Pure Zym with mycorrhizae. If in doubt, ask the experts, don't mix too much at random.
https://plagron.com/en
Doubts about Pure Zym / Mycorrhizae compatibility have been dispelled, they can go well together according to Plagron experts. If someone tells you that enzymes eat mycorrhizae, which in principle may seem possible, explain to them that it is not true.
https://www.royalqueenseeds.it/growing/452-easy-roots-mix-di-micorrhize.html
Try this variety, it is a top strain of recent years very high level of thc ---- // https://www.zamnesia.io/it/12508-zamnesia-seeds-permanent-marker.html
Brief description of Zamnesia // Here is a good opportunity to enrich your genetic library with another award-winning variety: Permanent Marker was crowned Strain of the Year 2023 by Leafly, thanks to its intense aromas, high levels of THC and its physical vivacity. Originally created by JBeezy and Seed Junky Genetics, our team managed to secure a cutting of this modern top cultivar, so you can grow it comfortably at home, whether indoors, outdoors or in a greenhouse. Permanent Marker fits perfectly in any environment!
You can find the whole world of growing on Zamnesia and much more, take a tour of the site and you will find "all the best that nature has to offer" in various shapes and colors.
The new strains are exceptional and the old ones are no less... p.s. for now zero Hermaphrodites, growers can you say the same?
---- // www.zamnesia.com

Likes
2
Share

@fadedgreentaurus
Follow
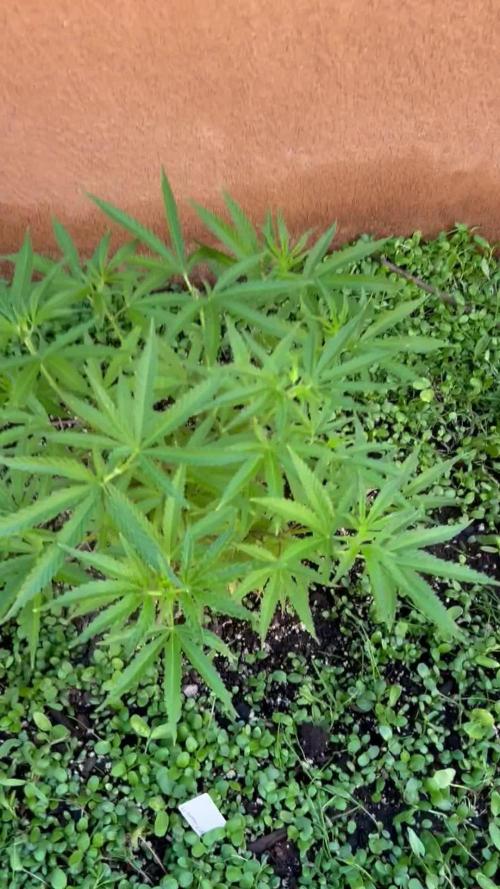
Gained 4-5 inches growth on every plant since moving outdoors. Been feeding compost tea I formulate myself brewed in concentrated and diluted 50-50 I’m ramping up my soil nutes for a week window I’m going out of town and having someone water for me. I getting exactly the results I’ve intended so far and couldn’t be happier. I’m rotating neem and bt. I’ve top dressed castings and guano as well as some other light dressing of other organics to promote micronutrients, I can’t recall everything as I tend to sort of wing it as I see fit. Soil coloration near black and teaming with life great aeration as green mulch becomes more prominent above ground, signifying penetration and good oxygen supply to established cannabis rootball. Teaming with the smell of signifying proper biome health. As spring establish new life the health of the yard has me feeling optimistic for the rest of the season. Most plants have near doubled in size and kicking off new stems from most recent topping. Survived a couple colder nights also which I hope to be the last that low for the rest of the year near 38-40 F*. Hardly fazed plants remain healthy as ever. Cages are up hotter temps are on the way.
Likes
17
Share


@ChunkeyMunkey420
Follow
Started flushing after having murder with jeweler's loops, phone microscope that I couldn't get to work. But next week theyll be down


Likes
1
Share


@BucketHatJack
Follow
Watered when dry. Increased water. First time growing in Coast of Maine, which seems to be “heavy” weight wise. I guess holding a good amount of water. Still finding a good schedule.

Likes
6
Share


@lubidav
Follow
Продолжаю применять LST к обеим растениям.
Опустил LED-светильники на расстояние 70мм.
Ph: 5.8. Буду пордолжать поднимать.
Likes
30
Share


@BC_Green
Follow
It has been another amazing week of the plants growing. I have been watching as the Fruity Freak leaves become progressively more fern-like, and ornamental as a result!
Based on my Banizzle grows, I knew I needed to understand plant nutrients in a more meaningful way if I wanted these plants to thrive. So, I decided to get a soil test (see Ref. 1 below on how to perform a test) to understand what nutrients my plants needed. The report I received advised that I needed to add 200 lbs/acre of nitrogen, 150 lbs/acre of phosphorus, and 190 lbs/acre of potassium (see picture labeled Pic.1 (FYI you can't see these images unless you login to growdiaries)).
I then researched what to do with my results (Ref. 2 helped), and I figured out that my nutrient needs of 200-150-190 fall close to a 2-1-2 ratio. I then looked at different types of organic fertilizers (see Ref. 3 and Ref. 4) and considered that I already had a 3-10-5 fertilizer (Vermibloom) on hand. I discovered Dr Earth’s Alfalfa Meal is 2-1-2 and includes beneficial bacteria and mycorrhizae (to promote healthy plant growth and disease resistance). However, I knew I would be low on nitrogen if I only used those two fertilizers. Therefore, I decided to buy some blood meal (12-0-0). I also liked that blood meal is more fast acting while the other two are more moderate.
I hunted around for a solid fertilizer calculator and found an amazing tool from the University of Georgia Extension (Ref. 5). I entered all three fertilizers into the calculator, and it kicked out the exact amount of each fertilizer I needed to apply to 1 square foot (see Pic. 2). As I am using 10-gallon fabric pots (that can hold 1.5 cubic feet, but I put stone on the bottom and there’s space left at the top) I decided to use the one square foot application rate as I can always add more later, but I can’t take it away.
Not only did I want to understand the nutrients I needed, but I also wanted to understand the structure of the soil (as it was not included in my test results). North Dakota State University has a nice page that discusses this (Ref. 6), and I performed a soil ribbon test (see Video 1) based on this information. I determined my soil to be medium textured (which is great), but I have seen occasional water pooling on the surface, suggesting that it may be more of a medium-fine. This means adding peat moss, coco coir, or other amendments might improve drainage (and plant hydration) and allow for roots to grow more easily. In the long run, I plan to use compost to enhance the soil structure and nutrients.
I filled the bottom of my 10-gallon fabric pots with a ½” of pea stone to allow for drainage (Pic. 3). I then partially filled two 5-gallon buckets with topsoil from near where I will plant (but not in an area the roots will reach). I used a digital scale to measure the amount of fertilizers recommended by the calculator (Pic. 4, 5, and 6) and added it to one of the 5-gallon buckets (see Pic. 7). I mixed the fertilizers into the soil as evenly as possible (Pic. 8 and 9). I then poured a two-inch layer of non-fertilized soil, then peat moss, and then fertilized soil (in a roughly 2:1:1 ratio) and blended them together. I repeated this until the pot was full (getting additional soil as needed), and then I repeated the process for the other three pots.
I set the filled fabric pots in my garage (Pic. 10) for two days to allow any upset bugs to flee into my garage instead of my house. I then moved the pots (wrapping them in a contractor garbage bag to prevent making a mess) into the room with the grow light. I placed a board on top of the fabric pots to insulate the plants (in their smaller pots) from the cold soil (Pic. 11). Once the soil in the fabric pots reaches room temperature, I will transplant.
(Ref. 1) This video shows the method I used to take a soil sample. I didn’t have a field to test, so I took four samples from the area where I will eventually plant outdoors and blended them together. I then mailed my soil sample off to the lab, and about a week later, I received an email with a PDF of my results (included with my pictures this week).
https://www.youtube.com/watch?v=N9AwxmFxBwg&t=8s
(Ref. 2) This video from the University of Minnesota Extension (many universities have agriculture extensions that can assist you with soil testing and growing information for your area) discusses what to do with your soil testing results:
https://youtu.be/HYrkcfE62Pg
(Ref. 3) This is a nice article that discusses organic fertilizer solutions:
https://www.grow-it-organically.com/npk-fertilizer.html
(Ref. 4) This article lists the NPK values of many organic fertilizer solutions:
https://www.epicgardening.com/organic-fertilizers/
(Ref. 5) Many websites tout a fertilizer calculator…but this one is hands down the best I have found. If you scroll down to the bottom, you can enter any fertilizer type you want (and the cost, if you want). It will give you the exact blend of multiple fertilizers to solve your nutrient deficiencies (I included a snapshot of the solution I used in my pictures).
https://aesl.ces.uga.edu/soil/fertcalc/
(Ref. 6) This is an excellent article that discusses how to evaluate your soil:
https://www.ndsu.edu/agriculture/extension/publications/evaluating-preparing-and-amending-lawn-and-garden-soil
Likes
9
Share

@_dragon_
Follow
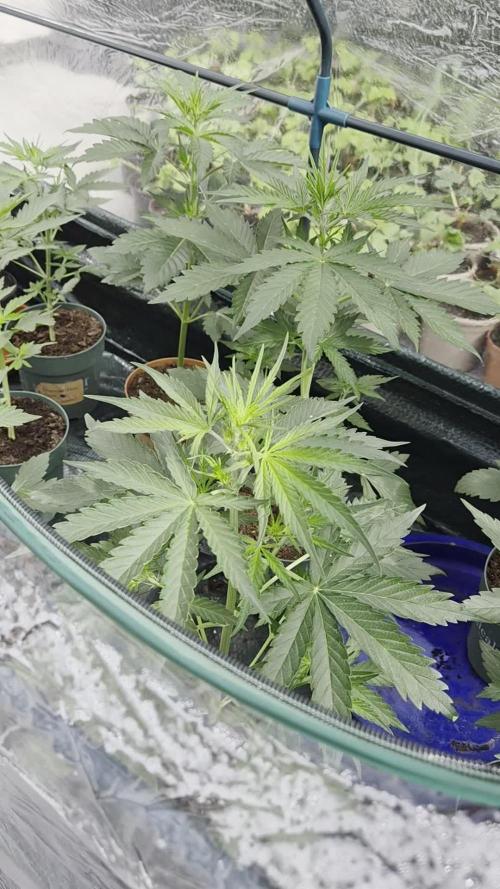
My plants started showing signs of flowering in the fourth week. They're doing well in 1-liter pots so far; I haven't encountered any problems. If the weather remains favorable, I think we'll have a beautiful start to flowering 😊


Likes
18
Share


@BufoAlvarez
Follow
Curing time. Doing it in jars. I feel like only half the product is full and thick and other half loose and stringy buds. I had many issues getting it right for my first time which I believe led to this. One is watering which I didn’t fully grasp until too late, other is over doing nutes, then I had temp issues. Learning a lot and really happy that I was able to harvest anything.

Likes
21
Share

@Purrple_Haze
Follow
Cosmic Bloom in Motion 🌙✨
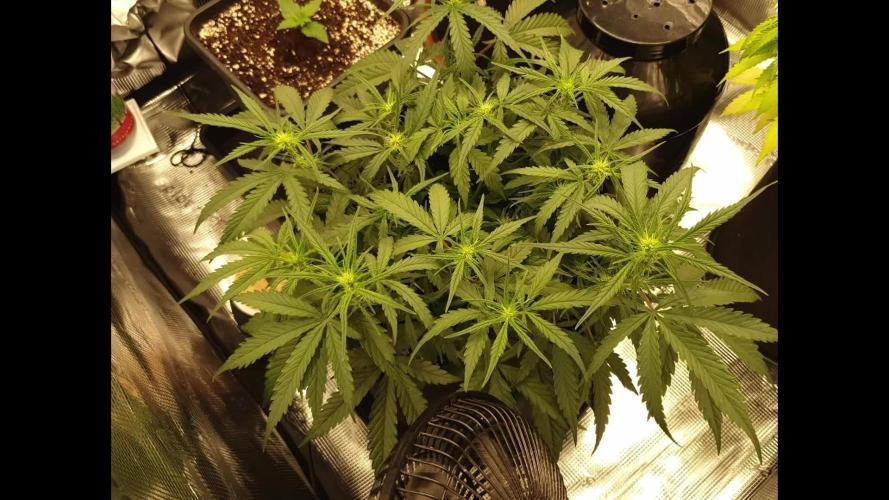
The Auto Moon Rocks from Divine Seeds has officially reached Week 2 of flower, and she’s showing exactly why I was so excited to grow this strain. Her structure is balanced and sturdy, her leaves a vibrant green, and her early bud development is already looking frosty in the making. Watching her respond to training and environmental fine-tuning has been a real treat—this girl’s resilience and vigor are simply next-level.
This week, I had the pleasure of capturing her progress in another Growlapse (timelapse) video, and it’s mesmerizing to see her day-by-day transformation. The way she stretches, shifts her leaves to chase the light, and slowly begins stacking pistils really brings her personality to life. You can literally see her reaching for the stars—quite fitting for a strain named Moon Rocks.
A big part of her current success has been my latest investment: a new 5L humidifier from MarsHydro. This piece of kit has been a game-changer, keeping my humidity perfectly stable without flooding the tent or creating uneven pockets of moisture. The result is healthier leaf respiration, optimal transpiration, and that consistent environment plants thrive in. Coupled with careful monitoring, I’ve been keeping her VPD between 0.9–1.2 kPa throughout the day, which she’s responding to beautifully.
Nutrient & Environment Notes for the Week:
🔸 BioBizz Grow – 2 ml/L
🔸 BioBizz Bloom – 2 ml/L
🔸 BioBizz TopMax – 1 ml/L
🔸 CalMag – 0.5 ml/L
🔸 pH: 6.1
🔸 EC: 1600 μS
🔸 VPD: 0.9–1.2 kPa
🔸 Dechlorinated tap water for all feedings
🔸 No compost tea this week—scheduled for next
The Divine Seeds genetics are truly living up to their reputation here. Even though their official grow guide suggests avoiding topping, I went against that advice early on—and I’m glad I did. She handled the stress beautifully, bounced back quickly, and now sports a wonderfully even canopy with multiple strong tops ready to bulk up.
If her first two weeks of bloom are anything to go by, I expect dense, resin-packed colas that will make her name proud. For now, I’m just enjoying watching her in the Growlapse—each frame a reminder of just how fast and beautifully she’s evolving. 🚀🌿
