
Likes
Comments
Share


@CruellaDeVil
Follow
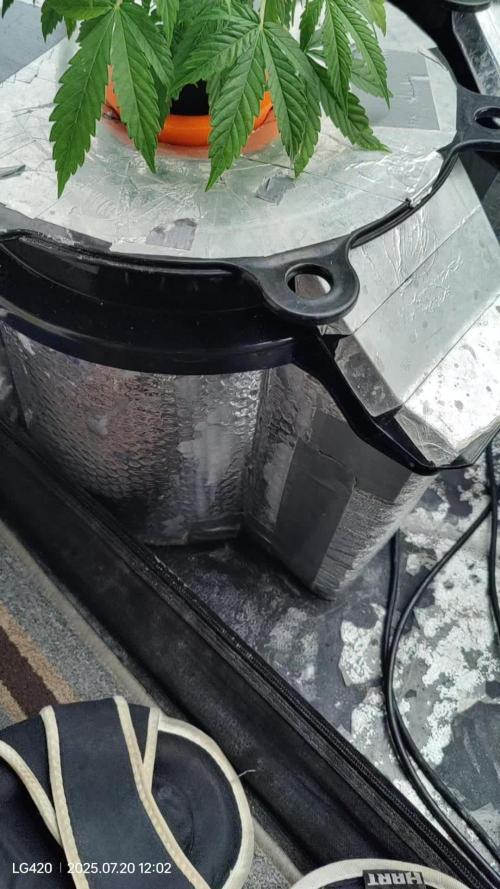
Da die Orange Bud an zwei stellen angefangen hat hab ich beschlossen sie etwas früher zu ernten.
Hätte bestimmt noch eine Woche stehen können aber von den Trichomen fand ich es schon in Ordnung.


Likes
29
Share


@Lazuli
Follow
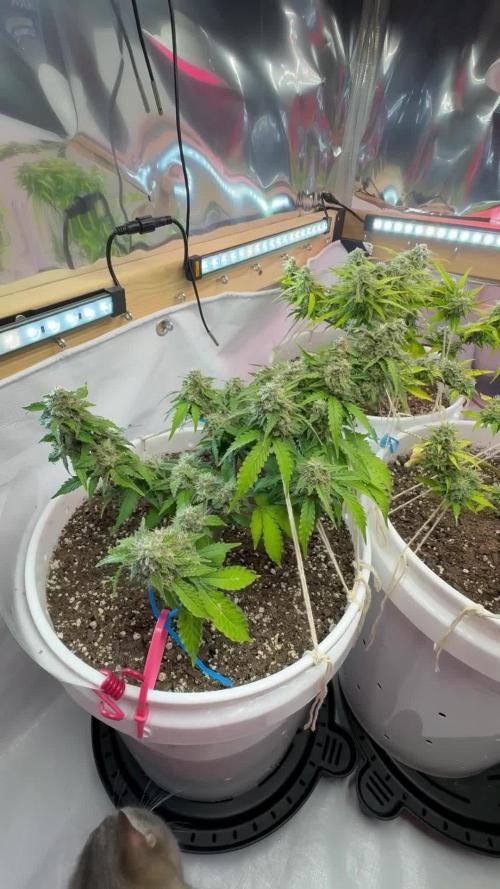
She put on so much weight this week
I flushed her and now feed with ripen untill next week
Mid week 11: still cloudy trichomes
Maybe i let her go a few more days after the ripen scedule

Likes
11
Share


@DreamIT
Follow
Sponsored by:
🦎THE HIGH CHAMELEON🦎-💡VIPARSPECTRA💡-💐GREEN BUZZ LIQUIDS💐-🛠️WEDRYER🛠️
🏁 10/8 New sponsor at DreamIT. I am delighted to warmly welcome The High Chameleon to my journals and growboxes. The shipping was fast and the package was anonymous. Instead of the usual plastic to keep the seeds in place, I found a nice bag of chopped hemp, a smart and ecological choice. In addition, a very practical grass holder with attached grinder, really practical and comfortable. I will open a diary for each seed that I will try to grow with different types of training techniques, I will decide which ones along the way. let's begin !!
12/8 about 48 hours after sowing here it is sprouting from the jiffy. I gave a little help by removing the seed
18/8 everyone is doing well, 2 out of 3 have been born of this variety which is still fine. yeah!
__________________________________________
Personal advertising (contains affiliate links)
__________________________________________
🦄 Check out The High Chamaleon website, their first selection criterion is the strong signature of terpenes by taking rare strains while being 100% organic and respecting nature. Safe anonymous shipping!
✅ https://bit.ly/TheHighChameleon
__________________________________________
Did you know that Green Buzz Liquids fertilizers are 100% vegan? A complete line of products ready to give the best to each of your plants! Visit the site and see my journals to see how they work 🦄
🤯 And with the code "dreamit" you will immediately receive a 15% discount on your purchases
✅https: //bit.ly/GreenBuzzLiquidsPro
__________________________________________
👀 Are you looking for a good lamp to start with? 👀
🌞Viparspectra has something more than the others, take a look at their site.
⏩ Use "GDVIP" for an extra discount or "DREAMIT3" for an extra 5 %% discount
👀 Search for it on Amazon
✅Amazon USA: https://amzn.to/30xSTVq
✅Amazon Canada: https://amzn.to/38udUVe
✅Viparspectra UE: bit.ly/ViparspectraUE
✅Viparspectra USA: bit.ly/ViparspectraUS
______________________________________________
🌈 Tired of blowing on your weed hoping it dries quickly? Check out the Wedryer website! You will find a well-made accessory that will help your weed dry in just 8-10 days without the annoying risk of finding mold or other annoyances! (no affiliate links)
✅https: //bit.ly/Wedryer_
______________________________________________
📷🥇Follow the best photos on Instagram 🥇📷
https://www.instagram.com/dreamit420/
Backup
https://www.instagram.com/dreamit4200/
🔻🔻Leave a comment with your opinion if you pass by here🔻🔻
🤟🦄💚 Thank you and good growth 💚🦄🤟

Likes
2
Share


@Gerbillionaire
Follow
Super easygoing strain, and fun to grow. Looks like a nice yield but I'll have to update with weight after it's dry. This sweetie was grown in 6 gallons, from seed, under non adjustable lighting from seedling through harvest. Base nutes and cal mag. Ocean Forest/perlite in the bottom 3/4, Happy Frog/perlite on the top 1/4. Trained with a combo of scrog/lst techniques. The lights are two 50 dollar "1000 watt equivalent" Amazon LEDs, they say their max input is 280 volts though so I have no idea what grams to watts will be when the dry weight comes in.
Thanks to everyone who checked or checks this diary out, that's pretty cool of you! I'll be back in a bit to update weight and smoke, happy trails!


Likes
16
Share


@SeshHouseCannabis
Follow
Been doing a lots of defoliation in this week(Especially on ETHOS-Lilac Diesel) and all the plant are looking great. Still waiting for the bloom fertilizer and then we will start flowering stage as soon as we received the fertilizers.


Likes
38
Share


@Oyziphar
Follow
DAY49
7 Weeks
Buds are hard. Smell is extreme.
Very limited amount of spidermites under some leaves. No reason to exterminate them, because next week I'll probably harvest the plants.
The smell of the Triple G is fanastic, Big separated buds. The Cookies Gelato are more sativa style of buds than I'm use of them. There leaves are turning purple.
The Liberty Haze has a lot of small leaves in the buds, and thet got amasing blinking white flowers. Probably this will be the plants I'll harvest the last, because they need some extra flowering time.
The Wedding Gelato is creamy, lots of trichomes and is fast flowering. But some flowers got budrot. I'ts hard to get the humidity low because of the rainy and misty autumn outside.


Likes
1
Share

@BossberryFarms
Follow
Finally!!!! It’s week 10!!! These should all be finishing up within the next week or so! So excited to get these harvested soon 😍 I started the flushing process on Plant C and will start flushing the other two this week.
Let me know what you think! How many days do you think until harvest time??!


Likes
29
Share


@BioGrowKing
Follow
Sie kommt jetzt langsam, als der Würfel bis unten eine Wurzel hatte habe ich sie in den Becher gesetzt, die ersten Tage passierte nichts ich dachte ich hatte sie vermasselt…
Allerdings sehe ich heute nach 4 Tagen wie sie sich zum Licht streckt :)
Sie ist ca 10 cm & ich hoffe sie kommt weiterhin durch.
Ich habe diese Woche kein enhancer benutzt.
Bis nächste Woche :)
Likes
22
Share


@Damonkey
Follow
Was a really nice plant to grow, though odd from day 1. Very strange leaf formations from the start and very slow during vegetation but still, very beautiful to look at, kind of weird awesome. The taste and smell are outstanding. Without a doubt a true beauty, this part of the harvest will be smoked alone and secretly, it just really is too good to share😂


Likes
12
Share


@GardenOfHerbs
Follow
not sure where the dry weight thing went but i dont fill in wet weight. who even weighs there whole plant?
dry yield is 269gram of pure bud. Grown in a 22liter pot with biobizz lightmix soil and greenhousefeeding bio line
this smells so hard that my neigbor called the cops. she even smelled it in her apartment so its game over for me because off this plant. never came across such a weed smelling strain in the 8 years that im growing.
hope to be back in 6 months or so.


Likes
15
Share


@Siriuz
Follow
I think she is all set now
But I could have waited one more week
But I ran out of soil foxfarm ocean forest
And some other stuff which makes me
Recycle this pot and transplant red poison auto who is right now flowering very fast and good so it is the end for sweet Gelato our first sweet Gelato from sweet seeds
Thanks a lot guys for helping me out. Thanks a lot grow diaries for all your support blessings and lets get this girl harvest alright my dudes will be uploading more content soon at the mean time we will be showing you the bud quality against Quantity and hopefully you will see how STRESS this girl was for an auto we know now that they are good for LST and HST better than any other techniques and just some auto like the ones you mix with thai Legendary genetics will grow very fast and recover very good reason why its better to apply fimming to autos that can run fast over recovery because without that gap you Cant use those techniques since the plant wont allow you its genetics are going to get STRESS and wont yield as much as it is supposed to
But other than that is the real fact that this lady was under phlizon lights 600W
And sadly we found out those are not
Full spectrum lights so we are
Very eager to join contest and try to win
With the support of the whole community
So we can continue to grow and show
The world ah educational and real
Pot smokers team all active in all social networking to point out this is love
For all the world back and forth
Thanks a lot please join me
Please like share Comment
Leave your thoughts
I do appreciate every single one
Hope you guys have a happy growing and happy harvest as well
Enjoy SuMMer will come soon
Are you ready?

Likes
15
Share


@DRO420
Follow
Week 2 of Flowering plants are doing there final reach. I defoliated one plant that is out of control growing fast..lol.. in hopes to stunt it a little . Everything is going well I'm very surprised at how much nutrients these girls need. I feed them every watering or they start to wilt and yellow. Crazy .. I might try to slow that down now that the leaves are very rich in green color. No signs of burn only deficiency Wich I corrected by feeding them every watering.🤷

Likes
5
Share


@Todzilla
Follow
My harvest is well over. This was a light dep run on 6 plants. On my 3 black cherry gelato (BCG), I started with 3 plants and one succumbed to both shock and caterpillars, one I fresh froze early into hash and one plant at about 14 oz dried and cured. Both the surviving plants were hit hard by the cats and my yield is about 50-60% of what it could have been.
But that’s growing in SoCal.
I really liked the outdoor BCG, it kept its terp profile well past 8mos from harvest.
The hash was mixed with my PPP outdoor hash. TBH, the hash is so potent, I can’t really use it that much. I’ve probably smoked 7g over 8 months and still have over 46-50 grams of hash left.
I’m writing this about 9 months after I harvested. I harvested about 50 jars total inside and outside as well as a 2oz temple ball of hash.
I still have 19 of 50 jars left and 48g of hash left after 8-9 months. Not to mention a good 6lb of trim.
Likes
3
Share


@whenindoubtsmokeitout
Follow
Greetings, fellow growers! Let me share the latest progress of my LSD-25 Auto journey as I navigate through Weeks 9 and 10 of the grow cycle:
🌟 **Vibrant Bud Development**: My LSD-25 Auto plants have entered the final stretch of flowering, with buds reaching their peak size and density. The once-promising flowers have transformed into resin-coated colas, exuding the characteristic psychedelic aroma that hints at their potency. Trichomes are abundant, signaling the optimal cannabinoid profile and a potential journey into euphoric bliss.
📏 **Fine-Tuning Environmental Conditions**: As I approach harvest, my focus remains on fine-tuning environmental parameters such as temperature, humidity, and airflow. By carefully managing these factors, I aim to create the perfect microclimate for my plants to thrive and produce their most potent and flavorful buds.
🍃 **Leaf Senescence and Nutrient Management**: In these late flowering stages, some leaves may naturally begin to senesce as the plant reallocates its resources towards bud production. This process is a natural part of the plant's life cycle and signals that harvest time is drawing near. Meanwhile, my nutrient regimen continues to be meticulously adjusted to ensure the plants receive the essential elements needed for robust flowering and resin production.
🔍 **Trichome Assessment for Harvest Readiness**: With harvest approaching, I'm closely monitoring trichome development to determine the optimal time for harvest. Using magnification tools, I inspect trichomes for signs of maturity, aiming for a mix of cloudy and amber trichomes to achieve the desired balance of cannabinoids and psychoactive effects.
🌞 **Preparation for Harvest**: As I prepare for the culmination of my LSD-25 Auto grow journey, I'm gathering the necessary tools and supplies for harvest day. Trimming shears, drying racks, and storage containers are being readied, while my workspace is meticulously cleaned and sanitized to ensure the preservation of my precious buds' integrity. Proper post-harvest care and curing techniques will be employed to enhance flavor, potency, and overall quality.
In summary, Weeks 9 and 10 mark the final stage of my LSD-25 Auto grow adventure, where careful attention to detail and precise cultivation practices pave the way for a bountiful harvest of potent, psychedelic buds. Stay tuned for the next update as I celebrate the culmination of my journey into the realm of LSD-25 Auto. Happy growing! 🌿✨
Likes
120
Share


@Themythicalchristine
Follow
At the end of this week we got to put these ladies outside to finish out the summer; finally!
They have made a large jump in height; but we low stress trained them all down, now that they have ample space to do so.
I had an accident with one of the plants while LST and ripped the main trunk a little bit at the topped knot, we repaired the rip with para film immediately; she seems to be recovering well, barely skipped a beat so far.
We continued to water with ancient earth every watering, and I gave them a foliar spray of gaia green soluble seaweed extract the morning after their first night outside.
They are acclimating well to their new permanent outdoor home. ☀️

Processing
Likes
40
Share


@Tazard
Follow
She looks totally awesome check out her leaves and side growth!!!! No sign whatsoever of male flowers from my S1 seeds!
Likes
5
Share


@JerMeds
Follow
Well these girls are really starting to hulk out. Buds are really stacking and smelling very exotic.
They have been pretty hungry. I hit 880 ppm in there tank early in the week but I have slacked off on nitrogen so no more Floralicious Plus and I lowered all my nutrients later in the week to 650ppm
I will give them some more time to swell before I switch too Overdrive. This could be a pretty massive harvest.
I have been getting alot of condensation in the grow room and its sending my humidity threw the roof.
I have a humidifier and it bring it too 60-70% on full blast. I'm sure these girls can handle it.
I do need to be careful and not touch the buds so I don't contaminate them. Lets hope I can avoid bud rot.
