


Likes
Comments
Share


@greenvibez
Follow
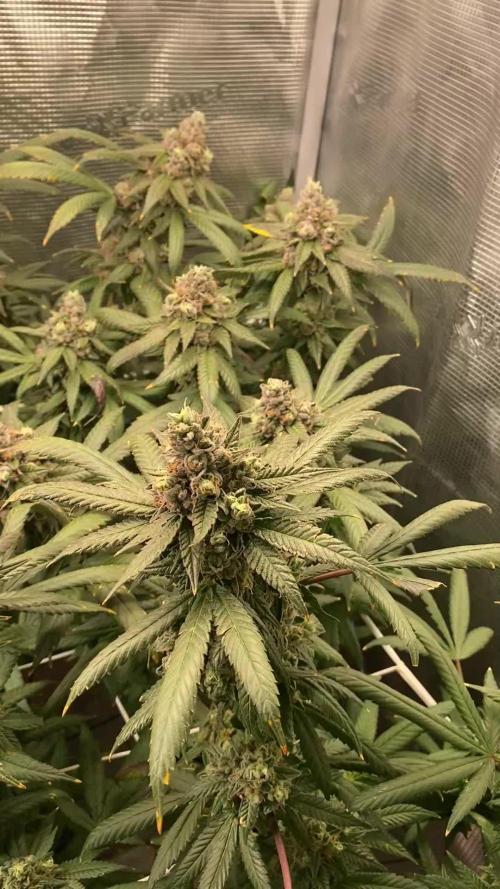
Todas las semillas salieron perfectamente ! Como siempre un placer de hacer colaboración con PEV seeds !
Espero tener más mano con este cultivo … saludos



Likes
21
Share

@Purrple_Haze
Follow
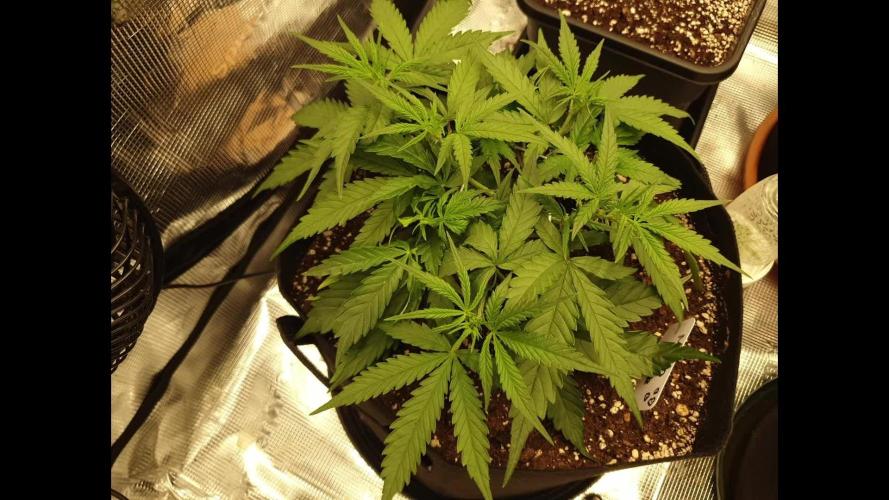
First Signs of Bloom! 🌸🚀
We’re now entering Week 5 since sprout, and my Auto Moon Rock by Divine Seeds has officially started her bloom journey! You can clearly see the first pistils emerging alongside vivid, toxic-green new growth. She’s staying compact but clearly packing power—this one has serious promise.
Earlier in the run, I applied some gentle LST following a topping—yes, despite Divine Seeds’ recommendation not to top autoflowers like this one. But I trusted my instinct and the plant’s vigor—and she hasn’t disappointed! 💪 She handled the stress like a champ and bounced back with balanced, bushy growth and strong branching. 🌿
This week’s routine included:
🔸 BioBizz Grow – 2 ml/L
🔸 BioBizz CalMag – 0.5 ml/L
🔸 BioBizz Bloom – 2 ml/L (new!)
🔸 BioBizz TopMax – 1 ml/L (new!)
🔸 Homebrewed Compost Tea for microbial support
🔸 Effective Microorganisms for root vitality
🔸 Dechlorinated tap water
🔸 pH: 6.4
🔸 EC: 1300 µS/cm
I also introduced a DIY CO₂ system (sugar, water, dry yeast)—and it’s bubbling away perfectly! I’m expecting even better growth now, especially as bloom ramps up. Once my CO₂ monitor arrives, I’ll start reporting ppm levels directly. 🌬️📈
📽️ Also up this week: a fresh Growlapse video!
Always satisfying to see how much change a few days can bring when you fast-forward. She’s reacting well to every bit of training, nutrients, and environment.
I have to say—Divine Seeds has bred a real gem here. Even though I went against the grain with topping, this cultivar showed resilience, structure, and strength. So far, I can highly recommend her to any grower who enjoys working closely with their plants.
Let’s see how she stretches in the coming days. I’m expecting great things! 🍃✨

Likes
12
Share


Likes
19
Share

@MaryJaneJo
Follow
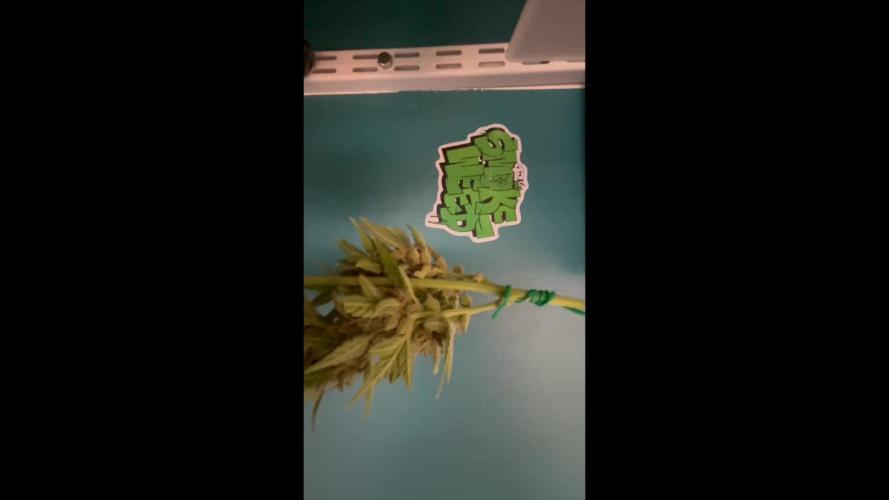
Harvested on day 66. Everything is going to dry in darkness for about a week. I am going to keep it well ventilated.
Mission complete.
Thanks for watching this Space. Peace.👽

Likes
1
Share


@Skull
Follow
Both plants showing preflower would have preferred more size before flower but what can U do. DWC produces plants 2+3 times larger


Likes
10
Share


@BelgianBudtender
Follow
Hey Farmers!
I'm really happy with this girl and the progress she's made, she is unphased by all of the high stress training i have been applying, this is the power of DWC and good genetics! made a judgement call and defoliated once more.
theres a lot of flower sites all over this beautiful plant. Even though it's a competition, I am still growing this plant for yield and quality, so as a result, the plant may not look the prettiest, and I cannot take her out for proper photos, but my results will be less pop corn buds, potentially bigger, and most importantly, more yield.
I would not suggest this, unless you have you environment stable and your plants are healthy and ready for it. this cinderella jack vegged for 6 weeks and showed me she enjoyed the HST
now entered flower in earnest, I am excited to see all those little buds grow bigger every day, hope you guys check in next week to see the growth!

Likes
2
Share


@TTerpz
Follow
Start of week 9
4/9/25
4/10/25: was fed with the nutrient dosage above
4/12/25 : watered with plain ph’d water

Processing
Likes
19
Share


@BigBuds95
Follow
Seems to be recovering okay from the light burn, but noticed the leaves starting to claw up, did I possibly use to much tiger bloom that close to the light burn? I watered with plain water to a little extra runoff today, hoping that helps a little, any thoughts? New taller tent should be here in a couple days, then going to transfer plants and turn my light from 200w to the full 400w at the proper height for the last week's of flower!
Likes
23
Share


@Mr_McNasty408
Follow
12/28/20
Nutes:
Veg A: 2.05 g/gal
Veg B: 1.38 g/gal
PPM: 570
Water temp: 64°F
pH: 5.9
12/29/20
Nutes:
Veg A: 3.07 g/gal
Veg B: 2.07 g/gal
PPM: 850
Water temp: 64°F
pH: 5.8
12/30/20
Nutes:
Veg A: 3.07 g/gal
Veg B: 2.07 g/gal
PPM: 850
Water temp: 64°F
pH: 5.8
12/31/20
Nutes:
Veg A: 3.07 g/gal
Veg B: 2.07 g/gal
PPM: 850
Water temp: 62°F
pH: 5.8
1/1/21
Nutes:
Veg A: 3.07 g/gal
Veg B: 2.07 g/gal
PPM: 860
Water temp: 62°F
pH: 5.8
1/2/21
Nutes:
Veg A: 3.07 g/gal
Veg B: 2.07 g/gal
PPM: 860
Water temp: 62°F
pH: 5.8
1/3/21
Nutes:
Veg A: 3.83 g/gal
Veg B: 2.58 g/gal
PPM: 1050
Water temp: 62°F
pH: 5.8
Likes
10
Share


@I_Identify_As_A_Dan
Follow
Week 11 for White Widow by Greenhouseseedco
She filled out nicely after her defoliation, just strengthening the branches daily now for her to be able to hold more weight when it comes to flower time.
Because of the messed up light schedule + massive shifts of temps from 28+ to 6... outside the tent so really for 7 hours their growth is completely stunted, but I'm making due with what I have 😂

Likes
30
Share


@ChitownCannaChica
Follow
First week of flower has been completed. Much happier in the warmer tent with more intense light and a bigger pot. I trimmed her up to have 4 mains and a couple of strong side branches. Hoping for a stretch.
✌️💚🌿💨
Likes
18
Share


@Joni2017
Follow
It's not long 😬😁👏🏻👏🏻 during the week we'll see how are these trichomes😉 watered once with the aerated mixture of compost tea pk booster 15gr and 5 ml of orgatrex 👏🏻💪😋 the rest of days with water alone 💦💦 temperature 27º C ☀️ humidity 65% 💧and music 🎼 😉👍
Likes
8
Share

@Michijardinero
Follow
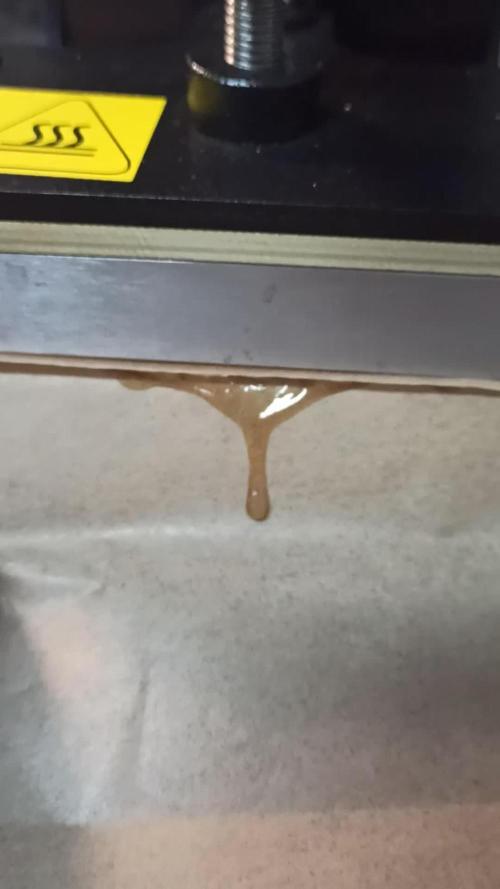
No pude subir el cultivo completo pero a quedado muy buena aunq en una me quedé sin líquidos y no me dio tiempo a comprar a la final quedaron unos 200 -210 en seco empiezo con otra tanda de la misma casa los espero

Likes
24
Share


@Silverback_Guerilla
Follow
9/21:
I'm such a dumbass...I should have kept a little more distance between the canopy and the lights for a day or two, til they got used to the higher intensity and increased wattage. Singed the tips on all my new growth and kinda faded a few fan leaves...whoops...
Raised lights and fed plants today....before feeding, I added a tablespoon of Fox Farm Cavern Culture to the pots. It should become available as the plants start craving the extra P and K.
9/22:
They are much happier being a few more inches from the "sun"....very perky.
Even the BlueAF's seem to be improving. The late-arriving stunted runt has already surpassed her older sister in size. She's much brighter shade of green than the older/slower weird one...that one has much darker foliage...kinda blue tinted.
I'll spray them all with BoomBoom Spray and more harpin proteins tomorrow morning and see if I can't turbocharge this grow a little more...
9/23:
Fed them a little bit, but didn't have time for spraying them.
9/25:
Fed them very well today..saturated all pots, and foliar fed with boomboom spray and axiom harpin proteins again.
The random missing leaf tips are due to severe feline predation...


Likes
4
Share

@Nebuloso420
Follow
21.03.2026
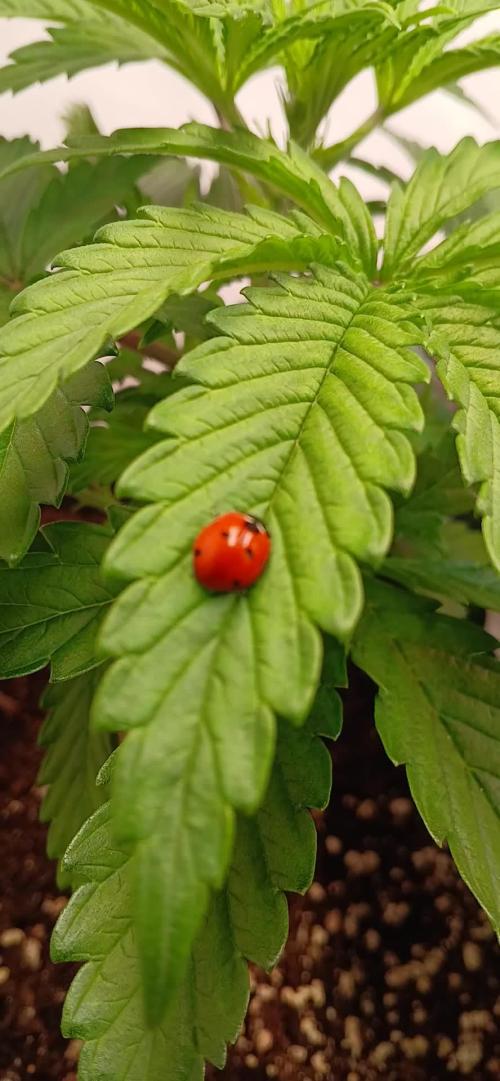
Little Buku is enjoying her bigger 11l pot with good nutrient rich soil.
She is looking good.
This week i am going to low-stress-train her.
And she has a ladybug buddy now.
The air humidity went a little up, to 40% . Still not perfect, but better.


