


Likes
Comments
Share


@MotherNaturesSon
Follow
The girls are still wanting a good bit of calcium nitrate so I’m keeping it steady, the smell is great and the buds are entering the mid flower stage nicely. Might even be seeing some hints of purple forming in the core of the Queen’s buds. Watching your plants flower is just a good time, show your girls some love today. cheers


Likes
7
Share


@Ambz_1990
Follow
Im in the 5th week of flower! Day 31 tbp. Lookin frosty and I'm loving the smells and looks of each strain
Likes
43
Share


@Sabac
Follow
Plantas sanitas 11 semanas.
Se ven bien saludables con flores recinosas
Y grandes.


Likes
44
Share


@DutchFarmer
Follow
Hello fellow growers! 🌱
Despite a few bumps along the way, I'm thrilled to share that my contest journey is officially underway. After some delivery hiccups with the controller, the third attempt was the charm – it finally made it to my doorstep! 🚚💨
The initial excitement hit a snag when I faced issues connecting the controller. 🤔 Thankfully, the fantastic support team guided me through the troubleshooting process, and voila! 🛠️ My controller is now up and running smoothly.
As I eagerly await the next stages, I haven't ventured into using the light adapter just yet. Stay tuned for updates on my growing adventure! 🌿

Likes
8
Share


@jayizrollin
Follow
My plants voted, did yours???
Being lazy this week, no pics of TG2
TG1 looking great though🤤

Likes
29
Share


@BigDaddyK
Follow
very short and compact...... seems to be a longer one...
Very compact , lots of flower sites , changed reservoir today Friday
Monday @ I pulled a few leaves off the bottom and OMG the smell - it’s old school people

Likes
7
Share


@fadedass
Follow
She was looking sad and droopy before transplant (probably overwatering) but after about 10 days in her new home she’s looking much happier. Getting good growth.
Likes
15
Share


@hinterhofgrower
Follow
🌱: Opend up the canopy with garden wire on day 65. Patial harvest by accident on day 69, 73g
💧 : 12l SIP
💡 : Dli: 45 mol/m²/d
🤔: "There is rarely any harm where there is no benefit," my grandmother would have said. This gives me the opportunity to test the taste and effect of an early harvest. Now I have a triangular plant!

Likes
29
Share


@Spliffing_Around
Follow
My Cal Mag just arrived and I don't know guys, I need your advice. I am not sure if this is a calcium deficiency that I can fix. Or it is due to the fact that I am growing up in the bathroom it is constantly damp? I read about this fungus infection.
What is your opinion about watering in Coco + Perlie? As I understand, due to the perlite, you should not water as often as without it. I used to grow on only coco and I think now it is different and I should not water every day. One day later, one day of rest.
Community, I want to grow as a grower really, so any information, criticism, or advice that will help me get better not from practice, but from theory is greatly appreciated. Please also consider that I am basically growing on a budget if you can say so... My grow tent is coming soon and I will transfer them.
Likes
13
Share


@Oyziphar
Follow
GROW 😁
As you may already know, I have 2 varieties in my growroom. 👍
I have 4 pots of each species with 4 plants in each pot. So 16 plants Mother Gorilla and 16 plants Triple G. 👽
In the first weeks, the Triple G plants were the fastest growers. But since flowering, the Mother Gorilla plants have taken over. Most Mother Gorillas are now higher in length than the Triple Gs. They clearly have more Sativa influences than the Triple G. 💪
The 16 Mother Gorilla plants differ greatly in length.
On DAY 26 these are the various lengths (in cm) : 63, 67, 83, 83, 95, 99, 107, 110, 110, 111,, 114, 116,117, 126, 130, 134
The drastic pruning in week 2 has stimulated the plants enormously. The plants have been multiplied by 2 to 3 times in height since flowering
--------------------------------------------------------------------------------------------------------------------------------------------------------------------------------------------------
BLOOM 😍
The plants are now busy making new flowers. The plants with the most Sativa genes do not yet have that many flowers. But the plants with more Indica genes are already working hard to string the flowers together to thick buds. The scent of the flowers is fantastic.
--------------------------------------------------------------------------------------------------------------------------------------------------------------------------------------------------
WATER / HUMIDITY 😰
I have lowered the desired humidity again this week by 5% 👇 and the temperature is increased by 1 degree. 👆👇
The plants have made many new leaves. Every day (24 hours) the 4 pots (16 plants) get about 7 liters of water to drink. 😂
The '1.75 liter watering volume per plant' stated in 'Grow conditions' is therefore actually '1.75 liter watering volume per autopot'
Most of the water evaporates through the leaves and therefore the humidifiers evaporate less and less water. At the beginning of the week, I had to fill the two humidifiers with 7 liters of water every 24 hours, now every 40 hours. 👌
Likes
3
Share


@Kifferluemmel
Follow
in Blütewoche 4 habe ich Komposttee zubereitet - dieser wurde 24 Stunden mit einer Pumpe belüftet. Nach 20 Stunden ist der Geruch schon recht intensiv - das kann ja nur was werden ;-) 0,75L hat jede Pflanze erhalten. Zudem wurde massiv entlaubt, untenrum und zum Mittelpunkt hin.

Likes
11
Share

@Grow4ever
Follow
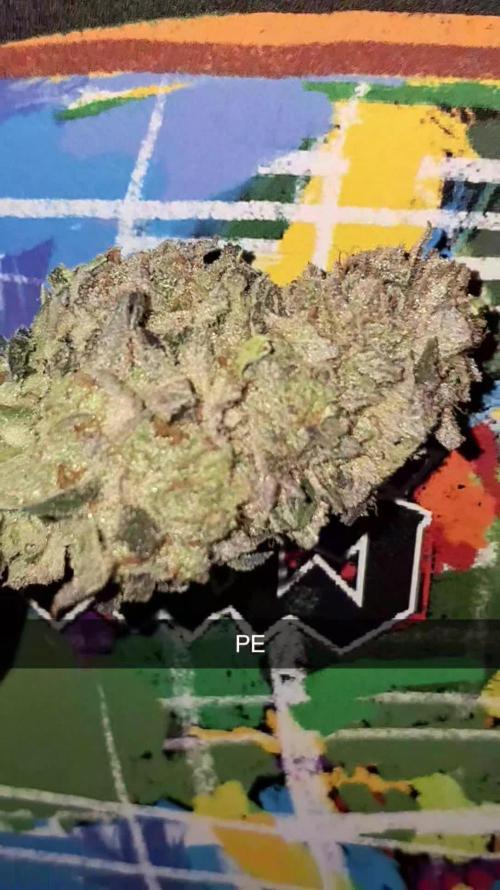
Die letzten Wochen vor der Ernte waren echt noch ein auf und ab der Gefühle. Das Wetter, sehr feucht und kalt, hat es mir leider echt schwer gemacht. Budrod in einer Cola der Pineapple Express 😮💨 Die Cola stand deutlich im Windschatten, deshalb hoffe ich, dass sich die Pilz nur in dem Mikroklima ausbreiten konnten, die Sporen sind ja aber überall... Jetzt hängt alles zum trocknen und ich muss die Buds genau untersuchen, später bei trimmen werde ich ganz genau jeden Bud mir von Innen anschauen. Außerdem ist mir die Lemon Orange deutlich abgekackt. Die krasse Geldfärbung kam innerhalb von zwei Tagen. Ich glaube es kam mit einer trockenen Phase mit hängenden Blättern kurz zuvor, in der ich 1-2 Tage zu spät gegossen habe. Hat das Bodenleben wohl garnicht verkraftet.
Die Pineapple Express hat aber echt von allen den intensivsten und süßesten Duft.
Update nach dem trocknen. Wirklich mit Abstand die schönsten Buds aus dem Grow. Der Geruch ist wirklich sehr intensiv, wirklich krasse terps. Süßlich, fruchtig, ein Schlag in die Fresse. Und high macht es auch echt ordentlich 🙏

Likes
12
Share


@PolezGardn
Follow
week four flower everything looks fine so far :D
I water them with 1.5l every 48h
the light I use was set to 100% and it hangs 80cm away from the tops

Likes
Comments
Share


@TheCH
Follow
89 грамм сухих шишек. Результатом выращивания в банке из под чипсов, очень доволен. Сорт неприхотлив. Выращивание простое.

Likes
10
Share


@Dunk_Junk
Follow
Wow she doubled her height this week. Grew 9cm!
Got loads bushier too.
She was repotted too into her 10 litre fabric pot forever home.
Processing
Likes
5
Share


@AgroCultiveta
Follow
Son fotos y videos de múltiples cultivos debido a que nunca e realizado un seguimiento como tal, espero realizar uno ahora!
Nutrientes Utilizados en general Trybac y Trypack biobizz.
Las criticas siempre serán bien recibidas!😋
Espero les guste el contenido!


Likes
96
Share


@Hydro_Hiebs
Follow
Hello everyone! 🤗 We have more autos from Ganja farmer seeds started today. 💥🚂 Trainwreck is a classic cannabis strain that owns up to its name and GFS has made an autoflower version. Back in the day I remember this stuff having a beautiful lemon pinesol smell and when smoked it brought a sense of delirious and confusion 😂.
I sowed them directly into the coco coir. The hydroponic ebb and flow system I am using this round is new and is called AirCube from growace. If your interested in looking for more info on it here's a link to there website 👇
https://growace.com/?rfsn=7577242.b784c7&utm_
source=refersion&utm_
medium=affiliate&utm_
campaign=7577242.b784c7
This will cut out my automatic watering and help bring more oxygen to the roots while still maintaining a fully organic grow.

Likes
14
Share

@Erik99
Follow
Las pequeñas van cojiendo energía y cada día crecen más.
Una vez ya tengan el primer par de hojas auténticas empezaré a acercar la luz progresivamente, en esta fase de crecimiento es muy importante tener un buen nivel de humedad relativa, pero ha la vez no encharcar el substrato demasiado ,ya que me gusta que las raíces se tengan que esforzar un poco en propagarse , de esa forma me aseguró un buen zepellon de raizes que podrán absorber los nutrientes con facilidad.
Likes
10
Share


@Stacy_smokez
Follow
Finishing up week 1 all of them but one have made it above soul except lot o bear by fox genetics .. germinated fine but just a late bloomer .. water with very little water not nutrients at all yet

Likes
3
Share

@KannaGrowing
Follow
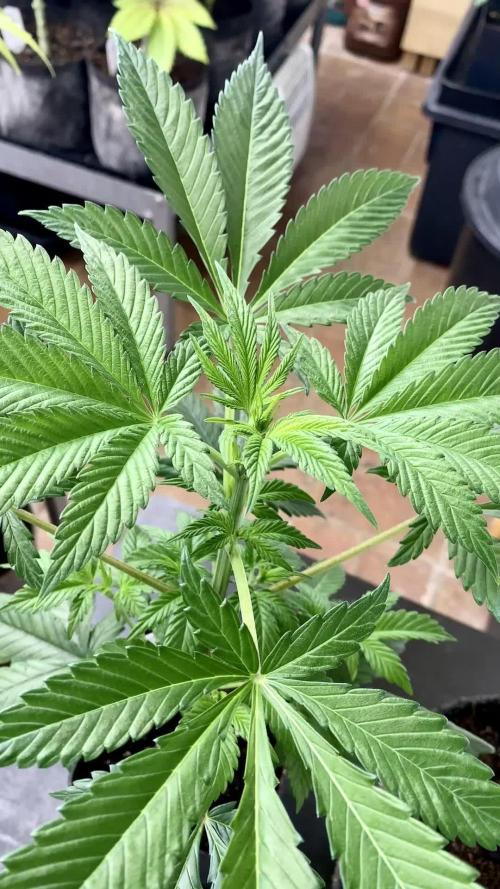
Os mostramos una comparativa con la cepa en modo vegetativo y en floración.
Estamos entrando en la última etapa del cultivo y poco a poco vamos eliminando fertilizantes conforme veamos que ya no lo necesitan.
Reducimos la potencia de las luminarias al 50%.

Likes
6
Share


@Hashishi
Follow
Lemon tree can endure pain, cold & hot weather, seedling is really a strong genetic, huge root mass for 2 week seedling, now I'm using Biobizz soil + dry leaves on top from past harvest