


Likes
Comments
Share

@SkunkyDog420
Follow
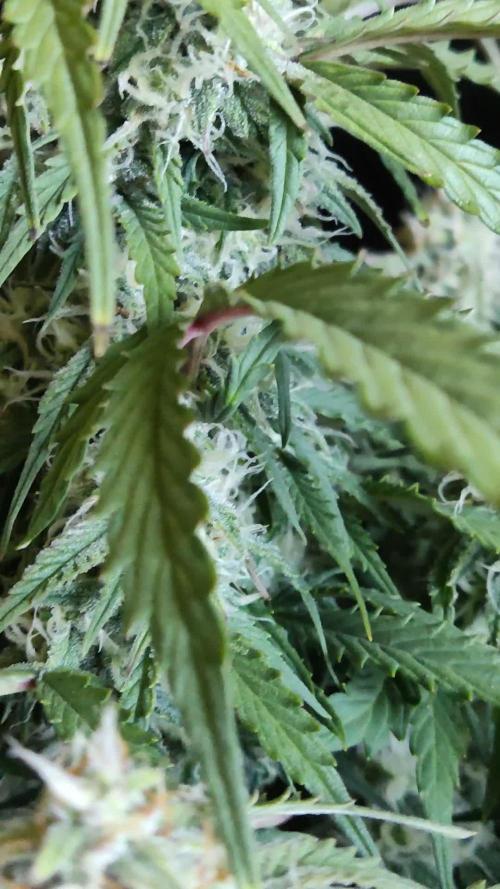
Hallo zusammen 🤙.
Sie wächst sehr schön und macht keine Umstände

Likes
31
Share


@The_Bearded_Grower
Follow
welcome to 📅Day 29 transition has started 4/12/2021. as she moves into transition she is looking and growing very well but she does have some rusting and I'm not sure why I just hope it does not get to bad. Other then that she is very strong and healthy.
I have turned the Mars hydro TS 1000 up to 68% putting out around 32,000 LUX💡 so far I'm very happy with this light
that's it for todays update so happy growing and as always keep your stick on the ice 🏒
update 📅4/14/2021 she is looking good and I'm starting some lolly popping. the canopy looks very even and that's what I like to see I'm going to up the water in the res as they are drinking lots now💧
update 📅Day 33 transition 4/16/2021 ok all lollipping is done and so is defoliation not all that's left is to make sure the tops all stay at the same height and I have increased the amount of water to 5 gal from 2.5 gal💦. I am thinking about a new air pump the has 4 outlets instead of 2 so I can also put air stones in the res at the base of the auto pots as the nute water just sits there for the most part and just films over and I don't like that.

Likes
28
Share


@Ultraviolet
Follow
Hope you are well. Thanks for taking the time.
Little defoliation to focus growth.
Likes
2
Share


@valiotoro
Follow
Hello everyone 😎
Week 5 of flower for the KK auto from Dutch Passion ❤️🔥
Spider Farmer SE-7000 70%
For the nutrient 4ml/L terra bloom & 1ml/L power buds from plagron
Have a nice day 🤩

Likes
1
Share

@Bdog7878
Follow
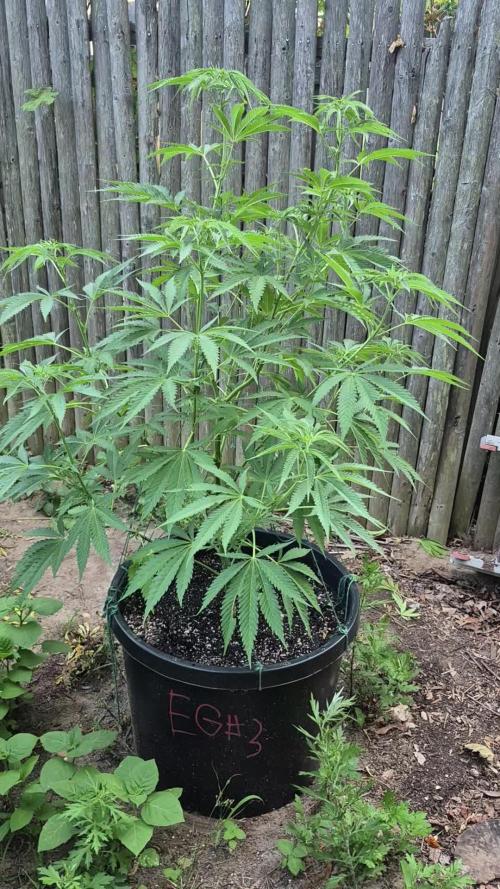
They are doing ok. There growing but i feel something is off with a couple plants. The white widow are both kinda light green im not sure if its just the strain but they dont have that nice darker green shine look to them. One of the skunk is dark green and bushed out a lot. The other skunk is slightly smaller and has a lighter green look to it. Both end games are dark green but the bigger one always has taco leaves. Ive been having a water issue with the end games there in big pots and it been raining none stop every other day for weeks now they never dry out plus I can never feed them. Its finally been dry and hot for 4 days and the bigger end game needed water so I fertized it the smaller one will need it tomorrow. I think im going in the ground next year i had a bunch of soil issues in the start with my bought soil. Hopefully things start getting better ive gotten them all to dry out and there needing water much more frequently now so ill be able to feed more.



Likes
Comments
Share


Likes
4
Share


@DmbTexasRanger
Follow
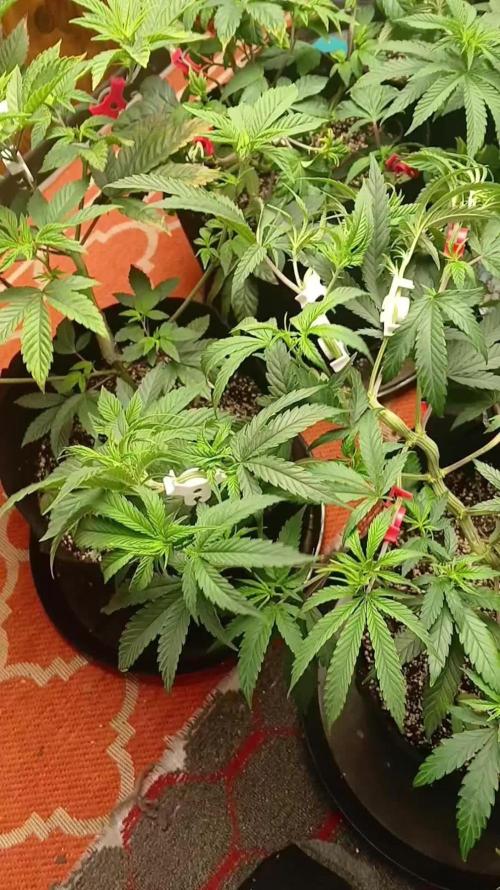
Good finish by cookies elephant trunk. I’m going to take on the elements and finish these outside.
I’m going to fill tents out as dry tents
Dr. Zymes as preventative and active pest control. No BT just 👁️ balled those worms


Likes
7
Share

@PhinolaGreen
Follow
13. Woche
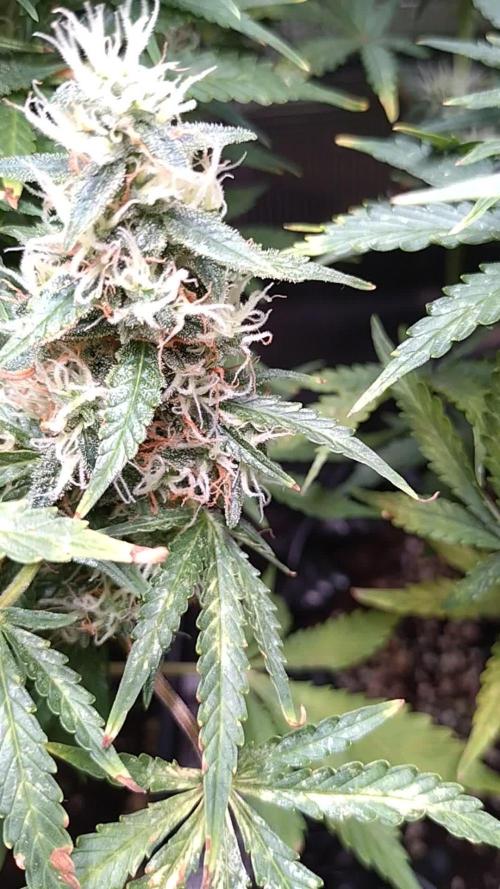
Sieht soweit gut aus, sie ist ganz schön hungrig und durstig, ich bekomme auch 1L in den 6L Topf ohne Probleme rein so ist es nicht aber die legt schon ordentlich was drauf jedesmal. Ich habe den Düngerplan auch schon vor längerer Zeit gewechselt zu 2x die Woche statt einmal. Sonst ist der EC zu Hoch, lieber immer bisschen weniger aber dafür dafür dann regelmäßig 😄😊
Denke sie braucht noch 3-4 Wochen, ja das habe ich letzte Woche auch schon gesagt hehe 😅
Likes
7
Share


@Growlax
Follow
So as I'm not home this week i will just update what i did on my last day home. I added another reservoir, put a pump in it and a fill hose up into my main reservoir (which is 4 feet off the floor to gravity feed my blumat system). Installed a JB and wired in my pump and 2 level switches. They are wired in series with the switches in the normally closed position so the water level will break or make the circuit. Switch 1 is in the main reservoir to call for water and switch 2 is in my spill tray to stop a potential runaway from happening. After getting everything filled to the levels i wanted i did a test run and it worked great. Unfortunately i didn't look closely enough at the specs on the switches and #1 burnt out because it's meant for dc power not ac. My bad , so i hooked up a timer set it for 2 minutes a day as i didn't have time to fix it.
I decided that it was a good time to flip over to flower and I'm going with 13/11 lighting schedule see if there's any difference.
Happy growing

Likes
37
Share


@GrownwithLED
Follow
In week 6 my HOMEBOX growtent has filled up so much, that I need to defoliate the plants. I take them out one by one and take off all lower branches (that dont get enough light) and all leaves of the lower part of the plant. I also take off most of the bigger fan-leaves of the top part of each plant, so the light can penetrate deeper into the canopy. I also add stakes and a plant-holder-ring to each pot, so the bigger plants are supported for better growth. You can see the difference in the BEFORE AND AFTER pics above. Two PURPS-plants from BC-BUD-Depot turned out to be male and have been discarded. Into one of the empty spots I put a small plant of BLUE MINT from Mountain High Seeds as replacement. The other spot stays empty. I simply put a tray into the open spot, so the water is not in the light and no algea grows in my autopot system. The watering via the Flexitank-reservoir works very well. Once a week I fill the reservoir with water mixed with BIO NOVA nutrients, following the SOIL-CULTIVATION schedule of BIO NOVA. Since the EC of my tap water is very high (comes out with EC=1,0 already) I can only add a lower amount of nutrients, therefore I use the BIO NOVA schedule at HALF strength. My babies LOVE the light from the EVO4-120 LED-fixtures from SANlight, they THRIVE under it! At this stage my two lamps are dimmed to 80% (=two green lights are ON, on the dimmer at side of lamp) and hang at a distance of 30 cm from the top of the plants. Now after the defoliation the airflow through the tent is much better and the light can also get to the lower parts of the plant. This way the flowering can continue with an enhanced grow of the buds.


Likes
9
Share


@Headies
Follow
So I have spider mites. I screwed up so much i think this is going 15 weeks. Lost coast to the rescue! time to finish these buggers off
Likes
5
Share


@DibbyDab
Follow
Now I have the lights at 100%, and the canopy at about 4’ tall. Water on the weekends mostly, get about 5 days between waterings. Daily checkups on the tent for temps and humidity. Girls are looking happy all around, forming beautiful buds stacked up the stocks. Glad I’ve got more seeds of this strain to play with in the future too after this haul. 🤙

Likes
11
Share
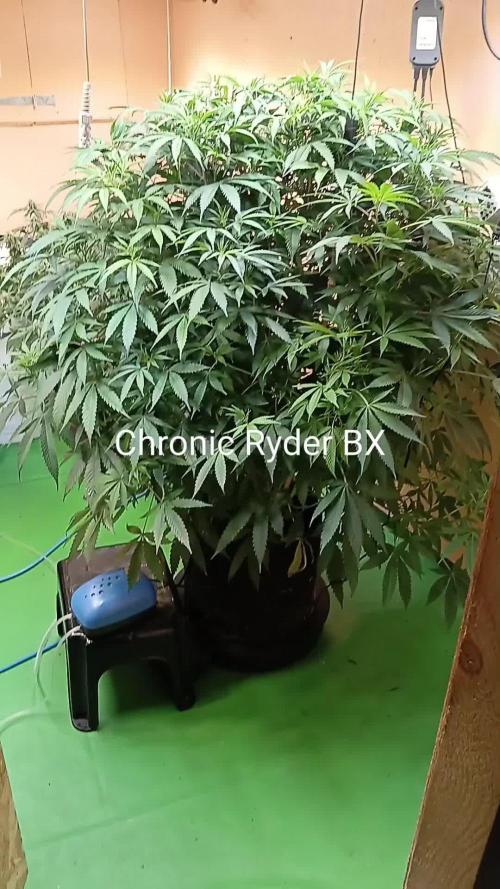

@Mrs_Larimar
Follow
2025-07-27
i started tis grow longer ago
as you may see in other diaries, from the same period
these ladies are mindblowing and deserve a Diary
LEGEND
The root idea for the strain name was the Father’s Choice to show respect to his father when he was testing his strain on his father’s farm. Finally, the strain got the name Chronic Ryder - the autoflowering version of the famous Chronic by Serious Seeds. Crossing with the Lowryder gave us the opportunity to get a stable and fast flowering hybrid.
GROWING
The compact and fast flowering variety grows well indoors and outdoors. A small height of 60 cm max allows for growing nice and fragrant bushes for 65 days from germination. Despite its compact size, the plants develop lots of sticky and big buds with a pretty apricot smell. The aroma is hardly noticed at first but it becomes stronger as the harvest approaches.
The short growing period is another strong point of the strain. That's why this is a good choice for countries with short summers - despite the bad weather you’ll get your guaranteed yield.
TASTE and EFFECT
Chronic Ryder is all about the taste - fruity and citrus tones complement one another, giving an unforgettable aftertaste. The effect is mild and doesn’t hit you like a hammer - the perfect choice for novice smokers. Thanks to balanced high and stone effects Chronic Ryder is a good daytime smoke that stimulates you for a long time.
CHARACTERISTICS
Autoflowering: Yes
Type: Feminized | Autoflowering
Room: Indoor | Outdoor | Greenhouse
Genotype: Hybrid
Genetics: Chronic x Lowryder
Finish time: 65-70 days from seed
Indoor:
Productivity: 400 g/m2
Height: 30 - 60 cm
Outdoor:
Productivity: 30-85 g/plant
Height: 60 - 100 cm
THC: High
Flavour: Citrus | fruity | apricot
Effect: Balanced high and stone | daytime | giggly

Likes
35
Share


@Ganjagrandaddy
Follow
Another week for the sweet seeds ladies to settle in and continue their recovery
RED HOT COOKIE is looking a little worse for wear this week. I have explored the tank to see if that is an issue but all is as should be. I will retreat the root rot with some more silver bullet roots to bring the res back to sterile. Shebhas curled down claws which suggests too much N maybe?. I am assuming the root damage is a part of the issue too. I am frustrated to have lowed such a stupid error with the res heat and rotbbut thankfully the sweet seeds genetics are strong in the 2 in the tank and they are fighting now.
SWEET AFGHANI DELICIOUS has had a better week with some vertical growth and plenty of recovering chlorophyll. She is still quite hardy stemmed and I would not attempt to do any bending at all. She will be allowed to grow out as she wants along with thebother ones in that tank.
AMNESIA HAZE is a whole different game . Shebhas beena dream to work with and I could not advise growing this strain enough. Ideal for a new grower who needs a resilient and constant growing plant to learn with. I am in love.lol
I have spent the last few weeks flattening her out and using the width I have now to keep her more lateral. She is around 3ft across now with so much planned growth to work with when I flip her. Inam hoping to make her a beastly girl to smash my personal best for a single plant. Her stems are nice and thick with a really nice Quad formed. She will be a lady to behold in full flower. Well done Sweet seeds.


Likes
10
Share


@jahredi
Follow
Both plants started coming along. The Blue Dream has a weird leaf curl. The ends are pointing straight down on some leaves. Also, a little twisting. Maybe some dark leaf veins. I’d be inclined to think nitrogen toxicity, but I’m reusing some soil from may last grow that I had in a huge pile all winter. And I only put .25 tsp per gallon of Big Grow for the last water. I dunno. Just going to go back to regular water and see how it goes. Funny that the HP isn’t showing any unusual signs.
Likes
9
Share


@Krautbauern
Follow
The clone is in the same height as the rainbow triangle. we set the Forbidden Nectar a little bit up because she is the smallest one…indica dominant
After 25 days of flowering we recognized that the forbidden nectar is already starting to purple a little bit (last picture)

Likes
2
Share


@Bluemels
Follow
Tag 40: Beide Pflanzen haben sich ordentlich gestreckt. Leider haben sie schon recht helle Blätter.
