Likes
Comments
Share


@Aircoholic
Follow
The end came surprisingly fast in the end - I had to move quick. I had to improvise a drying solution, since I only have a small grow room and not much space, since Fat Monkey Auto still takes some time to mature. A little grow chamber made of foam board, with a PC fan added for some air flow.
Can't wait to trim her and let her cure before entering the next phase.


Likes
8
Share


@Ananas_Comosus
Follow
Sunday, May 29, 2022
Plant #3 is stretching away by a foot over Plant #2. Both Plants looking well but displaying different leaf behaviour (particularly of the upper growth). When well watered, in full sun, Plant # 2 has perky, praying leaves that go down somewhat at night. In the same conditions, Plant #3 has droopy leaves that get even more tucked in at night. It was only from feeling the strong turgidity of the Plant #3 leaves when under good water and comparing them to Plant #2 that I accepted that it was ok and that's just how it wears its' clothes. The red and white pistils are filling out from top to bottom on all stems on Plant #2. Even though it's not as tall as its' neighbour, the six main stems on plant #2 seem proportional to, hopefully, support nice thick colas. Plant #3 is furring out much slower and though I am happy for the height, I am concerned the stems aren't thick enough to support much weight.
Likes
15
Share


@DaddyPrime2
Follow
6/24/24 the videos of trichomes is from both purple octane and rs 11
Also based on trichomes. I should've counted the last week of veg as a flower week. So she's closer than we
6/25 we have clear cloudy and purple. Leaning towards her going till the end of this week.
6/28 we have about 70-80% cloudy and 20-25% amber. she's ready to go.
she will be chopped tomorrow morning. 6/29 unless stated otherwise.
happy growing yall, this plant is a fucking badge of honor with how beautiful she
6/28 I lied and chopped her probably 30 mins after I posted that lmao.

Likes
88
Share


@Wastent91
Follow
Ehi ragazzi eccoci a noi! Le ragazze hibride stanno crescendo davvero rigogliose, le foglie sono proprio di un bel verde intenso del colore corretto ,ma quello che mi sta stupendo è la capacità di questa lampada Mars hydro FC E3000 di essere uniforme e intensa di qualità in tutte le piante ,le quali stanno crescendo in modo molto più omogeneo rispetto ai cicli precedenti! E sto utilizzando solo il 50 %della potenza di questa benedetta luce! È davvero impressionante , anche la velocità di crescita mi sembra aumentata rispetto ai cicli precedenti! Spero che tutto vada come ho progettato senza carenze di nutrienti.. ma purtroppo come bene sapete ogni ciclo e totalmente diverso dall' altro e ogni ragazza e strain differente hanno anche esigenze nutrizionali differenti, questo l ho notato solo con l esperienza, prima pensavo che bastava dare a tutte la stessa quantità e sarebbero cresciute identiche .. ma questo nn succede quasi mai, bisogna progettare e anticipare tutte le possibili variabili in gioco! Alla fine è "vita"❤️ noi stiamo crescendo della vita con amore al massimo delle nostre possibilità come fossero nostre figlie! Speriamo continuino così e che crescano in libertà nel miglior modo possibile! Buon 420 a tutti ragazzi vi adoro!! 👊❤️🌱🌿🌲

Likes
152
Share


@EBxAH
Follow
Week 9 started yesterday, Aug. 1. Gave them their final trim last night. Definitely 2-3 more weeks of veg. I'm still so pumped to have gotten this far and other than my clones, they are looking so good and healthy. I definitely have a good feeling. Happy Monday everyone and as always, happy growing ✌️🍀✌️
UPDATE: Aug. 3rd...going great! Happy growing everyone ✌️🍀✌️
UPDATE: Aug. 5th and still going great! They are getting super bushy. I'll have to trim some lower leaves on Banner but that's it. Banner is a little shorter than Sky but that's ok lightwise! I could only imagine how big they would be by now if I either went natural or just topped, lol. I'm thinking about 5'. Would have been great outdoors if I could trust people to stay in their own yards at night! Anyways, I'm super pumped for the flip, which is very soon 😎 Happy growing everyone ✌️🍀✌️

Likes
19
Share


@valiotoro
Follow
Wonderful color😈
The smell is divine🤩
The trim was super easy & the buds are dense & super sticky👌

Likes
7
Share


@Cultivatorcarlos
Follow
still growing fast as fuck. i was falling more and more in love with her as time passed. she was showing signs of hunger so i gave her, her first feed of veg nutes on december 5th 2021. I mixed 1/2 tsp to each gallon. I used a bucket with 3 gallons of dechlorinated tap water.
Decmber 8th: same amount of veg to gallons of water with the same 1/2 tsp. phd to 6.4.
December 10th gave her a feed honestly dont know how much. id say about 10-20 cups worth of dechlorinated tap water with 1/2 tsp of veg nutes to 3 gallons.

Likes
2
Share

@PapaTerps
Follow
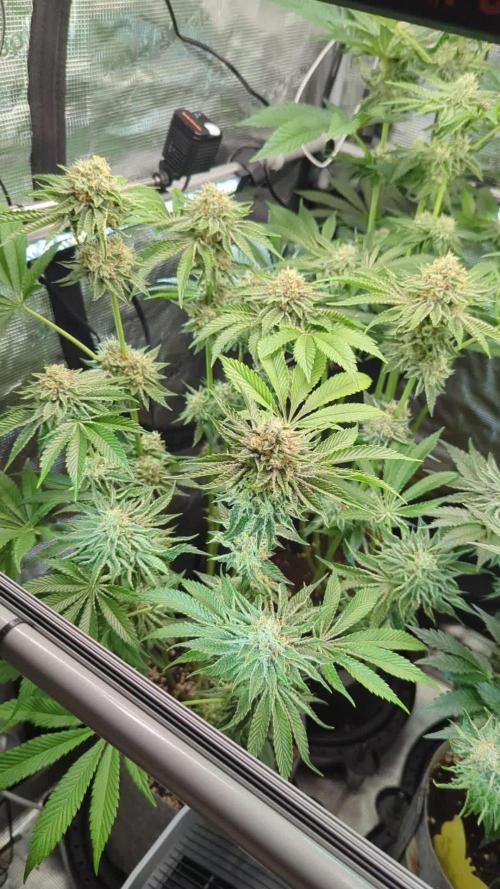
Wizard Fuel - Wizard Trees
Day 91 - Watered with 3L of RO tap water with nutrients mixed individually, in order and then pH'd to 6.3! A small amount of defoliation to improve light penetration, and that's about it - she's still bulking, but it has slowed down significantly, so from the end of this week, she will start her flushing phase 👍🏻 Her flower is absolutely beautiful, big heavy and hard baseball sized flower with a beautiful lime green hue, she smells candy and fruit 👌🏻

Likes
38
Share


@OutForReal
Follow
" Il reste quelques gens biens donc je garde espoire "
PNL
Wednesday
It's fattening and ot seems that the bugs are not around anymore but it's just an illusion as a low population in still a population so I'm still at war.
Thanks for your inputs , it's when you are in trouble that you're realising that you've got a whole community here for you 😘🤘👌🙌
Observations : Burning tips of the leaves due to an over feeding // Lower leaves that are fading and falling due to the age // Old signs of PH fluctuation
As my last runoff check was a while ago I'm about to check these values today 👍🤘
Saturday
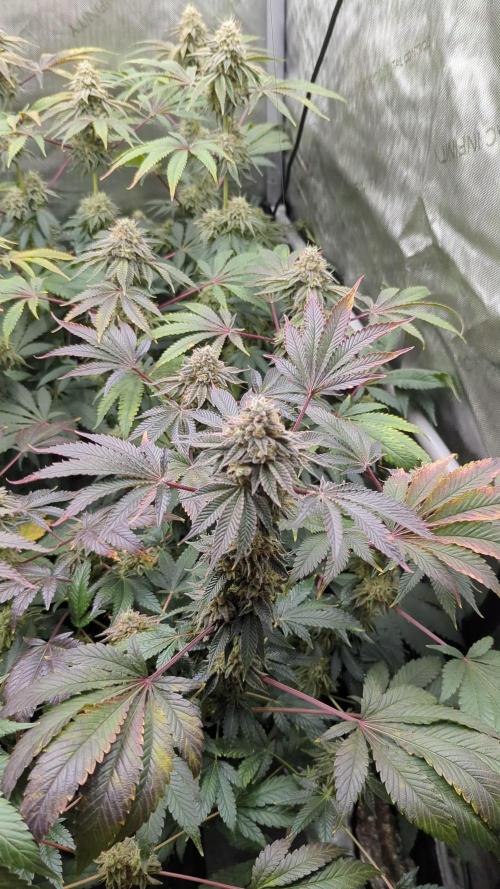
The small Grapefruits, the one with the 420 pin , is doing so so . Two of the main buds have some bud rot due to the high humidity of the 2 last days ... high humidity due to the fact that I am working without air extractor and box half open but I've closed my box for less than. 48h and when zinc opened it the wall were full of water drops ( more than drops )
To help with that issue I've done a defoliation to have a better air circulation around the buds even if it's not recommended to do it that far in flowering. I've also observed the trichomes and they are mostly cloudy with a few brown and like 40% of clear trichs : surprising as the looks like she may need 1 extra week or 2 before cutting

Likes
10
Share


@Weedbadk
Follow
Día :1 iniciamos este seguimiento de estas variedades toda germinaron en 3 días
Día 5 desde puesta en sustrato
Solo pulverizó 1 no sobrevivió pero las 2 salieron sin problemas
Likes
27
Share


@Hawkbo
Follow
Most of them made it only 1 six shooter definitely didnt make it and a cream cookies is a lil stuck. I threw a mexican airlines in the old six shooter cup but just letting it germinate in the soil I havnt done that in a while. They are going to get another feed tmm. The medium is a 50/50 coco/soil mix since I'm using the green buzz and its organic I figured a little soil might be beneficial. Day 7 from germination they should be ready to go into their final pots in the next few days.


Likes
3
Share

@Milky_way
Follow
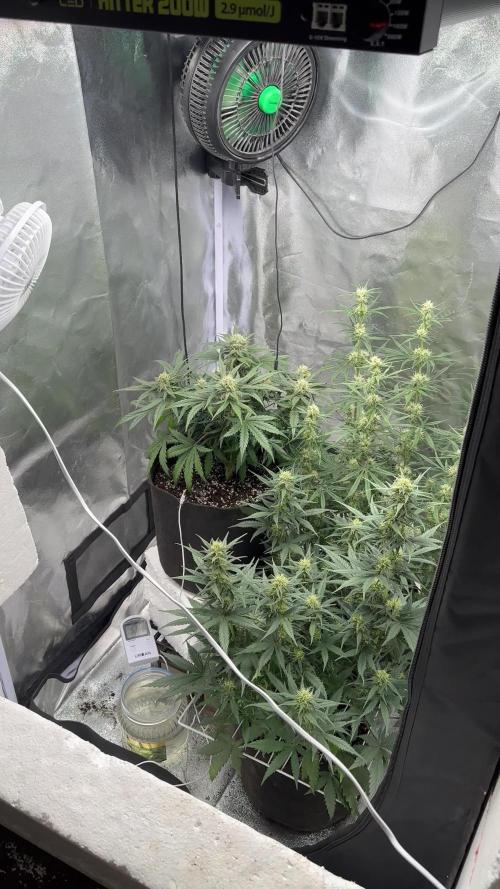
Start week 8. change Atami B´cuzz Bloom Stimulator for Plagron Green Sensation. 🍡🍭🍬


Likes
7
Share


@Herbz_Unkraut
Follow
such an beautyful strain! the colors are really outstanding and the scent is incredible!
loads of resin production on this one, not the highest yield but insane quality!

Likes
7
Share


@Fun_Flower_Picasso
Follow
My wicking system managed to make it through the week. I was gone, but was showing signs of underwater Ing as soon as I returned from vacation. After inspection, it appears the roots suffocated the medium from the wicking chords which stopped the uptake of water at a substantial enough speed for the plant. I have been top watering since keeping the medium moist And the plants have responded well. Light intensity and nutrients have been ramped so far the plants have responded very well. I will continue to push them on the upper end of safe limits for nutrients and light through to the end of the grow to try to maximize yield. Forbidden Runtz has a garlic type smell, possibly mixed with some BO/armpit. Papaya Cookies is very mild in smell even though it appears more mature so far. Hopefully both continue to thrive under the current conditions.
Likes
Comments
Share