


Likes
Comments
Share


@fabialien071
Follow
Semana sel 2 de septiembre al 8 de septiembre 8 de septiembre, fotos del dia Jueves 5 de septiembre 2024.
Se regaron con Floralicius plus adicionado con Hidrol-pez + vitaminas.


Likes
23
Share


@adam_pawloski87
Follow
This week was real great today is day 103 an these girls are all drying out for 12- 14 days ! Then will be ready for trim and cure! Keep your eyes peeled for next week , will have more photos when we get to trimming! Cheers everybody Happy grows🤙

Processing
Likes
17
Share


@Spearfish
Follow
Pretty sure she was topped on day 19... it was a long week for me so I kinda slacked a bit. Upped the nutrients.
Day 23. Removed main fan leaves.
Likes
7
Share


@uktuk
Follow
So far the plants look great, a little stretched out but seem healthy. They stretched a bit further than I would have liked before flipping to 12/12 but that's ok. The netting I ordered is too small so I will try and add some more sections with some string or something.
Did some light defoliation, when the plants are healthy I like to defoliate pretty heavily and continuously throughout flower.
The Autopot has been great so far, there's been a slightly concerning smell from the reservoir, but not alarming.
✨Thurs Sept 15✨
6.4 ph
710 ppm
1410 EC
Reservoir is starting to smell quite nasty. I added 5 Gallons to push it to the weekend then I will do a full clean. Plants are looking fantastic


Likes
8
Share

@GREENPHOENIX6262
Follow
03/01 - (M) - Currently in pre-flower - She is growing amazingly - No deficiencies, wilted leaves or visual que's - I have changed her feeding program to daily micro-dosing between clean water and nute feed alternating days - She will be transferred into the 4x4 flower tent within the week.
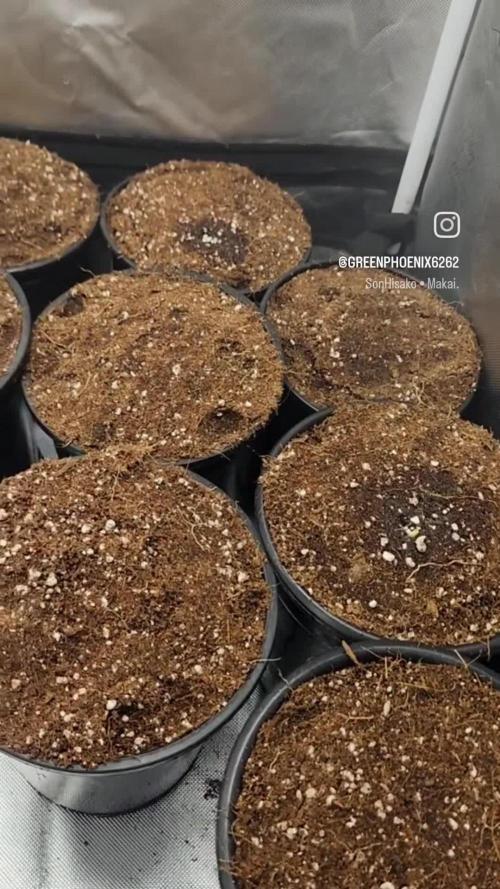
03/01 - (C) - The clones are coming along nicely - Transplanted the 7 into 1 gallon pots last night - The substrate is the same as the mother with an added top dressing of worm castings last night - Increased feed formula on some of the nutes (Nitrogen/Silica and Cal-Mag) - High humidity/High heat is the name of the name the game - Specs to follow
Clone specs - Week 2
Height - 13 Inches
Temps - 82°(f)
Feed Temp - 65° (f)
Humidity - 79 - 81%
Watering Vol - 2 cups every 3 days
Nutrient Feed - Nitrogen - Silica - Cal-Mag - Microbes - Kelp - Horti Grow - Myco

Likes
6
Share

@GREENPHOENIX6262
Follow
01/15/24 - 13.5 - Veg - Pre Flower - Light defoliation - Nute feeds have increased to once a day - with 1 gallon clean water feeds (1.5 gallons) daily*
Likes
2
Share


@regionallystoned420
Follow
Didn’t record footage of veg stage but it was in veg for just over 7 weeks and flowered at just spot on 8 weeks . Nice tight buds. Heavy stone but won’t make you too lazy to get about your day like a cheese almost
Likes
44
Share


@XperencdGmanXG
Follow
did some LST to this girl. We were in the middle of a mini drought but we did get 6mm of rain yesterday. So that will help with growth a lot. I also watered them with a whopping 9 gal each day before the rain. So I am expecting some excellent growth over the coming week. Ive been looking for an inexpensive source of granulated humic and fulvic acids if anyone knows of a source in southern Ontario.


Likes
42
Share


@Ganjagrandaddy
Follow
hi all. Here we are finally here with some of the ladies out and hanging to dry. It had been a fun week with trimming and hanging the Girl Scout cookie ladies. They finished so perfectly with a beautiful colour and terpenes oozing off them. Everytime I go up to the room , their sweet smell hits me before I get to see the other ladies. With about 6 days for #2 and 4 for #1 , I expect a few more days before they are even close to jar ready for a cure. Thankfully as they are organic and not needing to deal with leftover sodium based nutes, the terpenes should remain fairly intact with the very low 8°c and plenty of airflow keeping them rotating slowly. Rh is around 50% but not a mould risk thanks to the draughty eaves.
The remaining Amnesia Haze ladies are like wound springs now. They are still 2 weeks from their supposed harvest time but look ready now. If I didn't know that there is a second flush about to pop them wide open and swell them even more , it would be easy to pull them before their true ending . Still very smokable at this stage now but i am confident that they will have a second flush of fresh pistils any day now. There are signs of it starting on a couple of the mains so i will be using the Dragon force to support this for about 7 days , which is designed to boost them at their finishing stages. I rate this product and use it every grow. Well worth a look. The natural fading and the temperature drops at lights off are creating some amazing colours throughout the canopy now too. Thankfully experience allows me to enjoy this kaleidoscope of autumnal colours and not panic that I have a major deficiency going down. There are some nicely cannabalising leaves in the canopy too which is also a good sign that they are performing just as nature intended and gorging on the stored goodness from the big fans left on. They are a multi purpose leaf for the whole process from veg to finish , they change their role as the grow progresses and as soon as she notices that they are taking more to keep alive and become a sink instead of a gain , she will cannabalising the stores built up and shed the leaf herself. This is why I get stuck with the whole defoliation debate. With that said , I hope your weeks has been as much fun as mine and that you will be joining me in the upcoming tester strain runs of Fast Buds new 2022 unreleased strains to see what's in the pipeline for the autoflower world. Be lucky folks.


Likes
10
Share


@HideAndFly420
Follow
Day 64 my baby is going really well by now, she s been running fast until now and I think that’s enough with fertiliser. From today o start my flush, I will give today my last dose of regulator and from next irrigation just on controlled water until the end of maturation, I want this baby to eat everything .
day 65 started flushing. ph controlled water at 6.0 i think 20 more days at max before m
Day 68 First check with micro today. The baby looks already milky and amber on the top buds but the rest of the plant is still transparent. I’ll wait at least until this weekend for a re check maybe I’ll cut her in two rounds. As I be been watching a lot with micro I noticed so many dust and other stuff on the buds so I think I’ll wash her in water.
Today watered ph 6.
Let’s see!
🌱🔥🌱🔥🌱🔥🔥
Likes
21
Share


@Swiftgrow
Follow
Paper towel method for 48 hrs, planted into soil and sour goo poison is first to break the soil as of 21 May.
Lightly misting soil probably twice a day
Likes
3
Share


@JeyGanesha
Follow
Prima settimana di fiori 12/12...
Stiamo per terminare la prima settimana di fioritura...Si dovrebbero vedere già i prefiori........,.. vediamo tra un paio di giorni 💪🔱🙏

Likes
10
Share


@Murojuanna
Follow
The one that survived was only inside a 2 litre, unfortunately, so didn't produce no where near as bud as I would've liked to. It's definitely not stable from 2/3 hermies, no issues with the other strains I had going alongside these.

Likes
10
Share


@MadeInGermany
Follow
Guter strain und der Geschmack ist auch ganz gut aber es gibt deutlich besseres
Likes
119
Share


@Tropicannibis_Todd
Follow
💩Holy Crap Growmies We Are Back💩
Well growmies we are at 28 days in and everything is going great 👌
👉 Shes a stout little plant , chunky too , im gonna do a little bit of some low stress training 💪 The stretch is on my friends 👍
Lights being readjusted and chart updated .........👍rain water to be used entire growth👈
👉I used NutriNPK for nutrients for my grows and welcome anyone to give them a try .👈
👉 www.nutrinpk.com 👈
NutriNPK Cal MAG 14-0-14
NutriNPK Grow 28-14-14
NutriNPK Bloom 8-20-30
NutriNPK Bloom Booster 0-52-34
I GOT MULTIPLE DIARIES ON THE GO 😱 please check them out 😎
👉THANKS FOR TAKING THE TIME TO GO OVER MY DIARIES 👈


Likes
37
Share


@Stork
Follow
Day 99 Mon
Refresh water add 5L nuts
PH 5.9
EC 1.0
DLI 11h/ 40
PPFD/ 925
Water 19c
Day 100 Tue
Add water
PH 5.5/5.7
EC 1.0/0.8
PPM 460
DLI 11h/ 40
PPFD/ 925
Water 19c
Day 101 Wed
PH 5.8
EC 0.8
PPM 400
DLI 11h/ 40
PPFD/ 925
Water 19c
Day 102 Thu
PH 6.0
EC 0.8
PPM 390
DLI 11h/ 40
PPFD/ 925
Water 19c
Day 103 Fri
Add bloom A&B 2ml
PH 6.0/5.9
EC 0.7/0.8
PPM 370/410
DLI 11h/ 37
PPFD/ 870
Water 19c
Day 104 Sat
PH 5.7
EC 0.8
PPM 390
DLI 11h/ 37
PPFD/ 870
Water 19c
Day 105 Sun
PH 5.7
EC 0.8
PPM 380
DLI 11h/ 37
PPFD/ 870
Water 19c


Likes
13
Share


@ChitownCannaChica
Follow
So I gave the plant one more dynomyco feeding.
I’m over watering her a bit—- going to have to control that a bit more.
No nutrients yet.
Looks like she is pre flowering a touch.