


Likes
Comments
Share


@Fonzi
Follow
Sie duften sehr lecker. Die Jacky White sehr zitronig. Strawberry ak riecht fruchtig nach Erdbeere.


Likes
3
Share


@Cannabis_Sativa
Follow
We are in late bloom colour of the buds are more coloured (pink/red/purpple) it is maturity simptoms so prepearing for harvest


Likes
57
Share

@Just_Rabbit
Follow
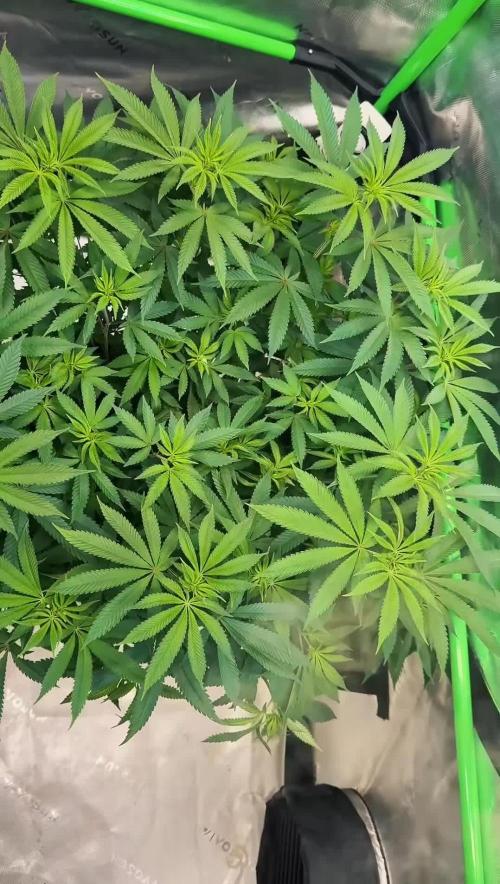
Weiter geht’s :) und nun so richtig .. den ab heute heißt es .. „ab in die Blüte“ 12/12 Umstellung wurde vollzogen ..
Die Pflanzen sind super stabil und sehr gesund ..wurden nochmal mit ner erhöhten Growmenge auf ein Gesundes Stickstoff lvl gebracht .. und sind fit genug für die Umstellung. Alle 3 Pflanzen legen ein eigenes Verhalten an den Tag aber sind aller super gekommen .. P1 schiesst sehr in die Höhe .. während P2 den perfekten Wuch an den Tag legt .. Mittel bis kompakt .. gute Breite und Form .. gefällt mir sehr .. P3 is da so ein zwischen Ding zwischen 1 und 2 ..
Für die letzten Veggie Bilder kamen sie heute nochmal raus .. Fotoshoot und letzte Reinigung des Zeltes.Die Pflanzen lasse ich nun eine Woche Stretchen und dann werden sie gescroggt ..und es sind nurnoch Detail Aufnahmen möglich.
Fazit .. sehr stabile Veggie Phase ..2 etwas klein für 7 Wochen .. normal mache ich 5 .. aber ein zusätzlicher Gast musste erst in Gang kommen .. wobei auch hier aus Pheno 2 mehr rauszukitzeln wäre denke ich in Sachen Wuchs
Nun kommt die heiße Phase .. mal sehen was gezaubert wird aus dem Hasenstall.
Likes
13
Share


@GrandmasBoy2021
Follow
Week 8,
Week 8 was a fairly easy one. The flowering spots are starting to fill in, and the leaves are starting to become frosty. I am watering her every three days with a teaspoon of nutrients and a tablespoon molasses. I think I have dialed in the grow tent and have a routine down.
Please let me know if you have any suggestions/ questions. Happy growing everyone
Likes
38
Share


@PrairieFrostGrow
Follow
******** Week 9 - Feb 3 to 9/20 (Days 57 - 63 from seed popping out)
She has continued to swell this week and stacking her buds. The hairs are turning this week. Kind of a boring week in a way because she has been such an awesome girl to grow!! Have not spent anytime looking at Trich colour this week.....too early anyway.
What I have reflected on is that this girl has been very impressive to grow even though I have thrown curve balls at her. A little more attention to the LST ensuring a more even canopy and lighten the feedings, this girl can impress!😍 I wouldn’t get let her go in a tent as she will likely be kissing the light at some point😃 XL strain anyways.💪 On bigger branches I would clip off another node lower than I did to give a little more energy to fill in the tops. Not sure this girls top colas will fill in as much as one would like but........take your time girl😀
Much debate this week over how long she will run in order to determine her last feed.🤪 She had her last feed three times😃 but it was finally Saturday Feb 8, Day 62 as the last day of feed. Plan it to just flush with water and Rezin & Liquid Weight to the end.....or early 70’s anyway.
Changed the light schedule again this week. Moved her to 19.5 hours of light because she is still not falling to sleep at lights out.
Given she has been very green and tips were burnt a fair bit, will likely use Flawless Finish to flush the medium.
Little more detail:
Feb 3/20 - Day 57
- Water feed today. Runoff in tray was 6.3pH from yesterday.
- 3L plain water. 30ppm and 5.8pH going in.
- One minute she looks to be swelling and then others you think she is stalling.....”watched pot” idea.
Feb 4/20 - Day 58
- Full feed today. Pot still had some weight.
- 3L off full feed with 1125ppm and 6.05pH
- Runoff water in tray before feed: 1900ppm and 6.5pH
- Runoff water in tray after feed: 1800ppm and 6.3pH
- Heavy leaf strip today. She is sticky :)
Feb 5/20 - Day 59
- nothing today.
- noticing more red hairs today....starting to finish more.....lower is still nice and white.....harvest in stages????
- Light cycle changed to 19.5hrs on and 4.5hrs off.
Feb 6/20 - Day 60
- Verify medium today....close to flush
- 3L feed of Sensyzime and Rezin @ 2ml/L and Liquid Weight @ 1.5ml/L. = 100ppm and 5.8pH
- Runoff was 1450ppm and 6.4pH.
- Followed the feed with 2L of 5.2pH water with Sensyzime & Liquid Weight.....bring down pH.
- runoff after that was 1100ppm and 6.3pH.....better :)
Feb 7/20 - Day 61
- Nothing today, still heavy.
Feb 8/20 - Day 62 - ********Last Feed********
- Giving a bit of a flush with Sensyzime, Rezin, and Liquid weight @ 2ml.
- 6L feed with 100ppm and 5.25pH going in.
- Runoff - 350ppm and 6.3pH.
- Evening giver her last full strength feed as listed for the week.
- Going in was 5.2pH as she was not coming down much with high 5pH feeds.
- Medium got a good soak and good runoff amount
- That will be it. Hope she goes 10 to 14 more days....
Feb 9/20 - Day 63
- Dry out day
- raised the light a bit.....will use lower pH water in flush......not much else other than let her dry out at this stage.......
- her top colas are pushing out more new growth.
- the tops are getting wider and forming a point more.
Hope we can drag out harvest day until Feb 22 or 23rd.......🤞😁.....Thanks for the read and hope you have a smooth week!

Likes
28
Share


@Esoteric_growing
Follow
Decided to tie these down rather than the plan to totally fill the scrog net. Reason is i plan on growing some new genetics as I have grown this strain about 6-7 times, as good as it is it’s time for a change.
Planning on running a symbiotic genetics cut of mimosa and some strains from Arctic Genetics

Likes
59
Share


@Ezzjaybruh
Follow
Ready to chop.
Just letting a few go a bit longer.
Some of the salt build up early on certainly taking away from trich development I believe.. and some yield for sure.. but #1 is a champ. Least color of all but buds still have color and so much more size than 2&3.
2 was a late one to the party but showing out now. Probably the frostiest and I get if I had em tested would top them all in cannabinoids.

Likes
6
Share

@ThatsmyGrow
Follow
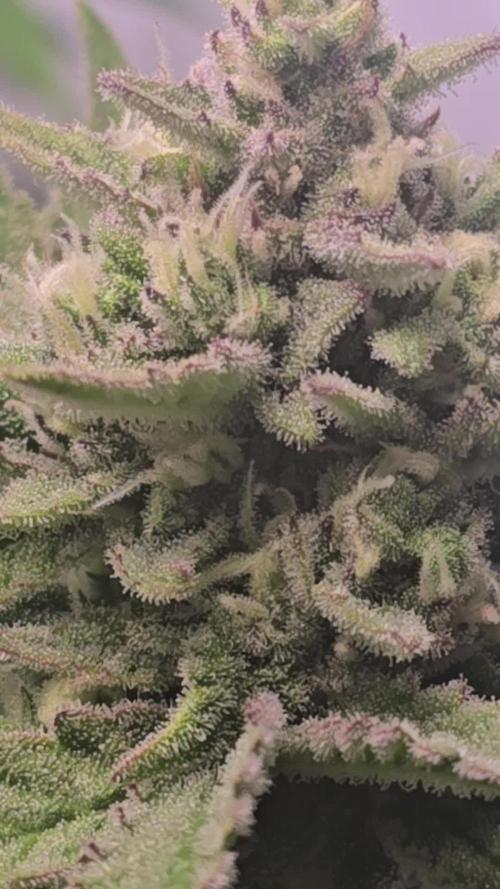
Another great week! The Z-Up is producing increasingly dense buds and is already so frosty, I love it. One more week of big buds, then it's slowly coming to an end. It smells so strongly of lemon, it's incredible what amazing flavors this phenotype is developing.
Likes
14
Share


@Chi_K24
Follow
Hey folks.
Into week 11 and the ladies are doing very well. Recovering slowly from a fungas gnat infestation that I caught pretty late. I got careless and wasn't really paying attention to the topsoil. Also to boot, this was only an issue once I started to water with molassas. It seem to attract the bugs either via sugar for from the supercharged biosphere. Not sure lol.
I treated the topsoil with neem oil drench and applied yellow sticky pads and d.e. powder to the top of the pots.
Cheers.

Likes
22
Share


@RDWCGrowing
Follow
1/11/2024 Vegetation Week 1 Day 1- I have a root almost in the water.. Yay!! Top feeding is almost done. she is looking a little sad as I work the transition Top feeding but once the roots are fully in the water she will start to take off. Ensured my PPFD is set between 250-300 it is set to: 258
1/12/2024 Vegetation Week 1 Day 2- I have a root in the water.... NO TOP FEED TODAY SIR!!! now that a root is touching the water and she looks stable, I am not going to topfeed, I will see how she looks tomorrow and as long as everything looks good I am going to go ahead and do a change and week 1 fill on Nutes.. I know it is a couple of days in but the same Nutes go through Week 2 and get changed at Week 3 So I should be good to go.. I will just ensure I fill to root touching the water when I change tomorrow.
1/13/2024 Vegetation Week 1 Day 3- Water Change Day!!
I added 36 Gallons of Water to the system:
Silica= .5mil/gal= 18mil
CalMag= .75mil/gal = 27mil
FloraMicro=3.0mil/gal = 108mil
FloraGro=2.0mil/gal = 72mil
FloraBloom= 2.0mil/gal = 72mil
PH DOWN= 30mil
Very important thing with this system is to now wait the 24 hours for the system to adjust.. Do not make any further adjustments to your PH up or Down for 24 hours to allow time for the system to balance.
1/14/2024 Vegetation Week 1 Day 4- Today I just adjusted the PH to ensure that it was right at 6.0
1/15/2024 Vegetation Week 1 Day 5- Today I Cleaned up the lower damaged leaves from the transition from top feeding to roots in the water. She looks good today.
1/16/2024 Vegetation Week 1 Day 6- Today I just took a picture of the beautiful lady for Log. Other than that just normal day to day operations, check the pH, check the Humidifiers and fill as necessary, check level of water in the Res. Everything looks great. onto Tomorrow!!
1/17/2024 Vegetation Week 1 Day 7- Today I filled the humidifers, checked the PH and just let her grow.. Grow baby Grow.....

Likes
7
Share


@Dairon
Follow
Día 24 de crecimiento, voy a trasplantar a macetero de 3l para ocupar todo el area de cultivo, haciendo SOG. en pocos días pasaré a floración, previa poda apical para estimular el crecimiento y aumentar la producción, debido a que las sativas del armario de floración van a tardar bastante, voy a experimentar un poco y dejarlas donde están, a ver que sucede al pasarlas a floración y como se comportan bajo luces con un espectro de crecimiento (led citizen 4000K). Cuando trasplante, usaré micorrizas para estimular la vida microbiana del sustrato y pulverizo con acti vera y Alg a Mic para que sobrelleven mejor el estrés de trasplante, buenos humos!!!👌👌😃
Likes
86
Share


@Hou_Stone
Follow
it's been 2 weeks since it's 60% humidity and I can't go below :/
I noticed mold in 2-3 buds of my Ztrawberrys ;'(. I tried to remove the moldy areas with my pruner but it was moldy all the way to the center, I decided to just rip it off a bud. I don't know if it's a good solution, it's the first time it's happened to me


Likes
10
Share

@Cukito
Follow
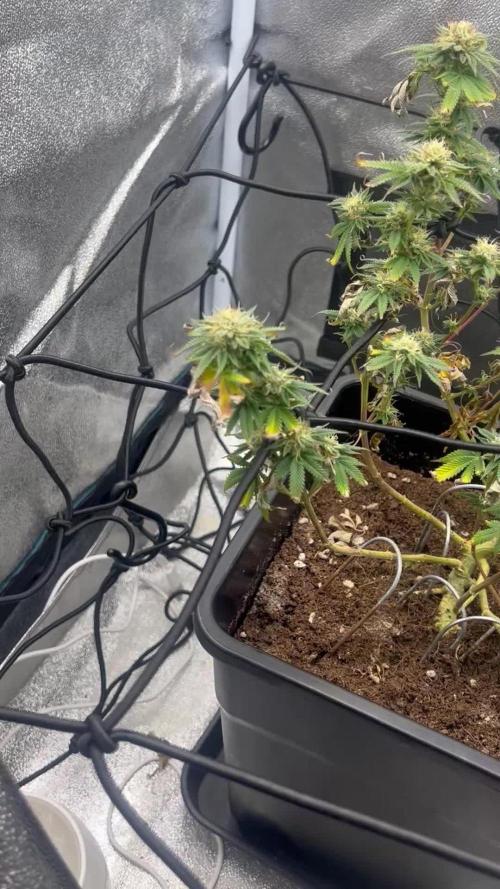
Man the smell is so fucking strong☠️ Also the resin has increased a lot!! The buds are smaller than I would like but It's fine we will solve that problem in the next grow!!

Likes
1
Share

@ChronicNerve
Follow
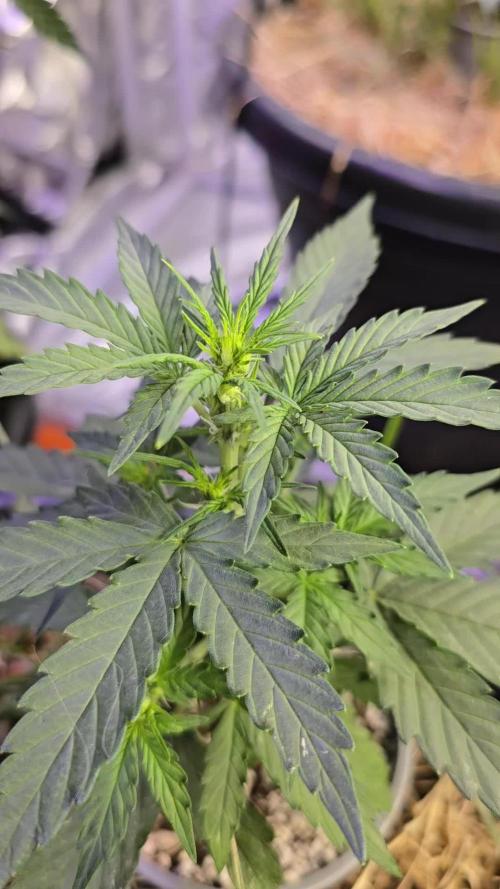
Looking nice and Uniform again. Now that they need more light than the Spider farmer 100w can give I haven now moved them into the main tent. I also sprayed them with a fish mix and alg-a-mic formulae in which they both seem to react to rather well.

Processing
Likes
4
Share


@CityFarmer
Follow
Hello everyone,
The girls are finally outside in 20 gallon fabric pots. This season I have a greenhouse for them and I hope it goes good. Still have to build the first cages around them and start stretching them. 🎊🎉 finally, summer is here 🎉🎊
See you guys next week 🤞🤞🤘🤘👊👊👊

Likes
2
Share


@Madman2020
Follow
Day 8 flower
Plants look like they will end up small. This was a short veg. This is a great time to train plants.
_____________
Day 9Flower
Plants need to be tied down to have wide arms by day 7
Day 11 flo
18.5inches tall
12inches from light
1300ppm
_____________
Day 13
Aggressive defoliation and Lollipop
___________
Day 14
Secret sauce microbe blend .7/gal

Likes
6
Share

@GERGrowDesigns
Follow
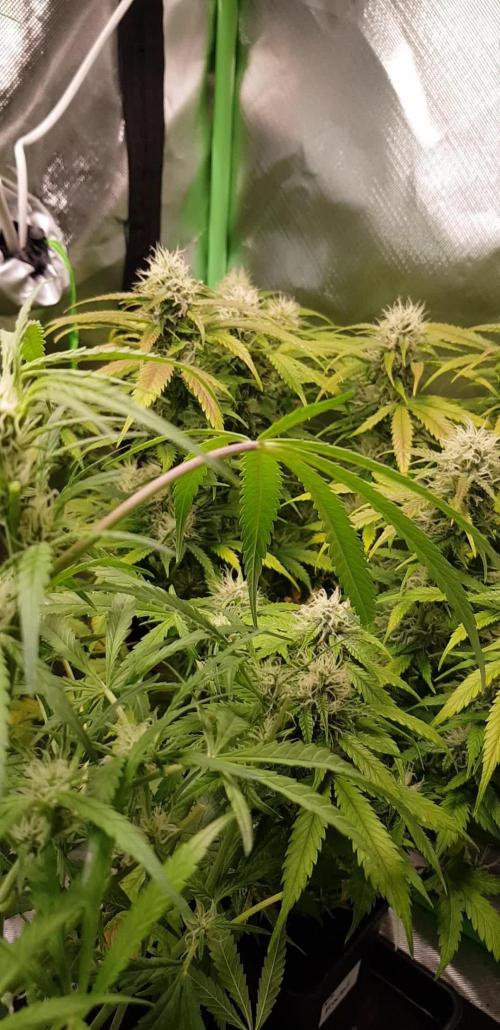
Welcome to Flower Week 2-3 of Divine Seeds Auto Fractal
I'm excited to share my grow journey with you all as part of the Divine Seeds Autoflowering Competition 2025. It's going to be an incredible ride, full of learning, growing, and connecting with fellow growers from all around the world!
For this competition, I’ve chosen the Feminized Automatic strain: Auto Fractal
Here’s what I’m working with:
• 🌱 Tent: 120x60x80
• 🧑🌾 Breeder Company: Divine Seeds
• 💧 Humidity Range: 50
• ⏳ Flowering Time: 60 Days
• Strain Info: 23%THC
• 🌡️ Temperature: 26
• 🍵 Pot Size: 0.5l
• Nutrient Brand: Narcos
• ⚡ Lights : 200W x 2
A huge thank you to Divine Seeds for allowing me to be a part of this amazing competition and Sponsoring the Strains. Big thanks for supporting the grower community worldwide! Your genetics and passion speak for themselves!
I would truly appreciate every bit of feedback, help, questions, or discussions – and of course, your likes and interactions mean the world to me as I try to stand out in this exciting competition!
Let’s grow together – and don’t forget to stop by again to see the latest updates!
Happy growing!
Stay lifted and stay curious!
Peace & Buds!

Likes
41
Share

@For2itous
Follow
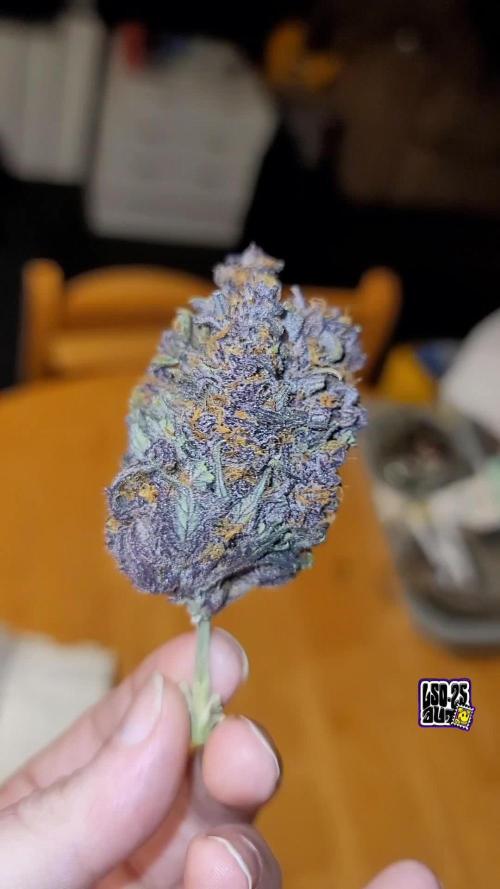
Had 84g of the purple but smoked some waiting for the green pheno 72g. Thought I'd show pics anyway just to have some confirmation. Super floral diesel with some fruity notes. Very easy to smoke too much of lol Definitely want to grow again maybe make hash and rosin out of some. Goodluck and happy growing everyone 🌴