


Likes
Comments
Share


@Roberts
Follow
Fruity Pebbles autoflower is growing great I the Athena blended line nutrition. She is starting to go into a bulking stage. She has a layer of frost started. Everything is looking good. Thank you Athena, Medic Grow, and ILGM. 🤜🏻🤛🏻🌱🌱🌱
Thank you grow diaries community for the 👇likes👇, follows, comments, and subscriptions on my YouTube channel👇. ❄️🌱🍻
Happy Growing 🌱🌱🌱
https://youtube.com/channel/UCAhN7yRzWLpcaRHhMIQ7X4g

Processing
Likes
68
Share


@themartian911
Follow
hi guys I take the photos with a new camera i take it in 4k mod 😀👍 but idk if it's 4k on the website because he resizing the picture. 😒
some news we can see the roots go through the pot. She can take more oxygen 😂
I do sometimes some small defoliation.
I reduced hours on week 6 to switch to flowering period, the way than i take :
day1 18/6
day2 17/7
day3 16/8
day4 15/9
day5 14/10
day6 13/11
day7 12/12

Likes
2
Share


@WinnieThePooh
Follow
Cada vez mais perto! Os buds estão a desenvolver bem (a meu ver)! Semana tranquila e sem nenhum contratempo.
Questão: o que são aquelas manchas nas folhas? Nas pontas é excesso de nutrientes, mas e as maiores, o que poderá ser?


Likes
6
Share


@deseed_uy
Follow
Semana 7🤩 ya a nada de la cosecha, dos riegos de flawless para cada una que vienen todas altas de ec y luego solo agua.
A la oreoz f3 la q tiene mas pistilos blancos la voy a dejar unos dias mas q a las otras. A esa fue a la unica que le di overdrive por eso esta desquiciada de peluca😼


Likes
13
Share


@HeavyHead
Follow
So this is a combination of weeks 11-12 as they all went into 48 hours of darkness and cut down on different days. My got cut down on different days. Will post dry harvest pics next ;p


Likes
6
Share


@Silverback_Guerilla
Follow
10/27:
I rearranged the garden today and checked to see if she needed water yet. Nope..
10/28:
I watered her with about 1/4 gallon including terpinator, bembe, cal-mag, and some beastie bloomz because she's a little K deficient.
10/29:
She's only stretching about an inch every couple of days..spending more energy on pistils, which is fine by me. Damn she's a hungry one, though!
I'm still planning to flush tomorrow with no major nutes, but will give her another little dose of N and a metric shit-ton of P and K once she dries back out.
10/30:
I decided not to do a flush and just did a very thorough watering today with added terpinator, bembe, cal-mag, humic acid, myco and bene bacti. I put about a half-gallon through her and let her sit and soak up all the run-off. It should take a few days for her to dry out.
10/31:
I checked her moisture level. I'll feed her tomorrow. She's still looking P and.or K deficient despite my attempts to correct it.
11/1:
I took her out of the closet and did a little defoliating. I sprinkled a little bat guano on her soil and fed her with about a half-gallon including all the good stuff, including beastie bloomz and full strength Tiger bloom. Surely that'll do the trick...
11/2:
She still looks terribly K deficient and I just don't get it..thinking maybe my Ph tester needs recalibration or something. Like, maybe it's just to acidic for the K to be absorbed...
I sprayed her thoroughly with boom boom spray and a little tiger bloom today.
Likes
4
Share

@Chrisandweed
Follow
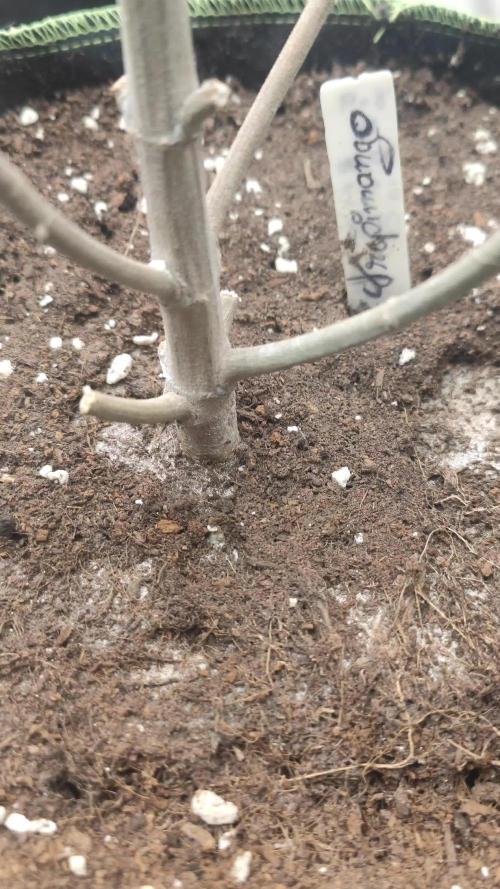
Bueno, van muuuy bien, quizás en alguna variedad me pasé con la tijera y por solo confiar en las cabezas, no voy a sacar mucha producción pero bueno, lo que salga se fuma, y lo que no, se cultiva de nuevo xD.
Las plantas tiran un oloor... Me lo tiene todo apestado! Jajaja para bien!
Aclaro que estas fotos son literalmente tras encenderse las luces despues de 6h de un producto de descarga total antifungico que usé en oscuridad. El producto es valido para floración, ademas que pienso que aún quedará un mes pal corte, tiempo de sobra + 2 semanas de secado + otras 2 semanas de curado (no nos engañemos, se fumará desde que esté seca xD pero la teoría es que no, que aguanto hasta que cure). El tiempo este que digo, lo menciono a modo, tiempo mas que de sobra de irse los restos. Debido al producto, que lo coloqué en el centro del armario, las ramas mas cercanas han sufrido de estres químico y han cerrado estomas, por eso estan mas marrones o caídas, incluso como si tuviesen estres hidrico. La semana que viene cuando suba las fotos, veremos los cambios :).
PD: el olor de esta planta no estoy seguro de identificarlo pero es muuuuuuy muy acentuado! Una pena que los cogollos me vayan a quedar pequeños pero bueno, pinta a que va a saber muy muy sabrosa, tipo dulce de este de chucherias, cuando tu abres el cajón de chuches del chino? Pa cogerte lenguas y melones y jaleos? Pues a eso!

Likes
61
Share


@Esoteric_growing
Follow
Potted in to 20L and put under a 400w mh, they look a little tired as it was right before lights out. All going well and seem quite a vigorous strain

Likes
4
Share


@GREENPHOENIX6262
Follow
* Mid week - (week 2 Flower) - 11/16 - 15 inches - 18/6 light *
Phased out veg nutes - Flower nutes only every other feed - Light defoliation.
Processing
Likes
10
Share


@CityFarmer
Follow
Hello everyone,
Not much to say about these girls. This week I started giving them some nutrients so lets see how they turn out now...
See you guys next week.. 🤘🤘👊👊👊

Likes
3
Share


@Proto420
Follow
Easy enough to grow. Though out of 3 beans only 2 popped. So that sucks. A pleasure to grow. Mine didn’t seem to get too big tho. I kind of regret removing so many nodes.

Likes
3
Share


@BenandLippisfinest
Follow
Heute ist Tag 20 nach Keimung, bis jetzt sind wir sehr zufrieden, die Ladys entwickeln sich gut und sehen gesund aus. Ist das erste Mal mit Green House Feeding. Auch das erste Mal Autos und die Fastbuds Genetiken, scheinen gut zu gehen. Sie haben heute ihren ersten Tag im Garten verbracht, wir sind gespannt was da am Ende raus kommt unter der deutschen ☀️
Likes
2
Share


@ajglover217
Follow
the girls are struggling a little bit. One is yellowing because its about to flower, but one is just not growing much and the other is very lanky.

Likes
4
Share

@TommyBVRSA75
Follow
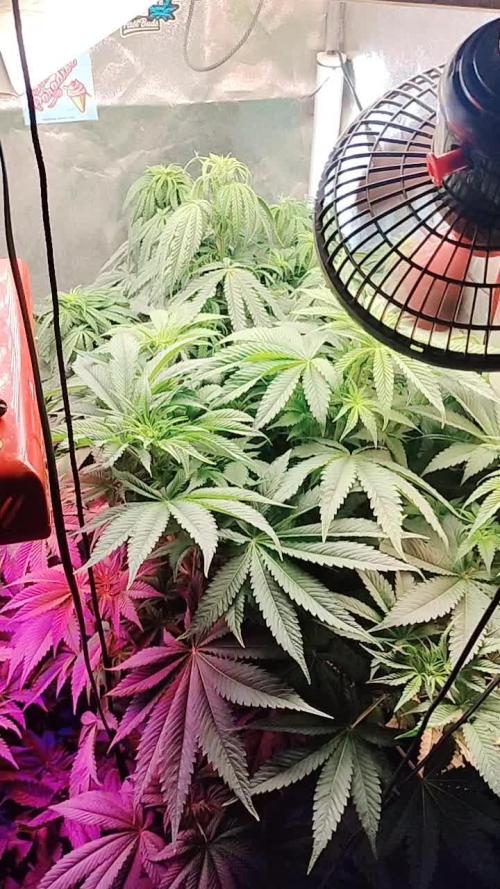
Detailed video (15 minutes) explains fully detailed aspects of the winter growing season 2025. All about strains, settings, climate conditions, nutrition and many more.

Likes
Comments
Share

@Anon73
Follow
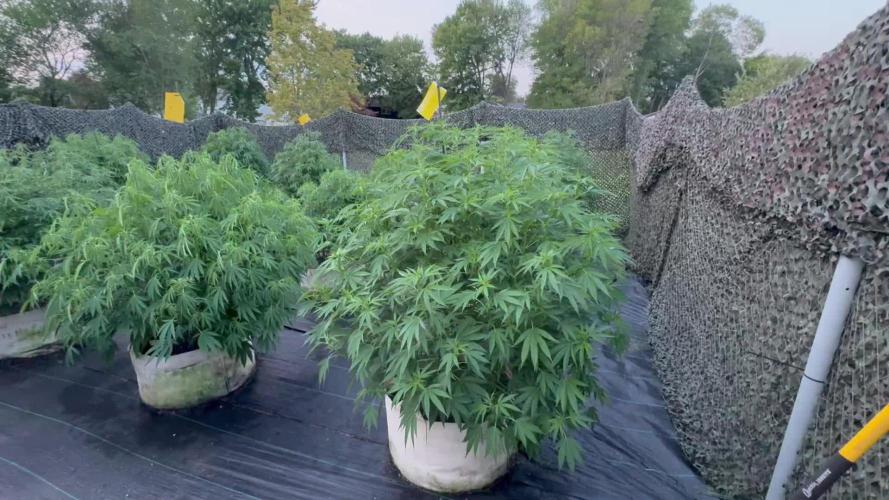
Excellent growth still.
No bugs, no mildew.
Found a few snails and one grasshopper.
The grasshopper would not touch the plant.
It was staying on the support pole.
Flowering has made itself known.

Likes
8
Share

@GreenEldritchGardens
Follow
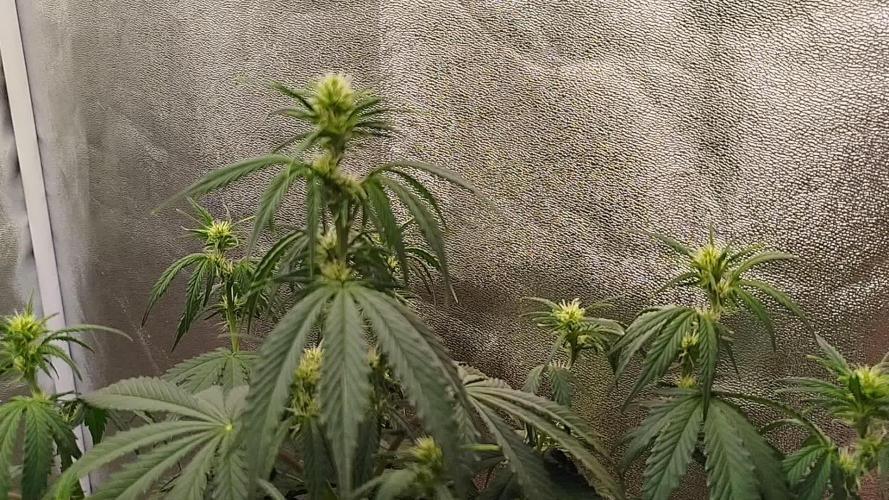
She was really in need of a nice lollipoping, because she is growing too bushy, she needs a good airflow. Maybe in 2 weeks I'll give her another one.
So far a great grow, she is smelling nice already with her topical wedding cake smell of vanilla, fruits and funk
Likes
6
Share


@Magical_Surgeon
Follow
After you found some good sector and clone it you let the mycelium grow and fill almost all the petri dish like I did last week.
So now you're ready to move forward.
Making grain spawn!🍄🍄
For grain you can use Organic Rye Berries, but you can also get away with wheat berries, or brown rice or even corn kernels(which I used myself) !
And you'll need some mason jars or honestly I used some jars that I had home just clean them very well and sterilise before using
Making a grain spawn can be broken down into 6 easy steps.
🍄Hydrate Grain By Soaking
🍄Make Specialized Lids
🍄Simmer, Drain and Dry The Grain
🍄Sterilize
🍄Put your agar in the jar
🍄Colonize
🍄Soak the grain by placing it in a bucket, covering in water, and leaving it for 12 -24 hours. Easy.
🍄Drill 1 hole on top of the lid. Right in the center and cover with a small dab of high temperature silicone sealant, and leave it overnight to dry. And your jars are done. There other diff types for different methods like liquid culture etc. But I'm just going roughly through what Ive done.
🍄The next step is to simmer the grains on the stove. This will thoroughly hydrate the grains, and will soften them to make them easier for the mushroom mycelium to consume.
Cook soaked grain on the stove for about 15 minutes. You don’t want to cook it too long, because eventually all the grain will crack and you’ll get some mushy grain spawn. We don't want that. 🧐After the grains have simmered on a low boil, you’ll need to drain them off. What I did is I drop them in the sink with the drain cover on. The grains will drain over an hour or so, after which you can go ahead and fill your jars.
🍄Once your jars are filled, they need to be sterilised.This kills off all the other nasty contaminants in the grain cover the lids in tinfoil (to prevent water dripping into the lid) and then just pressure sterilise them for about 90 minutes at 15 psi.
🍄After that let them cool down. Get your SAB, wipe down the walls with some alcohol wipes and place the jars inside. And wait untill they will be warm to the touch... not hot and painful 😤patience is key. Bring in your plates that had been stored by you in a dark place. And what u have to do is sterilise your scalpel and just accurately and efficiently decide your mycelium into about 10 pieces and quickly place them in your jar. And complete for every jar u make. You have to be very quick. The more you keep you're jar and your agar plates lids open the more cans they will get contaminated. There certain technics you can see online..
🍄Ones you're done close all your jars lids tight and Jake your jar so the mycelium pieces will mix around the jar and place them in the dark place to colonize. And just keep waiting... 😅 Untill the mycelium will conquer your grain. Keep your eyes on the jars, any weird smells or colour during the waiting time.. because that would mean you got a contamination going on. Oh yeah and when about 55% of your jar is filled with mycilium shake the sh*t out of it so it will break the mycilium inside and make spread more faster.
Likes
30
Share


@HydroGrowLED
Follow
Pungently smelly with unreal amounts of crystal it’s swelling by the day such dense rock hard buds best strain I’ve ever grown 😜 @fastbuds have absolutely cracked it with this strain it’s more then perfect 10/10 💪💪💪👏
Took a little sample bud today to see what she is like it seems too early but it looks done one of the plants is strange
Processing
Likes
9
Share


@420keef
Follow
I will be getting 1000 phyto mites to kill the spider mites in my tent & in the meanwhile i chaugt about 50 ladybugs & put them on my plants, i hope they both do the job right haha