


Likes
Comments
Share


@Madman2020
Follow
Day 8 flower
Plants look like they will end up small. This was a short veg. This is a great time to train plants.
_____________
Day 9Flower
Plants need to be tied down to have wide arms by day 7
Day 11 flo
18.5inches tall
12inches from light
1300ppm
_____________
Day 13
Aggressive defoliation and Lollipop
___________
Day 14
Secret sauce microbe blend .7/gal


Likes
11
Share


@GrowShock
Follow
Очень липкие цветы, при дефолиации ножницы склеиваются после 5 листика, местами начала сочится гуттация. Запах на столько сильный что весь дом пропитан уже этим ароматом терпенов. Неделя промывки и Харвест как же долго я её жду, честно говоря уже устал

Likes
14
Share


@MasterKush714
Follow
03👹👺YOOOO GANG UPDATE!!!!! So its now Week 6 of veg lots of things have happened this week!!!! LETS GET INTO IT!!!!:
1) Did another flush again today and upped the feeding amount to 1040ppm from 955 wanted to see more growth
2) DID HAVE A SIDE BRANCH CRACK IN HALF about 60% BREAK FMLLL!!! Happened during super cropping one of the branches
Even though i had done it fine week in and week out, real learning lesson, anyways.
3) Repaired it and now waiting for it to heal, crossing fingers hoping it is going to be okay, other then that though she okay,
4) Did do another topping to all the split points and also a light defoil of lower leaves that arent going to get much light, and larfs.
5) Will update accordingly not going to lie, drain and fill DWC is not as easy as i thought it would be anyways gang CHEERS LFG!!!!
6) THANK YOU FOR STOPPING BY COULD NOT BE WHERE I AM WITHOUT YALLS HELP THANKS!!!!!👽👽👽
≈==============================
===============================
👽03/17/2024- Happy Saint Patrick's Day!!! The best month of the year for me, it's My birthday day month which happens to be 2 days after st Patty's day love the green lfgggg! Hope all are well as for GFOG she is chugging along go scope her out!!! 👹👽🤯

Likes
14
Share


@danwho
Follow
9/8/2024
Plant B showing signs of female with hairs coming from the pre-flower formations. Looks to be stretching and starting to push into flower as well. Plant A is growing insanely well! Continuing to defoliate daily by removing larger fan leaves here and there to continue to open up the canopies on both plants.
No complete water change yet since a few weeks ago. I have continued to add fresh nutrient water with an occasional pH-adjusted gallon of filtered water + cal mag.
9/10/2024
Both plants and stretching nicely and developing great canopies! Plant A is an absolute monster, plant B is small and compact but has really good node spacing already. I am expecting some nice flower development over the next few weeks!
Topping off the reservoir with about 1 - 1.5 gallons per day of nutrient water at this point. Continuing to prune a good handful of leaves and smaller growth from the plants to open up the canopy leading up to day 21 final trim. Trying to stay ahead of a huge stress event for the plants.
9/12/2024
Continuing to defoliate handful of leaves and prune smaller undergrowth. Cutting only 2-4 stems per day to avoid over stressing.
9/13/2024
Raised lights over plant A a few inches as it continues to stretch. Also trying to keep the lights low enough for plant B without burning the side branches of plant A.
9/14/2024
All week I have been adding nutrient water to the system. No water change or replacement. However today, I decided to introduce just pH-balanced water to drop the nitrogen concentration in the system as we transition into week 3 flower. Highest PPM throughout the week was around 900, average 800, low in the PM after pH water 700.
Had a minor flow issue with a root plug in one of the drain lines. Blew them out and flow returned.
Humidity in the tent has been slightly higher than ideal this week, although VPD has been around 1 - 1.4 with the lights on. Likely due to the volume of plant matter in the tent. Doing my best to keep up with defoliation and trimming. Day 21 flower will be much needed!

Likes
24
Share

@420SYL
Follow
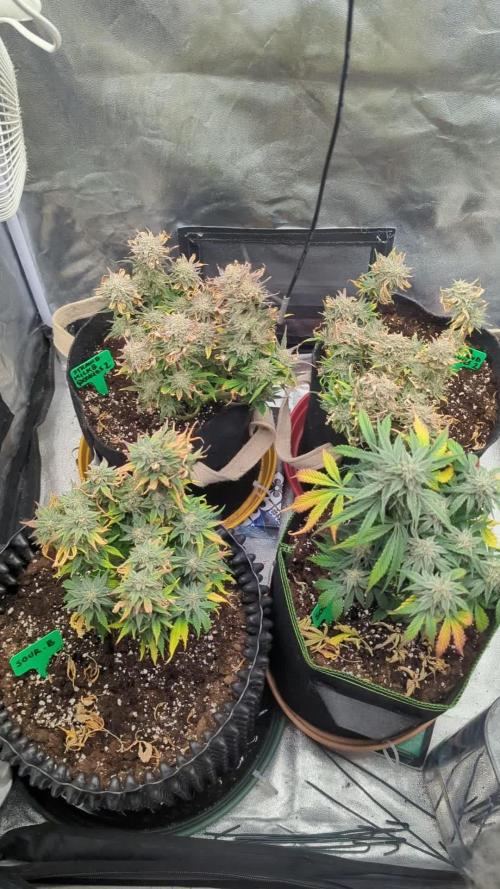
The plants recovered well, and the buds are swelling 💪🌳
I changed my pH pen and switched to AC Infinity 👌
The trichomes on both SM&Q2 are already nicely milky with quite a few amber ones, so I think today was their last watering. I’ll harvest them in 2–3 days!
Likes
7
Share

@GoodTimesOrganics
Follow
Hi liebe Community and Welcome Back! 💚
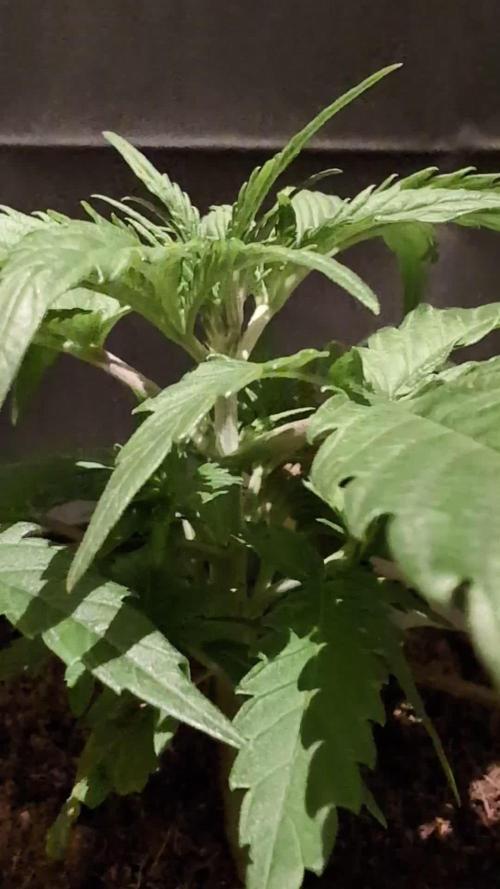
Nach der dritten Wachstumswochen entwickelt sich die Orange Bud solide. Die Verformungen haben aufgehört und das Pflänzchen entwickelt sich sehr Vital.
Die neuen Blätter sehen sehr Gesund aus und insgesammt hat sich die Pflanze gut erholt.
Diese Woche habe ich die Pflanze mit etwas Orgatrex gedüngt.
Die Umgebungsgegebenheiten sind aktuell gut:
—————
🌞 Temp: 21
🌚 Temp: 18°C bis 19°C
💨 RH: 48%
VPD: 1,00 kPa
💡ppfd: 330 mpm
—————
Viele Grüße 👋

Likes
2
Share

@Catawbiense
Follow
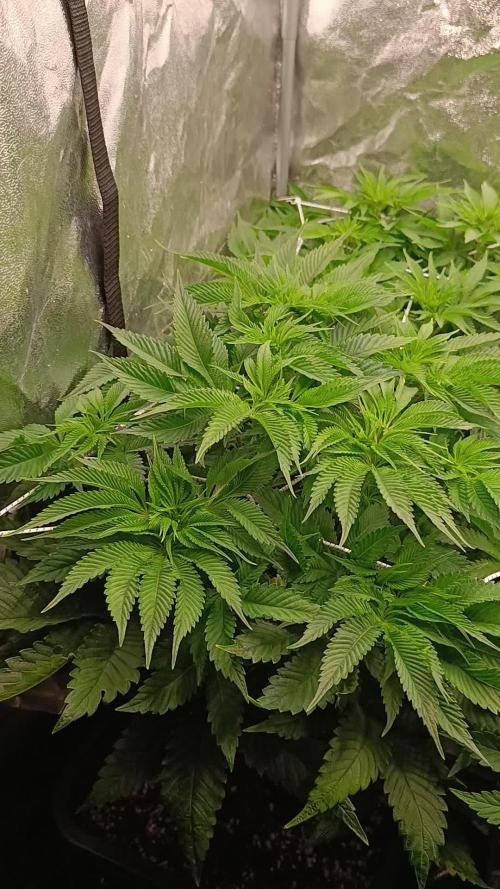
Umstellung auf 12/12 erfolgte diese Woche. Die Pflanzen haben sich gut vom CalMag-Mangel erholt und zeigen bereits Vorblüte. Wachstum ist kräftig, Blattfarbe gesund.
Das SCROG-Netz wurde abgesenkt, die Triebe werden weiterhin sanft unter das Netz geführt, um eine gleichmäßige Canopy zu erreichen. Zwei Pflanzen sind etwas höher. Aktuell wird mit je 1ml/L BioGrow BioBloom und Calmag gedüngt (PH 6.2). Tag 21 Blüte gibt es dann ein ordentliches lollipopping und eine moderate Entlaubung.
Soweit bin ich sehr zufrieden. Bin gespannt auf den Stretch, letzten Grow haben die Frosted Guavas sich nicht stark gestreckt. Allerdings sind die Bedingungen aktuell besser. Keine Trauermücken, effizientere Lampe und stabileres Klima.

Likes
77
Share


@Skunk_Life85
Follow
Start of week 3 and she is bumpin, big growth, I keep moving the lights up every 2-3 days. Next week she should slow down. She is definatly a stinky gurl too. Clone is being a clone. I will be applying the colloid solution for the next 9 day to her nodes where pre-flowers grow and to the bud sites. Because I veg'd her for only 1 week before going into the flower tent, she will stay small.

Likes
2
Share


@Skinnytalls420
Follow
Taken all 3 down today 01/09/22 looking very good 👍 looking forward to trying it

Likes
13
Share


@Phaleg
Follow
Hello!
Northern Lights from Sensi Seeds is a great strain to grow. It is easy and resistant to most things except my stupidity (*) .
I grew them in Central Europe, in pots of 17L on a basic windows growth, with decent soil with additional mycorrhizas.
Generic multi fertilizer like Nitrophoska was added in beginning as granules + I added some poo from rabbits.
Plants grew nicely also with the light from the large windows, but I felt they preferred a warmer and sunnier climate. (next time you can try cool or continental climate strains).
After 25 weeks, I harvested 2 of them (one was harvested couple weeks before, read below for details) and I got 573g of material before drying.
I will try to update the value when it is dried.
Now they are drying like in the video I uploaded.
Thanks for reading my diary.
*) Once I opened the windows and I bent the central stem of the third plant, the smallest since beginning. I put a stick to keep it up and it still survived until flowering. I had to harvest it couple weeks before the others 2 plants, because after this "injury" the plant started to have some mites that were spreading in the plant. In this country, you cannot buy BIO products against parasites, so I preferred to harvest sooner.
For the numbers of this last harvest report, I counted only the 2 that I harvested together and 573g is the wet weight of these other 2.

Likes
8
Share


@trichomhunter
Follow
After 48 hours of darkness, the time had come and the Purple Lemonade were ready for harvest. Since she reacted very well to the training and grew with enough space between the buds, I decided to dry upside down.
Dry weight and smoke report follow after curing. Stay tuned...

Processing
Likes
20
Share


@Easygrower
Follow
Hello growers day 36 with the gorilla glue auto growth is very slow she really doesn’t it on the balcony it’s starting to get abit cold at night now days are getting shorter and English weather is very unreliable there’s nearly room in the tent for her that should keep her warm at night she isn’t showing any signs of flowering yet but all is good so until next week be safe and happy ✌️
Likes
9
Share


@Green_Friends_Inc
Follow
Commencing Week 8: day 50 on January 19th
Update is late my sincerest apologies. I will make it up by giving a very thorough smoke report when all is done.
Otherwise all is going very well 😁😁👏👏
On day 50 I took the head off of bloody skunk.
I checked trichome colors under USB microscope. At least 90% fully milky-white with maybe 5 or 6% Amber and the remainder clear. 😁
On day 55 I gave all of the plants a fan leaf trim including the remaining bottom half of bloody skunk. as I sit here and think about it I believe this will help with ensuring the entire plant ripens and matures at the same time - versus the tops being ready before the bottoms.
I still plan on letting the bottoms of all these plants go way beyond the recommended time to see if I can initiate the process of rodelization. Either way I am glad to report that Bloody skunks pollenization looks like it is resulting in some seeds. (See photo). In hindsight my only concern is that because the plant finished a bit earlier than I expected the seeds may not make it to full maturity but I believe it should be okay we'll just have to wait and find out.
That being said besides the bloody skunk being done just a few days early everything else seems to be right on time as described in plant profiles on company websites.👍
That's all for now thank you for your patience and attention and support and as usual feel free to leave any suggestions comments or questions and I'll do my best to get back sooner rather than later 😁


Likes
32
Share


@Roberts
Follow
Critical x Animal cookies is hurting a little. My solution is a little strong. She should grow into it very soon. Beside that everything is looking good under the Hortibloom Solux 350. Thank you Hortibloom, and Ripper Seeds. 🤜🏻🤛🏻🌱🌱🌱
Thank you grow diaries community for the 👇likes👇, follows, comments, and subscriptions on my YouTube channel👇. ❄️🌱🍻
Happy Growing 🌱🌱🌱
https://youtube.com/channel/UCAhN7yRzWLpcaRHhMIQ7X4g

Likes
1
Share

@TTPIMP
Follow
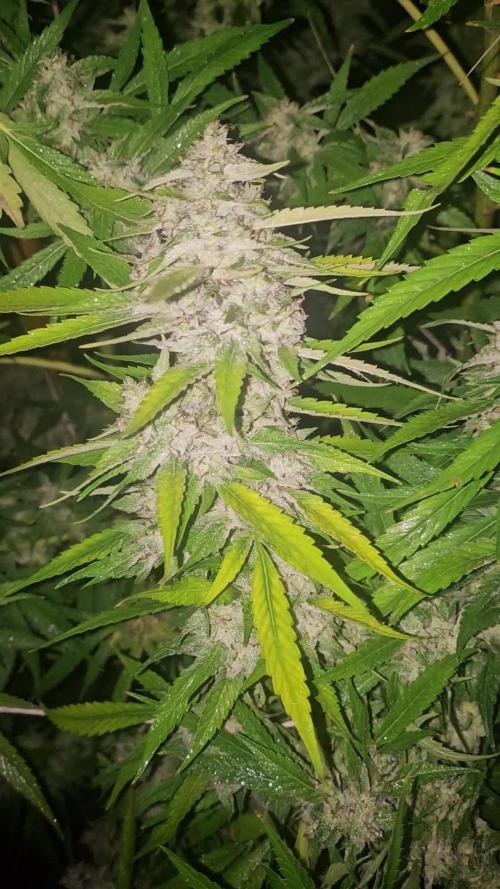
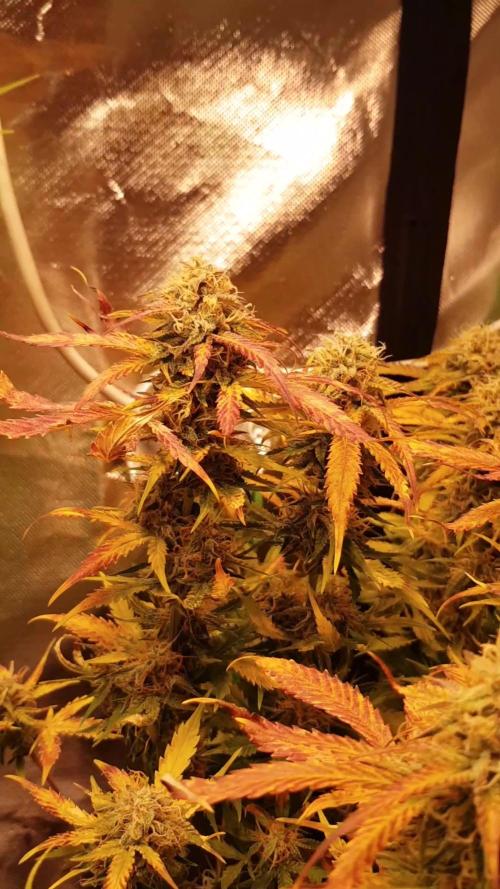
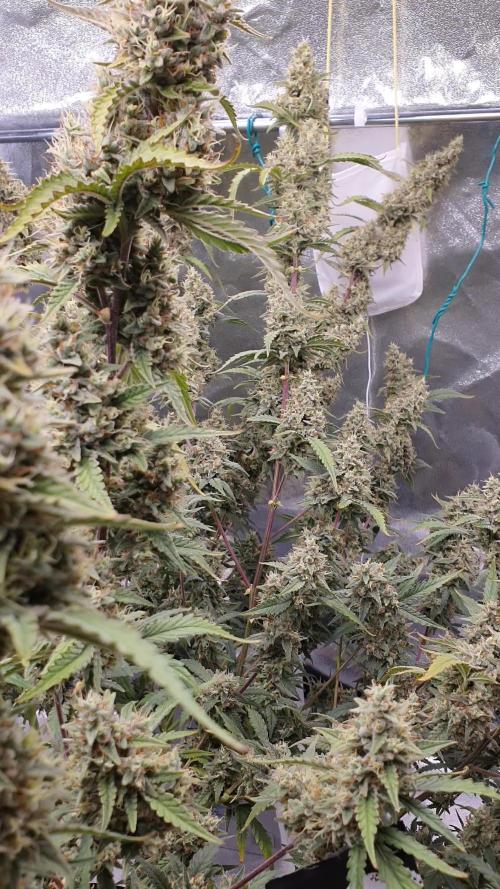
She is stacking up,but not much smell yet. She's getting frosty too. This girl went from around May 20th 2025 it's right around Halloween of 2025 so 16 weeks give or take. One of my best bag seed grows. Her buds were big dense and gassy. She will definitely go down in history my grow history anyway.
Likes
11
Share

@GERGrowDesigns
Follow
Welcome to Harvest of Divine Seeds Auto Fractal
For this competition, I’ve chosen the Feminized Automatic strain: Auto Fractal
Here’s what I’m working with:
• 🌱 Tent: 120x60x80
• 🧑🌾 Breeder Company: Divine Seeds
• 💧 Humidity Range: 50
• ⏳ Flowering Time: 60 Days
• Strain Info: 23%THC
• 🌡️ Temperature: 26
• 🍵 Pot Size: 0.5l
• Nutrient Brand: Narcos
• ⚡ Lights : 200W x 2
A huge thank you to Divine Seeds for allowing me to be a part of this amazing competition and Sponsoring the Strains. Big thanks for supporting the grower community worldwide! Your genetics and passion speak for themselves!
I would truly appreciate every bit of feedback, help, questions, or discussions – and of course, your likes and interactions mean the world to me as I try to stand out in this exciting competition!


Likes
22
Share


@Swanberg
Follow
Lil ones gaining strength, transplant monday? To 5 gal...Taking trip to Arizona for thanksgiving so should be a pleasant return to see some big growth.


Likes
5
Share


@most_dope
Follow
This is just for the gorilla zkittlez so far I will probably try to put all 5 on here but started 2 about 45 days apart from each other and the 5th seed about 3 weeks after the 2nd round. The 5th seed died from transplant shock (won’t be transplanting autos anymore) but the 2nd round of 2 plants just started flowering. I got 85 grams from the zkittlez and 60 grams from the afghan kush after drying. Not great but I’m happy it’s smokeable and smells/ tastes good. starting 2 bloody skunk today (5/11) because the gorilla cookies never germinated unfortunately :( . all out of seeds now so i will be maknig an order this week. still have 2 more strains to figure out when flowering kicks in more tho so that will be my fun for the next 1-2 months lol


Likes
13
Share


@Limelight
Follow
Well this week kicks off w5 of flower for unknown and a new 3w nute feed. She’s been putting on some frost and hopefully will continue 🤞… Again just continuing to keep the girls happy. Unknown more than wwa but, I’m still learning and there’s definitely room for improvement.
wwa has been doing her thing and this starts w10. I think she’s almost ready, just ordered a magnifier to check trichomes!!! Hopefully I can keep up the good work all the way to curing and finish with a complete 1st grow under the belt 🤷♂️😎.
Thanks to all who, stops by from time to time and checks me and the girls out 👋👋👋.