Likes
Comments
Share


@Cannabis_Sativa
Follow
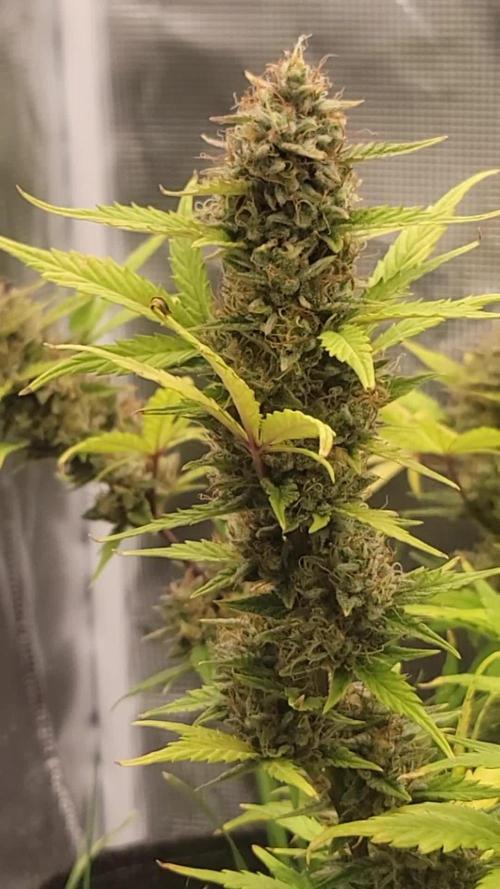
Mid/late flowering buds are sticky and strong like rock but too baby

Likes
Comments
Share


@dwotTV
Follow
Into week 8, growing well, buds continue to stack up on this very singular up and down outdoor plant. Smells good, excited to see how the next few weeks go. Scratched 1/4 cup of Coast of Maine Fish Bone Meal into the soil and watered late in the week.

Likes
19
Share


@Targona
Follow
Throughout the growth of the plant communicated, from the seed it is a strong and healthy plant. I did LST training, topping and defoliation on it. Finally, it also has a quality harvest. Is perfect 😉

Likes
10
Share


@Naujas
Follow
The girl is experiencing a lot of stress this week: 1-LST, 2- Freezing of the leaves of the marigolds, and small branches, as much as it was a pity to do it - I "had to" do it, so that in the future it would only be better for her :) I believe that she will recover soon and will be able to continue her growth :) Also this week, Megina received Biotabs nutrients as recommended in their schedule :) Good luck to everyone :).


Likes
Comments
Share


@GreeneScene
Follow
Day#29Update : I took off about 8-10 fan leaves although I really did not want to take anything . I pony-tailed her main top although I wanted to pony-tail each of her tops . I’m hoping this second lite defoliation establishes those lateral branches letting them become symmetrical with the main top . If this happens I’ll pony-tail each branch for a day or two then when I untie them I’ll top each branch . For now that’s the plan , make as many arms “branches” with equal growth to the central “main” branch .
Day#30 update : she’s been ponytailed for an entire 24hrs which is a 1st she always breaks out of the tie . This makes me happy I timed it better . Usually I ponytail her top when it’s slightly to large/strong so the benefits are short lived at most about 8hrs which still definitely helped those lateral branches reach the light but I was aiming to ponytail her at a smaller growth so that it would remain restrained until I decided to remove it . She’s almost ready for a drink . She could go for one today but I really want to wait until she’s absolutely famished and begging for it . So I’m going to wait another day or two then water her until runoff . The last time she received water was day #24.
Day#31Update: well she’s still pony-tailed ! I’m shocked and amused . I’ll let her down finally tomorrow . Made it through an entire month she’s only gotten more beautiful since fixing the VPD issue. I broke and gave her water before she was absolutely begging for it . Mainly to address the low and falling humidity in my tent . I don’t want to lose anymore precious time dealing with issues and setback on those autos finishing up in here . After I last watered the tent day #24 I did a massive leaf defoliation of the flowering girls which dropped the overall tent humidity massively . So I adjusted the intake/exhaust fans as well as the oscillating fan to allow the humidity to rise in the tent . That worked well enough until but as the girls drink slowly the humidity is back falling again into the 45s. I don’t want it in the 40s until buds are swollen . I mixed up a gallon on water and added an ounce of trace micronutrients to it and ph’d it down to 6.4 loaded it into a 1gallon sprayer & sprayed my 3 autos . Having a little less than 1/4 gallon of this full strength solution I decided to see what my Cereal milk plant was made of and gave it to her .
I haven’t given any of these girls a full strength dose of anything other than the Gaia Green . At day 42 & Day 35 of the autos in flower I did a too dress of flower nutes & a week later all 3 ladies showed burnt tips so I very well may exacerbate the issue by giving them a full stenches feeding of micronutrients .
“Cellie” who went into this 1 gallon pot day#9 is showing what looks hunger signs with the yellowing of the lower leaves . Maybe because I’m letting her go thristy considering there should be 28 days of food in this medium at minimum really even more considering I added more than the recommended amount . So we’ll see.
Month 1 Veg went great excited to see what kind of bush she looks like at the end of month 2 and fingers crossed by month 3 she’ll be read to flip to flower and scrog down
Day#32 Update: RELEASE FROM PONYTAIL PRISON so to speak 😭. She has so many tops already ! It’s going to be a pleasure and a joy to defoliate her , ponytail all her tops for a couple days , then release the ponytails & top all the main tops once to widen her up some more ! She hasn’t shown signs of stress from that full strength micronutrient feeding I gave her last night so that’s wonderful .
She’s going to look absolutely crazy when I strip her bare of a lot of these leaves and ponytail those tops BUT the woman she will be once she fills back out will be worth the temporary tragedy .
It will take her relatively 14 days to rebound from the defoliation I’m going to put on her if I go as heavy as I’m planning to .
Likes
9
Share


@Soskar69
Follow
The plant is big enough, so I've done some LST :)
Also this is the last week that I can spray the mixture with neem oil because from the next, this girl will start flowering.
Likes
14
Share

@eldruida_lamota
Follow
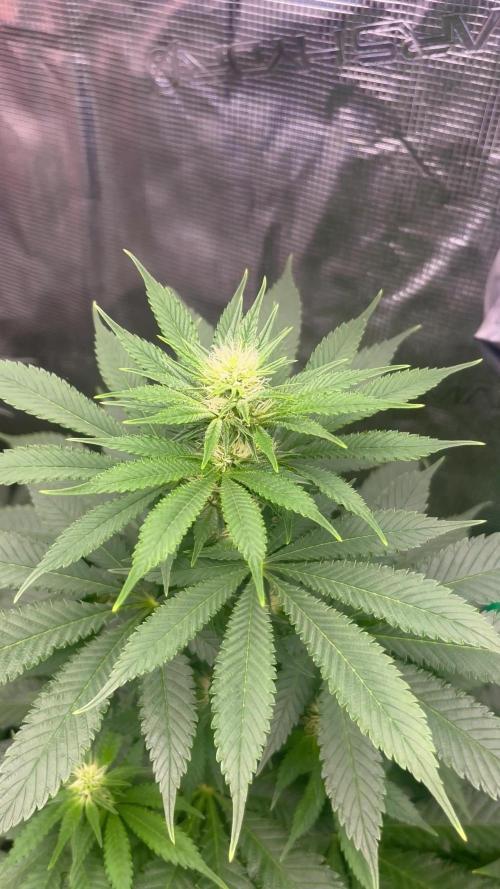
Que pasa familia, vamos con la tercera semana de floración de estas Mental Rainbow F1 de Sweetseeds.
Vamos al lío, las plantas se trasplantaron a macetas de 7 litros.
El ph se controla en 6.5, la temperatura la tenemos entre 24/21 grados y la humedad ronda el 50%.
El ciclo de crecimiento puse 12h de luz, el foco está al 70% de potencia.
Me gustaría estar más encima este cultivo pero la salud me está impidiendo un poco este 100% con el proyecto. Con suerte la semana que viene andaré mejor.
- os dejo por aquí un CÓDIGO: Eldruida
Descuento para la tienda de MARS HYDRO.
https://www.mars-hydro.com
Hasta aquí todo, Buenos humos 💨💨💨

Likes
6
Share


@mikheil007
Follow
Vanilla Latte from Huboldt Seed Company seems to be very stron strain! others still going very well...


Likes
5
Share

@AlphaVortex
Follow
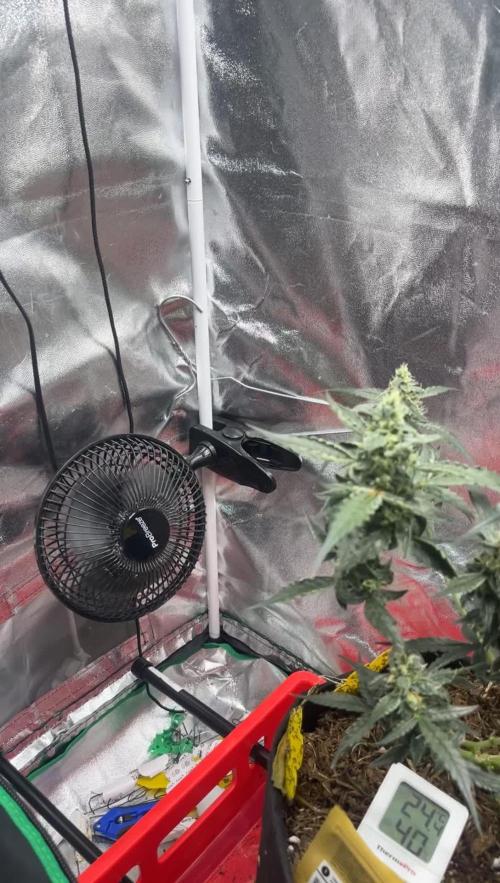
Tag 73, Lollipopping wurde sehr gut aufgenommen. War jetzt knapp 1 Woche im Urlaub, die Buds haben gut zugelegt.
Likes
9
Share


@masterofsmeagol
Follow
6/8 Haven't had to water yet (besides the two tens and I should've held off). It's an overcast day. Perfect for the plants. I've noticed more off shoots of 3 pronged leaves so a few plants will reveg but thats fine. I'm happy with how things are going thus far. These are certainly very resilient strains. I've done some SLIGHT LSTing.
EDIT: IT'S BEEN A NICE DAY TODAY. A LITTLE OVERCAST BUT SUNNY AT TIMES. PERFECT WEATHER FOR THE GIRLS. THEY ARE LOVING IT OUT THERE!
6/9 And the girls are lookin' Fiiiiiine. In all seriousness everything is doing pretty good. Even that overwatered pink kush runt in the 10gal is coming out of its little funk. Some of my FIM's turned out amazing! With the reveg of some of these I'll definately have my hands full. Very grateful for smart pots and well draining soil! We've gotten some harsh rain but the girls all seem fine. It's the wind today that's a little worrisome. I may stop over later. I COULD put up tarps around the cage as wind blocks (and have before in the past) but it increases the humidity of an already extremely humid day. These girls are strong. I'm sure they'll be fine. I've found that the tarps typically hurt worse than they help.
6/10 56° at 9am. Shook the plants off. Medium wasn't soaked though. Luckily we had some wind. It's not raining now but it's going to have showers for half the day. Tomorrow is supposed to be in the 80's and sunshine so if that comes through things might workout alright. I still haven't had to water this year besides that one gallon on the tens. If I do something I'll update. I'm considering light stepping the two pink kush's in the 10's. I'll need to do more research.


Likes
26
Share


@Rangaku
Follow
Placed seed in water for 18 hours and then planted into a small pot , 24 hours after that we have action .
Just water for a few days and maintaining high humidity.
Likes
58
Share


@MadeInGermany
Follow
Hey everyone :-).
On the 63rd day of flowering after the time change to 12/12 the harvest was carried out after 48 hours of darkness 😍.
I love this black pheno 👍.
After the harvest, everything was laid out on nets where it is allowed to dry at 62% for the next 8-14 days before fermenting with 62% boveda packs in glasses 😍.
The entire system was cleaned immediately for the next round. I wish you all a lot of fun with the interim update and we'll see you at the end 😅👍.
Stay healthy and let it grow 🍀
You can buy this Strain at :
www.Zamnesia.com
☝️🏼☝️🏼☝️🏼☝️🏼☝️🏼☝️🏼
Strain
Gelato clone from mother (Zamnesia )
☝️
Genetics: Wedding Cake x Gelato x Gelato 33
👍
Vega lamp: 2 x Todogrow LED CXB3590 COB 55 W
1 x Sanlight S2W 62 W
💡
Flower lamp : 2 x Todogrow LED CXB3590 COB 55 W
1 x Sanlight S2W 62 W
💡 ☝️
Grow Aero System : Growtool 0.8
☝️
Fertilizer:
Canna Aqua Vega A + B , Canna Aqua Flores A + B , Rizotonic, Cannazym, CANNA Boost, Pk 13/14, Canna Cal / Mag, Canna Ph - Grow, Canna Ph-Bloom
☝️🌱
Water:
Osmosis water mixed with normal water (24 hours stale that the chlorine evaporates) to 0.2 EG. Add Cal / Mag to 0.4 Ec Ph with ph- to 5.2 - 5.8
💦 💧

Likes
21
Share


@Jordy_klyff
Follow
suggerimenti sulla progressione della coltivazione? mi scuso se non posso rispondere , perche al momento non mi conferma la mail e non so il perche , qualcuno mi puo aiutare? grazie mille
Likes
Comments
Share

@Dezzyarnaz
Follow
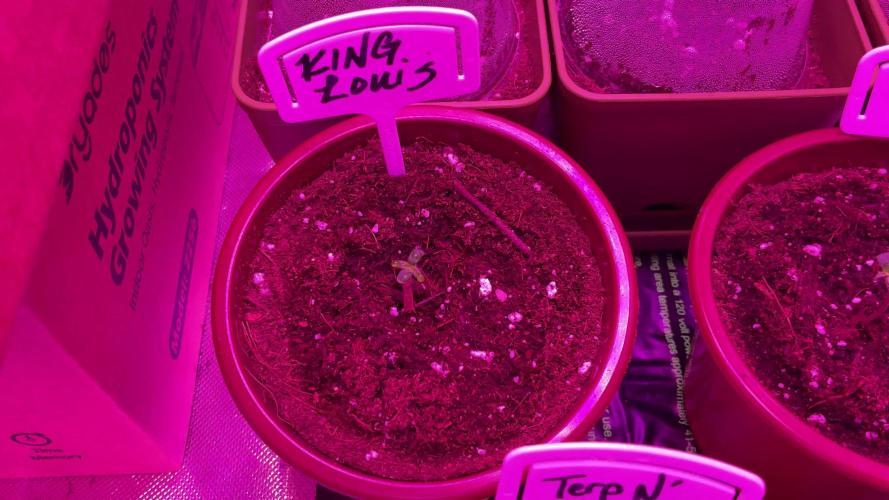
The King Louis has arrived and has germinated 100%!! I’m excited and ready to get this season of grows moving!!
Likes
4
Share


@GarciasGarden
Follow
This is the first day of the first week of flower in the first video and the 6th day of flower in the second video.. you can see me shit myself when I saw that one of my main top sights snapped from tying the branch down … the lights were using are lights we designed and are testing at the moment also we are trying to keep a good distance between the tops and the lights to keep the temps down around the bud sites ! You can tell there are a couple other strains thrown in there the one purple punch from Barney’s farm is just Caking on nodes upon nodes like it’s impossible to get light to them unless they are pulled down in really liking the structure of the ocean fruit and am looking forwards to the finish!

Likes
15
Share


@romi27
Follow
Considering topping one. One is significantly larger, plus I kinda just want to see how it goes. I know it will stunt the plant, but it might be useful to even them out so my lighting setup works more efficiently for both plants. Added Grow Big by FF this week, I'll add a half tsp every few days or so. Avoiding cal mag in combination since they have plenty of overlap.

Likes
5
Share


@Brusser
Follow
This week I just added water and did some defoliation of leaves that were starting to show signs that their last nutrients were being used up (browning and curling up). From my last grow I know this means we are getting close to harvest - my guess is within the next week my post may be about harvesting, but I won’t rush it. I can also tell we are close as some of the stems are starting to have trouble holding the buds up.
Trichomes are clearly still cloudy on both plants but in the last couple of days I’ve started to see some amber in the trichomes in different areas too.
Cleaned the plants up real good with defoliation and will see where we are later this week.