Likes
Comments
Share


@cpt420
Follow
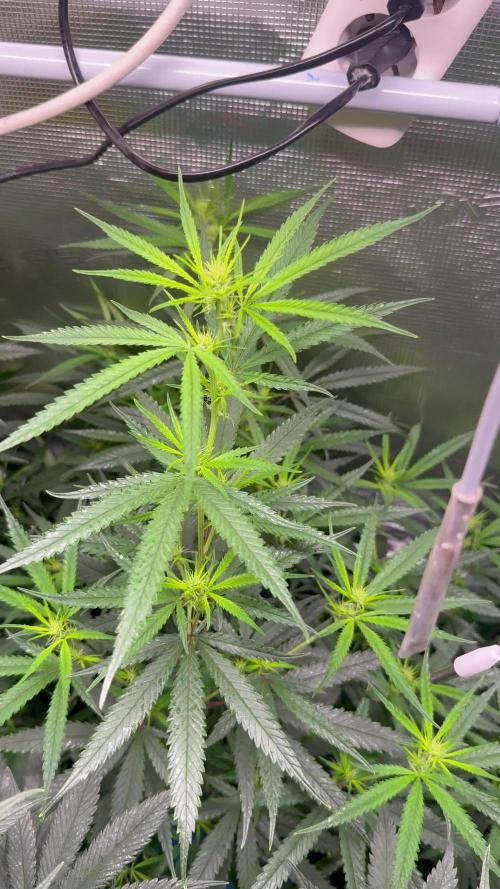
Really pleased with their flowering period so far. I suspect that 2 of them will be done flowering before the other two. Getting some weird flowers from the lazy two plants, but what I've learned when growing weed, is that sometimes weird can lead to awesome things :) the leaves are getting really sticky and silver and I'm getting smells of summer grapes and sweet melon.

Likes
18
Share


@BigDaddyK
Follow
Thursday 4/7/19 - happy Independence Day ! - day 8 flower
Just noticed it has deleted all my nutrient list , sigh
Changed solution Saturday 6/7/19
Sunday 7/7/19 - removed more chiff at the bottom , to promote the top growth
Tuesday added more pics
Wednesday removed more shot at bottom
I check ph and EC daily and topup as necessary


Likes
13
Share


@Prozak
Follow
the strain is really strong ,
low temperatures resist , 3 weeks around 12/16º graus and steell growing wel
nice new colos between week 4/6 in flowering.
really good strain to manipulate! 5 stars * * * * *

Likes
36
Share


@Ganjagrandaddy
Follow
Day 14 flowering: The little ladies have had a good weeknof stretching this week with the Herz O.g showing the way to the other 2.
Herz.og has now been in flower for 14 days and is well into her stretch period. She has quite wide node lengths so no donkey dicks for her I think. seeing other grows , they donproduce very nice buds somlets see how she progresses with her bud building. looks healthy and happy enough and feeding with no issues so far.
Strawberry Cola is now in flower proper and can say 7 days flowering for her now. she is stretching nicely with some good looking nodes around her frame. I will make sure I don't let her get too bushy to keep all her tips and budlets getting light. i took a good amount of small and pointless lower growth out to open her up more now. She looks the better for it now.
Monster Mash has also had a good stretch the last few days but not as much as her rivals. she has enough nice budlets to work with on her limbs and should start stacking them up soon. All three are looking very healthy and a good size now. soon they can go into a better position under the light as I harvest the other strains in the run.
Until next week growmies , be safe and well.

Likes
42
Share


@Oregonist
Follow
[This is a beginner's journey to grow a Blue Dream plant outdoors, from seed, for the very first time. I added 3 clones in week 7, and I will include their progress, but each week this journey will feature Foster, the Blue Dream. Thanks for joining me as I learn to grow outdoor cannabis in the beautiful Willamette Valley.]
Foster is doing very well this week. At the recommendation of my local organics shop, I've switched my nutrients from Fox Farms (Big Bloom & Grow Big) over to GreenGro's Nature's Pride veg nutrients (info here: http://www.thegreengro.com/product/veg-6-3-3-5/). It's a powder, and I'm feeding 14ml/gal (or, since she's in a 45 gallon pot, 630ml) as a top dressing once/week. I really like the nutrients--it includes mycorrhizae. I will also add a microbial compost tea next Friday at feeding. The Nature's Pride nutrients are a bit more expensive than the Fox Farm nutrients I was working with, but the folks at my organics shop have the plant science background, and its what they use, so I'm going to track the results in the coming weeks.
At any rate, It's been a very hot, windy, and humid week in Western Oregon, and she's been drinking nearly 2 gallons/day. New growth looks very healthy, and the sites where I've topped are growing 2 new vibrant colas.

Likes
13
Share


@Terp_Djiny
Follow
This week will be the last of the 18 hours of light. When the little ones have settled in on the increased light intensity. If the cycle is changed to 12/12 and then the wattage of the lamp is turned to its maximum of 300 watts. Gradually, of course. More on that later. I hope they will show their gender during the week that the bloom can be initiated.
Day 67: It is time for the first flowering phase. Plant 1 shows the first characteristics of the flower or rather it becomes sexually mature. If the others follow suit this week, it is the last week of growth. Instead of cutting out the big leaves, I spread them out under the net. In this way, the light also reaches the lower shoots without stressing the plants during sexual maturity. We don't want to provoke misfortune.
Day 70: 10 weeks of Vegetation. I think it's time for Bloom.

Likes
6
Share


@GuyPablo
Follow
Day 21 since germination, added a little bit of fish mix to watering schedule, a little bit of yellowing on foliage, ph testing RO filtered water and bringing it down very slightly to 6.5, I think possibly the soil as all mix quite nutrient rich to start with so going really easy on the nutes at mo and not too concerned, if it continues or notice more will water till run off check ec of the soil just to be on safe side. Pleased with the amount of growth after 21 days :)
Likes
17
Share


@VovaFarms
Follow
I would definitely recommend this strain to everybody. After 7 days of drying i was able to taste the buds and i'm very satisfied so far. Cant wait to taste them again, after some curing in jars.

Likes
12
Share

@Organic473
Follow
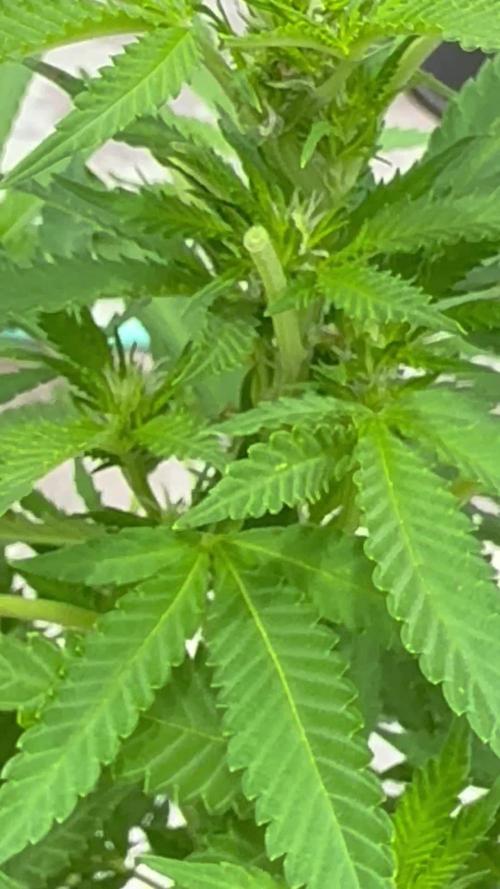
Here comes the pre-flowers… next time I would grow her taller I like the structure of this strain very much.
Likes
7
Share

@RakonGrow
Follow
+
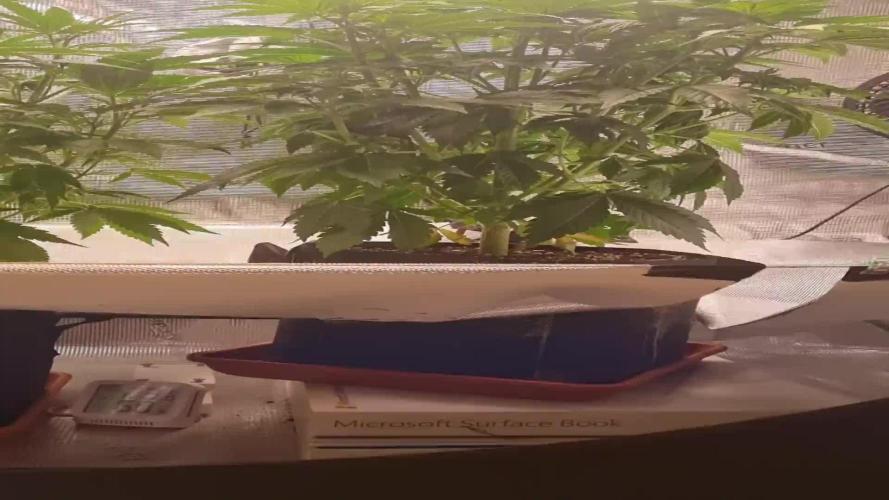
Day 43:
2.25L bottle water EC 0.35 + 0.3ml/L CalMag + Terra Flores 4.5ml/L Final PH 6.13
Day 42:
0.625L bottle water EC 0.35 + 0.3ml/L CalMag + Terra Flores 4.5ml/L Final PH 6.13
Day 41:2.25L bottle water EC 0.35 + 0.3ml/L CalMag + Terra Flores 4.5ml/L Final PH 6.13
Day 39:
1.75L bottle water EC 0.35 + 0.3ml/L CalMag + Terra Flores 4.0ml/L Final PH 6.13
+
Likes
9
Share


@wheedtobeus420
Follow
She was a great girl all the way around. tired new Genetics and was not disappointed. Would grow her again. She smells super sweet and yielded pretty well. Stoked on her 👌🏻

Likes
5
Share


@killerjoint
Follow
10-8-2024 TOP DRESSING AND WORM TEA.....
NOTHING MORE
10-9-2024 22ND DAYS INTO FLOWERING
SMELLS CRAZY ON THESE STRAIN
GETTING SOME SNOW ON TOP
LET'S GO
10-11-2024 DO NOT HAVE ANY PEST BUT JUST IN CASE
NATURESGOODGUYS HOOK ME UP WITH LADYBUGS
JUST GOT HANGING PATCH ABOUT /WITH SHIPPING
10-14-24 NOTHING TO DO...JUST WATER (PH6.6)AND WATCHING THE PLANTS.......
COPY CAT GENETIX STRAINS ARE CRAZY!!!!!!!!


Likes
2
Share


@Saintvicious
Follow
Can't Lst this thing enough. Seems like every other day it needs readjusting. Autos are crazy when they start going.


Likes
2
Share

@GREENPHOENIX6262
Follow
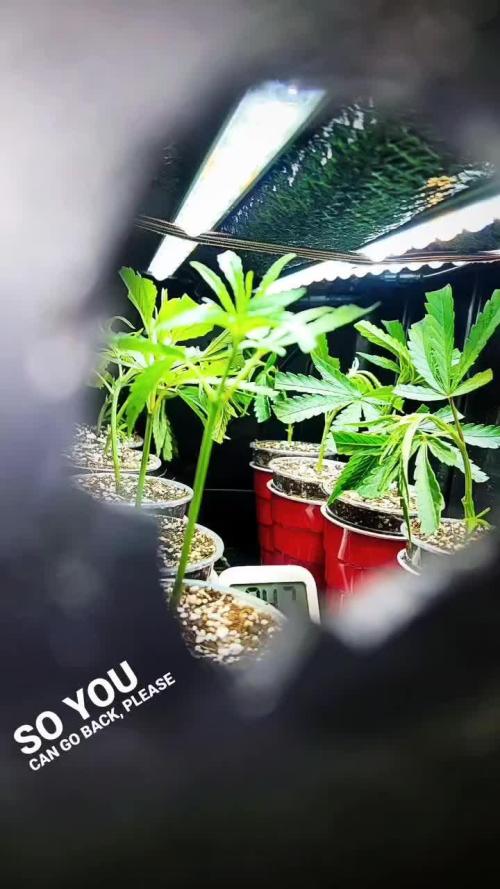
08/26 - Increased water feeds with increased nitrogen - Prepped using clonex mist and clonex gel for cuttings - Pulled 10 clones on the first gen set

Likes
11
Share


@Barbagrows
Follow
Day 29 - Topped both ladies at the fifth node and removed any growth below. Growth exploded since transplant and first dose of nutrients.
Day 30 - Watered both ladies with around 100ml of water. They recovered from the topping and look as healthy as can be. Very happy with progress.
Day 32 - Misted both ladies.
Day 33 - Watered both ladies with around 250ml each. Increased dosage slightly from last feed to see how they take it.
Day 35 - Misted both ladies to keep them hydrated.
Maria is doing well, showing vigorous growth. Planning to top her again next week and remove any growth below the topped nodes.
Juanita has fallen behind, new growth points seem to be growing sideways. Keeping an eye on her progress, hopefully she turns out ok. Not planning to top her again until normal growth resumes, do not want to stress her out.

Likes
6
Share


@The_Holy_Herb
Follow
Hello everyone and welcome back to my diary.
Tomorrow marks the end of the fourth week of growth for Titan F1.
I don't think the plant is ready to flower yet and I think it needs at least another week to grow. Only time will tell if I'm right or not.
This week has been quiet, but we have two important updates.
1) At the beginning of the week, I gave it some care and removed a few leaves that I thought were unnecessary. A bit of defoliation. Like 6/7 leaves removed.
2) Today, it had some more maintenance, this time more intensive.
I removed two excess leaves and applied the LST technique for the first time.
Honestly, I enjoyed modifying the pot to accommodate the holes where the string would be attached.
To tell the truth, this low-cost adventure is becoming interesting, and I am having a lot of fun doing it and experimenting.
To tell the truth, my LST seems a bit aggressive and excessive, but we'll see in the next few days how the plant decides to respond and react to the LST. Maybe it will die, hahaha.
During this week, and reading other diaries for comparison, I determined that my plant is NOT drinking enough water.
The problem arises because I am unable to determine how much water is left in the soil/pot.
So today I decided to use a little cunning and weigh the pot when it was completely dry and then again after I watered it.
I watered it with about 1050/1100 ml of water mixed with its weekly dose of nutrients.
This time there was excess water, resulting in excess dripping.
In the final weighing after watering and after the excess water had drained away, the final weight increased by about 720/730 grams. The water I added was around 1050 grams. So 75% of the water remained in the soil. Dry it was 4400 grams, wet it reached 5120 grams. I don't know if this is good or not, I hope the plant is doing well.
In the meantime, I have ordered a device that allows me to check several parameters in the soil, such as moisture, acidity and other things that are important to us growers. I feel like a child at Christmas :).
I also bought a pH meter for the water, as mine broke and I had to buy another one, and I haven't been able to check the acidity levels for the last two waterings. I hope it doesn't bother the plant too much and that it continues to grow.
I've deduced that it drinks little because I'm forced to water it practically once a week. I expected it to consume more water, especially in its current pre-flowering phase.
The new device on its way will help me keep all the parameters under control: the soil, the plant, the temperature, the water levels, the humidity and a few other things I can't remember.
Everything should be ready next week.
The lamp is on full power all the time, at 100% with a 24/0 cycle, 7 days a week.
The plant has reached 20 centimetres in height. I wonder if this LST will keep it small. I have some space issues, so I can't let it grow too tall, which is why I'm using LST.
Otherwise, everything seems to be going well, I hope I'll be able to smoke this one.
Thanks everyone, see you next week with new updates, who knows, maybe it will start flowering :)
Likes
10
Share


@Sundance
Follow
Plants have a nice size, big flowers and they are still growing. I'm fully satisfied with this strain. My first grow of Northern Lights Auto. I started with Plagron Green Sensation this week.