


Likes
Comments
Share


@GrowinHome
Follow
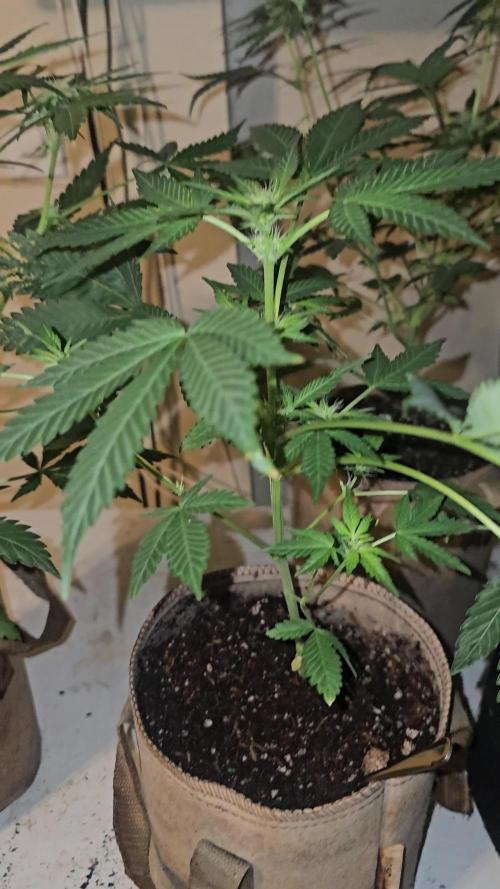
After 50 days I could finally transplant them.
I'll veg them for about 1 or 2 weeks more depending on how fast they'll grow because I want to do 1 more topping to create 8 main cola's each.

Likes
4
Share

@Samsationalseeds
Follow
Most of the autos are being moved into my dad's garden or the backyard.
Likes
18
Share


@TheGreenLeopard
Follow
sound week on the soil. this grow is really lovely. starting to see some promising bud sites. I think i might trim too much but i want the buds to get the light. the Pineapple Kush is sadly a bonsai in all of this lol. you will see it in the video. will just let it grow.


Likes
23
Share


@Zuppler
Follow
👸🏼**Grow Report by Zuppler - Week 2 Flowering Phase** 👸🏼
Aye yo, Zuppler checkin' in with the week 2 update from the garden. We deep in this flower stage now, and the ladies are flexin' heavy. We hittin' ‘em with that monkey formula from Advanced Nutrients – you know, that real fire mix – and it’s got them lookin' strong as a pitbull on steroids, no lie.
We runnin’ on straight osmosis water too, keepin’ it clean as a whistle, no extra BS in the mix. pH game locked down, always in that sweet spot, and the girls are drinkin' it up like a hot summer day down in Miami. Roots be spreadin' out nice, no signs of stress, they lovin' the setup.
Buds are startin’ to stack up, slow but sure. Ain't much frost yet, but I can already tell we about to be drippin' soon. Nodes are tight like a fresh taper fade, and internodes ain’t stretchin’ too wild – just the way we like it.
Them leaves stay green as a gator's hide – no burn, no spots, just straight up healthy growth. They dancin' under the lights like it’s a party, and with that 12/12 cycle locked in, the energy’s flowin’ like good vibes at a block party. Everything solid so far, no issues.
Yo, we keep it patient, ‘cause this the marathon, not a sprint. Week 3 comin' up, and that’s when we expect to see them trichomes really startin’ to come through. Stay strapped in, 'cause it’s only gettin’ better from here.
Zuppler out. Keep it G!

Likes
1
Share


@Ferenc
Follow
Day 57 : 600W LED, 18 hours on 6 hours off light schedule, the same with ventilation. Water intake 200 ml per day per plant, fertilization remains the same on Monday, Wednesday and Friday Biobizz Family and on Tuesday Thursday Saturday bat guano and Epsom salt. Humidity approx 50%.
Day 58: I removed all the LST stuff so no more elastic bands and hooks.
Day 62: Plants are fine Critical Orange Punch and Sour Stomper will be the quickest in this group. Lemon Zkittle' buds started getting thick...


Likes
6
Share


@BasedBuds_89
Follow
This baby was horribly stunted, but I decided to keep her alive and now it's covered in Crystals. May use it for consentrates.

Likes
5
Share


@MG2009
Follow
06/01/2021
8 weeks in flower looking good, blue dream was put to rest!😕
But GSC pulled through fine, maybe a week more?
Likes
13
Share

@CheeRz
Follow
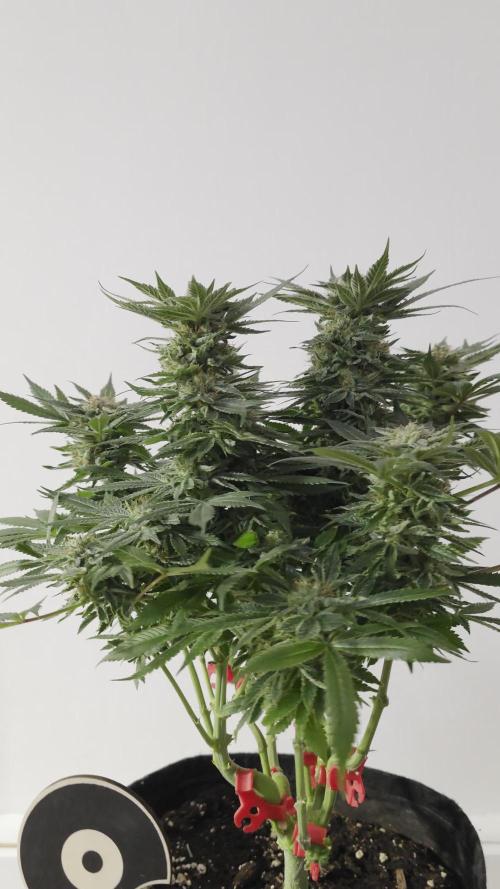
WEEK 13 - FLOWERING: Late Flowering Phase / Flush Start
🌼 FLOWERING PROGRESS We are officially entering Week 13 (Week 9 of flowering). Environmental conditions are dialed in with a stable VPD of 1.69 kPa. The plant is responding perfectly, showing extreme resin production and dense flower development. The trichomes are looking mostly cloudy with some beautiful amber heads starting to appear. The plant’s structure remains extremely compact and sturdy under the LED.
👃 TERPENES & AROMA The aroma has evolved beautifully this week. The heavy fuel-like "Gas" scent has faded into the background, leaving a dominant profile of sweet berries with a distinct sour finish. It’s a very complex and refined smell that really highlights the Sour Bluez heritage.
💧 NUTRIENT FEEDING & WATERING
I watered the plant yesterday (2nd April) with 1.7L of pure water, adjusted to a pH of 6.8 using citric acid. Last Monday (30th March) was the very last nutrient feeding (where I already cut out Bio-Grow). From now on, the plant will only receive pure, pH-regulated water to flush out any remaining salts and prepare it for a clean, smooth smoke. The focus is now entirely on a clean burn and white ash.
Current Feeding Schedule:
~~Citric acid: 1.2 ml/l~~
Parameters:
pH: 6.5
Humidity (RH): 46%
Day Temp: 25°C
Pure Water Only!
💭 GROWER'S NOTE Week 13 and the flush has officially begun! Maintaining a consistent VPD of 1.69 kPa to ensure maximum resin output while keeping the dense buds safe and healthy. The resin coating is so thick it covers even the larger sugar leaves, which are now showing a lovely dark purple/anthracite "fade". The plant is extremely compact and I'm very happy with how it’s ripening. Keep it IZI 💚

Processing
Likes
30
Share


Likes
16
Share


@Oimjr
Follow
Wish I'd know about this site when she started. In week 9 since dropping the seed. Started Jan. 1st.
Likes
7
Share


@CanadianFillmore
Follow
Week 9 commence flushing. This lady is looking great, super frosty, sticky and got a sweet aroma. Removed some dying leaves and now we wait for chop in about 6-7 days.

Likes
5
Share


@GHdog22
Follow
Feedeing is rolling keep it semple
Barney is barney ese to grow wery strong aroma and buds structure os top quality
Likes
14
Share


@Insta_SmokeyGrow
Follow
She’s getting updated more often on Instagram the tags @smokeygrow_ …..This week iv let her do her own thing she’s loving the Phlizon pl1000 hopefully get her under the 2020 240w pro soon the colours on this girl are unreal really showing her full potential I seriously think this is one of the nicest colours iv seen in the actual nugget it’s self 🍓🥤 what do you think 💭

Likes
12
Share


@Eaegifts
Follow
Buds could be bigger but I’m not complaining, their doing great on my add back method. Starting to stack and plump up now.
Likes
142
Share


@MadeInGermany
Follow
Hi everyone :-)
This week the buds developed super ;-) All are beautiful 😍.
Super genetics 👍.
Blue Cheese pheno 1 is slowly coming to an end :-)
This week I will start to use up the remaining nutrients and harvest in 10-14 days ;-)
Everyone else needs something else :-) have fun with the videos, stay healthy 🙏🏻 and let it grow 🌱


Likes
46
Share


@StoneyMelony
Follow
Overview of my grow:
Tent: Secret Jardin DS120 4 x 4 (120 cm by 120 cm)
Lights: 2 x 120 Watt CTlite c4 clusterled
Climat: Trotec Dehumidifyer 240 watt- 10L/24h
Filter: Prima Klima carbon filter PK2600
fan: 2 x Secret Jardin 20watt osc. fan
Pots: Gronest 4 x 11 liter airpots
Water : automated water system
PH: bluelab
Nutrients: Plagron cocos A + B
Plagron PK 13/14
ATA cal/mag
Epsom salt
no rights to music in the videos
Week 9 She is a beautifull plant, she smells delicious very sweet it reminds me of the auto Lemon Kix like candy. I'm looking forward to the taste of this strain, banana on the exhale 😋 Also hope she is going to make me feel banana. See ya next week in week 10 of the bananablaze grow Thanks for checking !!!
Likes
4
Share


@IIWeezyII
Follow
Bueno después de no poder poner las últimas etapas, sobre la semana 8/9 hicimos el corte de la planta, dos semanas antes de lo pensado ya que tuve que recoger todo el armario para montar el nuevo proyecto la verdad la cortamos con dos semanas antes de tiempo. Un sabor rico muy a especias. La cantidad en seco fue nada más ni menos que 64,5g, unos 20gs por planta muy bien. Buen sabor, no rasca y muy buen colocón. La verdad la volvería a repetir!


Likes
4
Share


@Tien0vatinh0
Follow
Sau khi suy nghĩ, tôi nghĩ mình nên bớt đi 2 cây trong chính vụ này để làm thêm cây mẹ. Tôi đã gieo chúng vào cuối tháng 8, và giờ có vẻ chúng khá khoẻ. Thật tiếc vì tôi đã không chụp lại thật nhiều ảnh của chúng. Sẽ có 1 cuộc lựa chọn ở đây vì tôi chỉ cần mỗi loại 1 cây, và tất nhiên những cây khoẻ hơn sẽ được giữ làm cây mẹ.