


Likes
Comments
Share


@MrPerlite89
Follow
Great week sue girl really took off just waiting on that banana daddy to catch up


Likes
66
Share


@Toothless
Follow
Day 22:
AIW
The plant starts to release a very nice odor.
Day 23:
A secondary topping was made to the 2 shoots coming off the 3rd node.
The plant was watered and fed with 3ml fertilizer + 1ml Cal Mag in 1 liter tap water.
Day 24:
The mature leaves start to show some yellowing.
Wondering if there's some deficiency...?
The light was raised 5cm.
Day 25
The plant was watered and fed with 7ml fertilizer + 1ml Cal Mag in 1 liter tap water.
2 Secondary shoots were topped.
Lower fan leaves were trimmed.
Day 26:
I decided to feed more often, but with lower concentrations.
The plant was watered and fed with 3ml fertilizer + 1ml Cal Mag in 1 liter tap water.
The 2 main shoots were topped once more.
The plants grows about 2cm/day.
Day 27:
AIW
Day 28:
AIW
The plant was watered with 1 liter tap water.
2 more 150W LEDs are now in use, for a total of REAL 600w.
The temperature with lights on reaches 30c
The plant is now 22cm tall.

Likes
13
Share


@ThatItalianGuy
Follow
Start of the blooming Phase I don't know if I should lollipop the 2 little branches that are just in the middle of the plant. For now I just did a little Extra lst to get them more light.

Likes
15
Share

@ILikeCheezzz
Follow
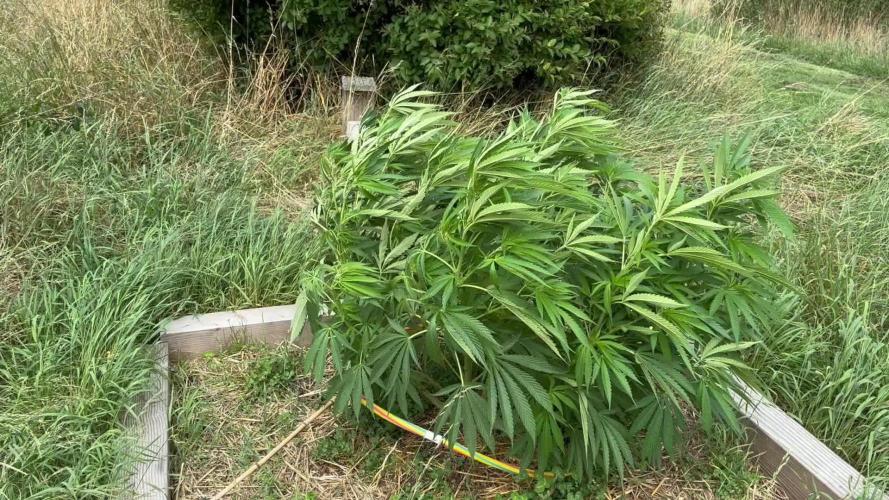
Lot if work done this week! set up the trellising for #1, defoliated and trained her up nicely. She’ll grow into the trellising in the coming 2-3 weeks. I’m expecting stretch too start soon enough, in a week or 2. Defoliating #2&3 tomorrow.
Cheers!

Likes
172
Share


@SlowpokeFuegobud
Follow
Everybody, thanks for sharing this experience with me! 💚 The Fastbuds Cherry Cola girl will be scaled after drying, I cannot wait to smoke a bud of her!! 😋 🍒
It's the best hobby with the best outcome, haha! 😁
Shouts go out to all my growmies out there, you know who you are!! The most awesome growers in the universe!! 💚 👊
Also biiiiig shouts to @fastbuds, thanks for running all those fun contests and even shows and podcasts, building a community, and then on top creating fantastic genetics! 💚😘
These seeds also were won in a contest, and more are coming my way.. so maybe my next Fastbuds grow will be Gorilla Cookies.. or Purple Punch.. :thinking: Gelato??
I will start 3 new diaries the next week, and it would be my absolute frenetic pleasure to see you all there!! I wish you all the biggest, most tasteful buds you can imagine!! 💚

Likes
16
Share


@Bread_n_Buds
Follow
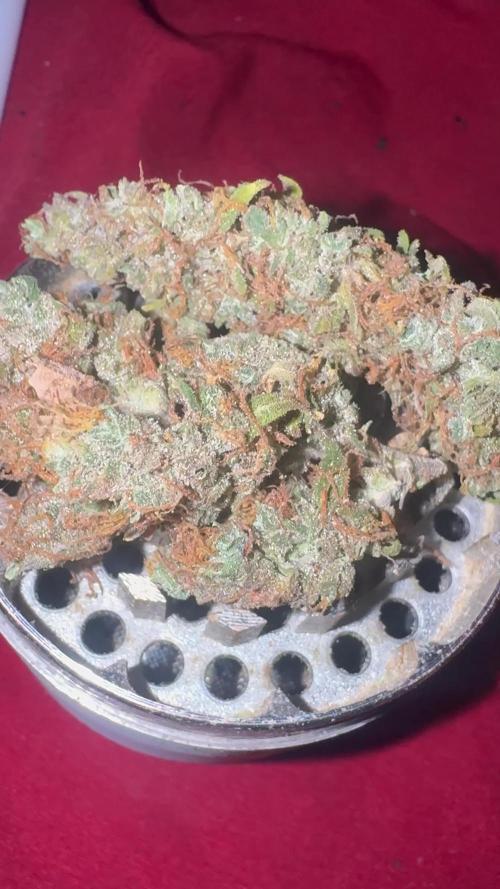
We have passed the month and we are madly in love with all our autoflowering plants, we have two per strain, one worked with a mainlining adapted according to the characteristics of the plant and one that grows straight, we can't easily give up the main cola.
For now we will show you those worked with the techniques that are more interesting to see and later planted earlier to make them finish more or less together with those that will grow straight and fast.
We really like our Green Cure CBD F1 worked with the Main Lining. It has an average interodal distance which allowed me to bend the lateral branches properly and obtain a great shape. I really like it to see.
So topping at the third internode, main lining, no pruning until the third internode and topping them again so we have multiplied the buds adequately.
The application of the techniques is a delicate moment also for fertilization. Topping slows down the growth of the plant a bit and does not make it require all that Grow fertilizer that is normally recommended. So you have to go really slow and understand when to reduce the nitrogen. Better to prepare the soil with fertilizers to mix with the soil probably. The problem is sweeping now that it is going into flowering, the plant has shown the first fluff, declared the sex, and the fertilizer will soon be needed indeed. You have to swell.
In any case everything is under control and I will demonstrate it to you during the flowering phase. Wait for the Uncle BreadandBuds and see what he does.
Remember the cold temperature makes the girls absorb food much more slowly than in summer so be careful to give the right amount and to dry the plant in maximum 2 days or you risk imbalances.
We are always using soil, feeding and all the recommended additives of Plagron 100& organic we have only lowered the amount of grow in this topping phase for the reasons given above.
---- Decide on the right soil and calculate your fertilizer card based on the soil on the official website.
-- www.plagron.com
Try a seed of this variety that drives us crazy..
---- https://www.zamnesia.io/en/10672-zamnesia-seeds-green-cure-cbd-f1-automatic.html
Description Zamnesia // Zamnesia's breeding team has harnessed F1 genetics to bring you Green Cure CBD F1 Automatic. This autoflowering cultivar is easy to grow, accessible and reliable for all levels of experience. Ready in just 11 weeks, growers can expect impressive yields of tasty buds with a clear-headed effect that's ideal for meditative moments.
All the best that mother nature can offer is on ---- www.zamnesia.com



Likes
6
Share

@Chucky324
Follow
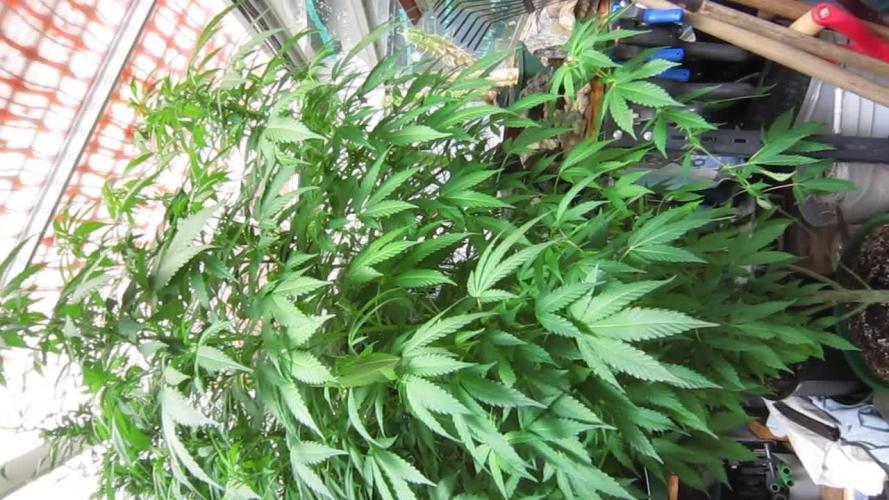
Hello. This the end of the 1st week and the start of the 2nd week of flowering.
Just a fast entry... I'm starting harvesting of the front 1/2 of this greenhouse tomorrow.
So, I'm getting ready for that. These plants have still got 6 or 7 weeks of flowering to go still.
These plant will go in the front of the greenhouse when I'm finished with the harvest in there.
Did a stock rub test of these plants and the smell reminded me of the good old days of buying land race pot.
It smelled like The Columbian sativa from the 1970's... mmm wonderful.
OK. Have Fun.
Chuck.

Likes
13
Share


@drzoidberg
Follow
will be cutting down tomorrow these plants have been a pleasure to grow i am looking forward to seeing final dry weight from both plants i cant wait

Likes
52
Share


@DogDoctorOfficial
Follow
Week 8 night fro day 1 in to day 2 and all is going as planned 😁 i broth down my lights to a 50% power, this gives me a 500 ppfd, also reduce the shedule to 9h light.
Hoping for great medicine on this run 🙏
5x White Mango WM
5x Alasken Purple AP
4x Blueberry BB
3x SAD S1
2x Badazz Cookies BC
19 in total for a 4x8x6 - 1,2x2,4x2
Light Lumatek Zeus 465W compact pro 2x at 50%
All i Grow is medicine for myself,
Stay safe, stay tuned and B Happy and do it for the love
Peace ✌️
D


Likes
10
Share


@Va_smoking
Follow
After dropping my plant last week I thought it was done for.
But the new light really seemed to make all the difference for her. Having her in the tent is good because I can control the humidity a little better. But to be honest I'm doing a crap job at it ... Humidity can be anywhere between 50 and 80%.
When I went to work on Tuesday the plant jumped up. Amazing how much growth in just a few hours. I was thinking about whether I should top her or not. I don't think I will though because she seems like a nice sturdy little plant
At the end of the week I decided she really needed to be repotted.. I thought I was pushing it going early but I got a new light in and was planning to take her off the shelf and move her to the floor so it seemed a good time.
Turned out to be a good choice. She's lovely

Likes
11
Share


@Walligator
Follow
the girls have really taken off, things are going well, just trying to deal with my humidity. I do not have a dehumidifier, and the outside % is +60%....so it hard to bring it down too much.
I think I may need to purchase on in the near future.
Also would like to get C02 going but realize I'll need a dehumidifier first, so I went cheap and designed a C02 generator from my wine making supplies. It's producing bubbles, as you can see in the video, but not too sure how much its contributing, especially since I have the fan on for controlling the humidity. but it was fun to build


Likes
5
Share


@Ninefold
Follow
Same as week 15, missing a lot of pictures in the timelapse :(. I was starting to see a decent amount of amber, and unfortunately a few bananas seemed to start growing as well, so it was time to chop.


Likes
2
Share

@hassehujasse
Follow
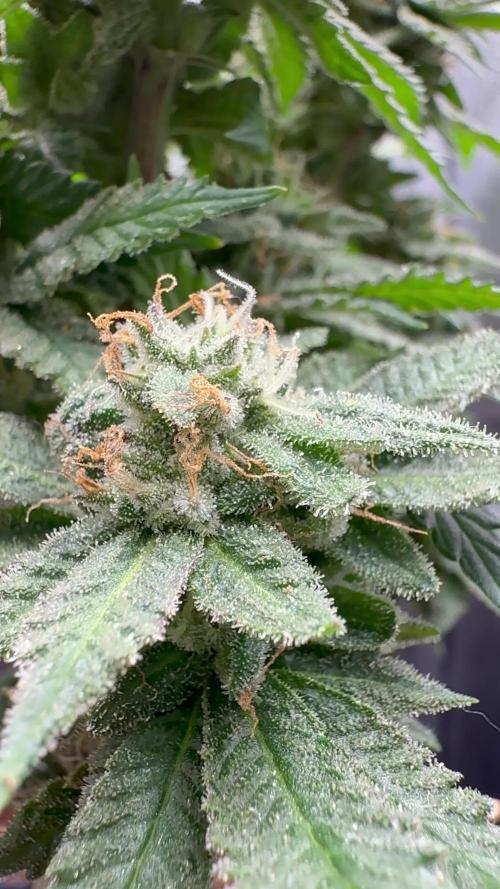
Luz-Aqua-Vida, co2-Creciemento
Disfrutalo conmigo. Muchas gracias
Enjoy as me. Thanks
Likes
4
Share


@TheSurfBud
Follow
Nice sweet smell... could say what strain it is because its from sweetseeds sweet auto mix 10 pk of the best..
Definitely going to enjoy this one ...
Grow went well and fast 62 days flat...
Likes
15
Share


@Ctsbestsmoke
Follow
So I just transplanted them into one gallon pots before they go into the growace aircube. The one that the helmet took off some of the leaf is starting to actually wanna live and still growing she’s a little runt as you see in the pictures but I have faith in her. I think they will sit in these pots for a week then into the ebb and flow system. Can’t wait to see what that system has to offer once I know I will have a 10% off link for anyone who’s interested in buying one. Until next week happy growing. So glad I got a garden back man it was driving me insane not having any plants!
Likes
Comments
Share


@Santaclaus
Follow
Día 40 me ha dado carencias de calcio magnesio y posforo y potasio, me he dado cuenta un poco tarde... Las hojas estaban caídas y se me estaban poniendo amarillas con manchas marrones...les puse calmag y empezaron a buscar la luz ... También me di cuenta, que las Lili que no veía se me ponían las hojas moradas, creía que era exceso de nitrógeno, pero no era posforo y potasio... Así, que lo que no quería hacer, lo he hecho he metido a tope de nutrientes y más... Espero no liarla más...

Likes
7
Share


@JandM
Follow
Things are going pretty good the smaller plant that was growing crooked fixed itself and is starting to grow a lot faster. They both just started sprouting hairs and the tent is starting to smell nice. Also I only mixed in 1 tablespoon of grow dots into each 3 gallon pot. My last grow with Tropicana cookies I did 2 tablespoons of grow dots in 3 gallon pots and had tiny yellow tips throughout the grow. 1 tablespoon seems to be doing the trick this time with the poundcake.
Likes
26
Share

@Cooky_420L
Follow
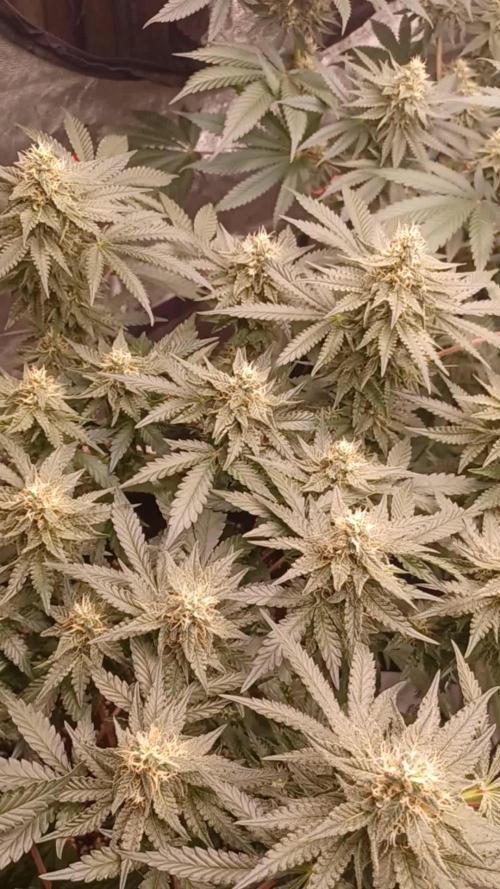
5 ' semaine de floraison Pfffff elles ont chaud . Ici nous avons une période de canicule a 37° pars jours depuis une dizaine de jours.
Dans leur tente ⛺️ j'arrive à ne pas dépasser 31° mais c'est quand même encore élevé , elles consomment par jours la quantité que je donne pour 3 jours. Pour garder le control des nutriments je vérifie l'E.C de sorti de pots.
Apart ça elles ce portent très biens aucun soucis de santé. Les bourgeons commencent a grossir et pour la première fois je vais utiliser du PK 13/14 , je vais voir ce que ça donne. Les réglages culture sont inchangé à la semaine dernière
Merci aux Growmies qui me suivent ✌️, bonne semaine de croissance à vous les p'tites ✋️ vertes 🌱🌞🌱

Likes
2
Share


@SSKNFbyHAZE
Follow
Hi Growmies~!
What This Post is About
Today, I'll be recording how to cultivate soil microbes at home.
These microbes offer numerous benefits, and they are simple to make.
How I Came Up with This Technique
Since 2014, I’ve tried synthetic growing methods like DWC. While they gave quick results, I often ran into issues with consistency.
Nutrients would expire during breaks, meaning I had to keep buying new bottles.
I strongly felt I needed a change.
A couple of years ago, after taking a break, I started to research and switched to organic growing.
At first, it felt overwhelming with all the steps and prep work, but I saw real potential.
After experimenting with different methods, I came across Korean Natural Farming (KNF) and JADAM, introduced by Mr. Cho.
His simple, ultra low-cost techniques inspired me. They focus on letting nature do the work.
While growing,
I noticed that synthetic nutrient bottles were expensive, especially when trying to complete a full nutrient set.
Organic growing may require more attention and can be costly when investing in organic materials.
Preparing the soil in advance and top dressing with dry nutrients every other week - just these two methods were consuming space, time, and money.
Indoor farming is unnatural, while organic farming is a natural approach.
I had to bring these ideas together, but organic farming often seems geared toward large plots like farms.
Incorporating organic techniques into my indoor garden requires a lot of effort and careful calculations.
So this is one of my techniques for keeping my plants happy:
supporting their daily needs helps them snap out of deficiencies quickly, allowing them to grow consistently.
It took me a while to adapt this technique for indoor use.
I hope this helps, guys!
Supplies Needed
- Potatoes: Provide nutrients and food for the microbes.
- Sea Salt: Stimulates microbial activity and controls harmful organisms.
- Dechlorinated Water: Allows the microbes to grow and multiply.
- Compost, leaf mold, or worm castings: Contains natural microorganisms that are key for this process.
How to Make (1 gallon)
1 cooked potato (about 2 golf ball-sized)
1 pinch of sea salt
2 tablespoons compost or worm castings
1 gallon dechlorinated water
1. Mix Ingredients: In a clean container, fill it with the dechlorinated water, dissolve the sea salt, and add the compost along with the mashed potato.
2. Ferment: Optionally cover the container and let it sit at room temperature for 24-48 hours.
3. Strain (Optional): After fermentation, you can strain the solution if you prefer a clearer liquid.
Note: Watch the timelapse video to see how the microbes activate!
**WARNING**
Wear gloves if possible and/or avoid contact with open wounds
How to Use
IMPORTANT: Always dilute the solution before applying it to plants.
- Use when bubbles form a "pizza shape" on the surface.
- Dilute 5-10 ml per liter of water for bi-weekly feeding. (Test a small batch first to find the best rate for your setup.)
- Once the bubbles disappear, the microbes are likely inactive. You can either mix the rest with water as fertilizer or discard it.
Pros
Promotes Plant Growth
- Usually fixes deficiencies in as little as 6 to 72 hours.
- Improves nutrient absorption, and helps plants thrive.
Boosts Plant Immunity
- Works as IPM: Can be used as foliar sprays (no staining on leaves).
- Lowers the risk of powdery mildew and other diseases.
- Helps the soil ecosystem with beneficial organisms like predatory mites and springtails.
- Naturally reduces pest pressure (Less risk of fungus gnats and other pests).
Improves Soil Health & Supports Composting
- Quickly breaks down organic matter and nutrients.
- Makes growing organically in small containers, like 1-gallon pots, easy.
- Over time, soil becomes softer and richer, even in small pots.
Cost-Effective, Sustainable & Eco-Friendly
- No need for complex equipment like pH pens, air pumps, or other tools.
- Reduces the need for CalMag, N-P-K, or micronutrient supplements (just add a little bit of sea salt to every watering).
- No sugar sources needed in the soil.
- Works for all types of plants—houseplants, exotics, ornamentals, and crops.
Cons
- Limited shelf life; the solution will develop an unpleasant odor after a certain period.
1 Corinthians 10:26