


Likes
Comments
Share


@GrowGuy97
Follow
Dessert Runtz bred by Exotic Genetics, came out unbelievable! Probably some of the stickiest stinkiest bud I have ever grown the plant gave me no issues at all the entire grow honestly, highly recommend trying their genetics! Will post a smoke report & weight soon! Thanks for following & happy growing friends


Likes
28
Share

@TrickzCutz
Follow
Servus Moin!
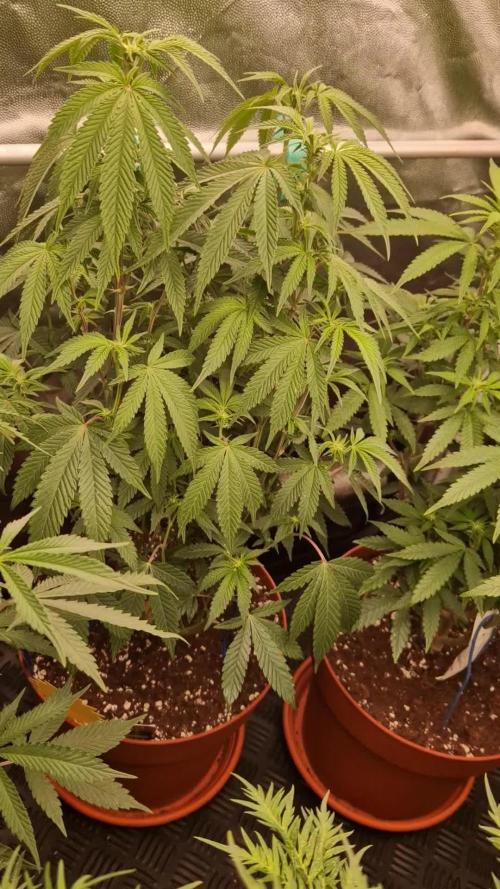
Die Black Orchard wächst stark nach Oben.. aber leider nicht in die Breite. Mal schauen wie es wird.


Likes
1
Share

@Black_Widow
Follow
Привет садоводы !
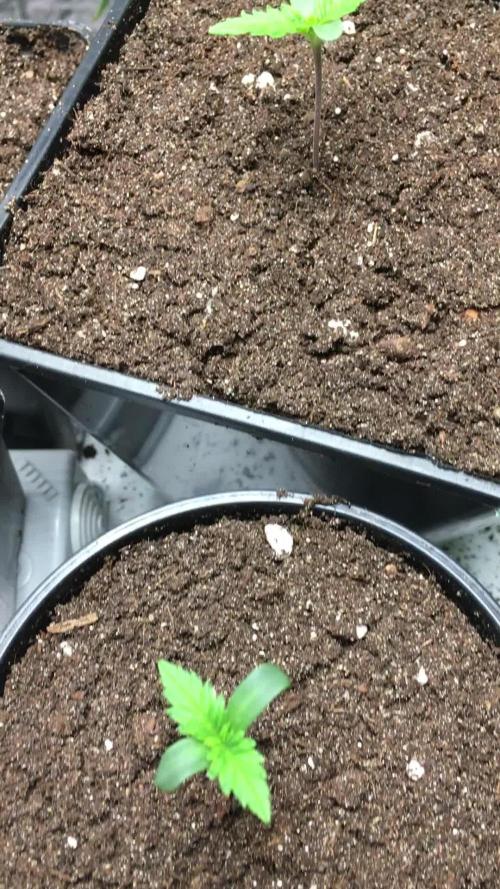
Все прошло хорошо
все семена хорошего качества, проросли очень быстро
Буду наблюдать и ухаживать
Likes
12
Share

@Northern_Ent
Follow
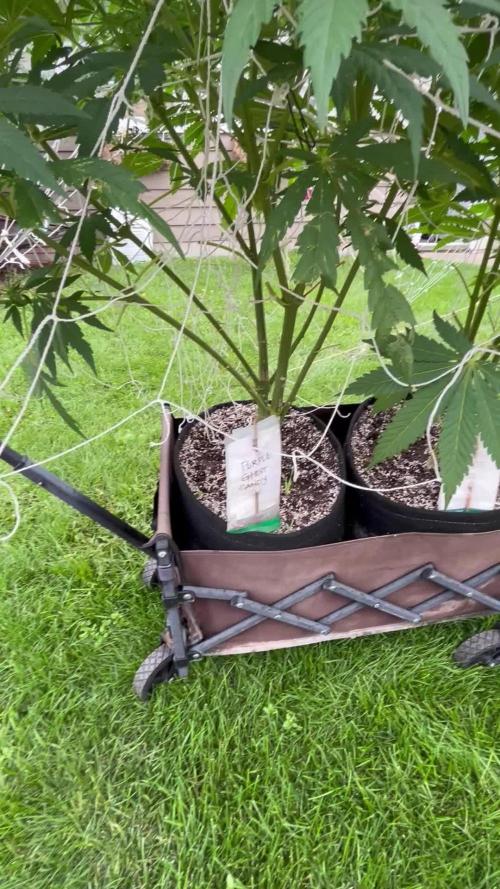
Aug 8: Purple Ghost Candy is looking really good. She is continuing to stretch and lots of buds are forming.
Had the AC Infinity UV lights out for first time today. The strength of natural UV light drops quickly this far north in mid-August. We run out of strong light before it gets too cold here.
Aug 9: added third scrog net and clipped it to the twine. Kludge method but it works so well I don’t know how I’d upgrade it further. Works great and provides strength and flex to the plant.
Unsung heroes include malt vinegar for pH adjustment and Dr Bronners as a wetting agent. The surfactant lowers the surface tension of the water allowing it to penetrate the soil more easily. The smell also helps keeps bug away, it is claimed. Anyway, it works. Peppermint is the usual one for growers but the store was out last time and I’m currently using Lavender.
Aug 11: don’t take flash pics of your photoperiod plants unless you follow up with a red light. I’ve done it this way for years now with no hermies so the red light must help avoid problems somehow. And it is definitely a bloom booster and allows ripening under stronger sunlight. The 730 nm far red light is recommended for several different reasons.


Likes
30
Share


@Ganjagrandaddy
Follow
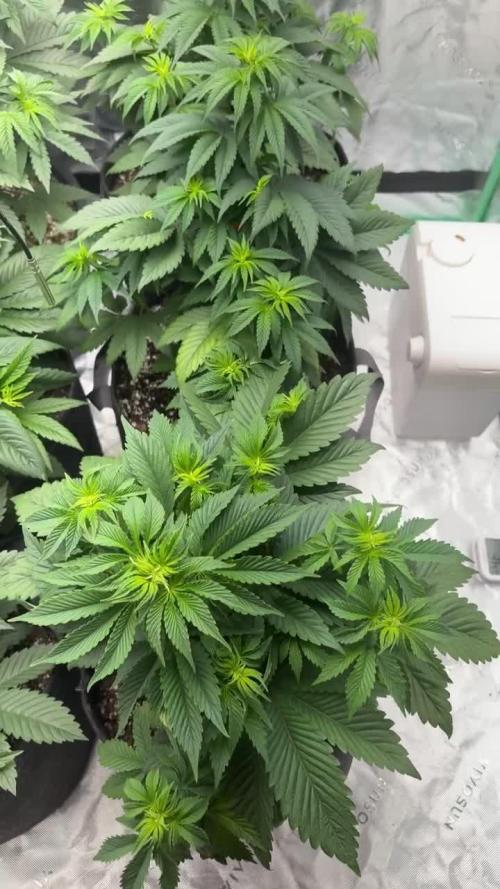
Hi Growmies. Another week done at day 24 flowering. They seem to have finished their stretch period and all have the 1st flush of dress flowering pistils at their growing tips. I am now feeding at a flowering strength feed with additional shogun additives too. I am very pleased with their progress and final foundation foe the flowering stage. The height is a very reasonable 18 inches to the canopy top which has levelled out very well so far. I did have to do a little bending and twisting as they settled into the shapes but it has been very easy to work with them so far .
Bruce Banner#3 has really put put some growth among the branches and will really need to be defoliated to make sure that the air can get around this big lady and avoid any risks of "dead air" or warm pockets. She has a great frame to build her buds onto and some nice thick stems to support the possible chunks. The node spacing is a medium to long but hopefully they will join up where they can over the next 7-8 weeks.
Candy Rain. Her quad training has been productive and I didn't need to really do too much beside hold the two higher branches back a little. she should be a nice open branched , baseball batted cola beast at her final week..
Jealousy #1 and #2 have really been busy with their flower sets and have so much growth going off beneath those huge leafed frames. The leaf sizes are brilliant for harvesting all the available light during veg and i will be sad to defoliate them both at day 21 F. They are so productive that a good lollipopping mat also be called for with the lower growth not really getting enough light to be worth the energy sharing. I can see how these ladies would be huge in an outdoor grow bit also in a bigger indoor space too.
I am sonimoress2d with the health and vigour of all of these ladies but seeing how well the #2 Jealousy has caught up and surpassed her sisters has been a shocker. she has some very big fan leaves and nice chunky stems to hold them expected colas too. Fingers crossed for another good week. Be safe and healthy growmies.

Likes
3
Share


@Ramman
Follow
This is my second ever grow. My first grow consisted of 3 strains including GC. I had pulled clones about 1.5 weeks after switching to flower to try Monster Cropping them. Unfortunately, it took about 6 weeks for my clones to start showing roots through the cubes. Then I put a heat mat under their tray and they really took off.
I put them into Solo Cups for about 2.5 weeks and then transplanted into these pots. They've been in these pots for about 2 weeks now.
They really exploded once I put them into these 3 gallon pots and I decided to LST them to keep them from getting too tall. I might end up putting them in a SCROG to control them if they continue to stretch up.
Also, during my last run with the GC...I was constantly battling yellowing leaves so I've added a little Nitrogen Booster and so far...they're looking great!

Likes
4
Share

@The_Doctor_Green
Follow
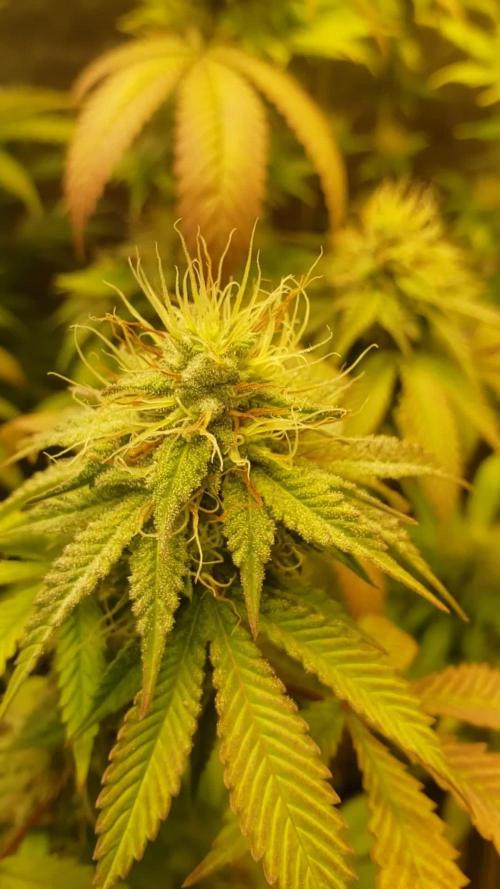
Hola a todos! Perdon por subir poca información, he regado con top bloom, top candy, 2ml x litro respectivamente.
Las laughing budda se han puesto amarillas ,la gran mayoría de las hojas.


Likes
4
Share

@billycardine0420king
Follow
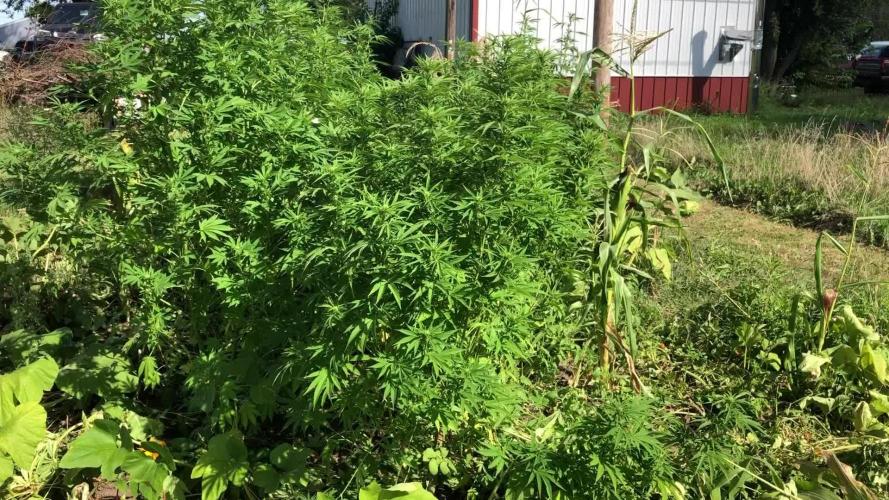
Did some defoliation now that they are solid into flower, to keep air flow to cut down on chances of mold and to expose lower bud sites to sunlight. I also fertilized again with about 2 buckets of 14 total gallons of water with above nutes minus flora gro, at 1300 ppms aprox.

Likes
3
Share

@Nillenium
Follow
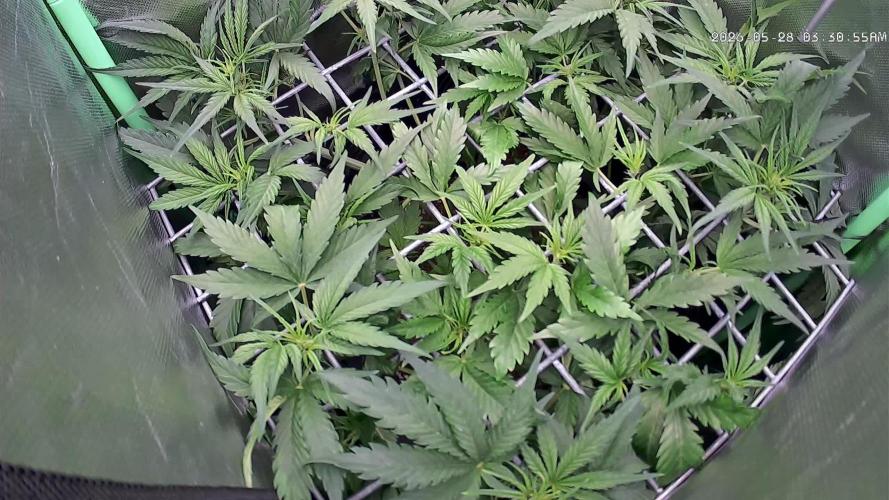
Woche 6 --- Sie stretcht sich ordentlich. Momentan verschiebe ich nur die Lampe nach oben und fülle den Wassertank auf. Letzte Woche hat sie ca 9 Liter verbraucht.
Hoffentlich wird sie nicht zu hoch, aber zur Not wird sie halt geknickt.
Sobald der Stretch durch ist werde ich sie zwecks schimmelprävention Brutal entlauben müssen .
Likes
2
Share


@PhatRobs
Follow
Huge growth Added a new 1000w light from LuxAuto . There responding really well!

Likes
40
Share


@Master_weeda
Follow
Bonjour à tous les padawans et maîtres jedis
La sénescence a commencé au jour 72 j'ai était surpris et de suite inspecté ses trichomes qui étaient bien laiteux et 5% ambrés, j'ai donc commencé le rinçage au jour 73 je procéderai à la récolte au jour 80
Je précise ma surprise du fait que ses pistils étaient encore bien blanc

Likes
10
Share


@eldruida_lamota
Follow
De nuevo familia, estoy de vuelta para actualizar la 5 semana y la verdad que mal, que no esperaba tantos errores en un cultivo , pero el trasplante no les sentó muy bien , empezaron amarillear por abajo por falta de nutrientes , ya aporte N nitrógeno para ponerlas verdes pero bueno eso ralentizó algo el crecimiento a ver si las recuperamos al 100% y las pasamos a floración, veremos cómo crecen estos días.
Seguiré aportando algún riego Rico en N nitrógeno para estimular el crecimiento y que cojan buen color.
Volví a colocar el humidificador, en principio lo quite pero también pienso que les falto humedad esos días y tampoco ayudo , hasta ahora esto es todo espero no cometer más errores aquí, Buenos humos 💨💨
Likes
15
Share


@JeyGanesha
Follow
Prima settimana di fioritura... tutto procede come deve .. 💪 forza belle piantine mie regalatemi della Apple strudel buona ed efficace per la mia cura🙏✌️
Likes
10
Share

@Master_weeda
Follow
Bonjour à tous les padawans et maîtres jedis
Tout d'abord merci à @pyramidseeds de me permettre de faire cette culture en m'offrant les graines
Merci aussi à @lientec_led de m'offrir l'opportunité de tester sa toute nouvelle lampe Roccit 240w ainsi que organic nutrients pour l'engrais
MATÉRIEL CONFIGURATION
Box 80×80×160
Lampe led Lientec Roccit 240w
Ventilateur à pince 15 watts
Xiaomi Deerma humidificateurs 5L
Hygrometre thermomètre
Extracteur PROFAN 107 m3/h - 100
Prise programmable électronique ×2
1 pot carré noir 11 litres
Engrais organic nutrients
Substrat biobizz ligthmix
Fil de fer et pince coupante
Microscope
Petite balance de précision
CULTURE ÉTAPE PAR ÉTAPE
J'ai tout dabord fais germé ma graine avec le easy start de Royal queen seed et je suis agréablement surpris car franchement le taux de réussite est très élevé (18 graines sur 20) simple d'utilisation et très efficace.
Une fois la plantule sortie et d'une hauteur de 2 ou 3 centimètres je la prend délicatement et la place directement dans son pot définitif. Je préconise des pots allant entre 10 litres et 15 litres pour des autofloraisons cultivées en intérieur.
Le pot aura été préalablement préparé avec 80 grammes de big plant de organic nutrients que je mélange avec les 11 litres de substrat
Je dépose la plantule dans son pot définitif je recouvre un peu de avec de la terre je tasse légèrement et j'arrose pour garder le substrat humide pas plus
Je place ma lampe led 300watts à environ 90 centimètres de la plantule avec un cycle de lumière de 20/4 grace a un programmateur car c'est pour moi le cycle de lumière qui offre le meilleur rendement pour une autofloraison.
Jour 1 préparation du substrat
Avant transplantation définitive je mélange 80 grammes de bio stimulant bib plant de organic nutrients et j'arrose avec 2 litres d'eau ph6.3 à laquelle j'ajoute 0.7 gramme de enhancer feeding greenhouse par litre d'eau

Likes
31
Share


@microgrowshow
Follow
This little one gallon girl is pushing along nicely. I'm shocked that aside from the yellowing leaves, which I believe was just a bit of a nitrogen deficiency, she seems to be the healthiest of all of my plants. My other 3 autos have had low soil pH issues recently, which has caused a nutrient buildup in my root system, but I think this girl has been blessed with that extra bit of runoff, and from also being watered daily, giving the roots no time to dry out. Loving the structure of these colas though, they're really filling out, and a lot more time to go! Excited to see what she'll bring to the scale :D


Likes
25
Share


@XperencdGmanXG
Follow
finally they are in flower! Yay final foliar spray applied. They are still smelling like chocolate and peanut butter. Did not get 1 drop of rain this week. It is getting so frustrating plants are 1/4 what they should be this year.

Likes
50
Share

@Antifame
Follow
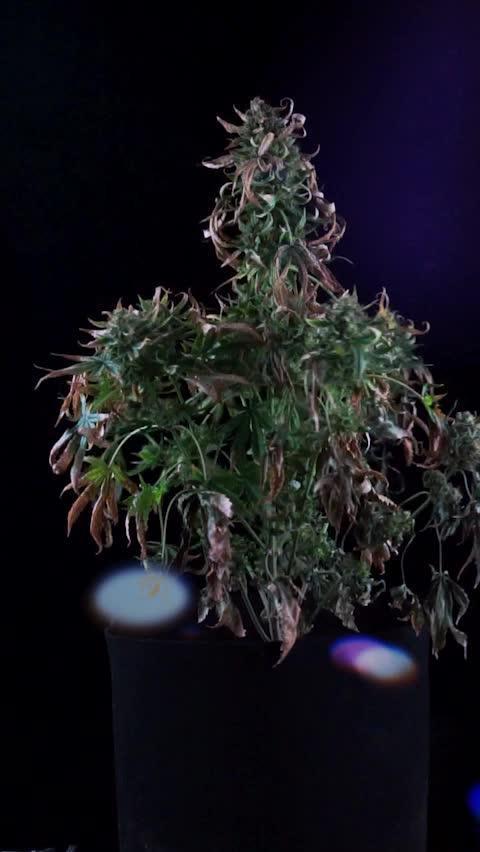
The harvest day has come! 😍 I can't get this song out of my head...
How I Make My Tincture / Vape Juice
Decarboxylate the material
Place about 15 g in the oven and heat for 1 hour at 120 °C.
Break it up
Once cooled, break the material into smaller pieces. Don’t grind it into a powder.
Ultrasonic extraction
Put the material into an ultrasonic cleaner with the heater set to 70 °C. Add 400ml of PG/VG base liquid.
When the temperature is steady, let it run for 30 minutes, stirring occasionally.
Filter
First strain the liquid through coffee filters, then filter again using a lab-grade vacuum filter.
Use
Fill the finished liquid into vape cartridges or take it orally. Both work well.
Enjoy 😇