


Likes
Comments
Share


@Sti_Cazz
Follow
So this week the plants streched like crazy, the NL started to flower too and has actually become taller then the other 2 plants, even though its technically 2 weeks behind. the strange thing is its way more spacious then the packed Diesel.... it'll be fun seeing how they match up in the end!
My new fan and dehumidifier solved the RH issue I had and I crushed it down to under 50% now! Things are looking like they're on the right track.....fingers crossed!
I wonder if there is anything else I can add , nutrient wise... i know I shouldn't overdo it but I'll play around a bit and see.
Got rid of most bigger and medium fan leaves that i felt were blocking the bud-sites from getting light...again, not sure about if I'm going about this the right way, seems counter-intuitive to get rid of so much green but hey ...it helps greatly with lowering humidity and keeps the bottom of the girls nice and ventilated. I actually took off a bit more because it keeps growing shut.
Update: got some big bud and overdrive from my local grow shop... I'll give it a try...


Likes
7
Share


@Adkguerrilla44
Follow
Candy kush express #3 should be done by the end of this month and she's chunking up very nice and the smell coming from her is like nothing I've grown before it's wild!! Candy kush #1 is loving the foop bloom and is almost as tall as my gp x bkp which is like 6 weeks older 😅 😳 amazing growth with this strain. Candy kush #2 is growing super unruly lol 😆 branches growing every which way going to be a unique looking plant when all is said and done,I would seriously recommend this strain for anybody growing outdoors ,I'll be ordering a 10 pack for next season(depending on the smoke,which I already know is going to be fire 🔥) I was forced to move all 3 plants out in front of my house because the sun is slowly moving back behind the trees later and later as these fall weeks move foward but my front yard stays lit up from around 930am-730pm luckily or I'd be screwed
Processing
Likes
12
Share


@jackherer
Follow
72 saat de bir sade su bir kez de gübre &vitamin su düzenini değiştireceğim tum toprak ve kök için kullandığım 48 saat su miktarı azaltarak 1- pekemezleri 2- gübre &vitaminleri 3- cal-mag sırası ile bitkiye vereceğim. kuaför gününe deng geldik
Likes
9
Share


@GoldenWeedGrower
Follow
D01 - 25/09 -> New Home for my fellows clones coming from one of biggest plant I ever saw: a Royal Queen Seeds Skunk XL
D02 - 26/09 -> I think she has a little zinc deficency, so i dropped down to ph to 5.5
D03 - 27/09 -> Topped one girl to see what happens. If everything goes well, I'm going to topping all of them. Increased EC until 1.3
D04 - 28/09 -> Topping of other buds
D05 - 29/09 -> Rest for the girls. Increased EC until 1.5
D06 - 30/09 -> SCROG Net Setup and a little of defolation. Tomorrow I'm going to cut all the branches below the red line (see picture). I want to make a main lining alongside the SCROG Net with 2-3 branches and cut off all the branches below except for the girl on the left that is too short yet.
D07 - 01/10 -> I Cut off the branches of only one girl, waiting to see her reaction to the stress before to do the same to other girls. Increased EC until 1.8.
Likes
5
Share


Likes
4
Share

@Just_Rabbit
Follow
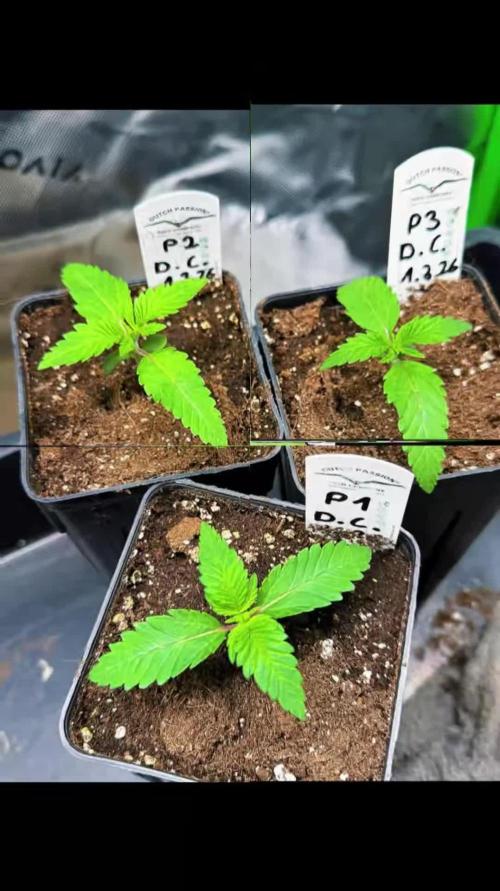
Weiter geht’s .. kleiner zusammenschnitt vom US Genetiken Cup @SuperSativaSeedClub 3 veggie Weeks „The Devils Cookie One“ by Super Sativa Seed Club


Likes
2
Share


@waty_slo
Follow
Looking great. Continuing to defoliate and un-shade some bud sites, but with a light touch.
On 2/6 Top dressed: 1/2 cup bokashi, 1/2 cup build a flower, 1/2 cup fresh ground malted barley, 1/4 cup BAS craft blend, 1/4 cup alfalfa meal. Split this between the two containers. The worms are loving it and the soil mites are feasting.


Likes
22
Share


@medicalhydro
Follow
Day:56 from germination
16H FullSpectrum
2H Red+Fr+RB+Uv
Avarage Par 1000-1280
120*120 Single Hydrophonic
1000ppm
6.4PH
Likes
53
Share


@AutoCrazy
Follow
Another week has brought more new growth. She is drinking 4 gallons of water every 2-3 days now.
I think I will likely transplant her into a 20 gallon pot this upcoming week. I can’t wait for this plant to start to flower. Although I am mildly worried about her stretch. I have grown this strain before and it can double in size when flowering starts 😬. But I can always do another round of lst to spread her out and keep her low.
I will also be taking off a bunch of foliage in the coming days.
Stay tuned
😎🍿🍻🌱

Processing
Likes
6
Share


@Shellshocked
Follow
There was a change of plans this week I got in 5 clones of an exotic strain I've been trying to get for a few months finally the guy gave in lol. I switched most of my plants to the flower tent to make room for my new strain. I decided to try and make fem. Seeds with 2 of the ladies ( og kush and gg#4) Using colidal silver. Feed plants my first compost tea I've ever made plants seemed to love it. My gg#4 in the dwc is growing like crazy she's catching up to it's mother she also got thrown into flower.

Processing
Likes
20
Share


@jourelemode
Follow
Starting week two and I hope she starts to grow more this week. hopefully the increase in water will help.
week 1 i've only been giving 2-3oz a day of water
today I began giving 2 cups of water.


Likes
41
Share


@Bread_n_Buds
Follow
This strain is currently satisfying us greatly, in fact the mainlined one is the best for now without a doubt, its name is King Louis Automatic.
Remember that we are growing a plant worked with the indicated techniques and another left to grow without pruning to preserve its speed; in the previous/next diary you will find the other plant of the same variety.
This plant has started flowering after a Main Lining that was a success in a Masterful way thanks to a good grower and a fantastic plant with a wide internodal distance: topping at the second internode, creation of the Mainfold, the brunches have stretched naturally and parallel to the ground with just a little pressure, no sign of breakage, fraying of the hemp, nothing. Everything very graceful, aligned and in rhythm. Truly everything is in its place, fingers crossed we will be able to see a mega result.
Comparison is the salt of experience, so the plant in the other diary will be treated very differently, go and see it to make a comparison.
We started the Plagron fertilization program, we are in 100% organic configuration, the soil is composed of recycled Promix + 1/3 fresh soil + 10% Perlite + RQS Mycorrhizae Mix (4 g in the mix, 1 g under the small fiber pot).
In the middle of the week the pre-flowering began so I decided to start the program for this phase: 1 ml/l of Power Roots - 1 ml/l of Pure Zym - 1 ml/l of Sugar Royal - 1 ml/l of Power Buds - 2 ml/l of Alga Bloom
Remember the Green Sensation from the 3rd/4th week of flowering depending on the flowering speed or how you see the calyxes composing, when the calyx is in the swelling phase it is used.
We sprayed 5ml/l of Vita Race foliar fertilizer once a week.
-------------------------------------------------
https://plagron.com/it
We always have the excellent RQS mycorrhizae running through the soil.
https://www.zamnesia.io/it/5778-mix-micorrhiza-easy-roots.html
Love this strain perfect for main lining! ---- https://www.zamnesia.io/it/11238-zamnesia-seeds-king-louis-automatic.html
Brief description of Zamnesia // Say hello to true royalty with King Louis Auto, an autoflowering version of the original King Louis. Bred from OG Kush, LA Confidential and a premium ruderalis cutting, King Louis Auto delivers premium bud fit for a king just a few weeks after germination. As if that wasn't enough, her small size and vigor make her great for almost any grow environment. Incredibly efficient
King Louis Auto has inherited the best traits of her photoperiod cousin, all wrapped up in a fast and easy-to-grow seed. With good soil and adequate watering, King Louis Auto seeds will quickly grow into robust and vigorous plants. Once fully mature, these plants will not exceed 80cm indoors, meaning they can easily fit into even the smallest of grow spaces. Likewise, outdoor plants will only reach 100cm, making this strain ideal for guerrilla grows or other environments where discretion is key. And if that wasn't enough, King Louis Auto only takes 9–10 weeks from germination to harvest, after which she'll reward you with yields of up to 300g/m² indoors and 150g/plant outdoors. With its pungent terpenes and high THC levels, King Louis Auto offers a fragrant and relaxing experience. When you open your jars of buds, you'll immediately notice intense scents of pine, damp earth and fragrant wood. After inhaling her equally complex smoke or vapor, you'll be hit with a deep, relaxing body stone that's perfect for those moments of well-earned rest and relaxation. With 24% THC, King Louis Auto hits hard and takes ef
The whole world of growing and much more is on Zamnesia: just take a look at the site and you will find "all the best that nature has to offer" in various shapes and colors.
---------------
www.zamnesia.com


Processing
Likes
12
Share


@Vegetoo420
Follow
Removed two fan leaves and I’ll start LST soon
Here we are ! I start LST and I can’t wait to see her looking the light tomorrow

Likes
18
Share


@DutchDudeGrow
Follow
17-4-2021 ON FIRE : Wow what a good growt last week was crazy and what a big ass leafs! holy shit.. i think im gonna push the nutrions up 2 650PPM instead of the 550PPM now.. also still not in flower so that is good ! i only use the fish mix and still not biogrow i will do that the second week of flower, its very uniform so thats also great to see... i think im going to do some leaf stripping tommorow because thats needit ...i will do it strategic to minimalize the stress


Likes
9
Share

@Chubbs
Follow
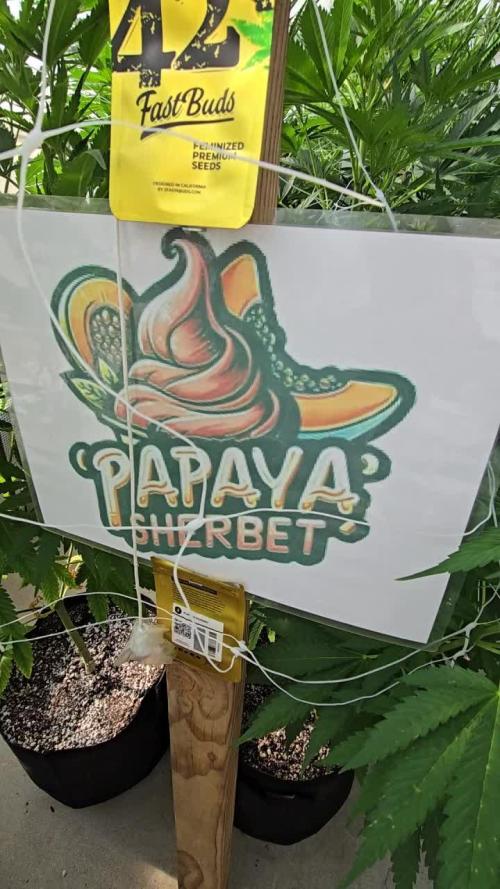
What up fam, weekly update on these lovely ladies. I put the scrog net out this week for support and am I glad I did. Only after a couple days they grew right through it. The greenhouse is 6'5 feet tall and they're pushing 5'6. I'll go in there and take off some of the lower fan leafs at the bottom but not to much defoliation needed. I'm seeing preflowers so I'll also switch the nutes from grow to bloom. All in all Happy Growing.