Likes
Comments
Share
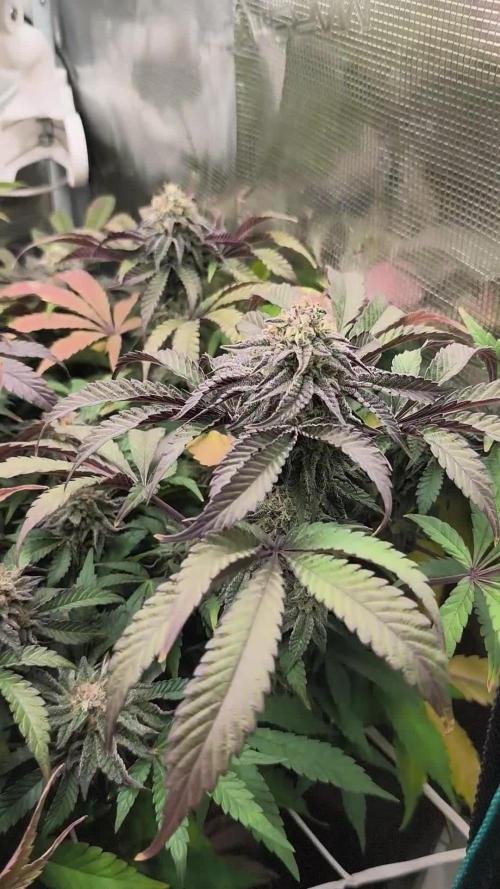
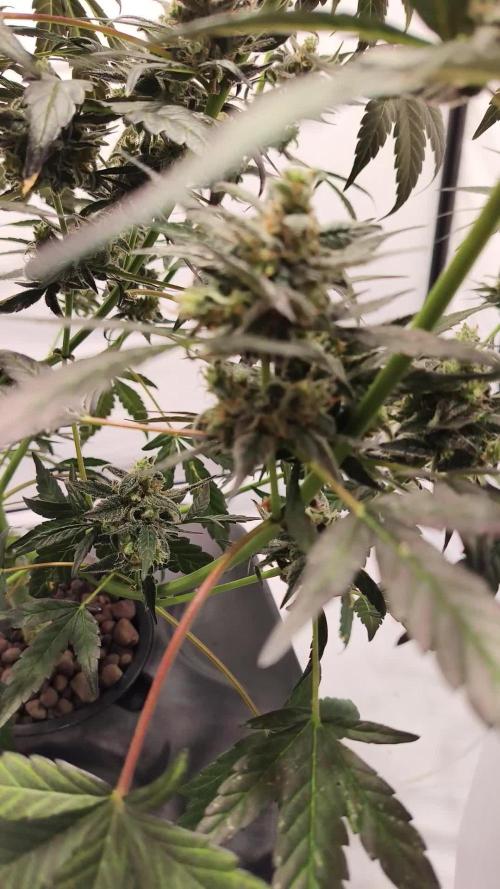
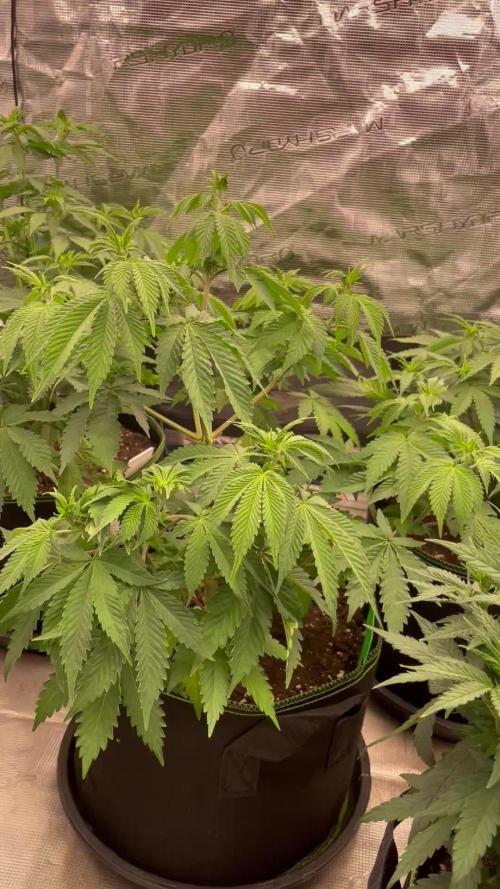
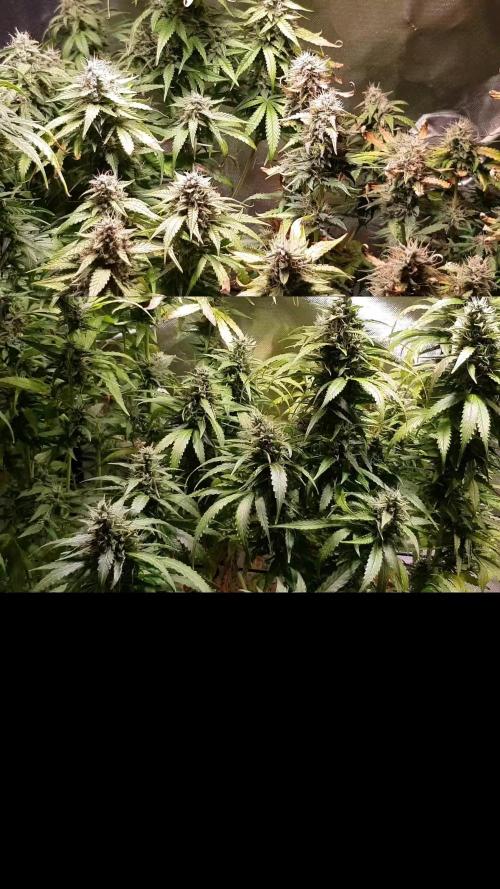
I topped some of the ladies that were getting a little bigger than the rest of the plants hoping it slows down some of the growth so the smaller plants can catch up thanks for reading😏
Likes
9
Share
So die stattliche Purple Lemonade Fast Flower hat jetzt nach knapp 11 Wochen die Form die ich mir vorgestellt habe. Sie landet nun vom Outdoor in den Indoor Bereich👍🏻 Ich werde sie ab heute in die Blüte schicken bei einer Licht Umstellung von 12/12! Das 80x80 Zelt füllt sie gut aus und Ich hoffe das sie das Zelt auch noch während der Blüte komplett ausgefüllt bekommt :) Da das mein erster Photogrow ist, kann es nur schief gehen 😅 Sie wurde getoppt und hat fleißig LST betrieben 💪🏻 In meinen Augen eine super Pflanze und die Genetik ist ziemlich robust 😃 Sie bekommt seit anfang an den 5in1 Dünger von GreenPower, ein super Dünger für Leute die es einfach mögen, kein Chemiebaukasten einfach nur den einen Dünger 😅 nicht wirklich meins Aber nun ja 👍🏻 Dann wollen wir mal loslegen 😎 Auf in die Blüte 🌸 Ich werde wohl bei Photoperiodischen bleiben, das Training macht mir einfach Ultra Spaß und es ist schön ihr zuzusehen wie sie sich entwickelt und ebenfalls kann man mit ihnen seine Fehler Korrigieren, was mir bei Autoflower leider vollständig fehlt da sie halt keine Zeit haben 😅 Lets Grow big Trees Update: Und weil es so schön ist, wurde noch ein scrog Netz eingebaut😎 Ich geb ihr doch noch ne Woche um vernünftig das Netz zu nutzen 😅 und dann ab dafür in die Blüte Infos: Gießwasser: 1L in 24 Stunden PH-Wert: 6.4 Nährstoffe/Dünger: S&R Organics 5in1 4ml/1L Luftfeuchtigkeit: 55% Temperatur im Zelt: 22-24 Grad Lichtdauer: 18 Stunden PPFD: 390-420 EQUIPMENT: Licht🌞: Marshydro TSW2000 300watt ✅️ Rohrventilator💨: S&P TD 350 silent.✅️ Aktivkohlefilter💢: Can-lite 300 Zelt⛺️: Marshydro 80x80x160 ✅ Luftbefeuchter: Spider Farmer 6L. ✅️
Likes
20
Share
@skeeter
Follow
Popped in a day and growing strong.
Likes
11
Share
@Andres
Follow
she grows healthy ... the temperature has dropped ... and I do not have insects ... the substrate was made by me ... almost most of the day is cloudy ... and that's why the little performance outdoor ...
Likes
2
Share
🌱 Week 3 | Purple Haze Photo | Folder 6A | Building the Foundation Every phenotype tells its own story, and this Purple Haze is beginning to reveal exactly the kind of structure I was hoping to see. Looking back at the photographs from the beginning of the week and comparing them to where she stands today, the progress has been remarkable. The increase in leaf size, stem thickness, and lateral branch development shows that the plant has settled comfortably into her environment and is now entering a period of rapid vegetative growth. This diary is part of my Project Blue series, where every plant receives its own individual journal. Although they all share the same environment, nutrition, and cultivation method, documenting each phenotype separately allows me to observe the subtle differences that make every plant unique. Two seeds from the same pack can behave very differently, and that’s exactly what makes growing from seed so fascinating. Like every plant in this project, Purple Haze is being grown using the 12/12 From Seed method. Instead of giving the traditional vegetative light schedule, the plants receive a flowering photoperiod from the moment they emerge. This technique keeps the plants compact while still allowing them enough time to develop a strong structure before flowering naturally takes over. It’s an approach I enjoy because it produces efficient, manageable plants while still allowing each phenotype to express its personality. Throughout the week the environment remained extremely stable, providing the consistency young plants need to thrive. Environmental Conditions • Day temperature: 27°C • Night temperature: 25°C • Relative Humidity: 55% • Root Zone Temperature: 21°C • Nutrient Solution Temperature: 20°C • pH: 6.0 • EC: 1.3 • CO₂: approximately 666 ppm • Light Schedule: 12/12 • Average PPFD: 600–700 Maintaining these parameters allows the plants to dedicate their energy to healthy growth rather than constantly adapting to environmental fluctuations. Feeding Schedule This week the nutrition remained focused on root establishment and balanced vegetative growth using the Plagron Terra line: • Terra Grow — 1.8 ml/L • Power Roots — 1 ml/L • Pure Zym — 1 ml/L • Sugar Royal — 1 ml/L The goal isn’t to push maximum growth as quickly as possible but to encourage strong, healthy development while building a vigorous root system capable of supporting heavy flowering later in the cycle. A Beautiful Structural Evolution The difference between the first photographs of the week and the last ones is immediately noticeable. The stem has thickened considerably, becoming sturdy enough to support future flower production without any assistance. Internodal spacing remains tight, creating a compact plant with multiple future flowering sites already beginning to establish themselves. The leaves are broad, flat and richly coloured, showing no signs of nutrient deficiencies or environmental stress. New growth emerges with a healthy lighter green before maturing into the darker foliage characteristic of vigorous vegetative development. Perhaps the most exciting change is the development of the secondary branches. Each node is now pushing strong lateral shoots, giving the plant a naturally symmetrical structure that should translate into an even canopy during flowering. Why I’m Using Leaf Tucking Instead of Defoliation One of the techniques I’ve been using throughout the week is leaf tucking. Rather than removing healthy fan leaves, I simply tuck them underneath neighboring branches to expose the developing shoots hidden beneath the canopy. This offers several advantages: * More light reaches the lower branches. * Airflow improves naturally. * The plant keeps all of its solar panels, allowing maximum photosynthesis. * No recovery time is required because nothing is removed. Young plants need every healthy leaf they can keep. Fan leaves are the engines that drive growth, so whenever possible I prefer repositioning them instead of cutting them away. Defoliation can always come later if it becomes necessary, but at this stage gentle canopy management is more than enough. Looking Ahead Purple Haze is quickly becoming one of the strongest structured plants in the room. She has responded beautifully to the stable environment, balanced nutrition and simple canopy management. Every day she’s producing more side branches, larger leaves and a noticeably thicker main stem. If she continues at this pace over the coming weeks, she should enter flowering with an excellent framework capable of producing an even canopy and plenty of well-positioned bud sites. Sometimes the best training isn’t about bending, topping or cutting—it’s simply about giving the plant everything it needs and then getting out of its way. A huge thank you to Plagron, Zamnesia, GrowDiaries, and everyone following this Project Blue adventure. Mr. Baggy made his usual inspection this week and left with a big smile. According to him, Purple Haze has officially entered her “future forest” phase, and judging by the way she’s growing, it’s hard to disagree. Growers Love 🌱🛍️
Likes
158
Share
Put some extra puppy pics of duke there at the end i found. Glad I took like 20 pics a day of him since we got him in February 2020.. Couple cool videos of Dukie.. one of him jumping as a puppy in slow mo. One playing with a ball
Processing
Likes
17
Share
@kcartel
Follow
Preparing for next week, will face stress)))
Likes
127
Share
💩Holy Crap Growmies , we are outdoors and in the Ground and there Doing Great💩 The Frosty is amazing 👏 👉It's been another full week 56 days from seed and she's doing great , very nice Growth, considering shes been up against the wind and rain 👈 No problems 😊 so far so good 👍And she's now in full on flowering 😁👈 weather been great , lots of sunshine 😎 I GOT MULTIPLE DIARIES ON THE GO 😱 please check them out 😎 👉THANKS FOR TAKING THE TIME TO GO OVER MY DIARIES 👈 👉NutriNPK NUTRIENTS USED FOR FEEDING 👈rain water to be used entire growth👈 👉www.nutrinpk.com right now get 10% off using SPRING2022 as the coupon👈
Likes
53
Share
@Chucky324
Follow
Hello. This is the last of Lemnesia North by Chucky Seeds (sort of a dream of mine but I have a cautious wife). This is the last look at the growing buds before harvest. I was able to get in 4 good flushes in before harvest. I'm happy to get this crop in. There is powder mildew on my zucchini plants just outside the door of the greenhouse but none in here.😁 In the pictures, the string with the white tags are the pollenated branches. I have lots to do today. Have fun. Chuck.
Likes
6
Share
@Comfrey
Follow
I missed to take some fotos ore a video. So I chooses to show where the soil is made: in Comfreys garden. Unfortunately I‘m not allowed to grow there my weed. It‘s a community garden with privat owned ground but with a lot of neighbors. The German law allows to grow cannabis in your own garden for private use but not in a private garden situated in a community garden club (Kleingartenverein). But anyway I’m lucky because we have a very sunny balcony, too. Next week more fotos…
Likes
2
Share
@inversi0n
Follow
PPM is actually ~3000 ph balancing between 5 5.8
Likes
13
Share
@Prilyfe13
Follow
What a journey! We started out with a fungal infection or dampening off. Either way, she survived to bring some of the hardest buds ever grown. Very impressed. The resilience of thos one is something to note. Currently the plant is in control of the humidity. But it won't be for very long. Not once the exhaust fan kicks in to max power. The temp is stable at 61° f. Humidity is at 62%. Now 63 and climbing. 🤔. I adjusted it. And it won't stay still. It either plummets or spikes up. A tiny opening in the door dropped it super fast. While closing it up spiked it in the mid 60s. I'm trying to level it out at 55%. The temp is perfect. I should be able to do it. I can tweek it until it works properly. .so I just pulled the roots out of the bucket. I had a whole bunch of goopy shit all in the roots in buried in the pebbles. What the hell is that? I'm trying to find out right now. It was all black and nasty. It smelled like soil. Not strong or anything, but like I didn't use soil. Anyway, I did use carboflush and it turned the water a super dark brown. Maybe that's part of it. Or maybe that was the problem all along. Black root rot? Root rot at all? The roots seemed fine. Just the sludge all in their business. How should I have cleared that out if I saw it? Dump plain water through the hydroton? I think I'll do that for my next run. Once a week top off into the hydroton. Makes sense. It should keep the roots clean? 12/16/2025 Day 1 of drying Papaya Cookies and the environment looks great. It swings a bit, but doesn't go over 61% and I haven't seen it go under 45%. I know it's a big swing, but the temp is solid at 61° and it's in range. I expect it to be a bit more controlled in a few days after the plant dries out a bit. You know, when she has less control over the humidity. The goal is 61° and 53% humidity. I'm pretty sure I can keep it at 60%, but maybe I want 55%. I'm thinking 55% because it's the top of the ideal range and it still matches the temp. So it should I perfectly. So for the setup. I don't think I properly explained it yesterday. The 2x2 is connected to the 3x3 with a 4" duct. You can see in the picture that the hose is installed on the top of the 2x2 and to the upper 6" port on the right side of the tent. There's a reason I'm telling you this. The 4" charcoal filter is on the left side of the tent. If it were on the right side I'd have to attach the dry tent to the left side of the 3x3. The goal is to exhaust the dry tent with the whole 3x3 circulating air throughout, before exhausting the dry tent. Instead of the filter being right above the port, sucking in way too much from the dry tent and neglecting the rest of the 3x3. It makes sense in my head. So far it's seems to be working. The air in the tent has been exhausting just fine. With the 2 circular fans running at level 7 dynamic mode, it moves the leaves just enough and mimics the outside world quite well without any harsh gusts. I wonder. Seeing as though a cannabis plant needs to be pollinated, and it goes airborne, wouldn't having larger gusts of wind help a healthy cannabis plant to grow bigger buds as to catch the pollen? That makes sense to me. Don't overdo it, just a few little gusts just like September and October. At harvest season. I bet that will do something. Maybe I'll turn the speed up to 9 and see what happens. Wind burn on these leaves is the least of my problems. Plus, it'll be fine. Don't you worry. Maybe she'll produce more trichomes and bulk up a bit more. It makes total sense. Without wind burn, just under where it would start to happen, I bet she will finish up nicely and have added a bit more bulk too. 12/17/2025 Day 2: The humidity is bouncy. It stays in range from 46% to 61% I'd like to see it stabilize at 55%, but I don't think I'll see that until I have a bit more control over the space. It's funny. To bring the humidity up when it's low, I open the main tent and the air doesn't get pulled out of the dry tent making it more humid. I open the dry tent a little to drop the humidity. Either way, it's in range and the temp doesn't move at all. It warmed up here for the day and the temp went from 61 to 64 and holding steady. Nothing else to report. 12/18/2025 Day 3 of drying and we are looking great! A lot of her smell has changed to a sharp pungent scent. Meh. I know it's gonna be back to some insanely good smell very soon. After all it's only day 3. I woke up to the humidity hovering around 47% I was kinda hoping it would stay between 50% and 55%. No matter, I added a bowl of water to help keep the humidity up a bit. Hopefully it keeps it under control at 55%. Other than that, nothing else to report. 12/19/2025 So day 4 and I had to add a mini humidifier to the dry tent. It was dropping below 50% and I want it around 53%. The temp is 60° f. So now the humidity is at 54° and is leveled out. I'm guessing maybe 7 days? 10 to 12 days is what I'm going for. The longer the better, but I also have another plant that has to go in there and they won't fit together. The only reason I'm concerned with it is because I'm starting new seeds today or tomorrow. Probably today and I'll be needing the 3x3 in the next week or 2. This little lady will be done by then, but my other plant might have to dry in the 3x3 and that'll take 10 to 14 days. By then the seedlings will be ready for their buckets. Or well, no. They will be ready for their buckets in about 10 days. If not less. Maybe 8 days. I usually add them to the final container just before the roots really start coming in. That way I'm not shocking them too much when they hit the medium.
Likes
13
Share
@Rhah420
Follow
Den Ladys geht es soweit gut und es geht nun deutlich Richtung Herbst. Die Ladys wurden nun 1 Woche mit einer schwächeren Nährstoff Lösung gegossen. Bis zur Ernte werde ich nun nur noch mit pH angepassten Wasser gießen. Stand heute (07.06) habe ich ca. 30% milchige trichome, der Rest ist noch klar. Da ich eher auf Sedierung stehe, werde ich sie noch ca. 10 Tage stehen lassen denke ich, mal sehen.
Likes
7
Share
@Adam22
Follow
Day 28 week 4 of flower plants looking good I dropped a 3L water bottle on a string which snapped a whole branch from the bottom 😳 on right plant 😭
Likes
55
Share
@Xpie77
Follow
Red Wine was a joy to grow. Very easy plant that not need a lot of nutrition to eat. Smell is out of this world, cant pinpoint because Ive never done Red Wine ever... But its fruity and a hint of berries. From Seed to flower it took 11 weeks. Thats a fast growing plant
Likes
6
Share
@TerpyOG
Follow
Will update with smoke report and review when plants dry! So far this strain is A
Processing
Likes
8
Share
Ya se empieza a ver la recuperación foliar luego del desguace hace unos días. Esta semana toca DELTA 10, Melaza con Guano de murcielago (luego de reposar 1 día) y también vamos incorporar por primera vez MONSTER BLOOM DE GROTEK. Veremos como avanzan en estas semanas claves que se vienen :D Día 25 fue incorporado 1cc de MONSTER BLOOM DE GROTEK en 5 Litros de agua. Pd: Cambie el lugar donde estaba la carpa. Mucho frío afuera al costado de casa, ahora esta más protegida con mejor temperatura noctura sobre todo :D