Likes
Comments
Share
@OgHaze74
Follow
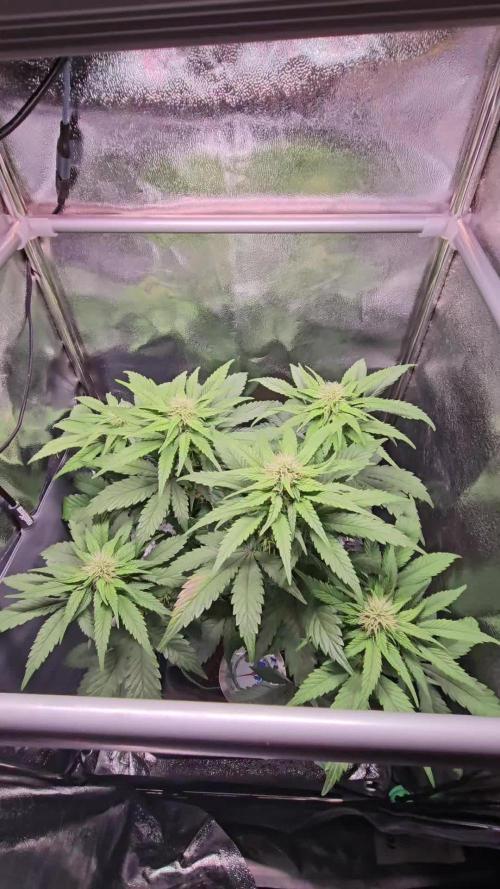
So she enter week 7 this Monday she growing spectacular my ppm is on 956 and I did do a mini flush just ph'd water prior to entering week 7 which was Sunday but i do adjust what I put in her at different stages. For every other watering I do put in cal-mag in the plain water and pH adjust it to 6.5 as well and she has been living healthy since she sprouted.
Likes
8
Share
@URGONAR
Follow
Lo siento por no hacer él blog bien pero no he podido esta planta es fácil de cultivar para estar en exterior a estas fechas creo que se ha portado muy bien un saludo
Likes
9
Share
This lady is getting better every week All of her sisters are too Amazing genetics with amazing nutrients
Likes
59
Share
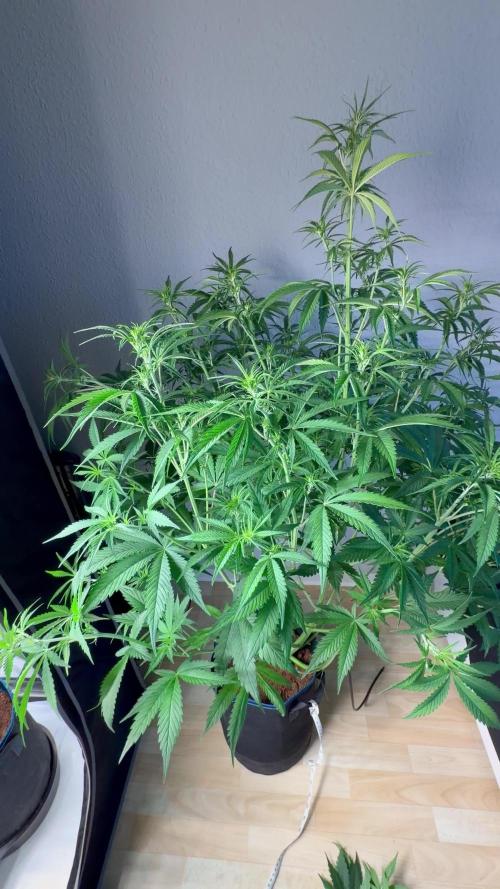
Some new growth late in wk2, she has got a few more leaves so good progress, just feeding her 'root juice' for now until she establishes herself a little more, will be cloning this plant hopefully to get a few more ladies off her. Now under 600w LED in veg mode. Lighting cycle 18/6. 6/10 Update: Slightly pale leaves so appears she is ready for her first N feed, gave her a lite application of Biobizz Grow, silica, drop of superthrive and maxicrop.
Likes
66
Share
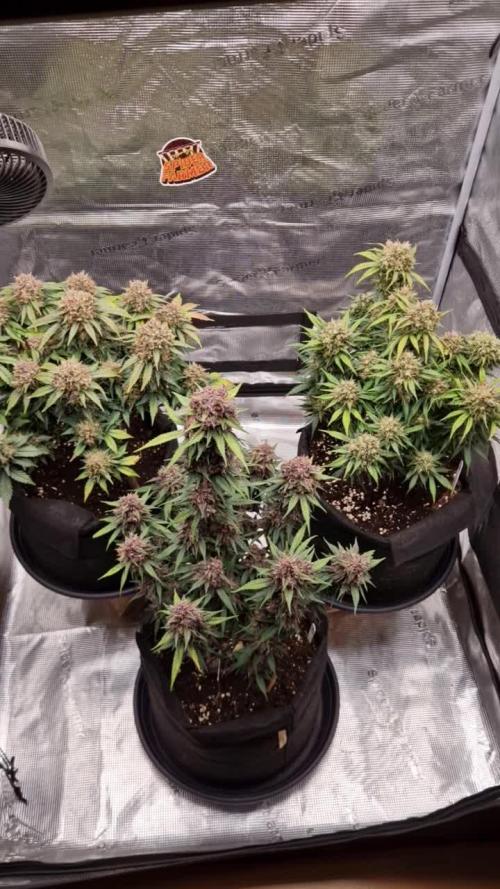
Another week and another update in this adventure! :D So far I think things have been going well with Puff, the buds are getting fatter (or that's what I think!) and every day she's getting more and more "frosty" and smelly! 👽 Not everything was great this week tho, I think my plant is going thru something and I'm not quite sure what's the cause. I check/adjust the pH and I try to use water with low ppm... so my only option is that I underfed her when she was growing (or maybe what's happening is just normal and I'm overreacting) and these are the results! Anyway, there are all the photos! Thanks everyone! Any kind of comment would be awesome! 😻
Likes
16
Share
Likes
3
Share
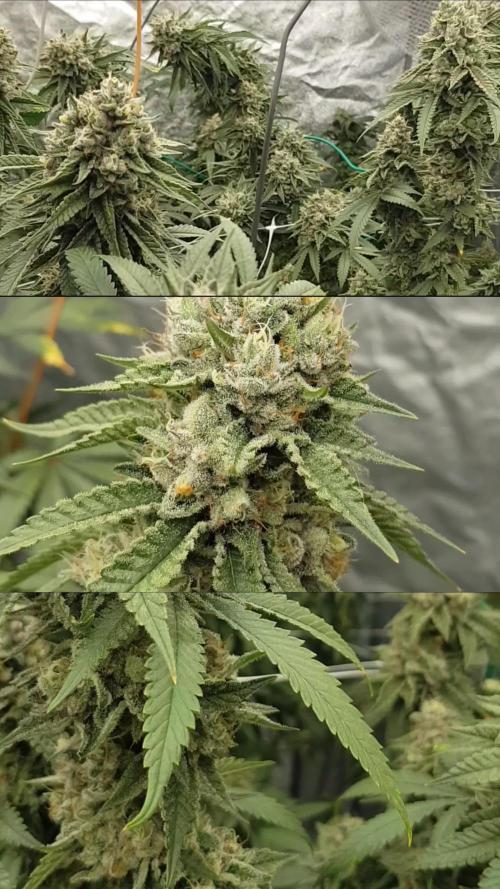
Buds are fattening and the smell is a mix of gas, berries and something else funky I cant put my nose on it
Likes
23
Share
@Kakui
Follow
Primera ves cultivando una cepa de esta calidad, algo ansioso por obtener los mejores resultados posibles con estás genéticas. Básicamente elegí la Grandpa's Stach R2 y la Grandpa's Cookies #6 S1 solo por sus tiempos de floración, espero que sean buenas tanto de sabor y resina, cómo también de producción. G1, brotaron las semillas, solo 1 semilla brotó chueca, por lo que tuve que ayudarla con un alambre y va un poco atrasada en comparación del resto. G3, primer riego con pH 6.1 y EC 0.6, y micorrizas Great White. G5, creciendo bien. G11, riegos cada 2 o 3 días, a punto de pasar a etapa vegetativa.
Processing
Likes
16
Share
@Andres
Follow
just 1 week I'll give it to her ... and wait for her taste smoke and smell .. and the amount she delivers .......
Likes
4
Share
Alright Robust in the original shape of a Christmas tree, its thick leaves and well-resined flowers the pistil phase starts to turn orange the trichomes we can go further to have milky with amber, and enjoy its performance until the end its smell is very strong it is sweet .
Likes
2
Share
Dostávám se do rané fáze květu. Holky měly problém s přemokřením půdy. 9 dní bez vody jim dost prospělo. TC je krásně rozvětvena. LST jde krásně. Žádné zlomeniny, jen pár listů šlo pryč pro zvýšení intenzity světla tam kde je potřeba. Pro nové rozvětvení. PL je velká ale dělá mi starosti,jeji nová poupata a nové výhonky se otáčejí směrem dolů. Ne všechny ale většina ano. Nevíte někdo řešení? Těším se až se to po týdnu vše rozjede ještě větším tempem. Šťastný růst
Likes
14
Share
1/29/2024- Yoooo what's brackin fam got the new run started, germination in paper towel, popped in 36 hours, put her in the rapid rooter plug By GH, will update every week or day accordingly but for now let's watch her grow!! Stay up fam much love! ONE!!!👌👹👺
Likes
567
Share
Messed up on the days last weeks update. 23 days old today. The mutant is still OK. Planted most of the vegetables outside today with the wife👌. Everything is still looking healthy 👍🤘
Likes
11
Share
Week is going great. Buds are starting to thicken up and trichomes are starting to form. This is the thirstiest plant i have had, probably partly due to the high day time temperature, but it looks to be just a minor problem. Can start to see that the yeald will be higher than i expected just by looking at the buds.
Processing
Likes
3
Share
Likes
2
Share
@Semi-Auto
Follow
I topped the two healthiest the Bruce banner and the bigger blackberry auto I also tied down two of them I will let the smaller blackberry run naturally I don’t know if I will do lst though I will see with a little more observation I am still trying to get the watering schedule down pat so I will let the soil dry out a little at least to half the weight it is now oh yeah Ac Infinity holla at me let work!!!!!
Likes
27
Share
Before starting this final smoke review, I want to quickly apologize once again for the harvest report being uploaded on the previous flowering week instead of the official harvest tab. GrowDiaries has been acting a little complicated lately with harvest and smoke review updates, and instead of risking losing photos or information again, I decided to play it safe and upload everything there. So all the harvest, drying and trimming photos are already available in the previous report for everyone who wants to check the full process visually. 🌱 With that said… Welcome to the final chapter of this beautiful Amnesia Skunk journey. ✨ This report focuses mainly on the curing process, trimming philosophy, smoke review, aromas, preservation, and everything that happened AFTER harvest day. Because honestly… harvest is not the end. It’s just the beginning of the flower becoming medicine. After drying, every single bud was carefully hand trimmed, exactly like explained in the previous report. No machines. No shortcuts. No aggressive trimming. Just scissors, trim bins, patience, and intention. Hand trimming is slower, yes. But it preserves the integrity of the flower in a completely different way. The shape stays natural, the resin stays attached, the trichomes stay protected, and the flower keeps its personality instead of becoming overly processed. Everything was saved. The flowers. The sugar leaf. The trim-bin collection. The resin from the scissors. Even the finger hash that naturally builds up while trimming sticky flowers for hours. And honestly… these girls were incredibly generous. The trim-bin collection itself produced beautiful little resin balls full of aroma and character. Sticky, soft, fragrant, and surprisingly potent for something many people would simply throw away. And now… after months of curing… we are finally smoking this beautiful medicine. And wow. This one is honestly difficult to explain properly. The best way I can describe it is: it feels like a sunset walk on the beach. Warm. Gentle. Uplifting. Comforting. Peaceful. Colorful. She’s fruity. She’s punchy. She’s sweet. She touches herbal notes without becoming earthy. She’s fresh but deep at the same time. It’s one of those profiles that somehow feels like everything and nothing simultaneously. Nothing screams too loudly. Nothing dominates. Everything works together. Both phenos ended up being surprisingly similar in terpene profile as well. Different plants, same soul. And curing only made everything better. The aromas did not disappear with time. They intensified. Every jar opening became louder, deeper, sweeter, smoother and more aromatic than before. The inhale became softer, the exhale became creamier, and the overall smoking experience became incredibly comfortable over time. This is a long-lasting flower too. Not only in terms of effect duration, but also in how long the flavor stays dancing in the mouth after exhaling. The buds themselves stayed extremely dense and compact all the way through cure. Beautifully structured flowers with that satisfying weight and firmness you instantly notice when holding them. One thing that genuinely surprised me during curing was comparing storage methods. Part of the flower was cured traditionally in glass jars. Another part was stored inside the Zamnesia metal vacuum curing containers that came with the setup. And honestly… I noticed a difference. The flower stored inside the vacuum container seemed to preserve aromas slightly better and felt more expressive when opening the container. The terpene profile felt a little louder, brighter and fresher compared to the traditional glass jars. And that actually makes sense. Oxygen is one of the biggest enemies of long-term terpene preservation. Vacuum-style storage reduces the amount of oxygen surrounding the flower, slowing oxidation and helping preserve volatile aromatic compounds for longer periods. It doesn’t magically change the flower. But it absolutely helps preserve what is already there. And with a terpene profile like this one… preservation matters. As for effects… This is simply happy medicine. Not chaotic. Not overwhelming. Not heavy. Just… genuinely uplifting. Clear. Warm. Positive. Relaxed. The kind of flower that makes you want to walk slowly near the ocean while the sun disappears in the distance. Honestly, I could genuinely see this being a very comforting medicine for people struggling with sadness, low mood, emotional heaviness or difficult days. There’s something emotionally light about this cultivar that feels very welcoming and peaceful. And comparing the cured flower to the charas and trim-bin resin was also extremely interesting. The terpene profiles stayed very similar between them all, which was beautiful to notice. But the charas had this extra layer of freshness and brightness that almost felt “alive.” Maybe because it came directly from fresh living material. Maybe because of the way fresh resin expresses itself. Maybe because charas simply carries a different soul. Whatever the reason… it was heavenly. And now, as this diary finally comes to an end, I just want to send love and gratitude to everybody who was part of this journey. To Zamnesia for the genetics. To Plagron for the nutrition. To the gear that kept everything running day after day. To the platform itself. To the GrowDiaries community. To the longtime followers and OGs. To the new people just discovering the page. To the curious ones. To the silent supporters. To the lovers. To the skeptics. To the haters. To the people who only stopped for 5 seconds. And to the people who stayed here from seed until smoke. Thank you. Truly. 🌱 This chapter may be closing… But another one is already opening somewhere else in the garden. Stay tuned. A new diary is coming very soon. ✨ 📡 DELETED @ 1K Please stay tuned.we never quit https://www.youtube.com/@TheDogDoctorOfficial NEW 🙏 Thank you for your patience and continued support. FOR DISCOUNT CODES AND MORE JUST FOLLOW THE LINK https://website.beacons.ai/dogdoctorofficial 📲 Don’t forget to Subscribe and follow me on Instagram and YouTube @DogDoctorOfficial for exclusive content, real-time updates, and behind-the-scenes magic. We’ve got so much more coming, including transplanting and all the amazing techniques that go along with it. You won’t want to miss it. GrowDiaries Journal: https://growdiaries.com/grower/dogdoctorofficial Instagram: https://www.instagram.com/dogdoctorofficial/ YouTube: https://www.youtube.com/@dogdoctorofficial Deleted by Youtube - https://www.youtube.com/@TheDogDoctorOfficial NEW Vimeo : https://vimeo.com/dogdoctorofficial Under construction stay tuned ⸻ Explore the Gear that Powers My Grow If you’re curious about the tech I’m using, check out these links: 🔆 Lighting & Environmental Control • Future of Grow — Advanced LED lighting technology https://www.futureofgrow.com/ DISCOUNT CODE: DOG20 • Lumiflora — Under-canopy LED lighting https://lumiflorade.com/ • TrollMaster — Environmental controllers and automation gear (past collaboration) ⸻ Genetics • Zamnesia Seeds — Genetics used in this project https://www.zamnesia.com/ ⸻ 🌱 Soil, Substrates, Boosters & Root Support • Plagron — Substrates, bio mixes, and supportive products https://plagron.com/en/ ⸻ 🎒 Storage, Curing & Preservation • Grove Bags — Curing and storage solutions https://grovebags.com/ ⸻ 📸 Photography Equipment & Tools (Not sponsors, but part of my creative toolkit) • Sony A6700 • Sony full-frame macro lens + few more • Stacking photography workflow - learning • iPhone (for behind-the-scenes shots) We’ve got much more coming as we move through the grow cycles. Trust me, you won’t want to miss the next steps, let’s push the boundaries of indoor horticulture together! As always, this is shared for educational purposes, aiming to spread understanding and appreciation for this plant. Let’s celebrate it responsibly and continue to learn and grow together. With true love comes happiness. Always believe in yourself, and always do things expecting nothing and with an open heart. Be a giver, and the universe will give back in ways you could never imagine. 💚 Growers love to all 💚 📸 P.S. – The Eye Behind the Lens All photos in this diary (for now — except for the ones showing the camera, which I took with an iPhone) are taken with a Sony A6700 paired with a Sony full-frame macro lens and a few more. Photography is part of the story — it’s how we share the fine textures, the glow, and the quiet details that words can’t always capture. I’ve also started experimenting with photo stacking — a technique where multiple images, each taken at a slightly different focus point, are layered together to create one perfectly sharp image from front to back. It’s not digital enhancement or AI; it’s pure photography — a way to reveal the plant’s beauty in microscopic depth, from trichome to petal. You’ll even see a few shots of "ghost me" capturing the shots — camera, lens, setup — because every grow deserves not just to be cultivated, but documented like art. FOR DISCOUNT CODES AND MORE JUST FOLLOW THE LINK https://website.beacons.ai/dogdoctorofficial NEW DISCORD - Official Server Invite Link : https://discord.gg/ksjAkA5T74
Likes
70
Share
All feeds with nutes use either a whole ratio or combination of "Veg Mix" and "Bloom Mix"concentrates DILUTED in water until a total ppm of add in is reached using a (Total Dissolved Solids)TDS Meter measured in PPM (parts per million). The "Veg Mix" concentrate will eventually be added in smaller ratios and "Bloom Mix" concentrate what will eventually replace the "Veg Mix" concentrate entirely with the ppm and ratios listed when I feed. Veg mix recipe is on week 3. Bloom Mix recipe is on week 5. Day 56 Took some glamor pics with black background - not really for vanity (although there's a little) but for contrast. I see more of the lockout issue better in the pics this way. - on that note, the ph seems to be working as it's been two days since defoliation and knitting needle ph correction, and the progression is way slower than it was on the last leaves at 3rd day of identifying. So with that, room VPD of 1.07kpa seems stable enough with temps about 76F/65%RH/33%ILV I released the binds today to let her grow without them until they crowd each other too much and I need to restrain - so in a couple of days at max. Day 62 Transfer day. Although at first I didnt think I would be able to until Saturday, I got pots and plant saucers today, so I ended up going ahead and doing it. Started by calibrating/testing both meters. Double checked the soil mix from yesterday as the last time I used wood ash the ph rose the day after... however this time it was fully mixed to I wanted to know if there would be a higher ph - it was the same as yesterady - 5 reading avg of about 6.35 - the slurry of 1:1 soil and 7.7 ph water was tested at 6.3 also. Made about .75 gallon of 75/25 veg/bloom juice water at 500ppm feed water. Tried to ph read the soil in the pot and seen it go from 6.6 down to 6.35 (took video) in the dry soil, so I decided to use the 6.35 new soil reading and ph balanced the feed to that. Used the needles since it was 7 days since the last feed and I am using such a small amount. Poured over needles in 8 places and pulled each out to let water down. the vacuum pulls the water down when I lift the needles. Then I mixed 5tsp of Dynomyco to the 5 gallons of new soil and mixed really good. I placed a layer of perlite on the bottom of the 10 gallon pot and then layered in some soil. Then with the help of my wife we pulled the plant out of the pot and placed it in the 10 gallon. I place back in the tent and added about a quart of plain de-chlorinated water evenly over the new and older soil to help bind them. I reduced lights by 100ppfd to have about 505 and 500 at center colas and 430 lowest on outer ring with most at 450 and 470 highest. Soil to light is 35 inches and the plant is about 14 inches so about 21 inches from leaves to lights. I left the ring off today and will rebind as needed tomorrow after she rests. Today the leaves look wilted and limp. Also reduced humidity to 60% so 58 to 65% should be the range and the temps are 73F with the lights lower. PPFD was higher with the new growth - unbound and tucked in for better cola/light position, it reads 570 to 580 on outer colas and 590 at both center branches Day 57 Getting 1 more day out of free range growth before I tie her back against a ring. So in that time I decided to take a few vanity pics. Overall the ph block seems to have slowed or stopped and she's back to growing again. Will be thinking about flip at the end of this week or so. VPD same stats 76F/65%RH/33%ILV - ppfd right at max so I'll likely tie her off tomorrow. 605 600 in center and 580 to 590 at the outer ring. Day 58 VPD stats mostly steady again today - 76F/65%RH/33%ILV - ppfd was checked after LST, measured 600 at each center cola and the outer ring measured between 550 and 590 most at 580 So as I said, I did LST today to bind her more out while the 4 center 4 colas fill the middle. I had to bind to the pot base instead of the ring as the colas are still a little short to reach for binds at the ring just yet. There's a lot of space to fill and a few (about half) of the out colas are sideways for now. Had a break at the center cola when I tried to pull it back for bind. I knew to hold the branch at the node but forgot to do it here and heard a "snap" ... taped the crack and moved on - will monitor obviously Day 59 Did more light LST to ensure the branches are growing where I want. PPFD was mostly the same as yesterday only now there are more colas around 560 than 580 on the outer ring with the center colas at 610 and 590 (front cola was tied down to spread more away from the ring and fill center better. vpd same as past week or so 76F/65%RH/33%ILV Last feed was on day 54 and the soil still seems damp so I will check again tomorrow for the next day. (Day 61) The broken branch doesnt seem to have affected either side of the split as both sides seem to have grown a little with little to no wilt or drooping leaves. Im hoping it heals okay and doesnt delay flip to recover more; still monitoring. Day 60 Did some light LST today by releasing the lower binds to the pot and attached as couple to the outer ring now. So far I only have to bind a few as most are already holding where i want them to. Took the tape off the split and seen I didnt seel the gap closed when I taped it so now Im considering a drop of super glue to bind the branch back in hopes it grows onto the other side again. If not at least it would be more secure than it is now. And since it's a main split for 4 colas, I dont want too restrict it by binding at the split and potentially cutting off the nutrient pathways. ppfd after LST was 610 and 600 after more LST and the outer ring is still ranging 550 to 580 with more at 560 now. VPD same as I havent messing with any of the variables. 76F/65%RH/33%ILV Soil is a bit dry and it's been 5 days since the last feed flush, so I have about 3 gallons of tap burning of chlorine now for a feed tomorrow morning. Might still update again later if I find superglue... found some superglue - tried to take pictures but I cant hold, squeeze the applicator, and film with just two hands. So the idea gets through, I did both sides. On a side note I discovered a root popping out of the soil from the top. Covered it up but wasn't sure if I should be concerned. Day 61 VPD same as it's been for most of the last week - 74F/65%RH/33%ILV PPFD was recorded after I turn the plant a quarter turn for the smaller colas struggling to get over he ring's edge to have more light. Most colas at 580 with a couple at 600 and a couple more at 550 - center colas are hitting 615 and 620, but I have plancs to reduce in the next couple of days now On that note, the root growing out of the top tells me that she's hungry and needs more root space, even if that means growing through the top of the soil. So I plan to transplant to a 10 gallon and flip after the recovery. After reviewing more of NugBucket's journal I realized this is why he moves them when growing 16 colas. New pots should be here Friday so I should be able do it on Saturday. So I prepped soil (using more Happy frog with mycorrhizal fungi already growing in it for a few weeks) with de-chlorinated tap water Started by ph testing the soil and the water (4 readings on soil at 5.03 avg) - added about 1/2 cup total of wood ash to bring up the ph , mixed and tested again - added water at (about 7.7 ph) and tested again... last 5 readings in soil was 6.24,6.3,6.35,6.37,6.38 avg of 6.328 - covered and let rest until needed. Since I plan to transplant in a few days I felt it would be best to 'lightly' feed tomorrow, again on transplant day, and again 2 to 3 days later. Since my wife was taking pics at this time, I could only find this one to show the roots growing into the perlite then we planted it in the bigger pot. -------- (Day 62 root base picture from above) I have a hypothesis that says these are so short because I intentionally tried not to move the plant without the base stand to keep it from grinding these up and allowed them to grow in the last 2 weeks. This is that test picture/results. I like the idea of better/more drainage, but thinking I am doing more harm each time I hear those gravel pieces crunch as it cuts those and forces the plant to look somewhere else for root space. Notice how the small root lines have no finer pieces or laterals grow out from these - I believe that is because they are so new in growth and that the perlite chewed up the smaller laterals even with little to no movement over the last two weeks I would like to see a root ball experiment that exposed the roots throughout the grow but for now I can see these roots do grow into the base perlite and need to be handled carefully if you want them to grow more freely or with a standard pot size. As you can see Im not root bound but my plant thinks it is and is growing roots out the top.