


Likes
Comments
Share


@MrMaabra
Follow
German:
Ich hatte mit der Keimung zu Beginn Schwierigkeiten und Zeit verloren, da ich immer nur ein Samen genutzt hatte. Erst mit dem dritten von vieren hat es dann geklappt.
In der ersten Woche habe ich parallel zum Keimen meinen 30-Liter-Stofftopf mit Living Soil vorbereitet. Als Mulchschicht verwende ich unbehandeltes Kleintierstroh. Zu Beginn wird das Living Soil von Sonnenerde mit 15% des Topfvolumens angegossen, ohne, dass ein Drain (überschüssiges Gießwasser) entsteht. Das wäre eine Anzeichen, dass zu viel gegossen wurde und wertvolle Mikroorganismen und Nährstoffe aus der Erde gespült werden und das wollen wir nicht.
Für die beste Kontrolle der Bodenfeuchtigkeit nutze ich von Blumat einen digitalen Feuchtigkeitsmesser. Idealbereich liegt zwischen 80-130. Diesen Wert werde ich im Laufe des Runs noch erklären.
Parallel lasse ich einen Samen der Mandarin Punch FEM im Wasserglas Keimen — an einem dunklen, warmen Ort. Bei mir ist das in einem Küchenschrank. Nach drei Tagen ist der Samen aufgepoppt und kam in ein kleines Anzuchthäuschen mit ungedüngten Kokos-Tabletts, mit dem Ziel, nach einer Woche und guter Durchwurzelung direkt in den Finaltopf umzuziehen.
Im Video bereite ich den Topf vor.
__________
Englisch:
I struggled with germination at the start and lost some time because I was only popping one seed at a time. It finally worked out with the third out of four seeds.
During week 1, while waiting for germination, I prepared my 30-liter fabric pot with living soil. For the mulch layer, I’m using untreated small animal straw. To start, the Sonnenerde living soil is pre-watered with 15% of the total pot volume. I made sure to get zero runoff, as drainage would mean overwatering — which washes out valuable microorganisms and nutrients, and we definitely don't want that.
For optimal soil moisture control, I’m using a Blumat digital moisture meter. The sweet spot is between 80 and 130. I’ll explain what this value means later in this run.
Meanwhile, I’m germinating a Mandarin Punch FEM seed in a glass of water, placed in a dark, warm kitchen cabinet. After three days, the seed cracked open and went straight into a small humidity crib using unamended coco coir pellets. The plan is to let it establish a solid root system over the next week before transplanting it directly into its final pot.
Check out the video to see how I prepare the pot!

Likes
11
Share


@CocoLogic
Follow
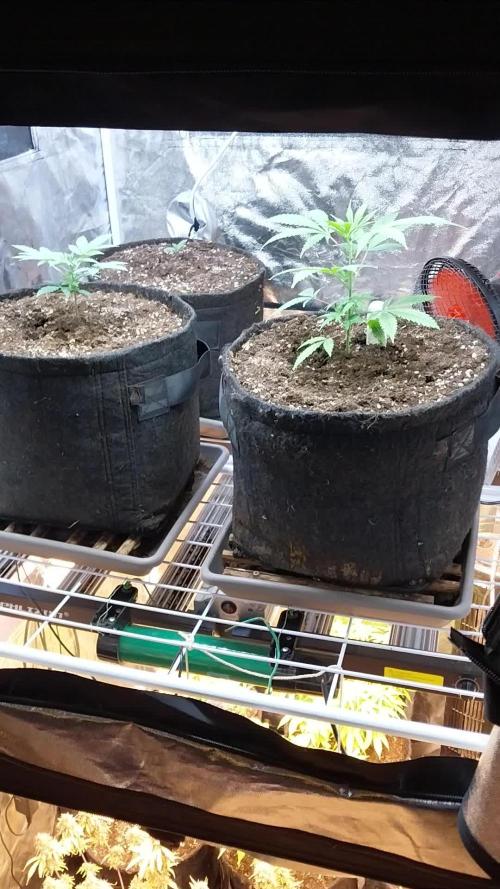
August 30th: (F13)
Fertigation once a day with same recipe (1150 EC 6.1 PH) watered until 10-20% run-off
August 31th: (F14)
Fertigation once a day with same recipe (1150 EC 6.1 PH) watered until 10-20% run-off
Sept 1st: (F15)
Fertigation once a day with new recipe (Mid-Bloom)(1200 EC 6.2 PH) watered until 10-20% run-off
Screwed each QB Board to the roof of each tent to gain some height space
Supercropped two branches on the TUT
Sept 2nd: (F16)
Fertigation once a day with same recipe (1200 EC 6.2 PH) watered until 10-20% run-off
Sept 3rd: (F17)
Fertigation once a day with same recipe (1200 EC 6.2 PH) watered until 10-20% run-off
Sept 4th: (F18)
Fertigation once a day with same recipe (1200 EC 6.2 PH) watered until 10-20% run-off
Sept 5th: (F19)
Fertigation once a day with same recipe (1200 EC 6.2 PH) watered until 10-20% run-off
Defoliation on both plants
Note: Im happy the TUT stretch is finally over, we are on the extreme limit on the light distance from plant in the TUT tent, I don't see any stress sign so far, will have an eye on this for sure in the next week! :)




Likes
9
Share


@High_Grade_Dadli
Follow
Two low branch broke off due to wind and
stem wasnt stong enough for weight of the buds....other than that just a handful or two of defoliation every two day or so....makes trimming ez lol
Likes
68
Share


@Roberts
Follow
Auto Northern Dragon Fuel grew really well in a small potter of a gallon and a half. I unfortunately had too much nitrogen in her system during flowering. This effeced my yield some. The flower that is there has a great cherry wood diesel smell. It was also very frosty and looks potent. I should get several ounces for sure once it is processed. Thank you again Super Sativa Seed Club, and Medic Grow. 🤜🏻🤛🏻🌱❄️
Thank you grow diaries community for the 👇likes👇, follows, comments, and subscriptions on my YouTube channel👇. ❄️🌱🍻
Happy Growing 🌱🌱🌱
https://youtube.com/channel/UCAhN7yRzWLpcaRHhMIQ7X4g.

Likes
7
Share


@Pushaplaya
Follow
A couple amber tricks, buds are getting heavy and falling over 😯 starting my flush with flawless finish tomorrow and gonna harvest at the end of next week 😁
Had a friend do a pre harvest smoke test from a bud I cut off for him last week, he smoked it last night and said it is fire 🔥

Likes
19
Share


@D33jW
Follow
OG Lemoniada – Week 9 Update (Harvest Day 65)
The journey with OG Lemoniada has officially come to an end!
She was harvested on day 65 of flowering after showing perfect signs of maturity – a thick, frosty main cola, faded fan leaves, and a terpene profile that was just screaming to be locked in.
The last week was all about low temps and low RH to bring out color, enhance trichome production, and slow the drying process right from the plant. The citrus-gas aroma was peaking, and the buds felt dense and sticky.
Overall, OG Lemoniada delivered everything I hoped for – she’s definitely a keeper. Now it’s time for drying and curing to see how she truly smokes. 💨🔥
🌞 Light schedule: 11/13
💧 VPD: 1.4–1.5
🌡️ Day temp: 24°C | Night: 16°C
💦 RH: ~45%
Let the cure begin!

Likes
20
Share


@Elysian_gardens710
Follow
Bravo Genehtik! They did an awesome job with this strain! She has been extremely vigorous and resilient (only auto that didnt stunt from transplant) we began LST this week as she has enough spacing between nodes and strength to withstand the stress. I managed to get her main branch bent to almost 90° and exposed 90%of her branches( ones is stubbornly hiding 😡) without stopping this is the best I could do🤷♂️
She is also starting the very beginning of a stretch she is drinking a bit more and her lower stalk is hardening up.She also popped flowers, earning her a name officially! Ashoka will be this girls name from here on out!
Stats:
Vivosun 2x4 tent
1gal water pitcher
Fox farms happy frog soil
2x viparspectra 600w refractive LEDs
Durabreeze carbon filter
4" inline fan

Likes
4
Share


@Bear_Grows_Green
Follow
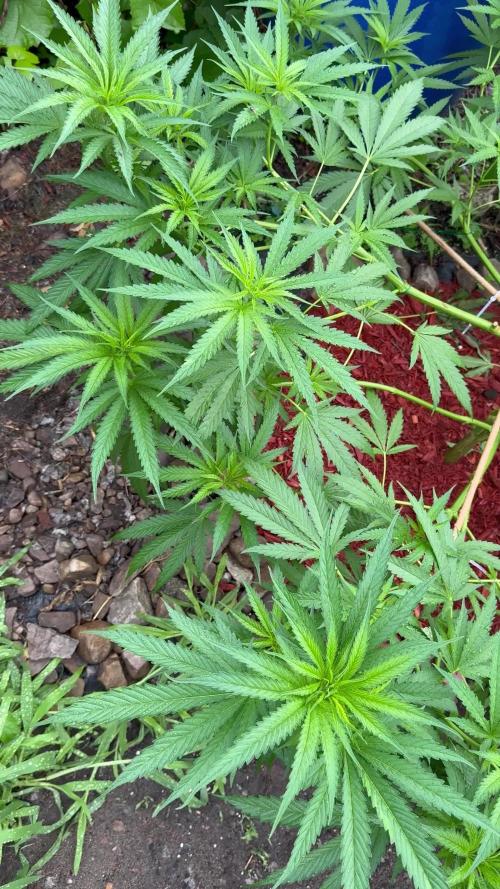
12/18 start of a new week. Smelling super strong now Trichs still a lot of clear no amber yet.
12/19 watered in gallon with coconut and q
12/22 turned the light down some and shortened lights on time by 2 hours and stopped watering. Will harvest coming Friday.


Likes
5
Share


@Kikiwindsurf
Follow
Hello Guys this week was quite tricky.
I NEED HELP WITH THE DOSIFICATION OF NUTRIENTS BECAUSE ITS GETTING COMPLICATED FOR ME IN THE LITTLE POTS.
Any solo-cup grow master can give me a hand ? Nutrients Top crop (roots and veg and microvita


Likes
10
Share


@Dr_Green_Thumb87
Follow
9/1 Day 79
She is in Stretch gaining height, consuming 2l water every other day at PH 6 . Drain PH @6.9

Likes
14
Share


@Growbody
Follow
Herzlich Willkommen zu meinem Grow der Lemon Cherry Cookies Auto von FastBuds. Der Strain hat beim American Autoflower Cup in Los Angeles 2025 in der Kategorie Best Auto Hybrid den 2. Platz belegt. Wenn der Name hält was er verspricht, ist das genau das richtige für eine Naschkatze wie mich.
Für den Grow wird ein 20 Liter ROOTiES Stofftopf verwendet. Und die Bio Hanferde von Sonnenerde wird verwendet mit der Bio Faser zum Mulchen. Die Bio Hanferde habe ich noch mit Monster Bud Mix für Living Soil von BIONOVA und Zamnesia angereichert.
Tag 35: Die Lemon Cherry Cookies Auto von FastBuds geht in die Blüte. 1,5 Liter Brunnenwasser gegossen.
Tag 37: 1 Liter Brunnenwasser gegossen.
Tag 39: 1 Liter Brunnenwasser gegossen.
Tag 41: 1,5 Liter Brunnenwasser gaanz laangsam gegossen. Die Blüten wachsen unglaublich schnell.
Schön, dass du meinen Grow angesehen hast. Schau mal wieder rein. 🌱😎
Likes
64
Share


@MadeInGermany
Follow
Hi Guys :-) .
I haven't done a radical LST this week :-)
I'm going to do a radical topping this week :-)
The only reason is that they are otherwise too high for me because I only have about 40 days in the flower tent 😂.
Don't be shocked next week (it will look fatal).
Type:
Blue gelato 41 clone from mother (Barney's Farm)
☝️
Genetics: Blueberry] Thin Mint Girl Scout Cookies x Sunset Sherbert
👍
Vega lamp: 2 x Todogrow LED Quantum board 100 W.
💡
Flower lamp: 2 x Todogrow LED Cxb 3590 COB 3500 K 220 W.
💡 ☝️
earth:
Canna Terra Professional +
☝️
Fertilizer:
Canna Terra Vega, Canna Terra Terra Flores, Rizotonic, Cannazym, CANNA Boost, Pk 13/14, Canna Cal / Mag, Canna Ph - Grow, Canna Ph-Flores
☝️🌱
Water:
Osmosis water mixed with normal water (24 hours stale that the chlorine evaporates) to 0.2 EG. Add Cal / Mag to 0.4 Ec Ph with Organic Ph - to 6.0
💦 💧

Likes
12
Share

@MrGrowDiarie
Follow
Day 70 – Flower Week 1 (Flip on Day 67)
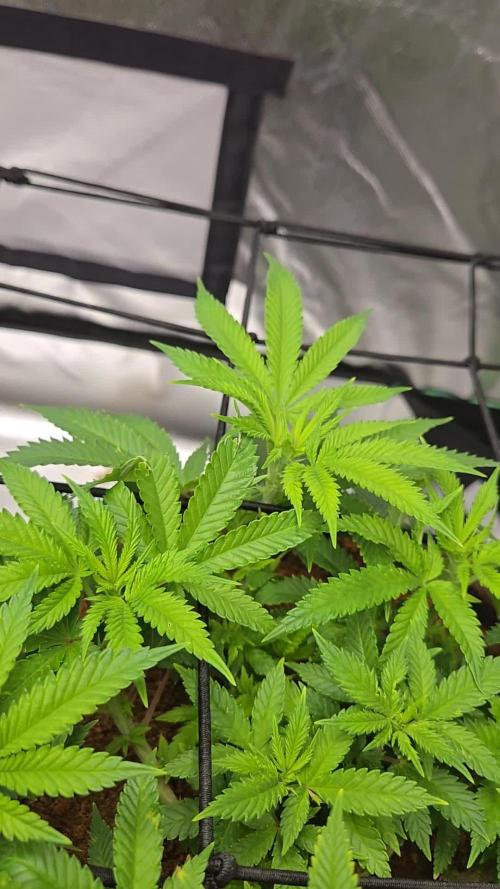
The plant has transitioned into flowering smoothly. The wide, low structure from the veg phase is still obvious—a dense, even canopy stretched neatly across the scrog net. Multiple tops are sitting at a uniform height, and the first small pistils are starting to show.
Foliage remains mostly healthy: a rich mid-green with a slight sheen. A few of the older fan leaves down low are beginning to yellow lightly, which is normal at this stage as long as it doesn’t accelerate. New growth at the top looks vigorous, a sign that the root zone is active and stable.
The post-flip stretch has started but remains moderate, which suits the flattened training style well. Light penetration across the canopy is excellent, giving every bud site an even start.
Likes
19
Share


@absolutgrow
Follow
Dear Grow Community,
I'm reporting back with the third week of my Northern light grows. All 5 plants have grown very nicely and enjoy the climate and the fertilizer. As with the RG plants I will start LST in the 4th week and keep you up to date.
Best wishes
absolute growth






Likes
15
Share


@GrapevineGrower2
Follow
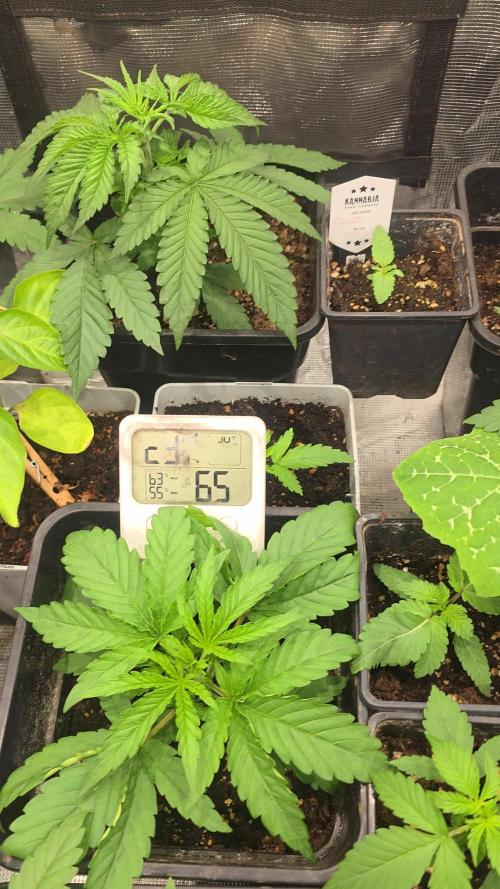
Haven't updated my grow diary for a little more than two weeks due to a severe back flare up. Yup, bad back strain, which has made it hard to sit, lay, stand for any duration of time. Suffice to say, much has happened since last update. Bucket change and upping nutrient (ppm) levels as I transitioned her to flower. And in that time, she received one defoliation in veg and a recent (and last) defoliation in flower. At this point, I just need to maintain healthy roots, consistent environment, and proper water levels with feedings. She's due another bucket change soon as ppm levels dropping and ph is adjusting upwards every reading. This is good sign from my understanding as a first time DWC grower.
As far as feeding, lowered grow big (veg) and upped both tiger bloom and beastie blooms along with a splash of big bloom and cal/mag. Topping off buckets with about 1100+ ppm, which helps maintain ph in bucket at roughly 700-800 ppm. But it's getting harder to maintain those levels in flower, so that's why I believe a bucket change is in order.
Here are photos spanning the entire 2-3 week period since last update.
Likes
8
Share

@Letterschminge
Follow
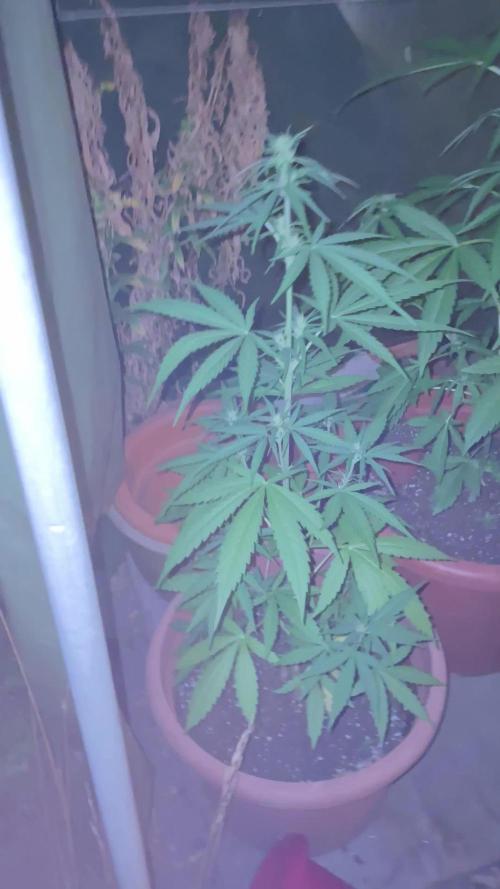
So bei sieben. Der neuen Pflanzen hat die Blütephase begonnen 🌼🔔 bei zwei noch nicht🌼🔕 sind wir beide von der selben Sorte Nummer zwei,wobei ich noch kurz festhalten müsste, dass natürlich nur drei Stück mehr gehören. Drei Stück meinem Schatzi und drei Stück meiner Schwester😉
