


Likes
Comments
Share

@GorkedOut
Follow
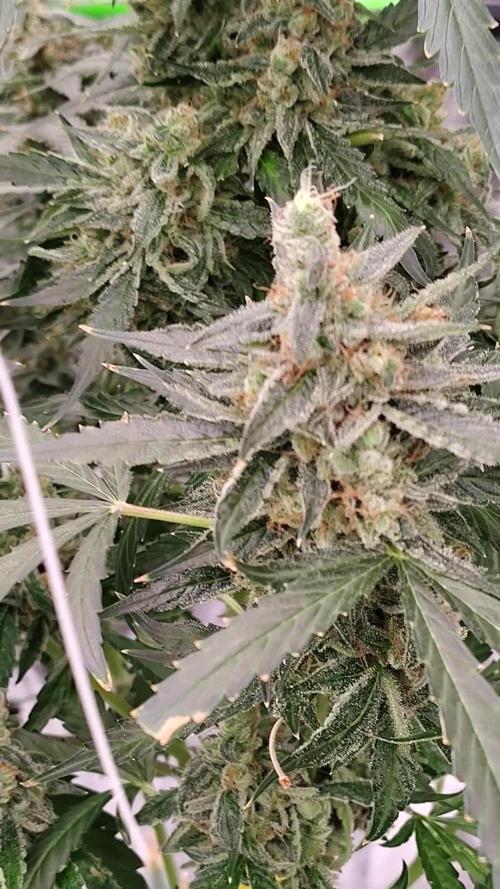
Week 11
Substituted the fox farms tiger bloom with plagron green sensation (0-8-9)

Likes
13
Share


@Tien0vatinh0
Follow
07/10: Mọi thứ đều ổn sau khi vào pgr.
09/10: vào cyco flower B, liều 0,5ml/1l. Tưới mỗi cây 3l.
12/10: vào thêm dinh dưỡng: b1 450ppm + b2 400ppm+ mkp 150ppm. Ph 6.5, tưới mỗi cây 2,5l
Likes
2
Share

@Weed_Wizard
Follow
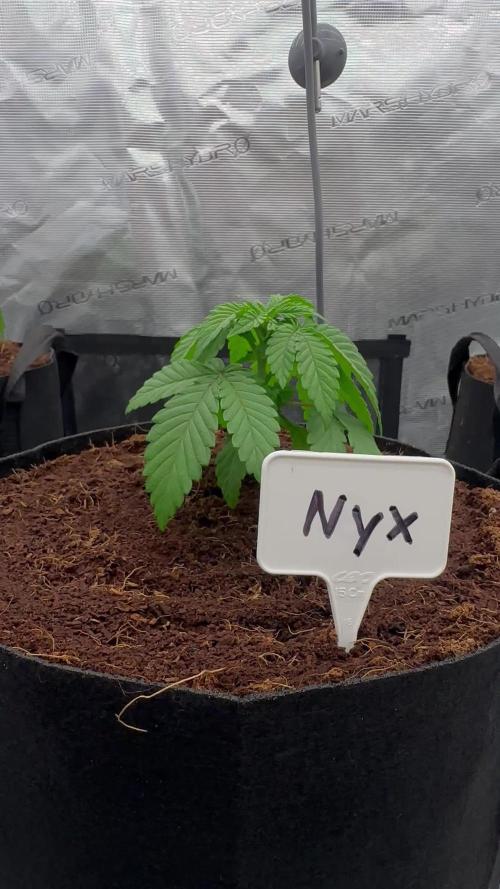
The girls are doing well so far. Advanced nutrients in combination with the Lumatek Zeus 600W Pro 3.1 is a killer combo. Also the coco substrate is working well so far. I placed them in bigger pots today . 🌱

Likes
5
Share


@deltabravo
Follow
She was nearly lost before she began. After 24 hours in water, I planted her directly in Bio365 soil. But she didn’t break the surface. By day four, I gently brushed the soil and found her buried deep but alive—a yellow curl with promise. I left her lightly covered, and by morning, Ada broke through. This week was about not giving up too early. A reminder that growth often happens unseen. We started slow, but we started strong.

Likes
21
Share


@MG2009
Follow
12/03/2021
All going pretty well, some leaves got sprayed to heavily with Neem oil and got burnt a little bit but they will be fine. Foliar fed (901C) spray leaves and saturated top of soil with sprayer. All in all a decent week I will readjust light distance to increase lights intensity sometime in the next week. Also need to number these girls so I won't confuse them. Update pictures mid week.
Likes
30
Share


@Smokwiri
Follow
Proof of germination inside ;)
I believe it's a felony in many many countries, look how innocent it looks and goes.
Soaked paper towel in ziplock bag.
Keeps the towel from drying out.
Has a nice root and transplanted to soil today, let's hope it pops out ouf the soil soon ;)


Processing
Likes
41
Share


@FrostyGardens
Follow
11/24/18
Week 5 of flower. I think im falling in love with these ladies the buds look so promising. I know the next is going to be exciting as they really start to pack on some weight. The smell is still not 2 noticable though. I thought it would be stronger at the point. Anyway im happy with everything so far. Smooth ⛵
11/29/18
Almost end of week 5 not much happening buds just putting on weight. They will get 1 more week of feedings (week 6) and then flush untill harvest.

Likes
1
Share


@kauilmayel1996
Follow
Está increíble
Fascinado con esta planta
Está enorme no cabe en el armario
Tiene un olor dulce como a chicle
Increíble planta para el hidro
Toma agua como loca...

Likes
10
Share


@Plzgrow4me
Follow
This week we switched both the bloom and veg lights on and that increased the heat in the tent drastically. The increase in light seems to be beneficial as they are growing a bunch daily. Started nutrients on Wednesday Apr 14

Likes
25
Share


@Brebzzz
Follow
I top one to see What happened, i gave her 8 liter per week to respect the cycle dry/wet hôpe all its good
4/12 end of the 4 week
Begin of a good and weak smel
Likes
2
Share

@MG2009
Follow
08/16/2020
This is my first clone from Red Sky, the mom of all these clones in the tent, (video #1).
All others are at different stages of flowering, she is beginning week number 3 of flowering.
Likes
12
Share


@Cheeba_Inu
Follow
After a week of growth, the Blackberry is out of the dome. It was overgrowing it, so I just transplanted it into its final autowatering pot for simplicity. I normally go seedling pot to 1.5g pot to 3-5 gallon pot, but this very tall 2.5 gallon airpot will be a first for me. I think the benefits it will receive outweigh the cons.
I am now running a humidifier at 60 percent RH, and will be watching the plants carefully throughout the week as I dial up the nutrients and ensure a good VPD for the plants. The Blackberry is a bit more vigorous and healthy than the Blackberry Kush by Dutch Passion growing with it. I hope the Kush catches up, but I am very pleased with the Fastbuds at this early state.
Thanks for reading, and stay safe everyone! 👍🌱
Day 10: started adding silicon and rapid start (and a little pH down) and upped the trio slightly. In case anyone is wondering if there is any perlite, there is! It's just chilling under layer of pure coco. Right now there is 3l of perlite per pot, with the highest concentration lowest in the pot. The Blackberry is growing very well at this point, and definitely does not mind the earlier transplant!
Day 12: I lowered the light height by 8in, down to my more usual vegitative height, to ensure maximum light exposure for this vigorous plant. The Blackberry is doing well, and will definitely get topped after it gets another node or so of growth.
Day 13: I am running low on calimagic as a cal mag source, so I switched out to Greenleaf nutrients cal-mag pro that I have a bag of (that will last forever!) It has a bit more nitrogen, which is good for the current plant stage, so I can save the calimagic for flowering if the plants don't mind the switch. I mix about .5-.6 EC worth of Cal mag, which is about .625tsp per 5 gallons of the Cal mag pro. I will have this reflected on tomorrow's diary entry.
Likes
27
Share


@knackundback
Follow
###Deutscher Text unten
The week started well until I noticed the yellow tips on day 24. I had actually ruled out overfertilization as I hadn't fertilized at all.
Apparently, however, the nitrogen is released/absorbed irregularly in pre-fertilized soil. The Floragard Grow Mix is apparently very strong and more suitable for photoperiodic plants.
I skipped the planned fertilization with Terra Vega accordingly.
However, my girls survived the whole thing well and have now entered the flowering phase. On day 29, I gave them their first fertilization with Terra Flores. I'm currently watering one liter every 2 days.
I had problems getting the humidity down. It was actually always over 60% in the grow tent. I had to open the tent and set up a dehumidifier in the room, so I get 40-50 LF, but the room also gets quite warm from the dehumidifier and half the house “smells” of the three ladies.
Not ideal, the next grow will go outside in June.
I have the feeling that I should defoliate the plants to give the buds more light. But I don't want to stress the plant, especially as it's an automatic. .... So far I've only tried to pinch off the large leaves. Maybe you have some advice for me!
###Deutsch:
Die Woche begann gut, bis ich die gelben Spitzen am Tag 24 bemerkte. Eine Überdüngung hatte ich eigentlich ausgeschlossen da ich noch gar nicht gedüngt hatte.
Anscheinend wird der Stickstoff in vorgedüngter Erde aber unregelmäßig abgegeben/aufgenommen. Der Floragard Grow Mix ist anscheinend doch sehr scharf und eher was für photperiodische Pflanzen.
Die geplante Düngung mit Terra Vega habe ich entsprechend ausgelassen.
Meine Mädels haben das ganze aber gut überstanden und sind jetzt in die Blütephase übergegangen. Am Tag 29 gab es dann doch eine erste Düngung mit Terra Flores. Ich gieße im Moment einen Liter alle 2 Tage.
Hatte Probleme die Luftfeuchtigkeit runterzubekommen. Im Growzelt waren es eigentlich imm über 60%. Musste das Zelt öffnen und im Raum einen Entfeuchter aufstellen, so komme ich auf 40-50 LF, aber der Raum wird auch ziemlich warm durch den Entfeuchter und das halbe Haus "duftet" nach den drei Damen.
Nicht optimal, der nächste Grow geht im Juni nach draußen.
Ich habe das Gefühl, dass ich die Pflanzen entlauben sollte um den Buds mehr Licht zu geben. Ich will aber die Pflanze nicht stressen, vor allem weil es eine Automatic ist....Habe bis jetzt nur versucht die großen Blätte runterzudrücken. Vielleicht habt ihr ja einen Rat für mich!
Likes
9
Share


@Pakkapon2477
Follow
ทำใบ week 1 จากต้นโคลน ไฟ 18/6 hr
แอร์ 24 ชม
ปุ๋ย compost tea
Trmp 26
Rh 65-70%
Co2 1200 pom
Vpd 1.13


Likes
23
Share


@SativaSteve88
Follow
Start of week 5 now concerned with the height its getting other grows of the same strain I've seen biggest at around 86cm, how come its stretching out so far, will this effect my overall yield at all? Can't believe how big they have got barneys say upto 70cm, my first ever grow so unsure what to expect but i think its going well upto now, done a slight defoliation this week and introduced boost to my feed starting with a small amount, appreciate any info thanks, have switched to 12/12 hopefully stops them growing, am upto 117cm and 105cm smallest is at 76cm tall
Likes
10
Share

@carlitoshaze44
Follow
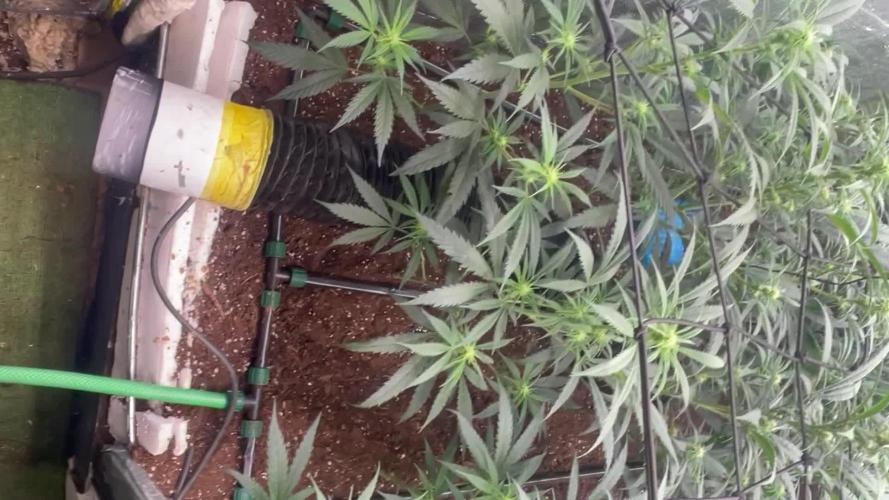
Día 20!!! Estamos en el punto de comienzo de la 4 semana de floración ! Esa en la que notamos como el cultivo nos da el cambio que queremos y a partir de los dos vemos como
Nuestras flores evolucionan de una manera u otra dependiendo de clima,genética,nuestra mano con ella etc..
Vamos a comenzar la media floración bien cargados con la paleta de nutrientes alta en potasio y nitrógeno!
Siempre añadiendo también,nuestras mañanas de agricultor.
Tuve el fallo de abrir el tupper de lombrices y echarlas a el cultivo y no poderos grabar el proceso.
Fue algo rápido que hice con el armario apagado..lo tuve que iluminar por un minuto para añadir la bola de lombrices unas 60!!!
La siguiente tanda de flores si empezara a sacarle provecho a estas amigas!!
Deciros que el cambio en altura es muy grande no para aún de crecer!
Y las últimas están engordando mucho las flores a pesar de el corto periodo se ve que nuestra selección de amnesia haze,es un fenotipo muy especial..
Es de unas 8 semanas de floración y muy buena productora!
Día 21
Primer día de la cuarta semana de floración tenemos una escalera
Desde la puerta del armario hacia el fondo tenemos alturas que van 54cm/62cm/71cm/80cm
Gracias a el control individual en altura de cada luminaria iré trabajando con el control de dividir el área en tres Alturas diferentes,así lo requiera cada planta.
Una pequeña planta que está cerca de una rendija de ventilación tuvo unas pequeñas picaduras de tips”.
Observaré si no es de un periodo anterior de antes del fumigado..
Si no es así trabajaré un poco de jabón potásico y ajo!
De momento el olor es muy sutil.
Algunas flores empiezan a producir resina de manera temprana.

Likes
19
Share


@MaxGrowCanada
Follow
First time grower, criticism will be well recieved😀
Two plant ebb and flow setup in a 3x3 as a test run
Top feeding until I can afford the rest of my setup🙄
Started seed in water balanced to 6.0
Sat. Feb. 29th
Tap roots within 12 hours, directly into pre soaked rockwool cubes.
Broke the surface march 3rd.
Began 1/4 strength micro, grow, bloom and stress relief
Using very hard water for the next couple days, roughly 450 PM out of the tap.
Ro system to be installed march 6th
Ro system now installed.
Start of week 1 will be Saturday the 7th of March.
Day 2:
Turned the light down to roughly 50%, instead of raising it, due to the fear of light burn. Will look into it soon.
Plants seem to have recovered after I decreased the light intensity.
Fan and filter purchased.
Alternating flush and feed cycles 12 hours apart to keep salt sats down.
Day 3:
Bumped light intensity back up to roughly 75% of the ts1000's capability or 700 "light units" from a cheapy 3way meter.
Adding as much co2 as I can through baking soda and dilute phosphoric acid.
Day 4:
Exhaust fan with climate control installed March 10th
Day 5:
Girls exploded now that I have my salt build up figured out .
Day 6:
Light back up to 100%
Day 7:little droopy on the one plant, gonna let them dry out a day
Setup should be complete for start of week 2.(actually sick right now and having trouble getting supplies)
Still need a flood table setup.
Likes
20
Share

@GREENPHOENIX6262
Follow
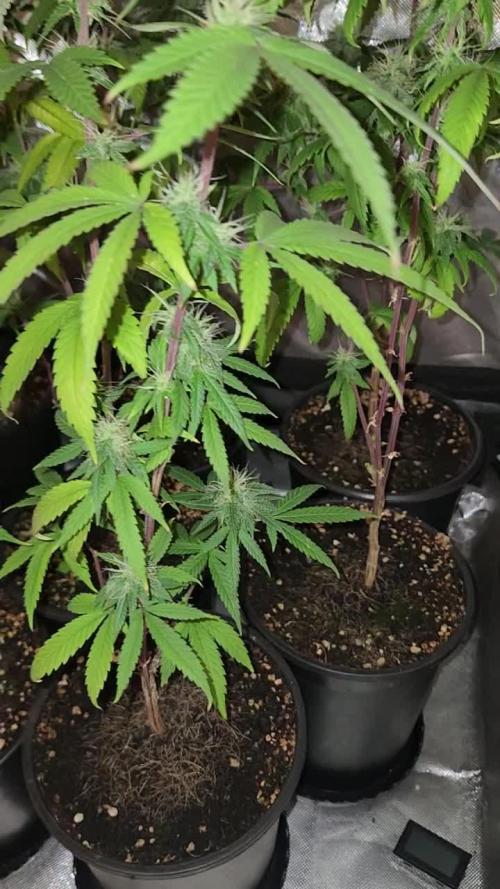
05/30 - (C) - As we closer to harvest all 8 ladies are running at full capacity with 0 issues - I will be increasing their nute feeds to 3 times a day and will be using more phosphate, potassium and Cane Molasses on the heavy feeds and Silica, Flower fuel, kelp and bloom for supplement feeds. The aroma from these girls is amazing, they have balanced notes of citrus, lavender and earthy notes. Follow my IG:Greenphoenix6262 for more content😎😎😎

Likes
39
Share


@CURATI_DA_SOLO
Follow
In realtà ho coltivato 2 semi di questa pianta una l'ho raccolta e seccata mentre un altra è ancora in flush e verrà raccolta tra 5-6 giorni. I fenotipi sono quasi identici e predilige un odore di gas e og! L'effetto è devastante molto narcotica e a breve pubblichero qualche foto di qualche estrazione a freddo! Spero che piacciano a qualcuno i miei lavori e che qualcuno di voi si possa ispirare a tutto questo.
Ringrazio ogni singola persona che è passata di qui a lasciare il suo like o commento e ricordo a tutti voi che potete trovarmi anche su Instagram 😘