


Likes
Comments
Share


@all_about_420
Follow
Eine enorme Streckdynamik prägt die aktuelle Phase des Junky 99 Projekts von Brothers Grimm Seeds, während die zweite Blütewoche voranschreitet. Beide Pflanzen schießen extrem in die Höhe und legen im Verlauf der Woche einen gewaltigen Zahn zu. Dabei wird die morphologische Vielfalt dieser Genetik immer deutlicher, da sich die beiden Damen in ihrer Wuchsstruktur sehr unterschiedlich entwickeln: Während das eine Exemplar ein sehr homogenes Bild abgibt und seine neuen Blütenansätze wunderschön gleichmäßig über die gesamte Krone verteilt ausbildet, bündelt die Schwester ihre Energie ganz anders und lenkt die Hauptkraft primär in zwei dominante Hauptspitzen, die deutlich herausragen. An den Triebspitzen sind bereits die ersten feinen weißen Härchen zu sehen, die den erfolgreichen Übergang in die Blütenbildung markieren. Die Nährstoffversorgung läuft weiterhin absolut fehlerfrei, die Blätter zeigen ein sattes, gesundes Grün und beide Pflanzen strotzen vor Vitalität, während sie den Raum optimal ausnutzen. Es bleibt extrem spannend zu beobachten, wie sich diese zwei unterschiedlichen Wuchstypen in den kommenden Wochen unter dem Licht weiterentwickeln werden.
Likes
4
Share


@Jardin33ro
Follow
Semana de engorde total, la planta con el overdrive ya se ve renovada, llena de pistilos nuevos. Mucha resina y mucho olor, se siente como un caramelo de anana 🍍 Vamos de a poco bajando la ec y el ph mantenemos en 6,4 para que coma y terminar en un 6.3 con 1.4-1.6 de ec estaria ideal

Likes
30
Share


@ChitownCannaChica
Follow
She has some big leaves, but staying pretty short. Going to move it around the grow room to change the light position to hopefully get a taller plant. ✌️💚🌿💨. Just water for now

Likes
21
Share


@FlavoursUk
Follow
Great grow from start to finish, very resilient plant and would of given her some more TLC if I was to grow her again.


Likes
8
Share

@ThatsmyGrow
Follow
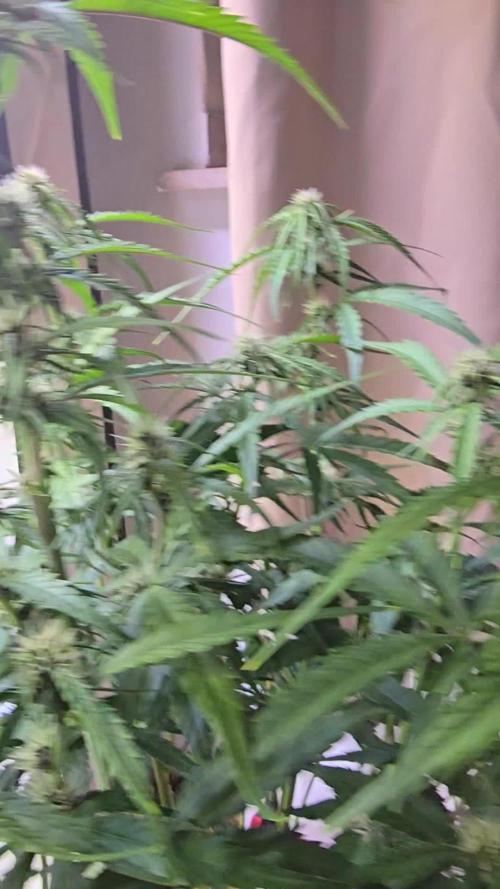
I hope the tropicana terb will hit so hard, i need some fruity buds in my tent. But she looks great, little bit flatt but wide 😂

Likes
24
Share


@Mastr
Follow
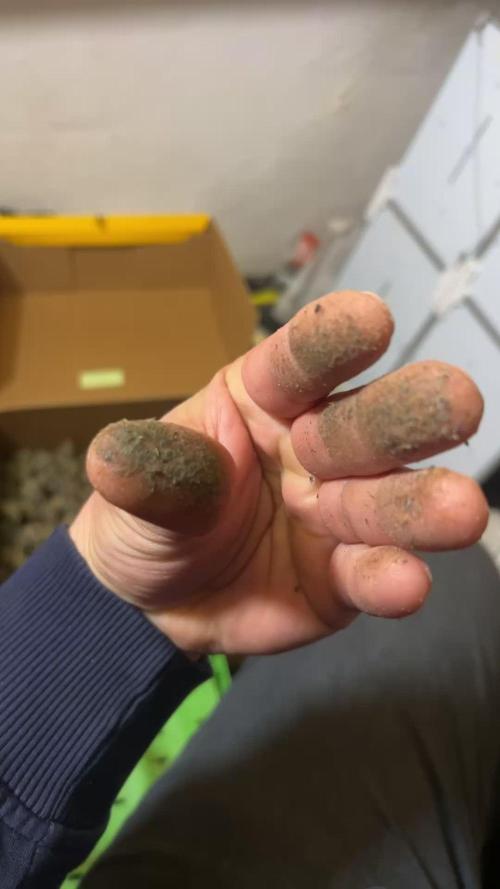
Chop her down day 87 trim hang it to dry
Update after 3 days been drying I cut all leaves and trim everything bud almost dry due low humidity so I add humidifier keep working I let her dry for 7 days atleast
Will update many more pic after been drying and after jar curing

Likes
3
Share


@Lazuli
Follow
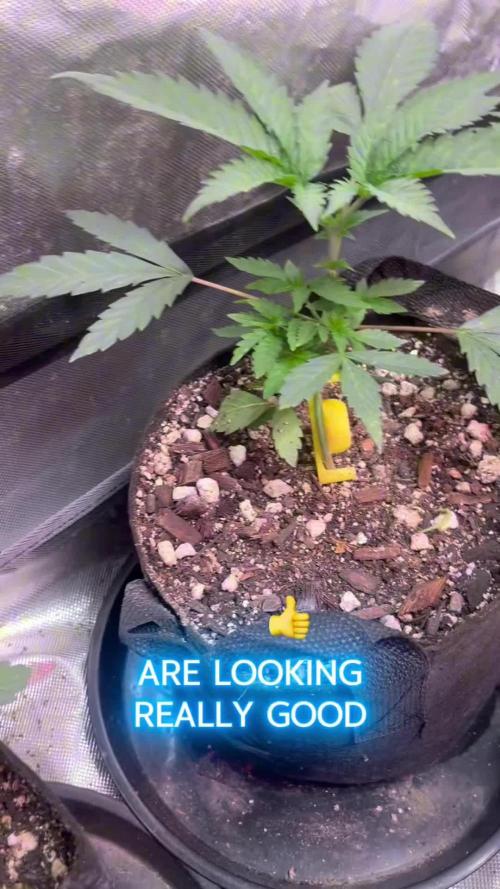
Beautifull plant, i love the smell its really sharp and the buds turn purple if u look close


Likes
70
Share


@Insaniac_0
Follow
I want to thank all the growers that take the time to post their work and results, these journals were invaluable in my grow. I also want to thank Royal Queen Seeds for making such a resilient plant available to people like me... I really tortured this girl.
Site update really ruined the experience of posting for me for the moment ... so Im going to take a break for a bit and perfect my craft on my own while it works out the kinks.... I cant post many pics, the order of which I can organize them is locked out or moves to another position, and it takes forever to fully load the page so I can edit or update. But I 'really' wanted to finish this journal, so here it is. I promise to be back better than ever once the site works it all out. Hopefully not too long.
This was my first seed to weed grow and I learned a lot. I hope my notes, pictures, and videos benefit someone else as well.
My results were not typical, Im sure I could have done better, and I will continue on my path to learning and becoming an experienced cultivator of cannabis with skills I can be proud of.

Processing
Likes
3
Share


@HeavensHarvest89
Follow
Great plant man I am loving her she is growing like a champ even after all i put her thru and snapped one of her colas but all good she bounced back like nothing happened will be growing more Fast Bud strains
Likes
60
Share


@m0use
Follow
Good little week, Last week I did not update the diary till a few days after when I took all the pics and videos but it is 1 week apart from last despite it only being 3 days GD post time.
Transplanted my little plant #4 into a 2Gal pot, gave it some LST and a 2nd topping and took off some leaves that where touching the dirt after LST. This one will grow outside of the tent and I will get it under some supplemental lighting as soon as I get a box/text going for it. I won't be using my sf1000 Like I previously thought of doing, I'm going to put it under my 6500K Sun Blaster LED strips that I like. the 18" ones daisy chained together. Fun little thing I noticed is when I drilled holes into the pot a few inches up for air pruning. It made a line in the root ball that divides it in two half's. nice to have extra roots, might be a reason to do this on other pots that are hard plastic. Even if it smaller pin hole sized vs larger 1-2cm holes I bet its beneficial for my grow style. Have some before and after LST photos of it. these plants are trippers and can handle some abuse.
All clones have roots now as well, that's a big bonus. They came out of the humidity bag I had them in and so far no signs of excess stress. Will keep them in smaller containers till I know what plant I like the best if any out of the mix. Will likely only be going off of looks vs taste or effects. I also might just gorilla garden them in a few spots I know of. I have a buddy in the city who has a garden and does nothing with it. If I plant them there they will sink up their yard im sure and they will love it.
Regarding the LST snaps from last week, I have patched up the breaks with some string, its not 100% and kinda shity but the plants are healthy, I have heard some users use surgical tape with much better results so will need to grab a roll of this in the feature if I continue to snap the ladies on LST. Not much going on other with them, they are getting acclimated to their new home, no water was needed just letting them explore, will likely need to give them a nice water in a few days once they drink up the rest of the pots volume. After that will top again and then flip to flower after a week of recovery. so week 11 or 12 flip to flower.
Big shoutout to Medic Grow for sponsoring the lighting in my tent, They have provided me with 2x Mini Sun 2's in the 240w configuration, They use the v1 growing spectrum that is a all purpose seed to harvest spectrum so their is no hassle of switching it mid grow. If you interested in learning more about Medic Grow products please visit the web link below.
https://medicgrow.com/
https://growdiaries.com/grower/MedicGrowLED

Likes
201
Share


@Hattiwatti
Follow
Hola.
Once again this little f**ker just stand there doing anything. 2 others didnt ever sprout. Humidity was between 20-25% so i bought humidifier there for 10 bucks. Raised it to 50% over night.
Lets hope best and see you next week.


Likes
27
Share


@adam_pawloski87
Follow
Today is Day 50 !! We have started flower an they are just looking amazing! We have switched up the nutrients for flower, instead of 1 tsp bloom and 3 tsp of veg , we just swap 3 tsp of bloom and 1 tsp of veg !! Can’t wait to see what these laddies do this week!!

Processing
Likes
6
Share


@ProfDoty
Follow
Excited for my first Sweet Seeds run. Amazed I’ve had these seeds for almost a year now and literally jus popped them in the soil right from the pack. Lightly watered and cup misted with water on top. Took 3 days to break the medium. Only way to go is up from here!!!
My first official grow
All comments welcomed
HELP ME!!!!!! Lmao


Likes
40
Share


@Bread_n_Buds
Follow
Here we are again, after hot summer ready to start again, always under the sign of Zamnesia, we make our fantastic plants and we show you what we are capable of. We have 5 autoflowering strains and 5 photoperiodic and now we present them to you.
The first lady we present to you is the Blue Cheese F1 Auto, I asked the Zamnesia elves to send me these seeds because I loved this strain so much in the past. I remember well when it came out on a trip to Amsterdam we went crazy. And I remember well when a dear friend of mine used it with phenomenal results. This strain has a background in me. Great fruity flavors very intense I remember. Let's see what comes out.
To explain my germination method which is a combination of experiences acquired in the field and readings of right advisors, I chose to divide it into phases so whoever wants can follow them and understand better step by step.
Preparation Phase Check the average temperature in the room, humidity status to understand if it is the case to start or wait, I decided for the end of August because the temperatures start to drop towards the 22-25 degrees recommended for germination.
Then another thing more or less credible depending on the sensitivity is the control of the lunar phases. I believe in it a lot, it is a method that ancient farmers used to understand when it was best to plant depending on the attraction of the moon. To make my life easier I use a simple app that advises you on the right time to plant, harvest and put in the jar (depending on the lunar phases).
Phase 1 - Soaking in water. There are many authoritative friends who advise against this method due to the risk of drowning, but I have always been fine and I follow the rule if it opens in water the seed is almost certainly healthy and will come out of the soil 90% normally.
Phase 2 - Opening the seed in water. As soon as the seed opens and the root comes out a little, you have to be very very careful not to leave the seed in the water open for too long. This is why there is a risk of drowning. So as soon as the root comes out, it must be planted. Do not wait for it to stretch out a lot, you can wait a little longer in the absorbent paper in water, no.
Phase 3 - In the meantime, while I soaked the seeds, I prepared my pots: I use small biodegradable pots (choose those with holes underneath for drainage). A few hours before working with the opened seeds, I moistened the soil with water adjusted to the right pH (5.8 - 6.2) and Plagron Power Roots. The small root is now open and we can make a little hole with a toothpick, widen it and insert the seed. Not too deep with the root facing downwards. From Serious Seeds we learned the dome technique: if you put a small dome of soil on the seed the water will settle on the sides avoiding overwatering problems.
Phase 4 - The plant emerges from the soil. So far I have not put the light, now I turn it on at minimum after half a day of soil to give direction to the seedlings. The first week the light will be gradually brought from 40% to 60% to go to 70% - 75% in the remaining weeks of veg. During the first week maximum, I keep the cycle of 24 hours to avoid stretching. Be careful not to exceed the first week at least with photoperiodic plants.
— Umidity 70% - 75%
— % of germination - In water 20/20 seeds have opened for good luck I'm waiting to talk when they come out of the soil but it seems that we are going towards an excellent percentage of germination..."Not too bad"...
— The soil used is entirely organic in its entirety and is Plagron Promix
which will be used with the 100% organic pack that you can find on Zamnesia
https://www.zamnesia.io/it/11457-plagron-easy-pack-natural.html
If you were looking for a reliable, versatile and accessible strain, here it is. Blue Cheese F1 Automatic by Zamnesia Seeds uses F1 genetics to produce uniform, rewarding and easy-to-grow plants. This strain stays small, so you will have no problem finding a place to grow it. After just 10 weeks from seed, you can enjoy tasty buds with relaxing effects.
- strain — Get a seed of this fantastic strain - https://www.zamnesia.io/it/10673-zamnesia-seeds-blue-cheese-f1-automatic.html
- Soil and Fertilizers — entirely organic - https://plagron.com/en
- Growbox — https://www.secretjardin.com/
- Music and vibes — I made my girls listen to 432hz frequencies and music from www.radionula.com
- Z — You can find these seeds, much more from the world of cannabis, mushrooms and an incredible series of accessories and gadgets on the reference site not only mine but of many growers https://www.zamnesia.io/it/

Likes
18
Share


@Cannaguy
Follow
Topped all 4 plants once they developed 4 nodes, will be training branches out this time to open up the middles of plants