




Processing
Likes
10
Share


Likes
6
Share


@Kloud9gardenz
Follow
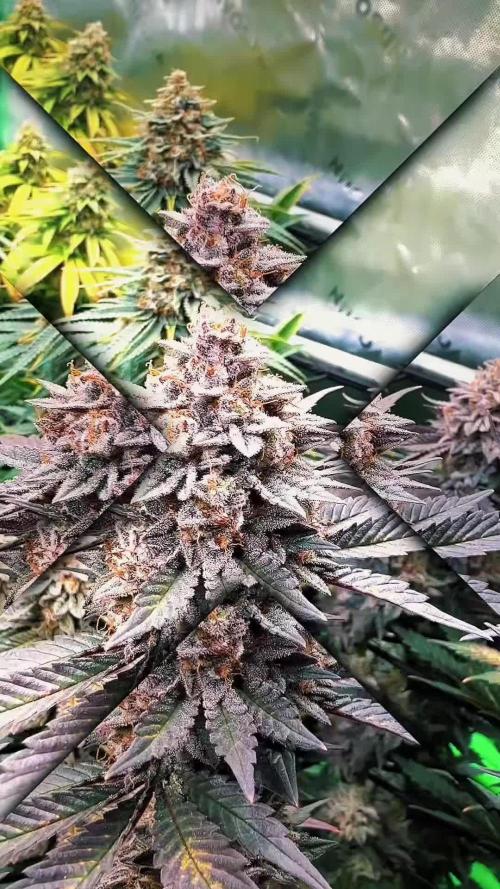
Space is limited and I'm struggling with the time to keep up with these plants since things are back to normal on my parts of town. Just gonna keep about eye on em at keep defoliating. Plants were flipper after a month veg.

Likes
19
Share


@creichs
Follow
still have slow bud growth from the PF. Holy Punch is still getting fatter and taller colas. stopped giving nutes at the end of this week as harvesting is expected in 2

Likes
17
Share


@SkunkyDog420
Follow
Hallo zusammen 🤙.
Habe sie heute geerntet.
Wir sehen uns in 3 Wochen mit dem Erntebericht.
Rabattcode für den BIOTABS-Webshop https://biotabs.nl/en/shop/ GDBT420, damit erhalten Sie 15 Prozent

Likes
48
Share


@Theia
Follow
I am not sure what the deal is with the Chibans. They look mutant to me maybe due to pollination. There is so much crystal forming up on them and they still look beautiful.
Plant 1 is huge with big colas that are fragrant and very very sticky to the touch.
Plant 2 looks the most normal as far as bud structure to me. She has not got the same flattened of tops but instead are more cone like . Also very very crystal heavy
Clones 1 and 2 look like monsters to me. Their buds are bulbous and fat with a very flat round top and quite a bit larger then golf balls! I have never seen bud look like this but then I have never had pollination issues and watched the plants quite as much as I am at the moment.
We will keep going with them and see what we get. I hope for some smokable bud and also some Sherbert banana seeds maybe🤪👍👍.
Thanks for looking.
Stay safe.
Grow well.🌱🌱

Likes
15
Share


@Jr104th_st
Follow
They been doing good this past week some I cut off some water leafs and they started booming the 3 cuts are good one seems like it rooted roots caught on to the cube already hoping they get better waiting for funds to get the fish shit start using that as soon as possible


Processing
Likes
33
Share


@Eyeduno
Follow
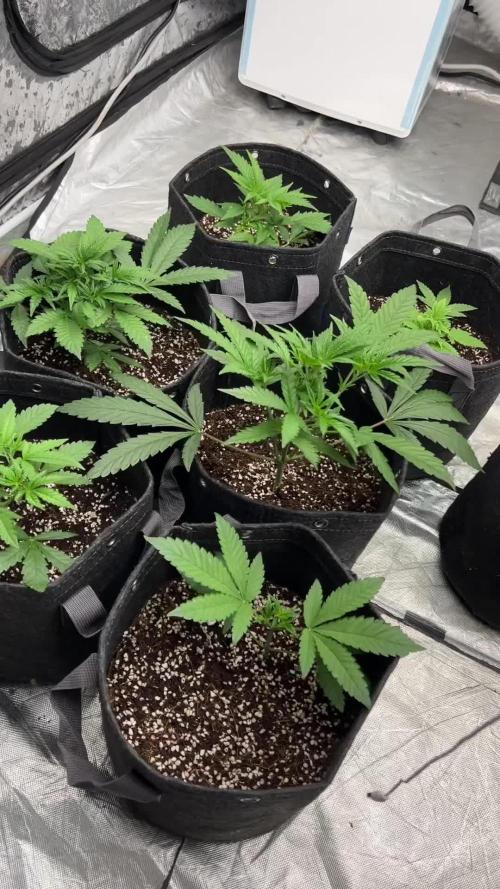
moved the seedlings into a veg tent get em going abit faster gonna take cutting off them so I’ve got what I need 🤞🏻



Likes
77
Share


@Basementganja
Follow
I love the sativa shaped nug-towers! When my plants grow big, I like to grow them until the very end of their cycle! That's why the extended flower period.
Video of Measurement of yield: T=Tops(92grams), M=Mids(59.1 grams), L=Lowers(58.6grams)
Total: 209.7 grams (1-2 grams worth, was taste-tested prior to scaling.)

Likes
20
Share


@STAYINGONMYMAINCBATORUNTWO
Follow
This was my best experience yet with growing and am quite proud of myself! Training went almost perfect and the plants handled the resistance strengthened up and sprouted so many buds! All we’re dense and frosty by the end time! I dried in brown paper bags in 17.5-18.5c temps with a humidity of 40-50% and took 7 days to dry! I have them curing in 3L glass jars with 62% Boveda pack inside! I’ll be able to really taste the flavour then but it’s already strong and tastes great! Royal queen seeds are definitely worth a top place on seeds!
Added a few photos after cure! The smell is like sweet pungent and flowery and the high is full body and u get itchy eyes and dry mouth!
Likes
15
Share


@herewegrow
Follow
Day 29 - She's looking super healthy! Strong branches, sides are reaching up, no discolorations anywhere. The stretch has been good to her. Watering about every 3 days.
***VIDEO UPDATE***
Day 31 - Fed Tiger Bloom at 1/4 strength.
Day 33 - Looks like she handled the nutes just fine, probably take it up to 1/2 strength next time.
Day 34 - Watered
Day 35 - Looking good, some very light discoloration on some of the lowest leaves. I will up the nutes next feeding.

Likes
3
Share

@BabaHase
Follow
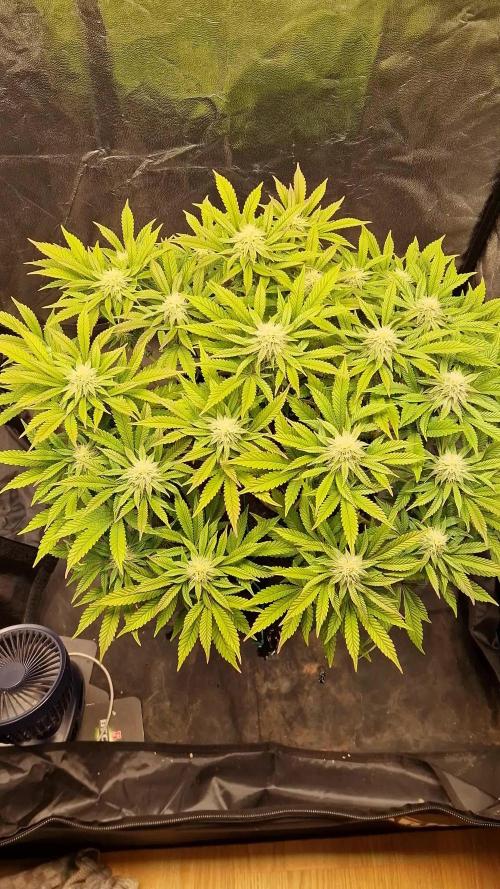
Pink Rozay war mit Abstand das leckerste weed das ich in meiner Zeit angebaut und probiert habe. Ich kann es nur jedem empfehlen diese Sorte mal zu probieren!

Likes
69
Share


@Natrona
Follow
Sour Jealousy Auto FastBuds 2025 Outside Grow
Week 7 May 11-17
FLOWER 1
Sour Jealousy has started to flower. She is 18” now after a 6-inch spurt. She really benefitted from last week’s rain. This week’s weather has been cloudy and sunny but the temps ranged from 93 high and low of 53 at night. I watered and fed 2x with Kelp 30 ml/g and TPS1 4ml/g. I included some garden pics and some cool boats. I live in a coastal area with 6 bridges. Since maritime law still governs commerce, the boats have the right of way to vehicles. On this day I got stopped by the bridge opening and was close enough to see the boats. A parade were luxury yachts.
Your likes and comments are appreciated. Thanks for stopping by.
Growers love 💚🌿
💫Natrona💫
Likes
11
Share


@CHILLING_RACOONS
Follow
Hi Dear Friends, 👨🌾 👩🌾
This plant is shy and slow LoL
Now it is recovering good, but the start was a bit difficult :P
✅ VEGETATIVE week #5
📅this week goes from 12/12 to 18/12.📅
💡💡💡Viparspectra XS2000 is working at 50% power.
💉🔍Fertilization schedule:🔍💉
14/12 eposom salts 2g/l foliar and 1g/l irrigation
The first one is dead.. this is the second seeds, the third one died too...
WE ARE BACK!!!
We are back after a little pause.
We take a break because we were too busy to post high quality diaries. In the last diaries we tried to post as good as possible and we have to publish about 6 or 8 diaries (in addition to these that we will publish shortly). We opened also an educational Instagram page, we growed a lot in a short amount of time BUT, Instagram suspended our account and we lost all our posts, I was so sad and disappointed... a lot of work lost in a night....
Now we started a new grow with six awesome strains!!!!!
In this diary you will see our journey with Peanut Butter OKGB by Original Sensible 🤩, sit down and enjoy the show!
We are growing in a 15L Smart Pot with Light Mix soil by BioBizz
DATA SHEET:
Do-Si-Dos , Cherry Pie Kush, Secret Hybrid
Genetics: mostly Indica
Yield: 700g/m² indoor
flowering time: 50/55 days
THC: 25%
Aroma: buttery nutty
Effect: relaxed sedative power
💸💸💸💸💸 Here you can buy seeds of this top shelf strain: https://originalsensible.it/original-sensible-seeds-peanut-butter-ogkb-fast~21712
🔧💡OUR SET UP💡🔧
✔️ 💲💲💲VIPARSPECTRA 🚀🚀🚀🌕🌕
ViparSpectra®️ XS2000 240W Infrared Full Spectrum LED Grow Light:
Excellent ratio between wattage and ppfd, excellent light penetraton, perfect light spectrum (it also has IR 🤩) and it has the best build quality on the market. Until now, built quality is really awesome. You can touch that quality. Materials are really strong, excellent driver and the best leds on the market. Heat dissipation is perfect, the lamp is never too hot and it has a passive dissipator so you will have zero noise. It also has IP65 certification. I like that this lamp is bigger than others, so the 240w of power are well distribuited on the space. Viparspectra has an awesome customer service, and shipping was creazy fast!
This awesome brand also offers 3 years warranty.
This lamp has no rivals.
A special thanks to Emily of Viparspectra ❤️❤️❤️❤️
HERE YOU CAN BUY THIS PROFESSIONAL LIGHT: https://www.viparspectra.com/products/xs-series-xs2000 or https://amzn.to/3dyUoJl
and here you can buy other awesome stuff: https://www.viparspectra.com
✔️ 💲💲💲MARSHYDRO 🚀🚀🚀🌕🌕
📦120X120 GROW TENT: an awesome box, easy and fast to assembly. Made by strong materials, solid zips and it is totally lightproof. The position of holes is optimal and the two lateral windows will make easier the work inside the box. There is also a double end, so you are 100% sure that dirt or liquids will not spill out. You can find it here: https://www.mars-hydro.com/grow-tent/buy-mars-hydro-grow-tent-48x48x80-1680d-4-x-4-size-keeps-all-light-in-top-quality-1680d-canvas-is-tear-proof-and-double-stitched-light-blocking-fast-installation-for-sale
💡TS 600 FULL SPECTRUM 100W LED GROW LIGHT : with this light you will achieve excellent buds, you will not need anything more. This lamp replace a 150w HPS lamp, but, with this Led Light you will smoke bigger, harder and tastier buds because Led have a complete spectrum and a powerful light penetration, so your plants will work as much as possible to make you happy. Psssssss it it extremely cheap and it is only 100w, your bills will never be too high, YOU HAVE NO EXCUSES!! Here if you want this little beast: https://www.mars-hydro.com/led-grow-light/mars-ts-series-led-grow-light/mars-tsw-600-led-full-spectrum-hydroponic-led-grow-light
Thank you Eleen of Marshydro❤️❤️❤️❤️
💣Quantum board - 480w - 4x120w Boards by Zhoangshan Koray Opto-Electronic Ltd.
Samsung LM301B 288 led/board 3000K 0dB noise
+24led/board led Osram 660nm
Efficiency 2.6 umol/J 220 lm/w
Driver: Meanwell HLG-480H-36B
💣Quantum board - 240w - 2x120w Boards by Shenzen Yuanhui Led Ltd.
Samsung LM301H 504 led 3500K 0dB noise
+24led/board led Osram 660nm
Efficiency 2.7 umol/J 220 lm/w
Driver: Meanwell HLG-240H-48B
-ESTRACTION FAN:
Blauberg 125 Turbo Pro Series
Maximum air flow: 430-560 m³ / h 50W 32-44 dBA
-FANS:
A)OSCILLATING FAN D.15cm 2 speeds 20w
B) COMPUTER FAN Sunon DP200A – 230V 20w (Strong, reliable and quiet)
C)Cornawall Electronics Multifan Turbo, three speeds, can be used both on support surfaces and mounted on the wall. High capacity, about 740 m3 / h. High silence and reliability.
💊💉💊FEEDINGS:
We used BioBizz light Mix
TOP CROP:
-DEEPER UNDERGROUND: to stimulate roots system
-TOP VEG: for a excellent growth in the vegetative phase
-GREEN EXPLOSION: to promote creation of bud sites and to allow a faster growth
-MICRO VITA: bacterias for equilibrate the soil and to make the plant healty
-BIG ONE: to stimulate bud sites and to stimulate resin production
-TOP BLOOM: to achieve excellent big and hard buds
-TOP CANDY: to feed the buds with molasses for a tastier smoke and to gain weight
-TOP BUD: to enlarge buds and to gain weight
PLAGRON: PK 13-14 to have big and hard buds and to feed plants with lower effort
ADVANCED NUTRIENTS: Sensi Cal-Mag Extra-> for cal mag deficiency
GROTEK: CAL MAG for cal mag deficiency
HESI: PowerZyme to clean and balance the soil. It feeds the plant cleaning the soil.
GHE: - Final Part (ex Ripen) accelerate the final flowering phase, dissolves minerals in excess
- Flash Clean to flush the plant and to be sure that all excesses are out from plant and pot
These two products improve A LOT the smoke of our babies
-PURPINATOR to stimulate flavonoids and to have a better taste and smell.
____________________________________________________________________________________________
🙏❤️ THANK YOU FOR BEING HERE ❤️🙏
Please leave a comment with your opinions, it is very important to us to have a comparison.
If you like our job, tap the weed button and follow us. It will be really appreciated.🙏
We want to thank again everyone that help us in our project. You support us to support our dream. ❤️
SPREAD THE LOVE OF THIS PLANT ALL AROUND THE WORLD
🌿Thank you again🌿
❤️Sweet hugs❤️
👨🌾CHILLING_RACOONS👩🌾

Likes
3
Share


@GreeneScene
Follow
She’s off to a start. No additional water had been given since the seed was sowed 6 days ago. Day #7 will arrive Sunday 6/12
Cheers 🍻 everyone, let’s get growing 🍃
Likes
17
Share


@HighZenBerg
Follow
Welcome back to week 3 of my mutant girl.
Nothing much to say about the week, I enjoyed seeing the growth of new leafs and a more darker green Color.
The plant is vital but still very tiny. At the end of week 3, I will move her to the final pot an start giving BioBizz Bio-Grow nutrients. Hopefully that will increase the size.
Keep in touch !
Cheers,
HighZenBerg

Likes
18
Share


@Grower_Of_Persia
Follow
my dry and cure style is this:
4 days of hanging upside down to get water activity lower to around 0.6 in 50% humidity and 26 C temp (i know its a little high but we are in a hot summer right now and i cant get it lower even with air conditioner) and then after 4 days of drying i remove leaves and stalks, trim buds and move them to jar for the rest of their life :D . and in the first 4 days of curing i open the jar door and let hem get some fresh air in the jar for about 5 minutes and close the jar door again, after 4 days of curing like that buds are smokable but they will get better as they getting cured about 1 month.
buds are one of the hardest as fucking rocks type of buds! very dense , compact , sticky , smelly , amazing at every aspect
growing stage was 56 days and flowering stage was 75 days total (harvested tops at day 64th)
the total weight of dry buds was : (plant #1 & #3 top buds 56 G + lower buds 22 G ) 78 G + (plant #2 top buds 47 G + lower buds 18 G ) 55 G + (plant #4 top buds 120 G + lower buds 67 G ) 187 G = 367 G



Likes
156
Share


@StarLorr
Follow
Helloing 👋🏻friends and visitors.
Welclone to my Clone diary🙃
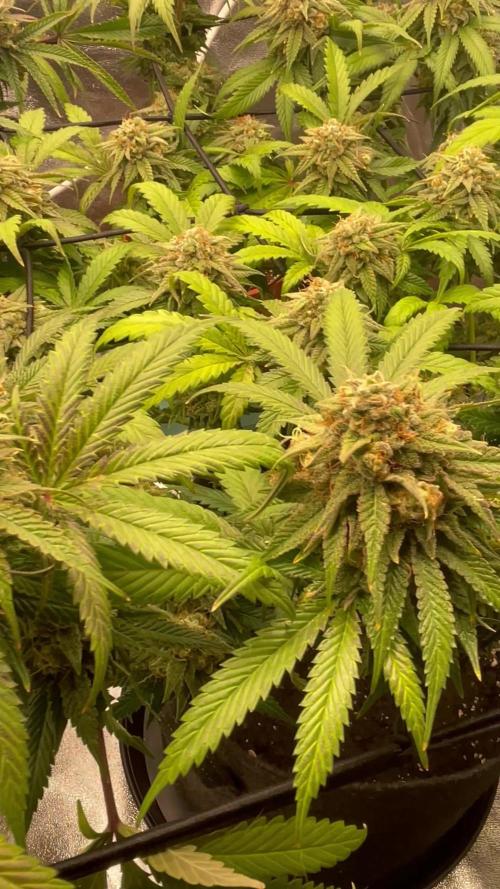
Clones are doing very well, did more defoliation trying to get more light to penetrate the plants and exposing bud sites.
Feeding:
Tue 14Nov: 2L each with nuts pH'd 6.35
Thu 16Nov: 2L each with nuts pH'd 6.34
Sat 18Nov: 3L each water only pH'd 6.5
-------------------------------------•
Hope you enjoy the videos and pictures.
Thanks for stopping by, likes and comments are appreciated.
Keep on growin!
Keep on tokin!!!
😙💨💨💨💨💨
