


Likes
Comments
Share


@GREENPHOENIX6262
Follow
06/18 - This grow was more focused on technique and final product in the mother clone process. I used this grow to better work to work on things such as mother development, clone cuttings, extended Veg cycle, flower transition and nutrient feeding cycles. In the next stage of harvest I will focus on the drying, curing and trimming aspect and dial into produced a high quality product keeping in mind it is not always about yields. 😎😎😎😎😎
Peace and Bud... Follow me on IG:Greenphonenix6262😎😎😎😎😎😎😎😎😎😎😎😎😎😎😎




Likes
10
Share


@Servietsky
Follow
Another good week getting ready.
They are all very well, as envisaged last week I will switch to Extreme mode of the table Aptus.
I hope not to make mistakes, my mixture is ready but I find it very busy, but I tell myself that I follow the guide Aptus.
We'll see 😥😱

Processing
Likes
68
Share


@themartian911
Follow
hello some news on vegetation day 22,
start the bio grow, and bend the four Lateral head, and crap when i bend a stem has cracked but she is not cut I straighten them with a piece of iron she can go back. 😀👍

Likes
18
Share


@Bread_n_Buds
Follow
Do Si Dos is one of Zamnesia's favorite strains, this time we grew it in the F1 Hybrid Automatic version and we have two plants.
The one you see in most of the photos that was worked with a main lining and due to its characteristics of low internodal distance and the slightly cold climate it remained in Bonsai style. It will not be a huge production but from the structure and the start of flowering we are ready to bet that it will be beautiful.
Of the other one left to grow straight I will only put a few photos in the growbox and as soon as it is ready however it will have the full service like the others, the plants worked with the techniques have stolen a bit of the scene from the plants left to grow straight which are obviously finishing a bit earlier.
We are still using soil, fertilizers and all the additives recommended by Plagron 100% organic. We are still in the early flowering program that maintains the same additives Power Roots, Sugar Royal, Pure Zym and adds the flowering stimulant Power Buds. Of course the basic fertilizer is now Alga Bloom.
The Green Sensation hero of the end of flowering will arrive and at the same time it will be time to remove power roots and a week later the enzymes.
---- Decide on the right soil and calculate your feeding schedule based on the soil on the official website. -- www.plagron.com
Try a seed of this strain that drives us crazy..
---- https://www.zamnesia.io/en/10664-zamnesia-seeds-do-si-dos-f1-automatic.html
Zamnesia Description // From the team at Zamnesia Seeds comes Do-Si-Dos F1 Automatic. Using consistent and reliable F1 genetics, this strain is not only incredibly easy to grow, but also offers potent and delicious buds. The plants remain small and offer a reliable growing experience that everyone will appreciate.
All the best that mother nature has to offer is at ---- www.zamnesia.com

Likes
27
Share


@BoytzzBudzz
Follow
Wasssssup guys!
Welcome back.
Week 9 is on and the plants look insane. The flush has seemed to boost the trich production and the zkitz should be ready for harvest in a few days! Got mainly cloudy trichs, just gonna give it a few more days to finish the ninth week and then chop chop chop..
The Runtz is packing on size again now, so Gonna leave it another week or two depending on the trichs. Exciting times!!
Edit - check the purps on the zkitz - it’s looking so beautiful 😈
Thanks for stopping by.🙌🏼
Processing
Likes
3
Share


@Papabro2k
Follow
Seems to be growing nice so many budsites she’s drinking a lot 2ltr a day easy I’ve added a bit of budcandy to see how she handles it
Likes
49
Share


@Mosquito_Haarlem
Follow
Bedankt @Weedseedsexpress voor de sample 👌🏽
Een prachtige strain.
Ze had niet veel aandacht nodig.
Haar buds zien er verrukkelijk uit.
Dikke compacte buds vol met thc.
Ben zeer benieuwd hoe ze zal smaken.
Ik heb de plant in zijn geheel opgehangen en dus geen nat gewicht genoteerd.
Als het droog is zal ik de buds wegen en natuurlijk proeven.
Dit zal ongeveer 2 weken duren.
Tot dan 👍🏼

Likes
29
Share


@Ukfarmer420
Follow
Hi guys
So here is my 10 plant auto run from fastbuds 420 genetics. I will update weekly on this one. So I'm going to be using 3 gal fabric pots filled with biobizz lightmix soil.
I will be putting into solo cups after the 18 hour soak then transferring them to there for ever pots. Im looking forward to this run and trying to get 20oz + dry and cured out of this 4x4 tent grow.
Part 2 of germination in operation in solo cups with root juice. Hopefully 10 out of 10 pop.
Likes
10
Share


@DangerMouse
Follow
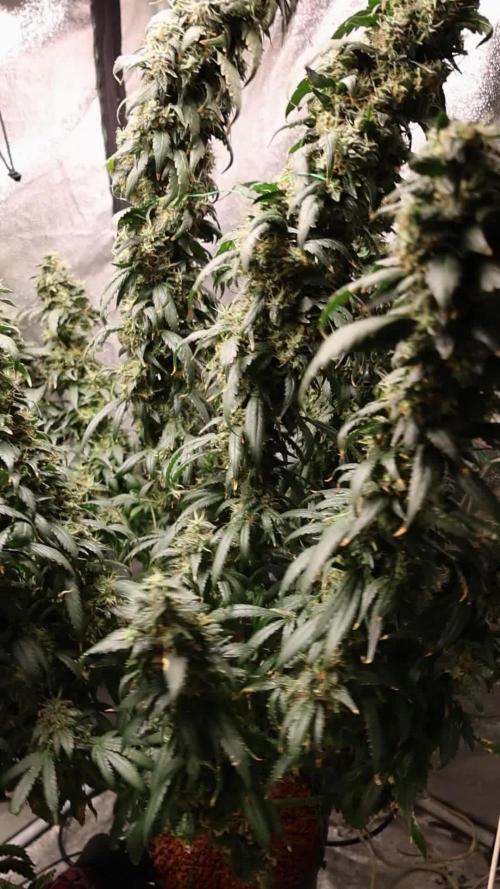
Even though I made some big (rookie) mistakes, she's really forgiving and with the right care I'm sure she can grow out to be a proper monster. No bugs, mold, mildew or anything that was a reason for panic. I started flushing too soon and completely stopped her growth, a wise lesson. Because she was harvested a little too soon there is more of a head high instead of a body stone and depending on my mood I like it that way. She's supposed to be a heavy hitter but because of the early harvest she's a good companion during the day and will actually allow you to have a normal, fun conversation.
So in conclusion, i'm pretty happy with 127 grams of harvest for a first proper grow using a self made 200W LED growlight and DWC setup. More plants will be grown, thats for sure.
Thanks for reading and feel free to leave a comment!
Happy growing,
Danger.M




Processing
Likes
15
Share


@MG2009
Follow
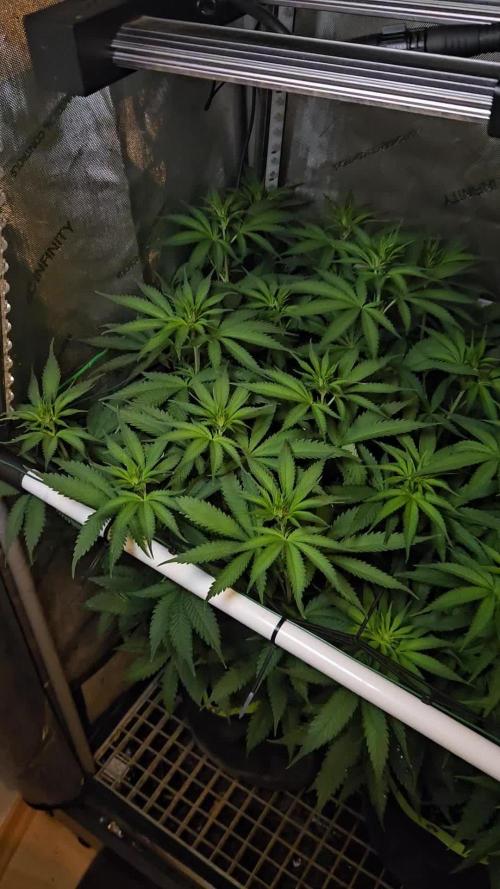
Top dressed with Budswel guano 0-0.7-0,watering in with protilizer mychorihiza.

Likes
307
Share


@Ju_Bps
Follow
Hello growmies 👩🌾👨🌾🌲🌲,
👋 Stretch continues, girls look doing good 🦔 coming
Start to smeel out the tent, I've up the extractor.
Weather continues to be very cold, should be up next week
💪 Keep Working on the canope, removing leaves and under buds site.
💧 Give water each 2/3 day
And vaporise plant with water + Plagron Roots (1ml/l)
2 l Water + Roots + Bloom + Zym + Sugar Royal (1 + 3 + 1 + 1 ml/l)
PH @6
💡Mars Hydro - FC 3000
50% 42 cm.
Mars Hydro Fan kit
Setting 6
Have a good week and see you next week 👋
Thanks community for follow, likes, comments, always a pleasure 👩🌾👨🌾❤️🌲
Mars Hydro - Smart FC3000 300W Samsung LM301B LED Grow Light💡💡
https://www.mars-hydro.com/fc-3000-samsung-lm301b-led-grow-light
Mars Hydro - 6 Inch Inline Fan And Carbon Filter Combo With Thermostat Controller 💨💨
https://www.mars-hydro.com/6-inch-inline-duct-fan-and-carbon-filter-combo-with-thermostat-controller
Anesia Seeds - High Mars 36% THC🌲🌲
https://anesiaseeds.com/product/high-mars/

Likes
4
Share

@Borberad
Follow
Woche 11
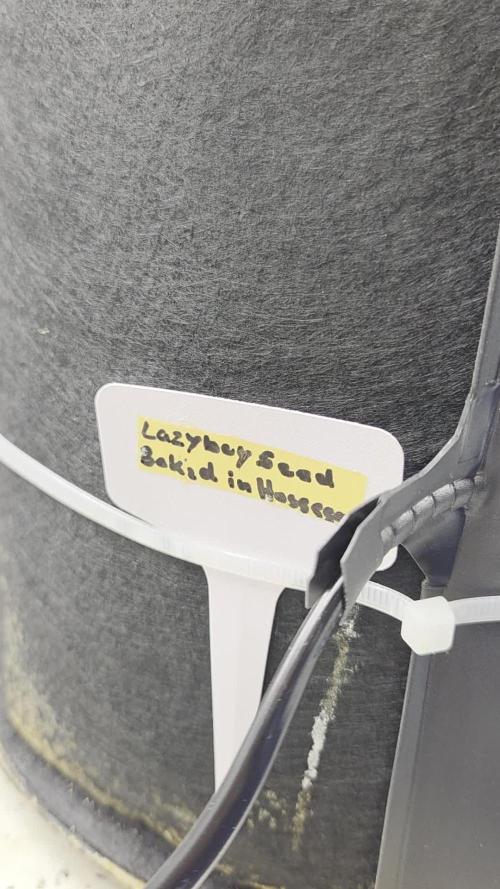
Nachdem die Blüte sich recht lange nach hinten geschoben hat und nun auch die Blütenansätze etwas seltsam wirken, müssen wir wohl festhalten, dass die Gute wahrscheinlich mit ihrer Mutation zu kämpfen hat, und nicht wie erwartet zu einer nährstoffgierigen Palme geworden ist. Parameter wie Bodenfeuchte oder Überdüngung (pH, Ec) wurden gecheckt ergaben jedoch keine Auffälligkeiten. Mal schauen, was aus der kleinen Mutantin evt. doch noch erwächst. Interessant zu beobachten ist an dieser Stelle, wie dicht die noch recht kleinen und knubbeligen Buds mit Trichomen bedeckt sind. Sollte das Pflänzchen noch ordentlich zu bulben beginnen wird es eine Glitzerpracht werden.
Likes
9
Share


@CampaCavallo
Follow
Allora ragazzi?! Come va? Spero bene come questa cucciolotta di Fast Buds 👍🏽
.... Ma qualcuno di voi ha riconosciuto questo seme misterioso? Io qualche idea ce l'avrei, e voi? 🎄😘


Likes
53
Share


@Schnabeldino
Follow
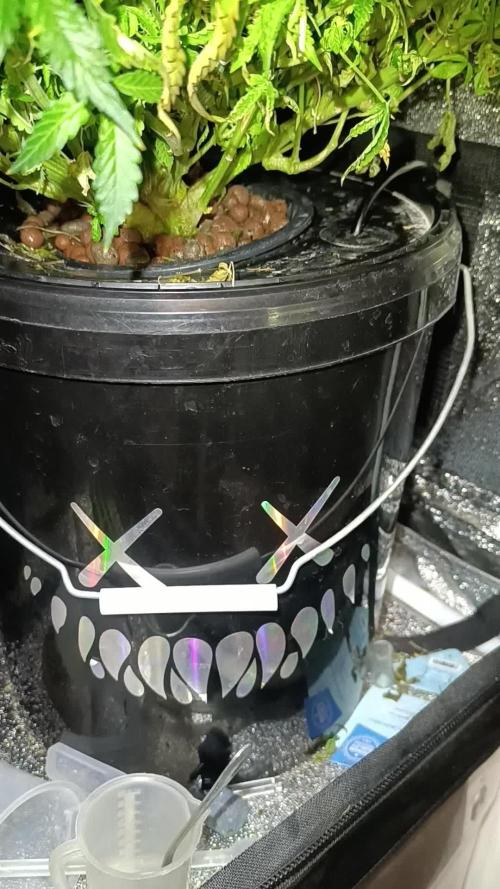
The buds have developed very well this week.
I had to run the dehumidifier for a few days because it was too humid for me. I had had experiences with mold and therefore preferred to be more careful
I am very satisfied... The gorillas already look very sticky and shine silver, like a silverback gorilla.
The Honey Cream looks like I remember it...very fluffy and hairy calyxs
---------------------------------------------------------------------------------------------------
Controller AC Infinity Pro
- connector for the external light control, RJ-12
- 2 plugs with which I can control dehumidifier and humidifier.
- 2 fans run 24/7, 1 Oscillating from spider farmer
Light - 12/12 h
PPFD - 900-1000 µmol
VPD - 1,3 - 1,6
week average
RH: 54,8 %
Temp: 24,2 °
VPD: 1,38 kPa

Processing
Likes
27
Share


@HjelmVapor
Follow
Wow , week 1 bloom of my first grow , and Legal grow . Finally seeing buds has reinvigorated me lol i vegged these gals a full 8 weeks and the nodes per plant are over a dozen right now , lil buds are growing nicely even considering i have defoliated each plant once this week with a few additional handfuls of leafs here and there . Started with bud ignitor hopefully that is helping and we will see by end of week 2 😁😁 also i took down my scrog , i just wasnt able to to get into each plant and defoliate as needed with the scrog present . Next time i will scrog alot earlier during veg .
Thanks for checking out my grow , if you have any tips or tricks for a rookie im all ears
