


Likes
Comments
Share





Likes
120
Share


@DogDoctorOfficial
Follow
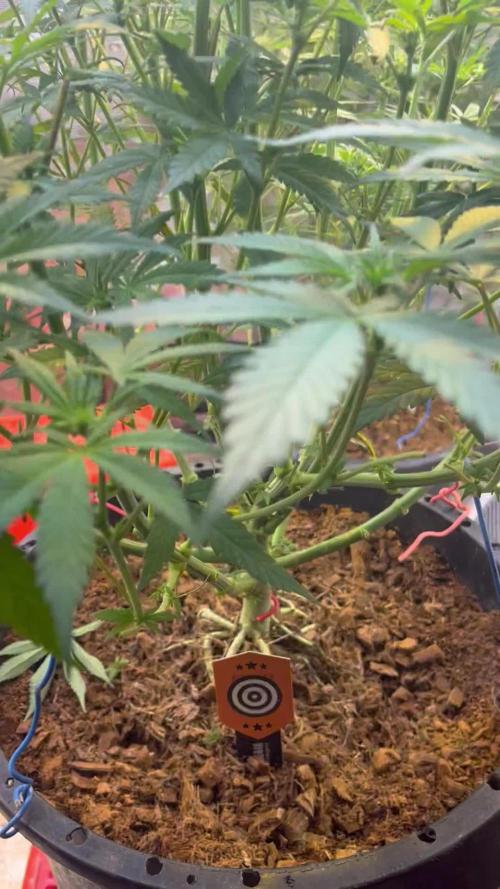
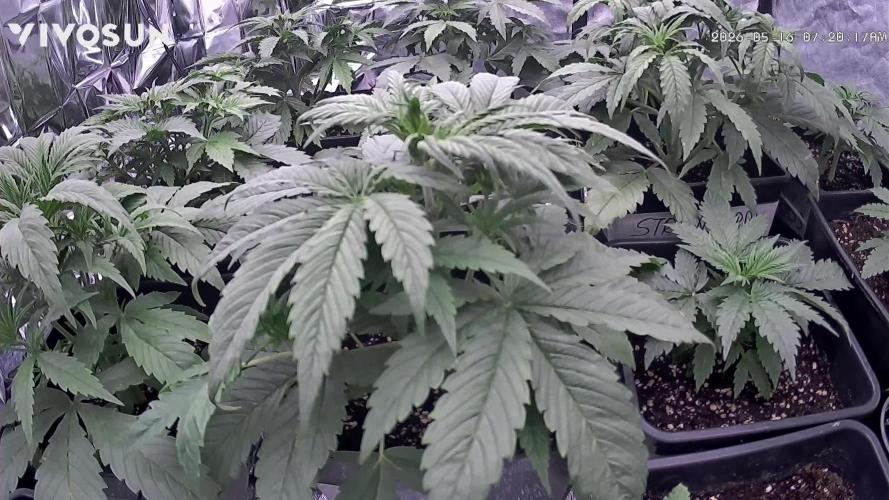
Welcome to Week 16, where our Lego Ninja Tropical Tangie is truly proving her resilience. Despite some hot temperatures, she's standing tall like a champion, although her leaves have seen a bit of scorching.
But, what's truly mesmerizing is her incredible fruit development. These beauties are laden with trichomes, glistening like stars in the night sky. They are a testament to her excellent genetics and your dedicated care.
In terms of adjustments, I've made a wise decision to stop the extra phosphorus (P) and instead introduced Aptus Fluvic Blast to my feeding regimen. This change isn't just about her current growth, it's also about planning for the future. The Fluvic Blast enriches the soil and enhances its microbial activity, which will be invaluable when you decide to reuse this soil in the future. It's all about long-term sustainability and health.
As always, the sharing of medicine continues. It's a bond that grows stronger with each passing week, connecting not only you and your Tangie but also your ever-watchful guardians, the Lego Ninjas.
A special shout-out to Dutch Passion for these fantastic genetics, Aptus Holland for their unwavering support, and Grow Diaries for providing the platform that allows you to share this incredible journey with the community.
Week 16 has been a testament to the rewards of perseverance and patience. As we look ahead, the promise of more trichome-covered buds and the continued growth of your girls and guardians is an exciting prospect.
Stay tuned for Week 17, as we delve even deeper into this remarkable journey. Until next time, fellow gardeners and enthusiasts! #TropicalTangie #Week16 #Resilience #TrichomeMagic #AptusHolland #DutchPassion #LegoNinjas #GrowDiariesCommunity"
As always thank you all for stopping by, for the love and for it all , this journey of mine wold just not be the same without you guys, the love and support is very much appreciated and i fell honored and blessed with you all in my life<3 <3 <3
#aptus #aptusplanttech #aptusgang #aptusfamily #aptustrueplantscience #inbalancewithnature #trueplantscience
With true love comes happiness <3 <3 <3 Always believe in your self and always do things expecting nothing and with an open heart , be a giver and the universe will give back to you in ways you could not even imagine so <3 <3 <3
Friendly reminder all you see here is pure research and for educational purposes only
<3 <3 <3 Growers Love To you All <3 <3 <3
P.S- I must extend my sincerest apologies for the missing video reports. Regrettably, Grow Diaries is still facing some technical issues that are preventing me from uploading them. Rest assured, as soon as the situation is resolved, I'll share those videos to give you an even closer look at this fascinating journey.

Likes
6
Share

@420DeepGrow
Follow
📆 Semana 4:
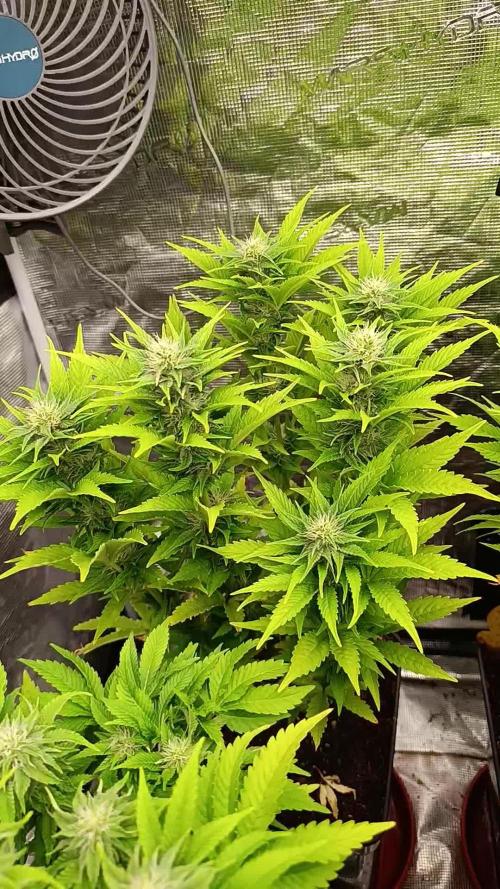
Con el pH del coco terminando de ajustarse y el entorno radicular ya plenamente equilibrado, la planta consolida su floración funcional. El estiramiento se detiene y los puntos florales se compactan en las puntas, con mayor densidad de pistilos y estructura ya fijada.
Los riegos siguen acompasando la demanda sin acumulaciones, manteniendo EC estable y favoreciendo una absorción limpia. La respuesta aérea se mantiene óptima: hojas firmes, color uniforme y una expresión aromática cítrica más intensa y definida.
Semana de afirmación floral y estabilidad radicular tras el ajuste del medio.
Seguimos creciendo fuerte 💪!

Likes
11
Share


@KcKoolaidMan
Follow
Getting close. Started to flush, still prob 10 days or so out but getting close. Been a long road def the longest growing strain I’ve ever messed with but they buds look like they’ll be worth it! I’ll post again here in the next week or so when we harvest. Thanks and as always 🍻

Likes
35
Share


@Pot_Portraits
Follow
A really fun grow comes to an end, the result is more than impressive from this strain. I grew a few critical cross autos in hydro, they all have their typical grow strength, especially at the beginning of flower but this one stood out. Started "normal" and then just didn't want to stop anymore and that with a very basic feeding regime. This strain can take stress and nutrients, what you get in return is some purple flowers that smell so amazing that you ask yourself why you are not only growing this strain :P I made some ice water hash from it and it was such a beautiful smoke. The potency is quite impressive in this one, it seems a lot of growers are to focused on THC levels but terpines decide where your high goes, this high is great and compared to other strains with a much higher THC numbers the purple queen auto can easily compete. The smell and flavor is super floral and fruity.
Likes
58
Share

@Natrona
Follow
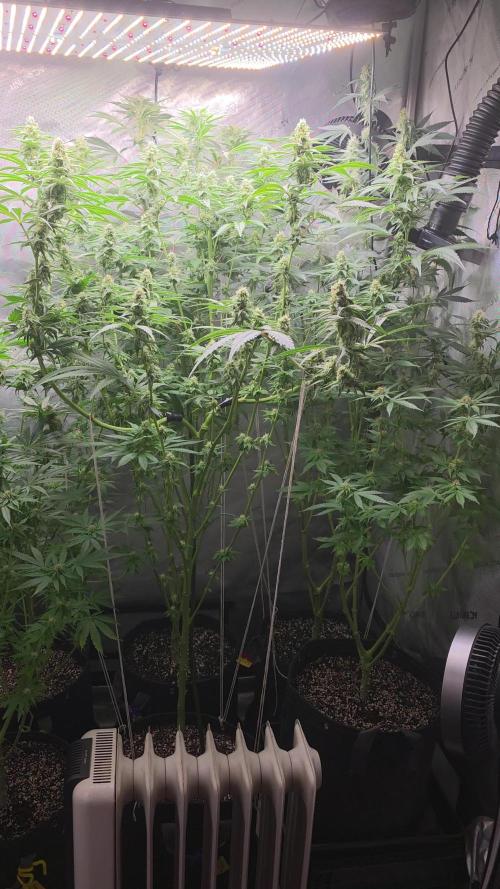
Strawberry Cadillac – STRNG Seeds
W12F3 1/25-31
I fed on 1/24 but Cadillac#1 needs more frequent watering than the others. Watered ph6.4 on 1/26 with another gallon. She is the largest and dries out next to the heater.
1/27 TPS1 14ml/g
Silica Gold 3ml/g
1/27 73 6.5 ph & 935 ppm
1/27 66.3F, 6.6 ph & 1014 ppm
To balance out the feed solution, I blend some of one bucket into the other and then back to the first bucket. I do this a couple of times to even out the PPM and temperature.
Strawberry Cadillac #1 51” #2 52” each drinks 1.5 gal
Strawberry Trop Cherry #1 37” #2 57” #2 drinks 1.5 gal #1 only 1 gal
Straw-Lectric Lemonade #1 40” #2 50” both drink 1 gal.
Other than bud development, they should not stretch any more.
1/29 I did the final defoliation on all strawberry gals. video
1/30 TPS1 14ml/g
Silica Gold 3ml/g
65.6f 6.3 ph & 1110 ppm
66.3f, 6.3 ph & 1120 ppm These are after blending the buckets.
Important dates
11/9 Germination
11/25 Transplant to 1.5 gal,
12/1 Topped, Pinned and removed 2 large center leaves
12/5 Repositioned pins and removed lowest fan leaves
12/16 Topped 4 tops on each plant except Cadillac1 (first topping) and put manuka honey on the cut.
12/24 Transplant to 5 gal
12/27 Defoliate all
12/28 Flip to 12/12
1/05 Supercrop Cadillac #1 at the joint where I topped her.
1/11 !st flower week defoliation and lollipop for all the Strawberry collection.
1/16 More super cropping of Cadillac1 and 1st time Trop Cherry2.
1/29 I did the final defoliation on all strawberry gals.
Stay green, growers love 💚🌿
💫Natrona💫

Likes
12
Share


@JeyGanesha
Follow
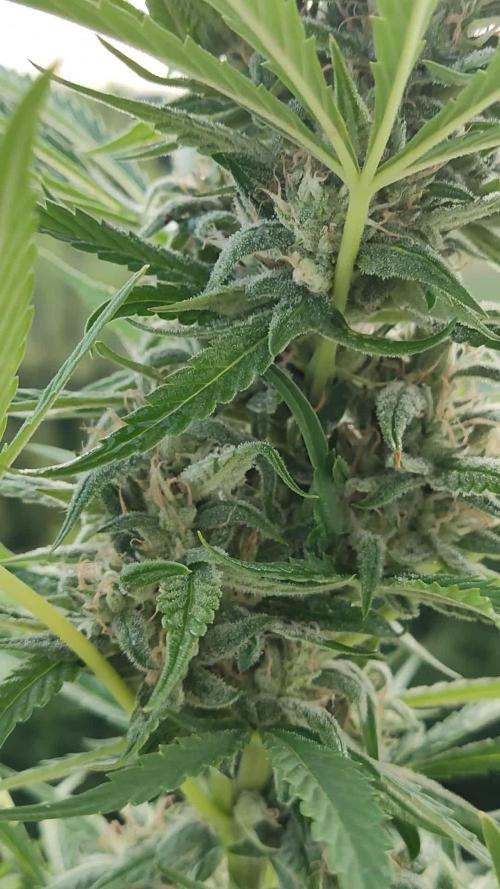
Anche queste 3forbidden runtz hanno iniziato la 2° settimana muy bien... Sono al 12°giorno e vengono su benissimo ......
Avanti così belle mie


Likes
5
Share


@Cootabykiz
Follow
So it’s been 11 days since I last seen them we’ve had a couple showers of rain between that time, she’s started flowering..
Some animal has helped itself to a few tips and leaves, only took probably 2-3 tops and a couple leaves but mustn’t of enjoyed it.. I hope so anyway. 🤞
So everyone how does it look??
Anything I should do?? Any tips on how to support the branches for when they get abit heavier?
Thanks everyone!!
Likes
1
Share

@FarithAriasFajardo
Follow
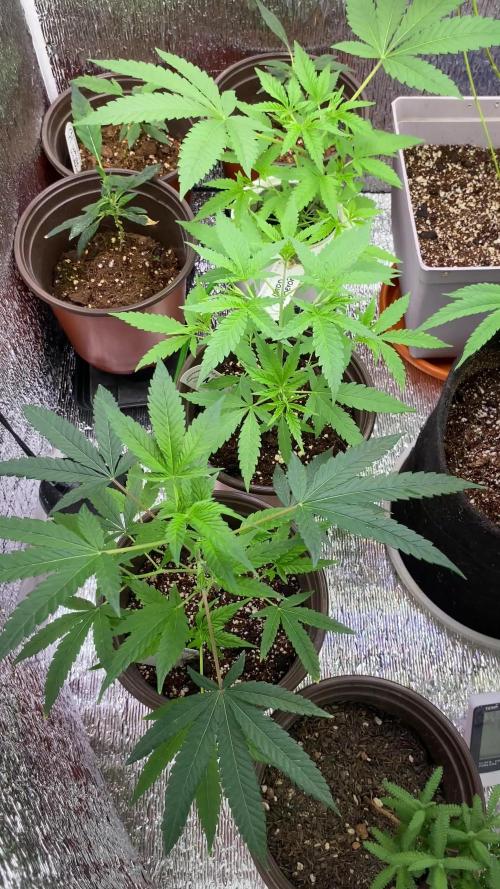
Esta semana realizamos podas de hojas y algunas partes que no van a recibir mucha luz. También probé una poda agresiva sobre uno de los esquejes antes de iniciar floracion, quiero ver cómo se desarrolla la flor en un punto concentrado. También hicimos tiego con roots ya que realizamos transplantes a las que pasarán a floracion por ahora. Y también se agregó un nuevo panel de luz que espero mejore bastante los resultados finales.


Likes
16
Share


@Mrg7667
Follow
Day 74 and there getting chopped today! I thought the harvest was going to be broken into two separate weeks considering the times on the Choco was listed about 7-10 days sooner then the DD (wich was listed at 70 days for flowering)
However looking at the tricombs on the Chocolate Marshmallow most pheno didnt start getting amber untill the DDs did as well! A couple DD pheno could have maybe gone a couple more days but we will see!
Going for reveg on all the pheno, since i didnt get to take any clones. We will see how it goes!

Likes
12
Share


@Luv2Grow
Follow
Day 57 - Starting week 9 and thinking I might give her one more week or so. Might end up chopping the top colas and letting the bottom buds catch some light for a week and then harvest the rest.
Likes
Comments
Share


@Growfather1
Follow
Hello everyone, and welcome to the Week 3 vegetative update for the Expert Gorilla (Gorilla Glue #4) run!
The girls are officially out from under the shadow of the flowering canopy and are basking in the full glory of the Spider Farmer LED light. They are looking absolutely fantastic and hitting their stride.
🌡️ Environment & Light Schedule
* Lighting: 24/0 schedule (Running 24/7 with zero pauses—no bedtime for these ladies!)
* Day Temperature: 26°C at the absolute hottest point.
* Night Temperature: 21°C ambient.
Everything environmental is dialed in perfectly, keeping their metabolism running at full speed.
✂️ Training & Upcoming Strategy
I just finished topping them to break apical dominance and start building a wide, even footprint.
Looking ahead to next week, the plan is to get a bit more aggressive. I will start defoliating to open up airflow to the lower nodes and plan on topping them more if possible to multiply our future bud sites.
Let’s see how they handle the haircuts and what they look like by next week! Thank you all for stopping by, checking out the progress, and leaving your support.
Best regards,
Growfather


Likes
20
Share


@Wackytabacky_420
Follow
This lady has been a joy to grow. She has been so happy and packing on the bud every minute! Only problem I see at the moment is she is getting heavy and she's starting to lean!! She is loving life under the Marshydro Tsw2000!! She is also become thirsty more often!!! This is her schedule for the week...
2/1/2022
2ml micro
1ml gro
2ml bloom
1/4ml ph down
Ph 6.47
372ppm
Solution temp 74.1°F
2/5/2022
Water 6.3 ph
180 Ppm
Solution temp 73.2°F
She has been under the Marshydro Tsw2000 at 100% power for the last 2 weeks in 🌸 The tricomes are developing more everyday she is loving life!!
💡light sponsor💡
@marshydro_amazonled
@marshydro12
#marshydro
#TSW2000
Low stress training clips-
@madmadameplant
@madmanplant
Www.madmanplant.com
Other companies in this grow-
@foxfarmsoilandfertilizer - 100% ffof
@acinfinityinc - fabric pots
@generalhydroponics - flora trio line
@vivosun.official - inline exhaust fan
@opulent_systems - 4x4x80 grow tent
@growerschoiceofficial - 1 Northern lights seeds
Well till next week fellow growers!! Best of luck and Happy Growing!!🌱💚💨🔥🔥👊🏼🤟🏻🙏🏻👍🏻💪🏻💪🏻

Likes
29
Share

@Mrs_Larimar
Follow
2026-03-30
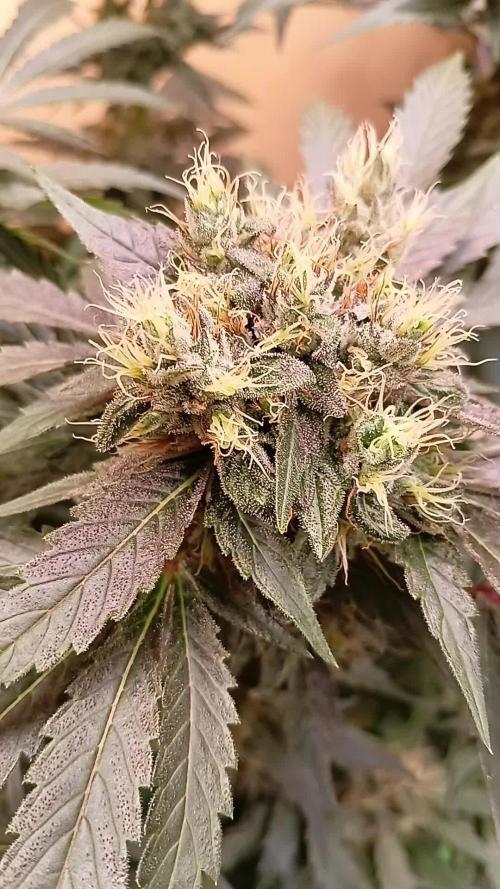
Well well, the Grow comes slowly but sure to an end.
I added a second dehumifidier into the setup
and Girls got some PK boost last week ( all of them)
an i see that Sonnennerde Hanferde works very well ito the Autopot system and with the
application of Biotabs- thats very pleasing to see, how the Girls buld and get sticky
i can barely move ito the Room
and iam so grateful for the autopots, so i only have to go between them once in the Week
and keeping them complete without moving to much on the leaves and buds
( well i dont care to get sticky and stinky in the room)
-------------------------------------------------------------Substrate Experiment
Currently testing two different substrates:
• Terra Preta (local recycled brand) — the usual "go-to" soil
• Sonnenerde Bio Hemp Soil — being tested this grow; will also be recycled and refreshed with Biotabs products afterward
So far there is no significant difference between the two substrates, which is a positive result. Switching growing mediums is always a risk, so the outcome is reassuring.
Feeding & Maintenance Plan
• Refreshing mycorrhiza and microbes with Mycotrex and Bactrex
• Applying compost tea to all plants
• If any deficiencies appear: top-dress with Silicium Flash
• Continuing the "just add water" strategy otherwise
Setup & Method
The plants are growing in an Autopot system using the Biotabs "just add water" strategy.
Setup process:
1. Mix in Startrex
2. Add Silicium Flash
3. Add Biotabs tablets
4. Add Mycotrex
5. Water with Bactrex
This turns any soil into a living, active growing medium. Combined with Autopot, it acts as a cheat code for effortless growth — resulting in large, healthy plants with an excellent and flavorful end product.

Likes
6
Share


@Inventioneer
Follow
Another hot sticky sunny week i brought them out for about 6 hrs each day
water consumption is 2l per day and topical water misting often
the buds trichomes are all cloudy now but not a significant % of amber to pull
the last three watering's are
flush
plus a huge rain soaking at one point
the buds are getting nuggety now and I'm surprised and happy to see the little sub acorn nugs popping out of the overall buds
