
Likes
Comments
Share

@Wilstang
Follow
IPM
https://www.arbico-organics.com/product/mite-predator-phytoseiulus-persimilis-plus-sachets/mite-predators
https://www.arbico-organics.com/product/spidermite-destroyer-stethorus-punctillum-adults-larvae/pest-solver-guide-mites


Likes
16
Share


@Magic_frequency
Follow
Sorry guys as i have not weigh my buds much because ive been smoking them little by little 😂😂👌 so on my first harvest i had 12Gs. And on this one i think about 15-20gs well i need to weigh them when they are dry. Posting now cause i might be busy. Hopefully next grow i will have more time organizing my journals ❤️
Likes
2
Share


@High_Grade_Dadli
Follow
Took the cut as I said I would got 6 off the galato and 4 off the MCMOG....it amazing how 2 becomes more would have more tree of the same to cut nxt cut🔥🔥💨💨💨

Likes
142
Share


@PapaNugs
Follow
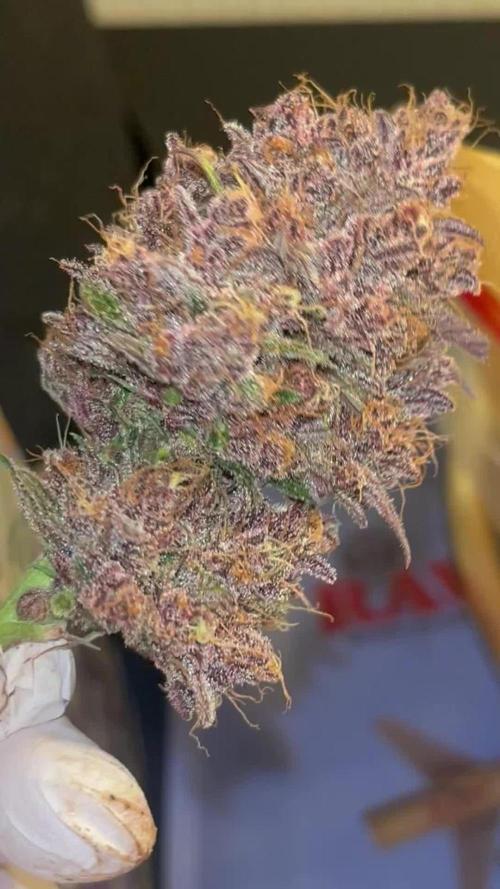
This grow went well overall. No herming. No nutrient deficiencys. Can't complain there. However the bud structure wasn't there. And the smell isn't of strawberry sugar or at least during the grow. It's mostly gas with a little sweetness. No real strawberry so far.


Likes
16
Share


@Dunk_Junk
Follow
8cm vertical growth this week!!!
She's pushed out quite a few new leaves.
Looking forward to the next few weeks!! 💪 😎

Likes
26
Share


@darb35
Follow
Day 22 - 660 ml water (ph 6.5)(22 cm)
Day 23 - 660 ml water with Acti+Heaven+Grow+Calmag (ph 6.6)(24 cm)
Day 24 - no water(26 cm)
Day 25 - 660 ml water (ph 6.6)(28 cm)
Day 26 - 660 ml water with Acti+Heaven+Grow, also trimmed a bit of fan leafs, it's getting crowded inside (ph 6.5)(30 cm)
Day 27 - 660 ml water (ph 6.6)(33 cm)
Day 28 - 1L water (ph 6.5)(35 cm)
Likes
8
Share


@BayAreaGrown
Follow
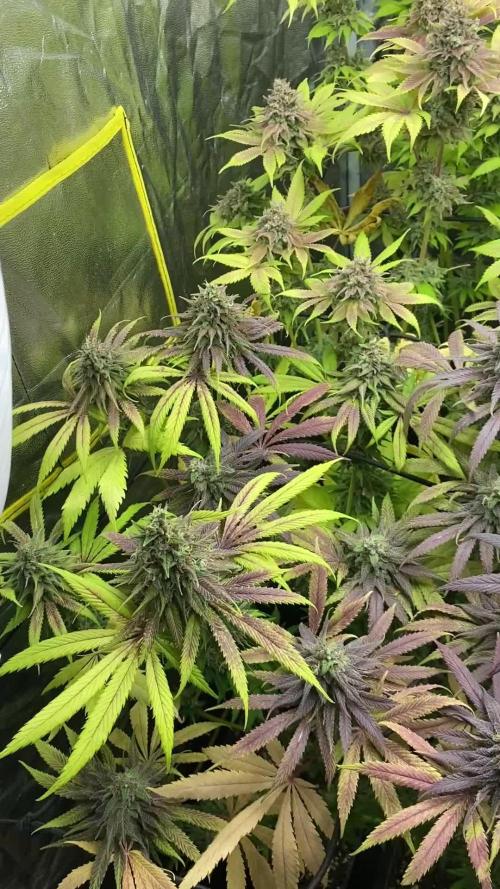
WEEK 1 flower so far the permanent marker is a very strong strain and it has a strong gas nose already

Likes
53
Share


@SativaSteve88
Follow
All plants are nice and healthy and all have now been topped, i switched to flower end of week 7 as dont really want them getting much bigger i would of liked to of switched them over a week or so ago but had to give the 5 plants i stunted time to recover and catch up a bit in size with the final stretch now over the next couple of weeks they should all be at a decent size hopefully and fingers crossed they give me some nice smoke in the end, dont you just wish you could fast forward a few weeks sometimes, im dying to see these ladies late in flower getting fat haha roll on mid may ✌️
Likes
13
Share

@direx
Follow
Anfang Woche 12 wurde die Guava Geerntet. Hab die Blätter von den Blüten abgeschnitten und die Blüten in Dryfermbag gefüllt. Den Drybag hab ich im Pizza karton Oben im Zelt aufgehangen. Nach 9 Tagen waren die Blüten "fertig" und dann gings ins Glas mit Feuchtigkeitspack. Den Ganzen Verschnitt hab ich eingefroren und Gefroren gesiebt um Hash zu machen, Die Bilder davon gibts bei der letzten Pflanze💪
Likes
23
Share


Likes
16
Share


@Hawkbo
Follow
These were taken on day 59 I was a little late to put gettin them up. I've been doing some heavy flushes on some of them cuz the run off ppm was a little high. I mixed these with soil so I dont know if that's why it's not coming down as quick as usual but I'll keep poundin these ladies til the finish line


Likes
14
Share

@Centollo
Follow
Última semana!!! Muy contento con todas las variedades!! Cuando la seque y la cure, volveré a escribir mi opinión de cada una de ellas. Buenos humos!!


Likes
1
Share


Processing
Likes
Comments
Share


@Steviegrows
Follow
Looks like they've recovered from nutrient burn once I backed off the nutes. I also checked the PH after mixing the 3 parts and the Micro doesn't seem to be bringing the PH down enough, it only goes to 7.3. I use Nectar for the Gods PH down to bring it around 6.5. Some of the leaves look a little light in color and slightly burned at the tips, I think they might be light stressed even though Ive get my lights spaced a safe 24" away. I LST where I can this week. The plants are so short that its difficult to do effectively.


Likes
202
Share


@CrazyHorse
Follow
😇 😇 😇 Hi to all growers 😁 😁 😁
So let's start !! The first day of the girls' first week of life is a fact 💪 💪 💪
Some technical details:
- Light cycle 20.5h on 3.5h off
- Mars TSW first week set to 50% power
- Ventilation RAM 4" 165m3 / h
- Air humidifier from China ( doing job!! )
- 3x AutoPot + 3x AirDome
See you soon, You Lovely Girls Growers 😇 😉 🙌