Likes
Comments
Share
@direx
Follow
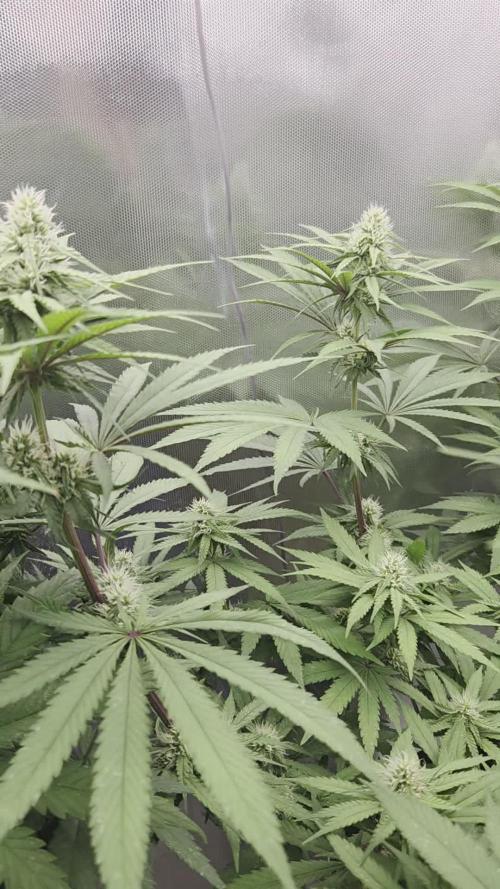
Woche 6 : Drizl Pickl 57cm , FishyZoap 54cm , F*cked Up Hippy 44cm Substrat: Mix aus Lightmix (75%), Coco (15%) und Perlit (10%) Gefäß: 11L Stofftopf Licht : 70% Flowering / 40cm abstand Düngung nach Biobizz-Schema 2020 (Light-Mix Woche 6) 2x 1,5L pro Pflanze Die Strains: 🥒 Drizl Pickl Auto (Whopper with Pickles x Granny's Home x Mack and Crack Auto) Fishy Zoap Auto (Fish Piss x Zoap x Super Boof Auto) ✌️ F*cked Up Hippy Auto (Maui Wowie x Fat Bastard x Panty Punch Auto)
Processing
Likes
18
Share
11/30: I harvested the first 6 today, flushed 5 more for the second time, and fed everybody else for the last time. I washed all the branches using the 4-step method ascribed by Doc Bud at High Times/420magazine and many other notable cannabis connoisseurs, with slight modifications: 4 x big plastic totes/bins 8 x ounces of 12% hydrogen peroxide (or 32 ounces of 3%) 2 x cups of concentrated lemon juice 2 x cups of baking soda 10 x gallons of water in each bin Unless your tap water stinks, you're safe to use tap water for the procedure, but I used an inline carbon hose filter to fill my buckets. Bin #1 - 10 gallons of water mixed with the hydrogen peroxide Bin #2 - 10 gallons of water mixed with the lemon juice and baking soda Bin #3 - 10 gallons of water as hot tap water Bin #4 - 10 gallons of cold tap water I was mainly concerned about removing as much lint and cat/dog hair as possible, but also rinsing off any residue left from all the various foliar applications of humic/fulvic acid, kelp, axiom, big bloom, and tiger bloom I did. First, I put my leaf blower on low speed and blasted my plants thoroughly, one at a time, replicating 50-60mph winds for about 10 seconds and watched as a whirlwind of debris and hair flew out the back door. Bud-washing: Pluck any necrotic plant material and any old fan leaves off while they're still on the plant. Then, take a handful of branches and submerge them in Bin #1 for about 30 seconds, agitating it, removing from water, submerging again, agitating, etc...then remove it and let it drip out for a few seconds...then repeat the process with Bins #2-4. Let it drip dry overnight with a little bit of airflow, then dry as you normally would...baskets, boxes, etc.. I hadn't watered these plants in a few days, so they were almost in draught, but after doing this procedure, they were fully hydrated(turgid) and seemed to have brighter colors than before. Nice!😍 12/1: The bottom part of the closet seems empty with only 9 plants in there.. 😟 I cut the harvested plants up and put them into drying baskets in the top of my closet with a small oscillating fan on. I've got the temperature fluctuating between 68f and 75f and the RH is staying between 48% and 52%. To do that, I had to take down the small light in the top of the closet to fit the drying baskets up there. So, I moved the 3 shorter plants still up there down to the bottom and put them on top of buckets. Now the bottom of the closet looks full again!😃 I'm anxious to finish up this grow so I can get busy growing the Fastbuds Fast Flowering Photo Testers!!! When I harvest the next 5, I'll flush the remaining plants really well and that will be all the flushing they'll get..I'll let them dry back out for a few days and harvest them. I've got to make some minor improvements to the garden (adding UV, blue and red/far red booster panels and intake fans) That should put me on track to start germinating them by mid-December if all goes well. 12/3: ...early a.m... The harvested plants are already dry!?!?? And have excellent texture??? Wow..bud washing is for real..roughly 48 hours after I hung them to drip dry, and 40 hours after I put them in baskets in 50% RH/70f conditions with moderate airflow...usually takes 4 or 5 days to get a good slow-dry in the same conditions, so I'm convinced that this must be attributed to the bud-washing procedure. I'm sold! Here's the talley so far: plant #1 - 115g (plus 13g larf) - Candy Cane [F2] plant #2 - 108g (plus 18g larf) - Candy Cane [F2] plant #3 - 119g (plus 15g larf) - C4ndycaine [Candy Cane x C4] plant #4 -  92g (plus 6g larf) - Candy Cane [F2] - the smallest plant in the main area plant #5 - 112g (plus 22g larf) - Candesia [Candy Cane x Amnesia] plant #6 -  75g (no larf) - Candesia [Candy Cane x Amnesia] - grown in upper area under 200w ...afternoon: I flushed 6 of the last 7 plants for the first time today and harvested 4 more of them. I washed them and hung them to dry.....my dripping wet bathing beauties!😍
Processing
Likes
10
Share
@DrDuhboto
Follow
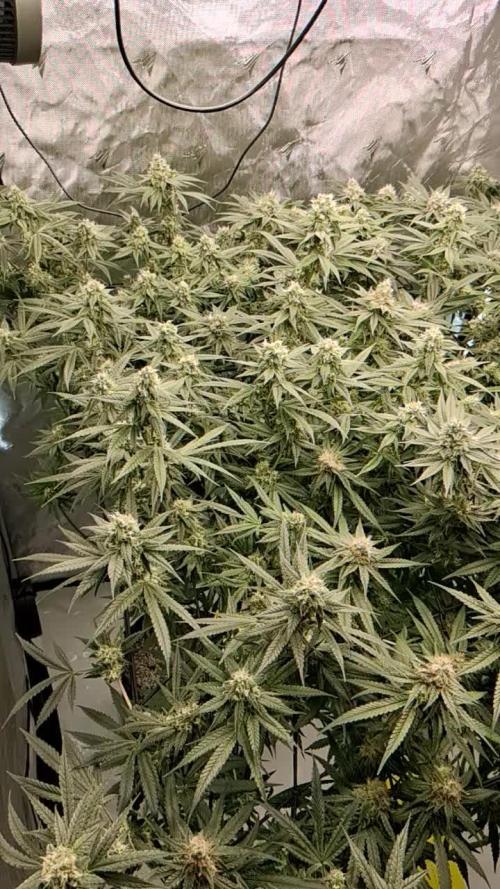
Flower Week 3 Plants are doing great, are ready for Food, I installed a drip system, with air stones in the reservoir. Got some microscope images of the Bud sites, smell is beginning to get stronger. Very Cheesy Mid Week Update: Drip system is working well, the plants seem to have burst with growth over the last 3 days. Before when watering with the smart fabric pots, I was getting a lot of run off from the bags. The drip system makes a big difference as I had no water in the trays underneath after running a complete cycle on the drip system, which took 24 hours. Bud growth is awesome, the entire canopy is fairly even with few shaded bud sites. I wont be tucking much at this point I believe the stretch is over.
Processing
Likes
10
Share
Seguimos en fase de Vega con alguna que otra plaga... pero de momento todo bajo control, pasaremos a foliar con delta 9 para ver los resultados. Pasaremos a flora con el nuevo equipo Led para intentar reducir el calor de los focos y ahorro energético. Iremos informando farmers buenos Humos!🍁
Likes
7
Share
@Messypies
Follow
The plant started off good. Unfortunately the environment wasn't the best to begin with but overall I think with the deficiencies still present. It turned out okay. This was grown with just the standard grow micro bloom. Due to covid, I was unable to order additional macro nutrients. Yeilds suffered as a result but overall happy for my first grow.
Likes
Comments
Share
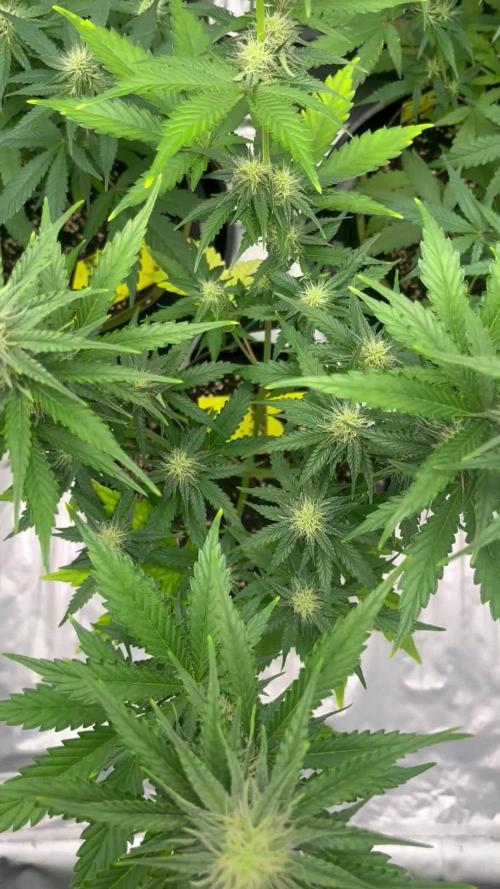
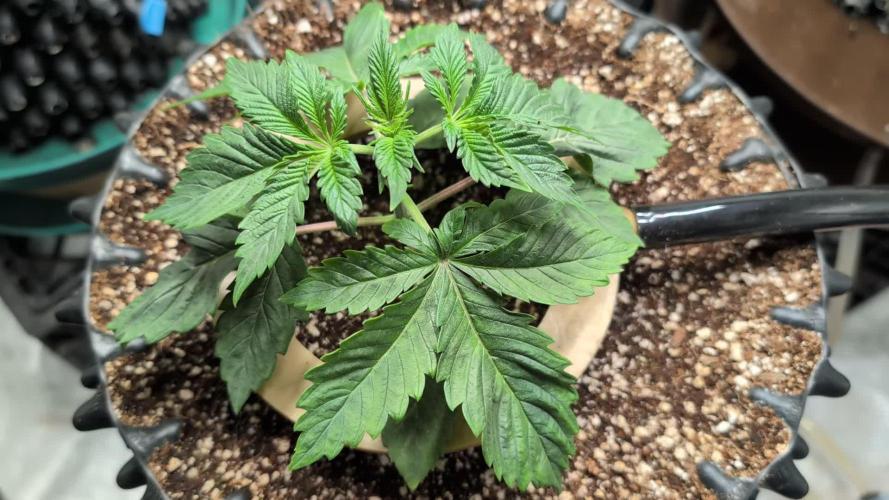
Growth is a little slower due to topping last week. She recovered well. Trained some branches to grow into the light. She‘s developing really big leaves. Weather was cooler and a little less sun.
Likes
8
Share
@Spliffi
Follow
Heya👍🤙👍🌱 Little bit of tip burn. May be light but exactly were I want it. Nutrients... less is more. No feed. Check out my Facebook profile: https://www.facebook.com/share/v/H6PnoahTHrEzm63U/?mibextid=oFDknk Big BIG BIG thank you to Sebastien, Heather from Fastbuds420. You guys are the best. Can't wait for the next live. Even Bigger shout out to Hydroponic.co.za. My local Hydro Shop and Sponsor. Thank you Sir. 👍🤙👍🌱
Likes
10
Share
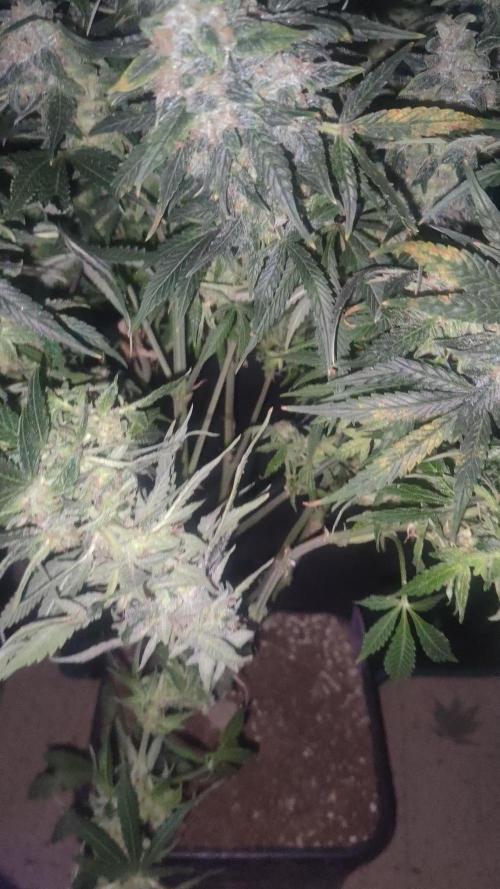
bit of nutrients 1/2 recommend does starting to get weird spots at the end of some leaves having a hard time identifying what it is any help would be nice
Likes
21
Share
@darb35
Follow
Day 22 - The girls are very healthy and very green, they have huge fan leaves Hopefully no trimming, just leaf tucking, and they should be good 🌱
Processing
Likes
13
Share
@TrueNorth
Follow
-Strain: Purple Lemonade - Fast Buds -Tent: 5x5 Gorilla Grow Tent -Lights: Budget LED Grow Lights 2 x 250 Watt LED Full Spec/Red Spec mixed boards -Light Cycle: 18/6 -Soil: Fox Farm -Air Circulation: AC Infinity Cloudline T4 Inline Duct Fan WECLOME BACK GROWMIES! Week 9 here with our CREAM COOKIES by Fast Buds! January 21, 2020 (DAY 59) - Hey there growmies welcome to a fat week of large colas and frosty nuggets! SHE IS GROWING AMAZING! remember how worried i was!!😅 well she sure as hell clapped back harder than ever, she is so thick and frosty the nugs are filling out, i cant wait to smoke this.
Likes
7
Share
15 days on flower... lolly popped them... My first diary next one will be much better. If you have any questions please dont hesitate to ask.
Processing
Likes
22
Share
@EelGrows
Follow
Week 8: Day 50-53: All seemed well with the White Crack plants, gave em their normal feed on day 51 PH'd to 6.5 and measured runoff PH(only got enough from WC#1 and #2). WC#1 read an astoundingly low 5.3 PH!! Like what??? No visible signs of stress or deficiences, but leaves feel less healthy than the other 2 White Cracks. WC#2's runoff measured at higher than ingoing at 6.7PH, which I think means I'm under feeding her. She looks insanely healthy though, so will just up her and WC#3's doses next feed, as they both look like very similar phenos and leaves feel and look healthy on both plants. Day 54-56: Ok so decided to flush WC#1 like I did with the 4 Assed Monkeys because runoff was more tha 1 whole PH off from ingoing last feed on day 51. Ended up with a runoff of 6.5PH, same as ingoing feeding immediately after the flush read 6+PH(took 4L of 6.5 PH'd water with regulator). Fed WC#2 and #3 with their scheduled calmg feed but I added some super PK this time to get the PH of the soil down a bit. Ended up getting 6,2-6,4 runoff on both plants, very happy with results of all my runoff now. Finally got that behind me... End of Week 8: WC#1 seems to be finishing the fastest, along with 4AM#1(if we go by the orange pistils). WC#2 and #3 have really stretched a bit more these past few weeks catching up to WC#1, and they all look amazing! Really stoked for the end of the month!
Likes
2
Share
@Jahrulez
Follow
well jackyboys kinda giving me a hard time... except the mango cream all of the other gyals are 5x his size... i still beleve in him!! well se how that goes :D xDD
Likes
220
Share
These had a pretty good life. I actually only fed NPK the one time . Germinated them in a Zambeza propagator, i really recommend getting one of those propagators, they're reusable and really take the heat off those first days when you're sweating. Pooped them into their plugs they sprouted out strong, germinated 5 kept 3. transplanted them no problem. Veged these for 4 weeks, then they shot up. during veg they stretched out a bit early on i should have been giving some specialised micro i had on had but for some reason on the other i didnt. They needed extra support for their first three weeks, so i decided to LST them around week 2. Two camping hooks one anchor for the main stem and one to keep the plant down. Once i dialed in my lamp to plant distance they benefitted by slowing down on the stretch a bit. they all took to LST extremely well, bushing out and creating an nice even canopy. They pushedout these thick indica leaves, one of my plants was a lighter colored leaf pheno, the vertafort one. The Six Shooter genetic really stretches, if just off the top of my head it seems that the plants quadrupled in size over an 8 week period, completely eclipsing their neighbours and creating a thick dense canopy throwing shade down below. Each turned into a bush with three or more mains sticking out the top by week 6. IThe results start to look real pro around week 8. Before that though I hadn't been defoliating. This and simple lack of light means that I had loads of undevellopped colas. If I'm honest I should have tried to harvest in stages but by colas. Anyway these kind of grew like a gorilla glue but with much different and much better flower structure. The plants started pushing out flowers and pistils and preflowers etc early, but then took a while to gear up towards towards getting fat. The flower branch out in a spiral pattern up and down the main and secondary colas evenly, creating this misssile shaped colas, but they branch out once sometimes twice, which means less branch to nug ratio than a gorrilla glue by a full multiple. They started smelling like lemons around the time they were fattening up. Then they started getting buff, really little by little, what did rippen rippened evenly. Some colas was basically waste especially the colas stuck on the sides of the tent and some of the colas where for some reason or another there was no light there due to the dense canopy. Truly a BEAST OF A PLANT, HIGH POTENTIAL, great BRANCHING, if you look carefully each plant has more than a dozen colas, Timed it so the harvest was on a day the plants were chock full for plain water after ten day's worth of additive aided flushing. hung to dry slowly in the tent, got it around 55RH inside the buds over 12 days then trimmed and jarred in miron glass with boveda 62. The trim was a great experience, took a while but not that long because the flowers were so nice in the way they are. you do have to trim every sugar leaf one by one though if you're doing it by hand, broke these sizzors that @Mrs_Larimar sent me because of the resin lol. so I pull these plants out my tent and I just kinda look at them and they're basically dark green because of all the sugar leafs, i'm thinking to myself "shit i messed up this isnt even that frosty". well, what i found out is every time i clipped one of those trademark long sugar leafs off it revealed absolutely resious white frost. That's what can keep someone motivated. ! Once jared, if there's boveda in your jar, you dont really need to burp it daily, or even weekly i just let it sit there, obviously i've been smoking it and following the cure, let me tell you this one needs longer to cure than you're used to maybe, at least two more weeks of cure after a slow dry. Four weeks after the chop , it's a strong weed ! Didn't smell all that loud, but I have a 1300M3/H exhaust so... i'm not surprised. I will say though that my neihbour said she could smell weed even when I wasnt home and she could smell weed in the corridor, from the times I was trimming and basically every time I open my jar. Gonna need a new carbon filter for the next grow. I retired my lightbulb too. Hard to put my finger on the taste because the smoke is so smooth, and when i saw GD had a tag for Woody, i knew right away this was that taste i felt. I will say this though, cure this correctly, dont rush, dry it real slow, then cure it, citrussy tastes, usually those will evaporate, leaving this distinguished terpene heavy hitter much better tasting. So what can i tell you, this weed is white weed, so frosty. Bag appeal is great too, this strain pushes out pistills like no other, maybe even more than the gorilla glue. that means this is a chill weed right? One of the phenos I grew had more pistils than the other two. Mr. B's did, but i dont know if you can really tell from the close ups, i'll try to put some more pictures up. I got two maybe three phenotypes in terms of taste. Mr. B’s is much pine-ier than the others, and when the joint goes out and you light it again, it’s even more piney … I’m actually really happy about that reminds me of white rhino from the east coast back in the day but way piney-ier than that even. When you smoke the other phenos the smell is incense and the taste is really really smooth & woody. Sometimes I find different after tastes on the exhale like coffee, pepper, and maybe sweet/fruity sometimes too depends on the pheno I'm toking on. It is LOUD THOUGH, always have a spare filter on hand IT’S NOT WORTH IT get it ! Well at the end of my first grow, i'd like to quickly review all of Bulbi's own : Bulbi"s Own Early VegMicro: Fine green powder with calcium and all the rare metals in it. I didnt use it ! Damn, next time I'll amend my soil with it like i did this time on the FBT1 Bulbi's Own Cal Mag : Organic fine white powder with calcium and magnesium, i used it in the feed and sometimes as a spray. I didnt know how much to put in because these things dont come with instructions so i ended up putting 1/4 doses most of time. The correct amount should have been 2.5G/L. Bulbi's Own Flower Micro : Organic fine beige powder that I used mixed in with the sulfur. I think this one's a keeper, really helped my plants make it through the stress of bottom feeding and all that heat. Bulbi's Own Mag Sulfur : Organic fine red powder that I used mixed in with the Flower Micro I used this one in my spray too , to great effect, in my opinion Bulbi's Own Beneficials Trio : This was the base beneficials mix I had, you need to put 7.5 to 15g/l , watch out for clumps, use at the night fall, or when still dark. Bulbi's Own Anti Afid : I threw it in there i think just in time to protect my plants when I intentionally overwatered when I went on my trip. There were some white flies that emerged, because... well that's what they do isnt it. but there were just a few of them and they ended up flying around wierdly, and within four days, no more white flies, didnt even use yellow sticky tape ! You mix this one with the trio for even more effect. I used these in a spray I think , also. Bulbi's own Anti-Worm : This one is more directed against larvae, and can be combined with the base trio. I was weary of using it, but I'm glad i did to give my soil matrix that full spectrum of biological protection. Bulbi's own Humic Acid : This one i loved, looking back I'm regretful not having used it more. the dry humic acid is a great experience, the quality of it was impressive, clumps would seperated into more clumps ad infitum the feed slowly turning completely ink black. definituely using this once a week from now on Bulbi's own Amino Acids : this one is just amino acids, maybe next time I'll use it at the same time as the humic acid, but I'm not 100% on that. What i did do was spray the top layer of the soil with amino acids when I accidently ran into some issues from spraying kelp all over the place. So in that sense it's an absolute life saver and a must to have on hand. Bulbi's Own Kelp Extract Concentrate. Loved this one too haha, so thick, and green, check out the video of when i pour it lol. Worked great, raises the pH some so be careful, i used this one as a sprat aswell to get those plant growth hormones pumping during the seeding and veg stage. Bulbi's Own CO2 : well part of what I set out to do was to test the CO2 theory. Like roots do absorb CO2 but at a lower efficiency than leaves say 15% vs. 85% the theory being enriching your water or feed with CO2 would ultimately benefit the plant. So i enriched water with these ceramic based co2 tablets, because CO2 is a soluble gas, it stays in water. Then i fed the plants in this manner in the feed and also as a spray. The idea behind that was that co2 enriched water would come in direct contact with the plant allowing for absorption of some quantity of CO2 through the leafs. Someone explained to me that these are actually old school techniques. Well I know i started late and didnt follow a regular schedule like i wished for but the plants didn t die, or show any immediate negative upon innoculation, so what can I say? I'm doing this again, perhaps. Only problem is that these things are really a pain to pH correctly General Hydroponics Dry pH Down : GREAT PRODUCT, hard to find but amazing – not registed on GD for some reason I still have to make my bubble hash so any advice welcome ! 🚀
Processing
Likes
2
Share
Day 85 25-4 the buds are now really starting to take off, i just added Power to Bloom to the nutritional balance and is being gobbled up and exploding out in buds and sites😎 I think i should have allocated a little more room for these Monsters.😎
Likes
9
Share
Se instaló malla scrog, first time. Se riega foliar con delta 9. Entrando a floracion. Se accidentó una glueberry que mantenia un alambre en su tallo, el sustrato se seco demasiado y el tallo cedió. Quedaron buenos brazos restante por lo tanto será interesante ver el desarrolla de esa planta versus sus hermanas. Primera semana de LSD-25
Likes
7
Share
Likes
11
Share
@Chubbs
Follow
420 Fastbuds FBT2303 Week 5 These two girls are starting to transition into flower very nice. Don't mind the dropping in the leafs my lights just came on. Over all haven't done really much besides another defoliation and lollipoped them taking off the lower 3 nodes. Should allow them plenty of light through flower and air to prevent moisture build up at pot level. All in all Happy Growing