


Likes
Comments
Share

@Mrdub
Follow
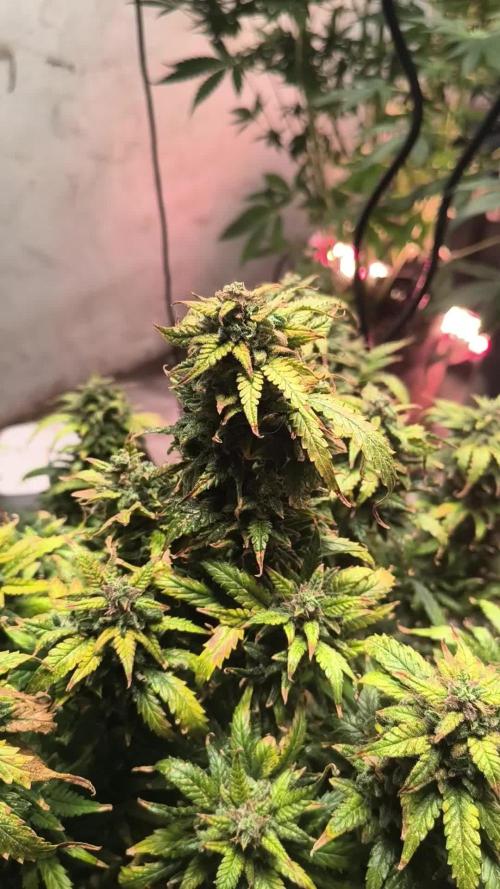
Harvesting this girl on 420 can't believe the growth on her after almost freezing to death she has a sweet citrus dank smell to her colas a little smaller but they def packed in some bulk so here's to the last week

Likes
33
Share


@microgrowshow
Follow
What a week for this girl! After seeing both of my Sweet Seed autos take a hit from my lack of watering with runoff, I decided to take preventative matters with this Gelato plant and flushed her clean with 8 gallons of plain pHed water, and then a final gallon of a light feeding mix. Since doing that 4 days ago, definitely have seen some further discolouration, but as far as I can tell, It's stopped spreading to the new growth, so I'm 'hoping' to be in the clear but you really never know. I got the soil pH up from 5.4 to 6.5, and the ppm down from 1100ish to just under 400 (which is typical ppm for a flushed plant). Going to keep a close eye, but damn do I feel like she went through some serious shock. Bud development has pretty much slowed down, so hoping she bounces back and start stacking, but I also don't know if this is from the shock of the flush, or the low temps I've been faced with this week. Anyway, definitely learned my lesson on this run! Organic growing here I come 😁

Likes
7
Share


@Annakonda
Follow
Toutes les 5 ont germées, 2 moyennes banana+ 1 grosse .(racine)
1 moyenne purple bud +1 grosse et une très petite (racine)
Elles ont germées toutes en 3 jours.
Puis je l'ai ai mise dans des pastilles de coco et chaque tourbe dans des petits pots en plastique, sur un plateau métallique devant ma fenêtre (je n'avais pas encore de box) du 2 mars au 7 mars.




Likes
20
Share


@Pulsar00
Follow
Welcome back boys,
Everything's going as planned :)
Still don't know if I should defoliate, I chose to let the leaves grow a bit more until next week.
I will use wood sticks to maintain them a little more spaced.
See you next week buddies

Likes
29
Share


@CannbellFarms
Follow
Was such a pleasant harvest from start to finish, no issues at all. A tip for next time would be to have the SCRoG lower as I couldn’t really tuck any node sights this time round, smells absofuckinglutely amazing from 3RD week bloom onwards!
Likes
14
Share

@DogDoctorOfficial
Follow
🌌 Folder #2 — Cosmic Noodles
Week 3 Update — Technique, Response, Momentum
First of all — thank you to everyone following this diary.
This space exists to document real-time learning, real decisions, and real plant responses — and this week gave us a lot of material.
Cosmic Noodles continues to impress.
⸻
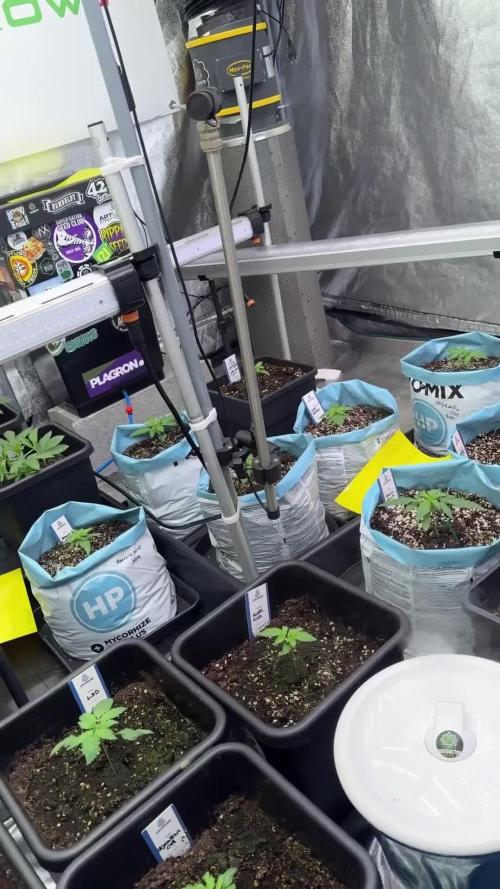
🌱 Plant B — 2 Weeks Veg → Guided Expansion still an autoflower
This plant is moving fast, confidently, and with intention. Her growth this week was so strong that I made the decision to begin structured low-stress training, not to restrict her, but to open her up.
🔧 Training Method (Accurately Explained)
This was a progressive process, not a single action:
1️⃣ Leaf Tucking (Start of the Week)
• Larger fan leaves gently tucked under
• Objective:
• expose inner growth
• encourage branch development
• allow light to reach lower nodes
This alone already triggered visible response.
⸻
2️⃣ Directional Bending (Mid-Week)
As growth accelerated, I moved from leaf work to branch positioning.
• Branches were gently pulled outward
• Secured using soft, green-coated wire
• Wire anchored directly into the soil and pot edge
• No rigid clips, no plastic clamps
The wire is:
• flexible
• forgiving
• adjustable
allowing the plant to move while still being guided.
⸻
3️⃣ Anchoring & Holding Space (End of Week)
As branches continued to push hard, I introduced U-shaped wire anchors, pinched into the soil.
Important clarification:
• These are wired anchors, not plastic clamps
• They hold branches down toward the soil
• Purpose: keep the canopy open and horizontal
• Result: light penetration everywhere
This is not about forcing shape —
it’s about creating room for expression.
⸻
🌿 Plant Response
Her reaction has been nothing short of outstanding.
• Branches: Already pushing into the 6th–7th branch
• Stress response: None observed
• Vigor: Extremely high
• Growth speed: Fast, confident, continuous
She didn’t slow down.
She leaned into it.
This plant is healthy, driven, and clearly enjoying the guidance.
Next week is going to be something special.
⸻
🌱 Plant A — 12/12 From Seed (Autoflower)
Running alongside her is Plant A, grown 12/12 from seed, and she continues to behave beautifully.
• Leaf stage:
• Third pair fully developed
• Fourth pair coming in
• Structure: Compact, balanced, composed
• Behavior: Calm, steady, almost photoperiod-like
Once again, it raises the question:
Are these autoflowers acting like photoperiods?
Or are photoperiods acting like autos?
No answers yet — just fascination and respect.
⸻
💡 Light Intensity & PPFD Response
This week, PPFD was increased, continuing the controlled progression already established in the room.
Key observations:
• Autoflowers are responding exceptionally well
• Leaf posture remains strong
• Color remains healthy
• No stress indicators present
This reinforces that progressive PPFD increases, when done patiently, can be extremely effective — even with autoflowers.
⸻
🔮 What to Expect (and What Not To)
Expect:
• Rapid structural development on Plant B
• Even canopy formation as wire training settles
• Continued confident growth across both timelines
Do NOT expect:
• Forced conclusions
• Rushed flowering assumptions
• Heavy-handed intervention
We observe.
We assist.
We let the plant lead.
⸻
🙏 Closing
This week was a reminder of why technique matters — and why precision in documentation matters just as much.
Thank you to everyone following along.
More to come — and next week, keep your eyes on Plant B.
FOR DISCOUNT CODES AND MORE JUST FOLLOW THE LINK https://website.beacons.ai/dogdoctorofficial
📲 Don’t forget to Subscribe and follow me on Instagram and YouTube @DogDoctorOfficial for exclusive content, real-time updates, and behind-the-scenes magic. We’ve got so much more coming, including transplanting and all the amazing techniques that go along with it. You won’t want to miss it.
GrowDiaries Journal: https://growdiaries.com/grower/dogdoctorofficial
Instagram: https://www.instagram.com/dogdoctorofficial/
YouTube: https://www.youtube.com/@dogdoctorofficial
⸻
Explore the Gear that Powers My Grow
If you’re curious about the tech I’m using, check out these links:
🔆 Lighting & Environmental Control
• Future of Grow — Advanced LED lighting technology
https://www.futureofgrow.com/
DISCOUNT CODE: DOG20
• Lumiflora — Under-canopy LED lighting
https://lumiflorade.com/
• TrollMaster — Environmental controllers and automation gear (past collaboration)
⸻
Genetics
• Zamnesia Seeds — Genetics used in this project
https://www.zamnesia.com/
⸻
🌱 Soil, Substrates, Boosters & Root Support
• Plagron — Substrates, bio mixes, and supportive products
https://plagron.com/en/
⸻
🎒 Storage, Curing & Preservation
• Grove Bags — Curing and storage solutions
https://grovebags.com/
⸻
📸 Photography Equipment & Tools
(Not sponsors, but part of my creative toolkit)
• Sony A6700
• Sony full-frame macro lens + few more
• Stacking photography workflow - learning
• iPhone (for behind-the-scenes shots)
We’ve got much more coming as we move through the grow cycles. Trust me, you won’t want to miss the next steps, let’s push the boundaries of indoor horticulture together!
As always, this is shared for educational purposes, aiming to spread understanding and appreciation for this plant. Let’s celebrate it responsibly and continue to learn and grow together.
With true love comes happiness. Always believe in yourself, and always do things expecting nothing and with an open heart. Be a giver, and the universe will give back in ways you could never imagine.
💚 Growers love to all 💚
📸 P.S. – The Eye Behind the Lens
All photos in this diary (for now — except for the ones showing the camera, which I took with an iPhone) are taken with a Sony A6700 paired with a Sony full-frame macro lens and a few more.
Photography is part of the story — it’s how we share the fine textures, the glow, and the quiet details that words can’t always capture.
I’ve also started experimenting with photo stacking — a technique where multiple images, each taken at a slightly different focus point, are layered together to create one perfectly sharp image from front to back.
It’s not digital enhancement or AI; it’s pure photography — a way to reveal the plant’s beauty in microscopic depth, from trichome to petal.
You’ll even see a few shots of "ghost me" capturing the shots — camera, lens, setup — because every grow deserves not just to be cultivated, but documented like art.
FOR DISCOUNT CODES AND MORE JUST FOLLOW THE LINK https://website.beacons.ai/dogdoctorofficial
NEW DISCORD - Official Server Invite Link : https://discord.gg/ksjAkA5T74
Likes
1
Share


@Growyourownathome2x2
Follow
Haven’t had a chance to post here lately but here’s some pics I’ve took over the last few weeks since I started training, it’s coming along nicely


Likes
27
Share


@adam_pawloski87
Follow
Today is Day 50 !! We have started flower an they are just looking amazing! We have switched up the nutrients for flower, instead of 1 tsp bloom and 3 tsp of veg , we just swap 3 tsp of bloom and 1 tsp of veg !! Can’t wait to see what these laddies do this week!!
Likes
Comments
Share

@LaBurlaVerde
Follow
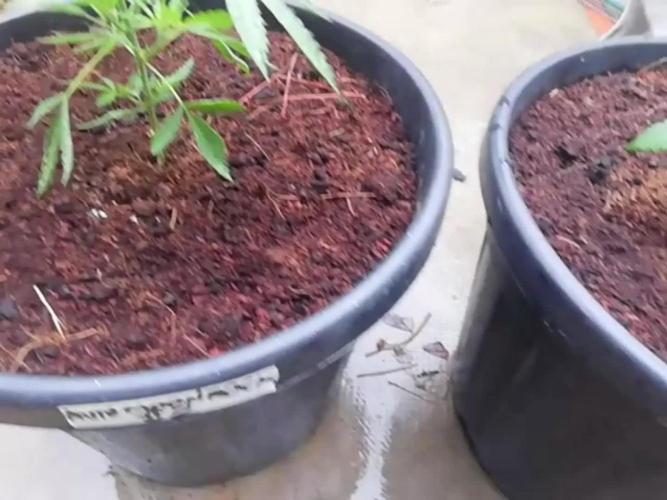
El video es de hoy 30/09/2025. Llevamos 2 dias lloviendo bastante por aqui, las e tenido que resguardar bajo un tejado. La Auto Moon Rock de momento va ganando la batalla con 20 cm frente a las Auto Fractal que miden unos 12 cm. Esta claro que la culpa a sido mia, estamos ya con pocas horas solares y al no poderles seguir alargando las horas pues pasa lo que pasa.. pero aqui muestro un cultivo real no escondo nada.



Likes
1
Share


@StaresAtPlants
Follow
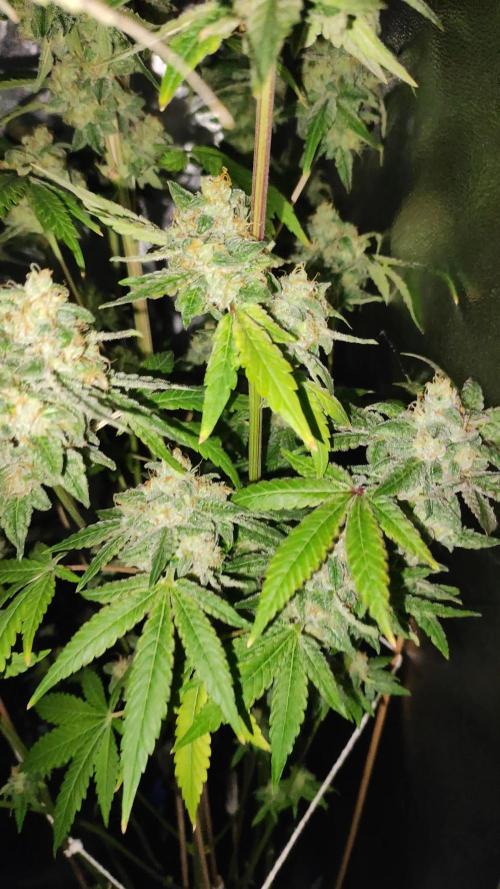
Trying to dial their veg in. Nutes may be too old or too high. Changed with 4ml CaMg per gallon of RO water. The rest is MaxiGrow.
Ever since adding rockwool to the grow, I have struggled. I don't have the dry back timed right yet. I moved my fan to dry the top of the pot surface instead of in the root zone or at the canopy height. After about 10 days I dumped out the rockwool and have replaced with hydroton.
My initial though on using rockwool was to give the roots more space during late life stages. My experience has been with hydroton and I notice that the roots eventually get bound because the hydroton is a durable material and will not crush or compact. Rockwool on the other hand will compress when squeezed so I was hoping that in the late life stages the roots would compress the rockwool and make more room in the pots. The issue was dryback. If I used chunks instead of croutons, this may help but the other reason I used them was because I had them here already. If anyone is trying to slow their dryback down, they should consider adding 10% volume of croutons to hold moisture in the medium a bit longer. Notice anything different?
They are starting to adapt to their new media. Hopefully by next week I can get them to perk up.
One plant has looked better than the other three. I have no idea what these plants need to “perk up”. Possibly a different grower. If a grape terpine wasn’t in the end results I would have culled these long ago. Hopefully they perk up when we get to flower.
3 look ,,,, meh, the fourth is descent. Trimmed all four back down to 12” tall. Flower next week.
Likes
13
Share


@Kviatech
Follow
Today she got fed for the second time. pH balanced water with a tiny bit of root growth enhancing enzymes. She's gonna end up in a 3gal pot. Not sure how long I should wait until transplanting her. I've seen some people wait a whole month before doing that, but I was thinking maybe at the end of week 2?
She's under 120W of white LED lights, aiming for 0.8 VPD.
Likes
28
Share


@Hellhazard
Follow
I'm going to rinse the left pot with Advanced Nutrient "Flawless Finish" which is suppose to grab nutrients out from the plant and medium with empty chelates then only feed with PH 5.8 water for a week or so. Tricomes are mostly milky now on it but not many brown at all.
The 2nd plant which is much taller looks to be about a week behind, so will treat that one accordingly. I'm really tempted to chop the advanced one down!!!
Flawless Finish and Bud Candy from now on out, Giving a more heavy dose of Flawless Finish right now and will wait 12 hours and do it again with a heavy flushing that time to get the medium as clean as possible. It will take at least 4L per pot to start flushing well.
Still look like they are packing and fattening up though. Yellowing in the left side is pronounced,
Day 65: A few more days of flushing till the chop. The scent is kind of nasty right now


Processing
Likes
20
Share


@cpt420
Follow
I skipped a week as I was away from my plants, had to plant 2 of them into bigger pots when I got back. Growing so fast right now, only the one plant that's a bit behind in growing. Might be the night time temperatures or maybe not enough nitrogen. Not too sure. Leaving them on the same nutrient schedule until I flip the lights.
Likes
53
Share


@Mastr
Follow
Week 9 coming along and she is very thirsty always want more nutrients this week I feed
3ml alg amic
5ml acti vera
5ml heaven
5ml bloom
5ml top max
1ml atami bloombastic
And feed her 2L every morning 🌄
I think 2 weeks left to harvest coz she start flowering day 21 will see