


Likes
Comments
Share

@general_davdek
Follow
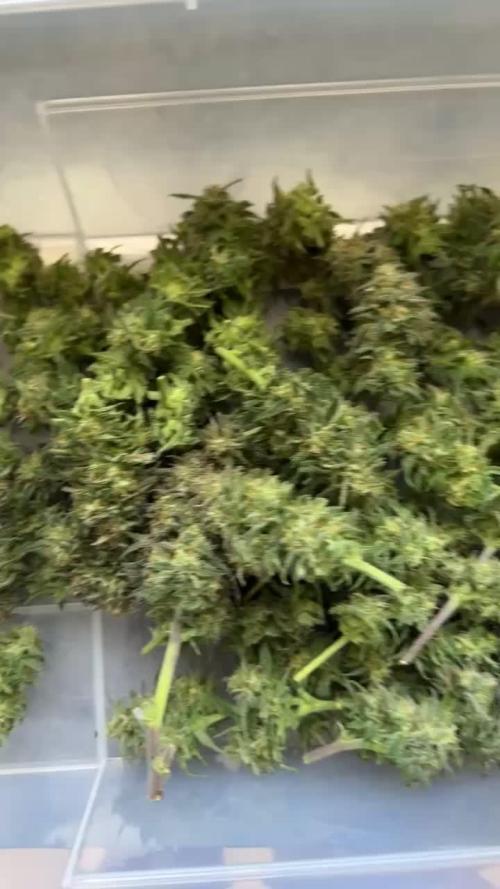
Incredible experience!🍃🇯🇲
Today no AI text, just pure euphoria.
My first indoor grow, and I am pretty sure i will never forget it😃
Nearly 200g od pure happiness, the smell of fruits in the buds is unmatchable. Looking forward to try it in unc.

Likes
14
Share


@DeeznugzAutoFlowers
Follow
Just put this Girl in her new home..From solo cup to 7 Gallon Pot. She likes her new home especially after drinking a little Recharge! Plus she got her 1st topping and LST..

Likes
5
Share


@banditman1200
Follow
just about to go into week 9 and i noticed a few midges or so i thought.as the next day there were more ..i noticed that they seemed to be coming out of pot bases.upon closer inspection these turned out to be fungus gnats.(never heard of them. Never had a beastie problem).No idea how or why but problem seems to be sorted as you can see from photos ,sticky traps and plant magic Bugicide
Likes
17
Share


@HowtoBubatz
Follow
The plants are thriving in their 4th week of flowering, and I couldn’t be happier with their progress! 🌟
Adjusting the nutrient mix for the coco substrate has really paid off, and both plants are responding beautifully.
The trichome production is impressive on both, but interestingly, the plant without LST is slightly ahead in development compared to the LST variant. 🌿💨
The buds are forming nicely, and there’s already a noticeable aroma in the grow space. It’s predominantly sweet, with hints of something deeper starting to come through. 🍭✨
So far, everything is looking on track, and I can’t wait to see how they progress in the coming weeks!💚💚💚


Likes
17
Share


@Northern_Ent
Follow
Aug 16: Tropicana Cookies FF is a really fast flowering plant. I’m getting excited for the flowering progress cuz it looks like it is going to be a big one. Very exciting and we’re still only at mid-August so the timing is very good for a strong finish in September without it dragging into October.
Aug 18: video shows using the 730 nm far red light at dusk. To maintain a natural schedule I use Civil Twilight as listed on timeanddate.com. This is getting 2-3 minutes earlier each night. Just a couple seconds is all it takes to put plant into dark mode 2 hours faster making it like a 26 h day. Great trick if you have daily access.
Likes
13
Share


@DaddyPrime
Follow
3/18 started looking super frosty compared to the past couple of days
3/21 shes starting to chunk up a bit. Looking better and better each day. Starting to put off a slightly sweet/skunky smell. She smells real good honestly
Likes
3
Share


@Miketama
Follow
Plant 1 30 g
Plant 2 30 g
Plant 3 10g
Total 70 g dried and trimmed buds
They smell of lavender and taste of lemons and blueberries, relaxing but not biting effect

Likes
10
Share


@Grey_Wolf
Follow
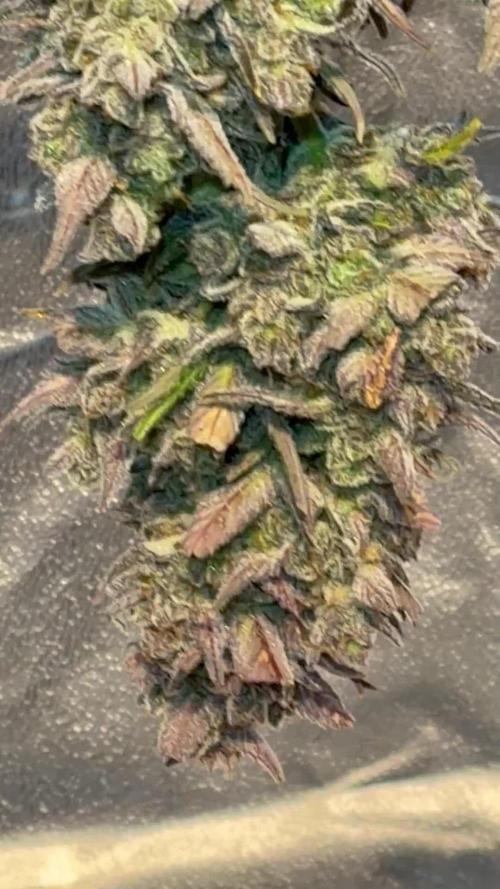
Fast Buds Mexican Airlines 5 weeks into Flowering completed 18th Jan 2020
Well she's starting to fill out a lot more now and is getting fairly sticky and stinky. Probably another two weeks or so left before it's ready but no rush.
The weathers turned a little and is threatening to rain so I'm juggling between moving them into the sunlight then back under cover when it looks a bit clouded and ominous.
Thankyou for looking at my latest update 👍

Likes
16
Share

@PrinceOfHerbs
Follow
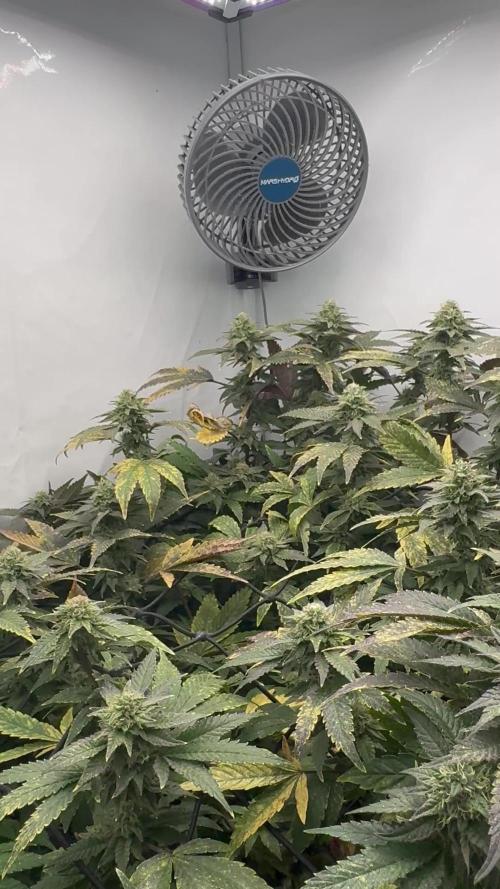
The flowers are getting bigger and more resinous. Unfortunately, the plant has spider mites, which is why ladybugs and pest predators are also being used. I hope this will at least save the plant to some extent.
Flowering day: 30

Likes
5
Share

@Budhunter
Follow
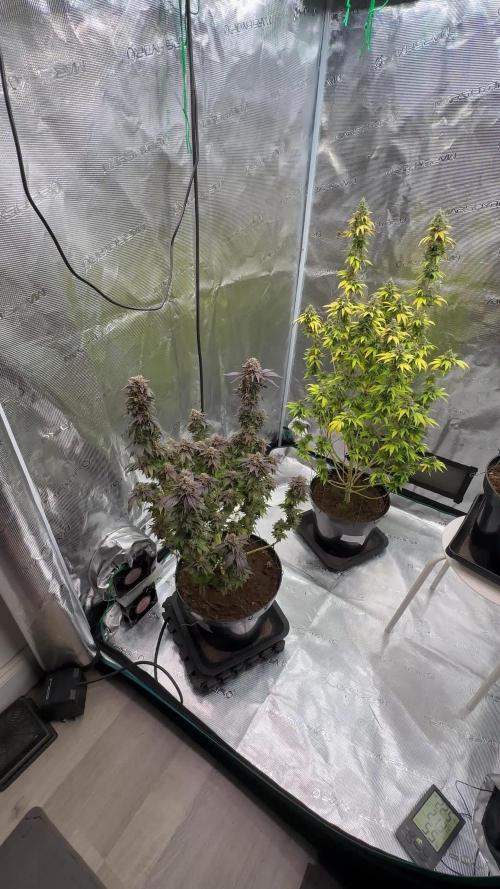
Week 10 day 70 of flowering, day 126 of cycle
Black gum is fading and looking stunning 😍
It’s smelling strawberry and kunk, nice combination
Going for last week and then chopping off, let’s go

Likes
3
Share


@FourTwenty_Plants
Follow
So far so good the girls are thirsty af with 24/7 so im giving about 2.6L every 2 days per Plant
Likes
27
Share


@TheCannaProphet
Follow
~ FASTBUDS TESTER #2205 ~
Well friends, here we go on another 'canna-venture' together!
The grow room has had a complete remodel and some upgrades done to it including brand spanking new 4x8 and 4x4 tents and a Trolmaster Hydro X controller along with a new Control Panel.
This tester strain is one of six tester strains that FastBuds has graciously provided me with and I'm looking forward to seeing what this girl has to offer when she's grown to her full potential!
One drawback of 'testers' is I have little to no information on it other than its number and that it's an autoflower... 🤪 But, it's ALWAYS a blast growing them for me because not knowing a lot allows me to just concentrate on the essentials: Light, Environment, Water, Nutrients and possibly a bit of LST... not complicated, just basics like keeping a constant temperature and RH in the tent at a level that gives a good VPD, watering when almost dry and maintaining proper light levels according to their stage of growth.
____________________________________________________________________________________________________________________________________________________________________________________________________________________________________________________________________________________________________________________________________________________________________________________________________________________________________________________
~THE SETUP~
~Initially seeds were lightly scuffed, then soaked for 3 hours in 78℉ distilled water after which they were transferred to moist paper towels laid out in a Jiffy Pellet plastic starter tray with lid. Underneath the tray was placed a Mars Hydro Heat Mat with Controller that was set to 78℉ where they stayed until their tap roots emerged.
~Planted into Jiffy Peat Pellets that were hydrated with distilled water warmed to 78℉ with a 7.0 ph.
~Once roots emerge from the Jiffy Pellet they're transferred to their fabric pots.
~Grown 100% organic in a 4g Gronest fabric pot and a 3g fabric pot by Wraxly filled with Mother Earth 70/30 Coco/Perlite medium and initially amended with Dr. Earth 4-4-4 / Earthworm Castings / Dr. Earth Flower Girl 3-9-4 and Coast of Maine Stonington Blend Organic Plant Food 5-2-4.
~19/5 light cycle for the entire run with supplemental UVA added during flower. Lights are controlled by a Trolmaster Hydro X controller set for a 15min Sunrise/Sunset simulation.
~Top dressing every 3-4 weeks with slow release dry amendments and Earthworm castings.
~Straight water ph'd @ 6.2-6.8 when needed and bi-weekly Compost Tea's.
____________________________________________________________________________________________________________________________________________________________________________________________________________________________________________________________________________________________________________________________________________________________________________________________________________________________________________________
Weekly Updates:
12/1- I soaked both seeds for 3 hours in 78℉ distilled water after which they were transferred to moist paper towels laid out in a Jiffy Pellet plastic starter tray with lid. Underneath the tray was placed a Vivosun Heat Mat with Controller that was set to 78℉ where they stayed until their tap roots emerged which usually takes roughly 24 hours. These seeds however didn't follow the rules and took their fine time to pop out their tap roots.
12/3- Today their tap roots were about 1/4 to 3/8" so at 11 am I transferred them into Jiffy Peat Pellets that were hydrated with distilled water warmed to 78℉ with a 7.0 ph using a tine off of a plastic fork as a 'mini trowel' to make a hole in the pellet and to gently cover the tap root, leaving only the seed head slightly exposed. This method accomplishes most of the initial work the seed has to do by eliminating having to orientate itself, push it's root down and head up. By 10pm the #1 seed had her cotyledon leaves opened ...waiting on the #2. 🧐
I was concerned that one of the seeds may fail as she took so long to germinate so I soaked two more as an insurance policy. Naturally, BOTH of the second set of seeds popped their tap roots within 24 hours. One of the first round seeds failed to germinate which left me with three viable seeds, one in a pellet already and two showing tap roots. I planted both of the second round seeds into the same peat pellet that I had previously soaked.
12/5- Well this is Day ONE for the #1 FBT #2205 and I anticipate seeing one or both of the second round poking their heads out real soon! I'll keep them in the covered/heated Jiffy tray until I see their roots beginning to emerge from the peat pellet, then I'll transfer them gently into their respective fabric pots. The #1 will be going into the 4g Gronest pot from FastBuds and the #2 will reside in a 3g pot by Wraxly, which I'm trying out for the first time.
12/7- Yesterday I checked the #1 tester and she had roots starting to emerge from her pellet so tomorrow I'll transfer her into her 4g Gronest pot.
The second round seeds finally made an appearance and I decided to yank the smaller of the two keeping me from having to stress them when I separated them.... this will be Day One for the #2! She looks really healthy and I'm confident that she should be ready to transfer into her fabric pot in the next couple of days!
😎💚 Thank you for checking out my passion in life! Please visit as often as you wish and I hope you enjoy this journey as much as I know I will! Grow Strong! 💪😎🤙
Likes
18
Share


@Mastr
Follow
I chop her down day 70 and let her dry in temperature 17° and humidity 60 I already test her bud and its so nice for daytime stoner test like diesel and fruit i love to smoke her bud cant wait to they get dry and I guess she produce 3or 4 ounces let see next week thanks to everyone all grower happy growing friends 💚


Likes
133
Share


@PapaNugs
Follow
A great week here. Only getting watered once, it was with recharge, microbes and mycos. Lots of goodies for the soil. Excited for this coming week and topping.
Lights at 40% power.
Here are the lights details:
Medic Grow Mini Sun-2 150W LED
Model: MN150-022
Spectrum mode: V1
Efficacy: 2.8 umol/J
Thanks for stopping by!
You can find the light on Grow Diaries:
https://growdiaries.com/grow-lights/medic-grow/mini-sun-2-150-watts
You can find the light on Medic Grow's website:
https://medicgrow.com/

Likes
216
Share


@Ju_Bps
Follow
Hello my friends 👨🌾👩🌾,
Still in GD Jail since 2 week, hope will be solved asap, thanks for your coms and likes I can't reply you my friends.
The cherry cola 🍒🍒 grow up really fast this week, she's now biggest than hier sister Fat Banana Purple Punch 🌲🌲
Start to be frosty and sweet smeel.
💦I've given this week 2x 1.75l/plant
- Water + tera flores + canna boost
- Water only
PH@6
She need more and more water, and she tell me when I'm in late watering 😠, it's an exigent ladies,
Look a bit overfet so I've given water only this last watering and tomorrow I'll give only water also.
Lamp 75%
See you next week and have a good week end my friends 🔥👨🌾👩🌾
Thank to Mars Hydro and @marshydrococo2 for sponsoring the FC3000 ❤️❤️, as well as @Fast_Buds for sponsoring the Seeds ❤️❤️
If you want a litle discount on your Mars Hydro order, add this coupon to your cart,
Ju_Bps
Thanks community for follow, likes, comments, always a pleasure 👩🌾👨🌾❤️🌲
Mars Hydro - FC3000
https://www.mars-hydro.com/fc-3000-samsung-lm301b-led-grow-light
42 Fast Buds - CHERRY COLA 🍒🌲
https://2fast4buds.com/seeds/cherry-cola-auto
Likes
5
Share

@GoodTimesOrganics
Follow
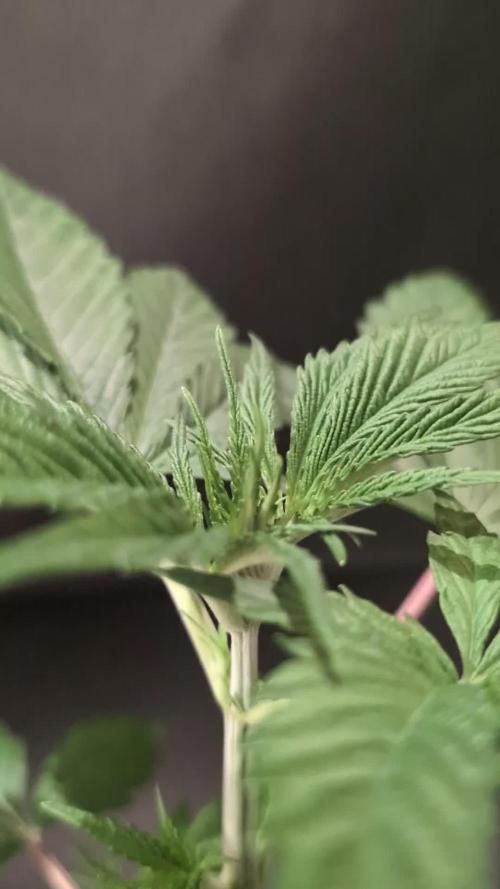
Welcome Back liebe Community 🌱💚
Double Gum von White Label Seeds on the Run!
Die dritte Woche ist vorbei und die Pflanze entwickelt sich super.
Sie ist 22cm hoch und die Pflanze zieht sich gut in die länge.
Im Vergleich legt die Sorte einen starken Wachstumsschub hin mit längeren Internioden Abständen.
Die Umgebungsgegebenheiten sind aktuell gut:
—————
🌞 Temp: 26
🌚 Temp: 18°C bis 19°C
💨 RH: 64%
VPD: 0,83 kPa
💡ppfd: 330 mpm
—————
Viele Grüße 👋

Likes
40
Share


@Leonweed10
Follow
14 dias las nenas critical,empezando un lindo espectaculo de color verde!!
Likes
6
Share


@Hommero75
Follow
End of the 3rd week for the Orange Sherbet. She just got fed Goldleaf feterlizer. It's been a slow process with ups and downs. I encounter a few issues, but she's still hanging in there. Hopefully week 4 is better. I still got faith in her.