


Likes
Comments
Share

@Miketama
Follow
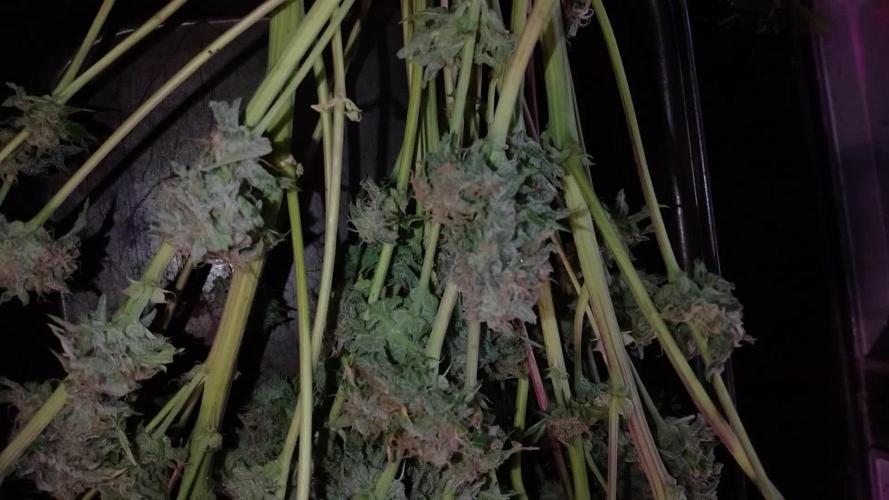
This week I went for a staggered harvest to protect the buds that were starting to get damaged. The cycle ended on day 76, with trichomes at the perfect amber point and a yield of over 300g wet, despite a few mistakes along the way.

Likes
1
Share

@NAG420
Follow
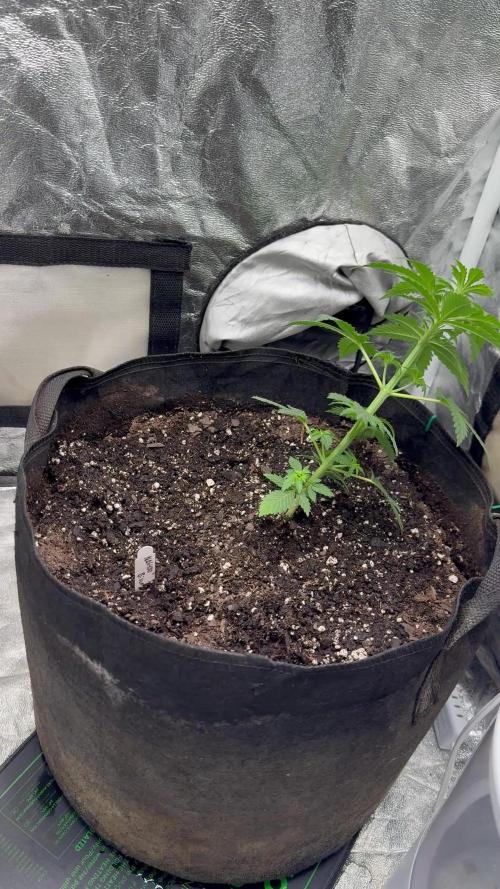
She is doing great on the transplant! I really don’t like to transplant I would normally grow in straight to the end pot which I like to grown in 5 gallon pots. Temperature in tent is 79-75 during day drop to about 72-69 at night. The RH 62%.


Likes
8
Share


@SpawN
Follow
This concludes the vegetative phase, I've set the timer to 12-12 and the flowering will begin tomorrow

Likes
102
Share


@love_2_grow
Follow
D13 - BOOM! The new #1 had made her modest appearance. Only the top of the seed is visible so far, but it's a start. :)
#2 is moving along nicely, quietly doing her thing.
D14 - #1 is still shy and hasn't fully emerged yet, but she is at least poking up more than yesterday, so there's progress at least.
#2 is doing great, and I like her structure. Short and stout with large leaves and very short internodal spacing. She is 7 cm tall but already 11 cm wide.
I also cut back the cover crop as it was getting a bit wild and partly overshadowed the girls.
Since starting the grow, I have yet to water the girls properly, but they did get a little bit a couple of days ago when I had some extra after watering nematodes (against fungus gnats) to our regular houseplants. Better to be proactive than reactive ;)
D15 - I started a simple compost tea consisting of worm casting, rock dust, algal limestone, bentonite, biochar, and molasses. I'll leave it brewing overnight, and then it's watering/feeding time tomorrow.
D17 - No idea what is going on with the first girl, but it sure isn't much. The seed has maybe emerged for another two millimeters from the soil, but that is it. The seed hasn't cracked, and no leaves are visible. Hell, I can hardly see the stem.
Yesterday, I gave each girl about one liter of the compost tea that I started a couple of days ago. Let's see if that helps, although, at this point, I kind of doubt it.
As always, I completely forgot to check the pH of the tea. I have no idea why I keep forgetting that with my teas when I have no problem checking the pH when I use plain water. Oh well. Not the end of the world but something I need to keep in mind for the next tea in a couple of weeks.
The second girl looks great, though, so that's something at least.
D20 - Alright, it is official. The third girl died as well. The seed never cracked, and the stem went limp. I have no idea why this happened, and now I'm out of Colorado Cookies seeds, so that's that.
I have already planted another seed to see if the problem persists with another strain. I will make a separate diary for that one, though.
On the positive side is that the remaining girl looks strong and healthy. She is now 9 cm tall and 18 cm wide on this last day in week two of veg. Upwards and onwards!

Likes
4
Share


@QixxGrows
Follow
Day8: First day of the new week. I assume still pretty much focusing on roots, as the top didn't really do much today.
Day9: Nothing special. But she's growing
Day10: Still roots, it seems. Very little happening up top.
Day11: Effort being put into growing the top leaves. They increased in size. I assume that the next node will start tomorrow - kicking off the switch into Veg.
Day12: Next node already showing :D
Day13: I put in a humidifier and changed the cycle of the extractor to keep more moisture in the growbox. My humidity was way too low.
Day14: This time the humidity was too high. It was sitting at around 95% when the lights went on.


Likes
3
Share

@CaveGanja
Follow
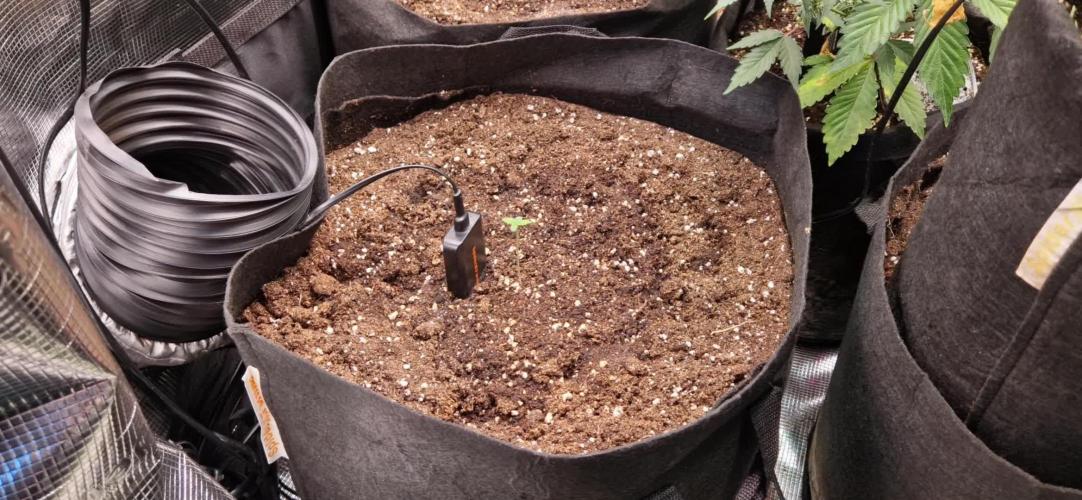
She is doing realy well didnt changed the feeding scheme buds getting daily bigger.
im realy impressed how she recovert from the wrong light cycle.
I have 3 fans running to deal with the high temps.
Still i have one more but i use it for my self if i reach 35C in the tend i have to suffer for the plants.
Likes
12
Share


@Kingseeds
Follow
This strain has a yield of extra large, compact colas that are heavy in weight and covered in extra adhesive trichomes that stick to your fingers. Cherry Punch's exterior is dark green and exhibits small amounts of midnight purple leaves
Cherry Punch's exterior is dark green and exhibits small amounts of midnight purple leaves. Its aroma is fruity but skunk-like, and has a soft, sweet berry taste that resembles its parent Purple Punch

Processing
Likes
1
Share


@Greenpalace_420
Follow
La 3 semana de crecimiento las niñas están en su máxima potencia comprobamos que no tienen falta fe ningún nutriente están super verdes con unas hojas muy grandes

Processing
Likes
19
Share


@CBD_Sweden
Follow
2018-03-13 Week 11 Day 1
As I mentioned last week, the girls are growing like crazy since I changed to 600W HPS,and even though they haven't grown so much higher, they are definetly wider because of LST.
My growroom is only about 1.8m2, so now the girls are so wide that there's not enough space for them to get wider, so now I will let them stretch.
Nr 1 is 44 cm
Nr 2 is 39 cm
2018-03-14 Day 2
I LST'd the girls one last time and also defoliated them mildly so all the tops get as much light as possible,hopefully increasing the yield in the end.
I also turn the girls 1/4 lap every day to ensure that all sides of them get as much exposure to light as possible, it would've been great to have some kind of turntable that turns the girls 1 lap in 12 hours,, but until I find out a device that does just that,I'll keep on doing ti manually.
Added some videos for you to enjoy.
------------------------------------------------------------------------------------------------------------------------------------
Strain information
Genetics for the famous Power Plant were captured by a group of Dutch growers on a trip to South Africa, back in the 90’s. They managed to breed a strain that was soon a popular choice in coffee shops of the Netherlands, most likely due to the soaring and intense Sativa high. Zambeza Seeds thought that the productiveness of Power Plant should never be forgotten and created an updated version, to bring the legend back to live.
Power Plant XL yields up to 600-750g/m² in a flowering period of approximately 55 days! The efficiency and productiveness of Power Plant XL fears no comparison with many recently bred cannabis strains. Indoor heights of 80-110cm make this sativa-dominant variety relatively easy to grow, but outdoor growers need to be aware of the power that is being released under the sun. Outdoor plants can easily reach heights of 150-200cm, and yields of 500-600g per plant.
The taste of Power Plant XL can be described as a delightful blend of sweet and sour flavours, with subtle hints of pine tree in the background. Smokers who appreciate a very strong and uplifting Sativa high will be more than satisfied with the effects. One will experience feelings of euphoria that are definitely intense and uplifting, typical for a South African Sativa like this. The up-high can also evolve into being more relaxed, especially when larger quantities are being consumed.
Some people suspect Power Plant to be grown in large commercial operations around the world. It doesn’t really matter if these assumptions are the truth or myths, but Zambeza’s breeders are very proud to bring this highly productive legend back to live. The updated version of it, Power Plant XL, is the most efficient Dutch "bud factory" money can buy.
------------------------------------------------------------------------------------------------

Likes
5
Share


@Mr_nugs_lover_David
Follow
Beautiful autoflowering strain, she had developed a very fat single main cola, very sticky and heavy.
Likes
13
Share


@Rungood
Follow
Début de la 8eme semaines de floraison 😁 elle boit de l'eau depuis 6 jours je pense coupé dans la semaine 😍😍 J'ai hâte !!!
Likes
19
Share


@Drgreen13
Follow
Hi guys, so were in week 5 now, (week 2 of flower) this girl has got big, she's growing really fast and ive had no issues, until now, slight nutrient burn, but that's my fault. I haven't LST 'D her until now, i havent needed to, she grew like this any way, ive starpped some of the branches down to let more light through the canopy. I'll update in a week. Thanks for reading, feel free to check out my other diaries and leave me a like, maybe even a follow. Stay high stay fly. #420everyday
Likes
3
Share


@BR1CK_SANCHEZ
Follow
Starting off this new run strong!!! Loving how fast the sprouties are growing. They look pretty happy to me. Maybe bottled nutes are best for my indoor.
Likes
10
Share


@LowzGrowz
Follow
Was Easy Going No Issue
Smaller side but didnt do much just let her go
little over water @ Times from all the Rain was having...
but she handled it


Likes
80
Share


@Ganjagrandaddy
Follow
Hi all. Welcome to this run withbthe Viparspectra XS1500 which i was kindly sent to try by their helpful rep Valerie. As I have a fairly good space to use for my main grow , it seemed an ideal time to explore a few options while I wait for space to appear following upcoming harvests. The opportunity hit at a good time and has now driven the future play time. lol
The light is a full spectrum 150W( at the socket) , Dimmable and very well made unit. As summer is here now , my concerns of more heat being an issue have stopped me from adding my other light so the smaller 2ftx2ft area covered by the XS1500 is a good option , The heatsink is built into the case design with a finned top to dissipate the heat so no noisy fans. Switching it on to full power was a nice surprise as the footprint was way wider than I had expected and the actual coverage is even better for my Nursery to harvest plan....
I am growing autos perpetually at present and have been able to throughput the plants with just 2 lights and using the overlaps at the edges to bring seedlings along to veg/flowering, as harvesting is finishing. The timing had been working well but the plants were getting smaller towards the last runs . I gave it some thought and Rh % came to mind. With the perpetual runs not having a higher rh in their veg periods due to other plants needing a lower Rh% in flower , the vapour pressure deficit (vpd) was not within veg periods healthier range. This current run has exploded and filled my normal space very quickly which in turn means I cannot use the same principle as the last perpetual run of bringing the next ones along ready for the exchanges. The XS1500 takes care of this issue with it being perfect for an initial nursery light that is easily covering all the new seedlings but is also able to cover my experimental "5 plant 1 Pot" attempt. I have placed 5 of my own autob seeds from a previous seeding in a single 60 L pot and intend to strip them to their 4th nodes and only allow 2 mains per plant to develop and flower. Inam hoping to have 10 mains growing in it that will be under the xs1500 solely as the other plants outgrow the lights footprint and space they are in. They will go into the main grow space once able so i can really see how well this new light can flower with the 10 mains to fill the space. Until that point , I will diary as we go and see what we can achieve.
Likes
3
Share


@MicroHidroGrow
Follow
Bueno, para no perder a nadie, el sistema que manejo es con dos indoors en paralelo. Uno en flora y otro creciendo la madre. A la madre la hago crecer hasta sacarle esquejes. Luego pasan al otro indoor, la madre y los esquejes, y ahí comienza la floración. Y ahí mismo comienza la nueva madre en el indoor pequeño.
La variedad es de un banco argentino que no sé si sigue existiendo. Se llama "kali seeds" y la variedad es superhaze. Que en teoría tiene unas 10 semanas de floración.
Día 01. Puse la planta para obligarme a terminar el prototipo. En este caso decidí usar madera de palets y algunas otras cosas que encontré en la calle. Ya casi termino todo, pero me falta armar los cierres. No voy a hacer puertas, dado que no está centrado, así que uso una tela de microfibra que ayuda a opacar mucho y era
mas barata que el blackout. Ademas es impermeable y me sirve para un nuevo mecanismo de seguridad para fugas que quiero implementar. Es bastante simple, pero me soluciona mucho. Hoy no hay mucho más que mostrar. Cuando lo haya terminado voy a ir mostrando como va quedando.
No me voy a enroscar con los tsp. Voy a poner lo que use aca.
Ahora puse un litro de agua con un poco menos de 1g. de Feeding Grow de Greenhouse. Al menos por ahora, ya que tengo que comprar medidores porque los míos ya no dan confianza.
Día 4. Ya estoy terminando de acomodar el indoor. Lo forré con refractario e instalé las "puertas" que en realidad son telas tipo blackout, pero mucho más finitas. Me falta terminar de ordenar la electricidad para que cada sector tenga su timer. Van a ser 3 timer diferentes. Por un lado van a ir luces y ventilaciones de flora (12hs). Por otro lado bombas de aire, bomba de agua y probablemente vientos de floración (15 min/hr). Y por último luz y ventilación del modulo de madres (18hs).
Hice el cambio del depósito, a uno de 5 litros, ya que los próximos 10 dias pienso intentar mantener la misma solución (mantuve la proporción 1g/L de feeding grow). La planta tuvo un ataque de una plaga que fue a sus primeras hojas. Por suerte en el momento puse tierra de diatomeas y parece haberse detenido. Pero se pueden ver los amarillos en las puntas. No me preocupa, dado que en hidroponia esos problemas se resuelven y la planta se recobra enseguida. Ahora igual habrá que ir monitoreando, dado que me había olvidado de desinfectar el indoor, cosa que hice luego de este ataque. Tengo fé que llegando al mes y medio de crecimiento, ya esté en condiciones de cortar unos esquejes.
Día 07. Por el momento el crecimiento viene rápido cómo suele ser en hidroponia. En unos días le voy a estar haciendo el corte apical. La ansiedad me viene ganando, pero sigo con fé. Esta semana tengo que comprar un par de aditivos y medidores que me están faltando. Pero ya está todo encaminado.
Likes
12
Share


@ScrogFreak
Follow
The SCROG net was installed on the last day of Week 6, I included a couple pics from that night, to compare with how the plant looked the next day, which was the first day of Week 7. My nerve damaged fingers caused me to be a little rougher with her while the net was going on than I like, but as you can see, she bounced back very quickly and was reaching for the light less than 24 hours after being mangled lol.
I will continue to systematically defoliate the upper canopy every night or two for the next several weeks, and will completely strip most everything below the net. Every night or two I'll tuck any branches that need tucking, and will remove any fan leaves covering bud sites.
She spread out pretty well in the net, and truth be known i probably could have gotten away with a 6 week veg after, plants are a decent size in the net with the stretch left to go. Flip happens at the end of Week 7
The manganese issue seems to be getting much better by the end of the week. Will keep my pH levels at 5.8 for the remainder of this grow, and any subsequent grows.
I also devised a fan mount to save on space in the net. Instead of standing the fan, i simply cut a piece of 1x3 to length, drilled 2 holes in each end, large enough for zip ties to pass through. then I simply zip tied it to the tent poles, took the legs off the fan, and screwed the base to the board. I placed a piece of foam on top, as the screws were a shade long and I was afraid the small protruding tip would eventually puncture the tent. Works much better than expected. No movement in the mount at all.
Likes
6
Share


@Shivashamboom1
Follow
Questa runtz continua a crescere a dismisura 💪😉👍
Ci metterà più tempo per arrivare a maturazione