Likes
Comments
Share



Likes
6
Share


@eldruida_lamota
Follow
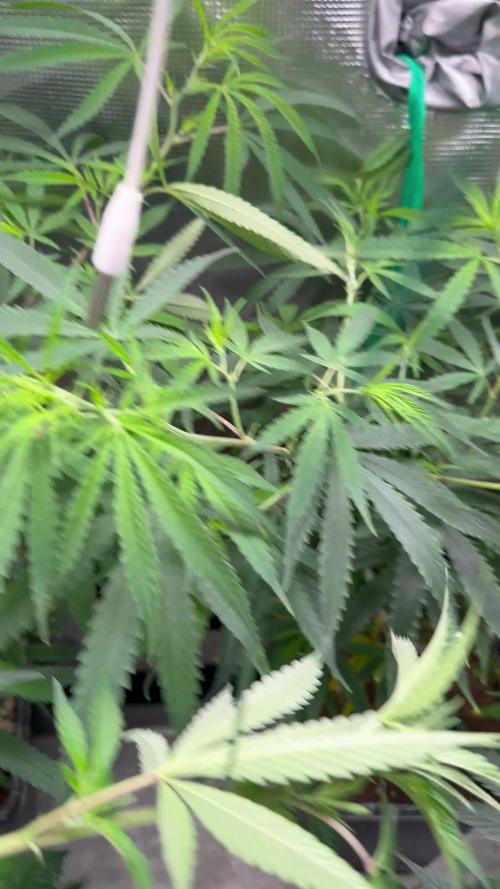
Que pasa familia, vamos con la primera semana de floración de estas Papaya sherbet feminizadas de fastbuds.
Vamos al lío, de las 3 plantas, me quede con 2 por espacio, siempre pongo alguna semilla de más por si no abriese alguna por no perder ese hueco del indoor.
También se trasplantaron a su maceta definitiva, en este caso de 7 litros, que el mismo trasplante provocó un shock, que también fue solucionado inmediatamente.
El ph se controla en 6.2 , la temperatura la tenemos entre 20/22 grados y la humedad ronda el 50%.
Hasta aquí todo, Buenos humos 💨💨💨

Likes
2
Share

@GoodTimesOrganics
Follow
Hi liebe Community! 💚
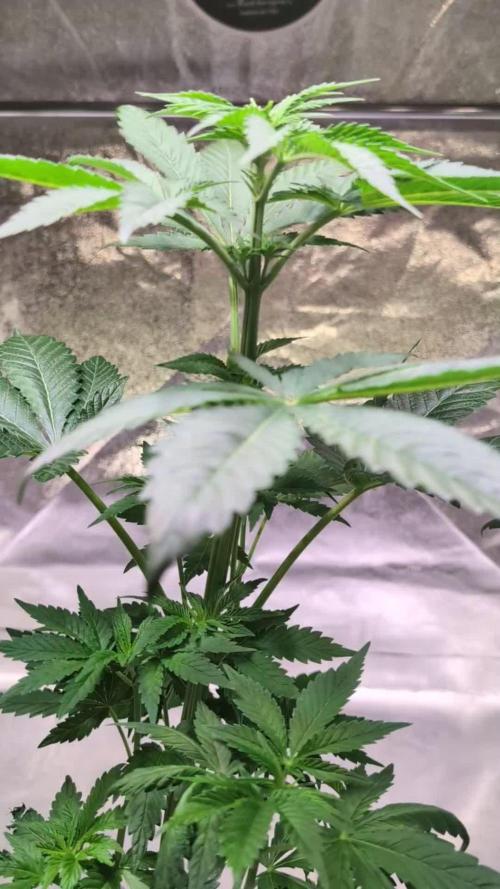
Der zweite Strain von Good Times Genetics. Entwickelt sich wunderprächtig und es sind sehr schöne große und Breitgefächerte Blätter zu erkennen. Ein schönes Wuchsbild verreint mit einer starken Indica Dominanz.
Bei diesem Typ allerdings liegen die Seitentriebe etwas näher am Haupttrieb, als bei der anderen Pflanze.
Gestern wurden die Ladys ausselektiert und in ihre neuen Töpfe gepflanzt.
Wir sind mega gespannt, wie sich die Pflanzen weiter entwickeln.
Nach der nächsten Woche Erholung wird noch ein Topping folgen.
Die Wachstumsbedingungen im Growzelt sind weiterhin am Optimum und Stabil:
———————
🌞 Temp: 23°C
🌚 Temp: 20 °C
💨 RH: 58%
VPD: 0,86 kPa
😎PPFD: 330 mqm
———————
Stay Tuned! 💚
Likes
2
Share

@Sativa1444
Follow
HAZIRLIK
Dolabı yapmak bir aydan fazla ileri sürdü; aydınlatma, havalandırması, iç kaplaması, montajı, elektrik kabloları, fişleri, soketleri, prizleri vb. Tüm bunların ardından, sonunda bitirmem ve kotiledonların görünenlerin görünmediğini gördüm. Burada yaşadığım mücadeleyi okuduğunuzda, heyecanımı ve mutluluğumu paylaştığınızı düşünüyorum… =)
//LED'LER//
Torch LED'leri kullanıyorum ve bu LED'ler fiziksel olarak oldukça büyük olduğu için, dolapta ciddi miktarda dikey alan kaplıyorlar. Toplam 70 cm'lik aralıklardan 50 cm'ye düşüyorlardı ve toprak birleştirmeyle yaklaşık 40 cm'ye düştü, bu da başlangıç büyümesi için neredeyse hiç yer bırakmadı. Bunu çözmek için Torch LED'lerini plastik yuvalarından çıkardım ve bunları ayrı ayrı boyutlandırılmış ahşap plakaya düz bir şekilde monte ettim. Bunu yaparak yaklaşık 15 cm'lik alandan tasarruf sağladınız. Ancak dolap yapısı ve Torch LED'lerinin kendisi nedeniyle ciddi ısınma sorunlarının belirtileri.
//KABİN//
LED'leri açtığımda, 26,5°C'lik iç havayı alıp 37–38°C'de dışarıya atıyorlardı. Her lamba bana yaklaşık +4°C'lik bir ısı artışı sağlıyordu.
Durum böyle dönemde fan kapsamını artırdım; bu sıcaklıkta yardımcı oldu, ancak daha sonra içerideki nem 35–30'a, hatta %25'e düştü.
Ne yeteneğimi düşünürken, 12V çift taraflı bir Peltier modül kullanmayı planladım: soğuklukta bakır borular sararak bunu fan destekli bir sıcaklığa dönüştürdüm. Aslında işe yarayabilirdi, ancak sıcak ortamdan ısıyı uzaklaştırmak için ihtiyacım olan sistem çok hantal hale geldi. O yerde, "Büyüme hayali bitti" dedim ve vazgeçtim.
Birkaç gün sonra "Neden olmasın?" diye düşündüm ve dolabı balkona taşımaya karar verdim. Sonuçta, gizliydi - kimse içinde ne olduğunu bilmeyecekti - ve balkon uydu yoluyla mükemmeldi.
Dolap balkonunda olacağından, iç kısım ısıdan, yağmurdan, bölgelerden ve diğer zararlılardan tamamen yalıtılması gerekiyordu. Tüm delikleri ve ortamları sıcak silikonla kapatırım. Daha sonra ısıl işlem köpüğü yerleştirdim ve her şeyi bölme filmle kapladım.
Tüm bunları yaparken termostat, ısıtıcı, nemlendirme ve vantilatör için hiçbir şey görünmemesi için tüm kablo bağlantılarını da gizledim. LED aydınlatma için tek tek veya hepsi birlikte kontrol edilebilen ayrı lamba yuvaları ekledim. Ayrıca dolap kapağı açıldığında tüm ana LED'lerin otomatik olarak söndüğü ve yalnızca küçük bir 5W LED'in açık kaldığı bir sistemim oluştu.
Vantilatörü dolabın sağ üst arka köşesine monte ederek egzozu diğer noktalara yönlendirdim. Vantilatörün gücünde, negatif basınç o kadar güçlüydü ki hava yalnızca girişten katılıyordu - başka hiçbir yerde 0,001 m³ bile hava kaçağı yoktu. (Bunu hava verileri için değil, zararlıları uzak tutmak için yaptım.)
//SICAKLIK VE NEM//
Dolabı balkona taşındıktan sonra bu sefer ciddi bir soğukluk sorunuyla karşılaştım. Geceleri sıcaklık 8-9°C'ye düşüyor, gündüzleri ise 24-27°C'ye kadar çıkıyor.
Elektrikli fanlı ısıtıcılar kullanmak istemedim çünkü havayı çok kurutuyorlar ve tehlikeliler.
Peltier fikrinden ilham alarak tekrar düşünürken çözümümü bir PTC ısıtıcı kullanarak buldum. Hava bağlantıları olan iki alüminyum bloktan oluşan bir PTC ısıtma elemanı yerleştirdim ve gelen tüm havayı bu kanallardan mülkler.
Sistemi 24,5°C'de açılıp 24,6°C'de kapanacak şekilde ayarladım. Bu şekilde sıcaklık sadece 1,5° tolerans içinde -24,5 ile 26,5°C arasında dalgalandı ve LED sayıları azaldıkça daha stabil hale geldi. PTC'yi termostata bağlayarak ısıtma sistemini tamamladım.
Gündüz sıcaklık sorunlarının çözülmesi için, elektrikler 11:45'te kapanıp 17:45'te tekrar açılacak şekilde programladım; böylece 6 saatlik bir kesinti süresini elde ettim. Bu süre boyunca kabin yaklaşık 24°C'lik dış havayı çekiyor, maksimum 27°C'ye ulaşıyor ve ardından tekrar soğumaya başlıyor; tam da bu noktada PTC devreye giriyor. Böylece
daha önceki büyük yangının sorunu tamamen çözülmüş olmuştu.
Ayrıca nemlendirmeyi termostata bağlayıp %70'e ayarlayarak nem sorunu da çözülürm.
Tüm bu süreci 1,5 ayımı aldı ama değdi.
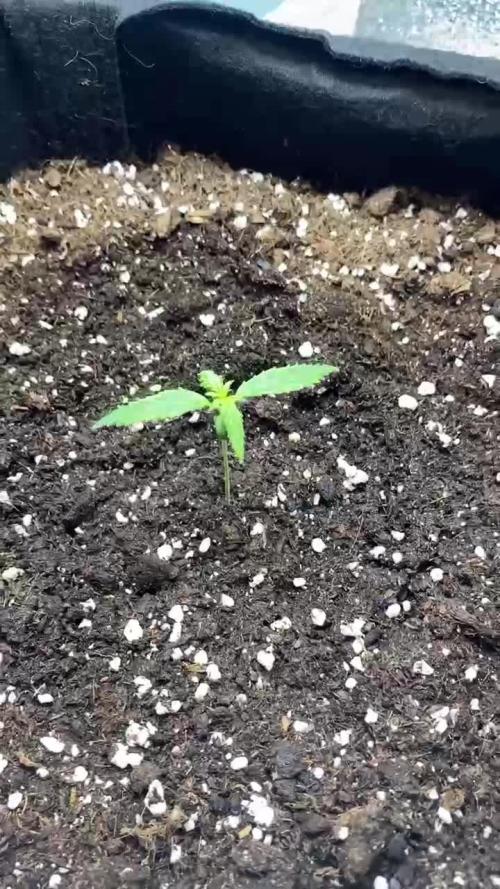
1-2-3. güne kadar tek led 3. günde 10. güne kadar 3 ledide açtım ama bitkide büyüme problemi olduğunu gördüğüm için ışıkları söndürüp tek ışık 40cmden devam ettim.
Likes
17
Share


@Budophile
Follow
Day 32 of flowering (12/12 to be precise): Halfway is getting close and they're starting to frost/smell quite a bit. Not much swelling on the buds although some of the pistils are already changing colour so I hope they will start fattening up real soon or I won't get any beautiful colas. Absolutely no yellowing on the oldest fan leaves so cutting down Bio-Grow once again. Will feed it for about 2 more waterings and then I'm definitely going to drop it out. Found a nanner on one of the top budsites of the bigger GSC but nothing too alarming. Think I'll have enough footage by the end of the week to compose a little timelapse what has been cooking so far.
Day 35 of flowering: Last supper of Bio-Grow for the girls. No deficiencies showing and RH/temps are staying just perfect. The other GSC has two nanners pushing out of the top colas and the other Gelato#45 seems to be starting to foxtail and making a cluster of nanners on top of the tallest colas (might be just light bleached and suffering leaves but doesn't look good..) If they turn out to be bunch of penises without balls I might have to "tip" her a bit from the top since the lower nodes look just fine. Wouldn't be surprised if it's just from way too intense light since I didn't find it necessary to raise the lamps at the start of the week cause all of them seemed to be enjoying the abundant light and I was already maxing out the hangers. Did a little tweaking and raised the lamps a good 15cm and now they're around 35-40cm from the tallest tops. We'll see how it goes..

Likes
15
Share


@BioGrowBayer
Follow
Ich denke noch etwas 1 Woche 😉
Seit 1 Woche gibt es nur noch klares Wasser
Likes
152
Share


@ThrashedTV_BakedByGlaze
Follow
VIDEO ADDED: DEC 29 2020!
--
PHOTOS ADDED: DEC 27 2020! MORE COMING
VIDEO?!
--
Smell is starting to come down from the fresh cut, definitely has a great look to the bud as the cure goes on, have two 8 gram boveda packs in there after a few days with one that was WAY too big for it 😂
Brought down my Chocolate Mint OG in my other diary right now as well, way more weight to that last plant... probably more than both these Chem Bombs combined, great genetics over @Humboldt_seed_organization 😎
--
PHOTOS ADDED: DEC 23 2020! MORE COMING!
--
DEC 19 2020 - Harvest Day
Chem-Bomb Auto .. DONE.
Step-Brothers ... CHOPPED.
Buds.. TRIMMED.
Giving them my first bud wash tomorrow! Already juiced the lemon, have the spring water, and off-brand baking soda because COVID has every place sold out of Arm&Hammer 😂
Dale: 50 Grams Wet Buds/Stem
15 Grams Trim/Larf = Total 65 Grams Wet
Brennan: 55 Grams Wet Buds/Stem
12 Grams Trim/Larf = 67 Grams Wet
Total Wet: 132 Grams (Buds/Stems/Trim)
Looks like I'm getting in and around the "1 Ounce per Auto Plant" range with my basic soil/hand feed system. The CMOG from my other diary looks like it will be my first 1OZ plant when it dries.
With my past experience of wet buds drying out to about half of bud weight, I'm hoping that they both come in JUST under an Oz a piece.
Going to update with more pictures, going to take a couple days to dry and get a good weight and hopefully get somewhere close to the 64 grams of the ONLY sized Boveda packs I have right now 😇
--
UPDATE - Dec 20 2020 - Cure Day
😵😭 i once again got my hopes up by pulling the classic male "over-exaggerating" and all the wet weight came from the main stems. After 3 days or so of drying both plants together came in just under an ounce. The smell is great and I have no doubt it's quality bud but I need to up my density game somehow for sure. New nutrients or better set up, still very low-end with all my equipment as I've just slowly been finding affordable pieces to add as I go. Maybe more light? Feel free to hit me up below with ideas short of switching to a Hydro set up 😹 I can hardly afford my bags of soil so I definitely couldnt keep up with the financial costs of a Hydro set up yet 😓
Have had a few bowls of the dried/uncured bud and it's very nice, clean, and crazy good for being uncured at this point. Just the classic flower taste from the chlorophyll but the pineapple/tropical taste is coming through nice already.
Final Stats:
26g Dried Bud
26g Trim
--
Thanks for checking in! Will be updating soon and posting more pictures! Throw down a like and/or follow so I can return the favour 🙌
--
IG: @GlazedGrow (DM and let me know you're from Grow Diaries so i can follow back!)

Likes
1
Share

@TTerpz
Follow
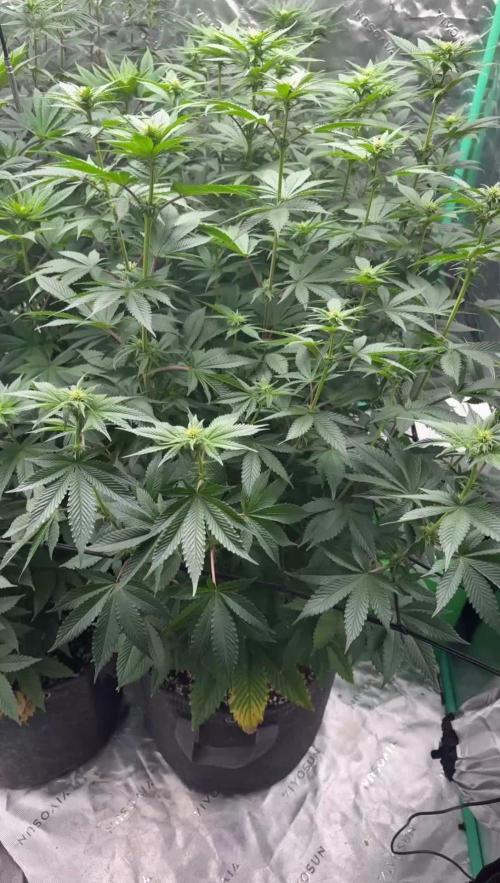
Week 3 Day 1: 8/16/25
Fed with nutrients : 8/15/25
Flushed with sledgehammer: 8/18/25


Likes
17
Share


@Elpicor
Follow
The harvest is coming soon also for Strawberry Gorilla and Orange Sherbet, news this week the strawberry pie has grown, who knows if it will make buds full of resin or seeds, maybe both? We will see! the story continues...
Likes
8
Share


@pzwags420
Follow
Started off week 6 off by adding 5ml of Flying Skull Z7 to reservoir and adjusted reservoir PH to 6.0. I've got the blumats nearly dialed in and keep making small adjustments every 24 hours. I am holding off a few days on the nutrients to see what the plant tells me. The clawing seems to have improved(combo of over watering and not getting runoff on hand watered nutrients I believe). When I apply nutrients going forward I will make sure there is plenty of runoff so I don't repeat the same mistakes. 😬 on day 2 I applied 1 gal of nutrients and watered until runoff. On day 3 I defoliated the bottom of my plants to improve the air flow. On day 6 I added 5ml of flying skull Z7 to the reservoir. I noticed a possible calcium deficiency on one plant so on day 7 I applied my 1 gal of nutrients with the addition of calmag and silica. Ive only used calmag once growing in coco and it burned my plants...so I assumed there was enough from my tap water and nutrients. I know this goes against all advice.. I think it finally caught up with me LOL.LIve and learn to buffer your coco. Next grow I will buy buffered coco and use a calmag product 😅 I defoliated the center of my plants to increase airflow and expose light deeper into the canopy.

Likes
7
Share


@Nacholicious
Follow
WEEK 4:
SHE HAS EXPLODED THIS WEEK!
Heavy LST with some light defoliation done throughout the week.
No notable deficiencies or toxicities.
~~~~~~~~~~~~~~~~~~~~~~~~~~
FF Ocean Forest Soil
Botanicare Cal-Mag: 4 ml/gal
Botanicare Hydroguard: 2 ml/gal
Added: Humboldt's Secret Golden Tree 1 ml/gal
Reservoir ppm: 250
Reservoir pH: 6.3
~~~~~~~~~~~~~~~~~~~~~~~~~~~
Notes:
At the start of this week I added Golden Tree supplement at half dose, and I'm happy with the results. I read some comments about it stinking up your grow room, it is NOT the case for me. I would definitely recommend it, my Pineapple seems to love it.
She has sprouted a ton of new shoots this week which have been LST'd to create an even flat canopy (see pics).
Through LST and defoliation, my goal is to create 7 or 8 large colas around the perimeter and a bunch of smaller ones in the center (see pics). Using garden ties i bend the main stem down to almost 90 degrees, exposing the lower bud sites to the light. As new bud sites grow, they also get tied down and some light defoliation is done, only removing what blocks the lower bud sites from the light. This means the leaves that face towards the center get clipped, everything else not blocking a bud site stays.
She ALWAYS responded positively to the LST and defoliation. Never slowed her down (see time lapse above).
Likes
7
Share


@ZzTooRightOGzZ
Follow
First feeding going well so far .
Day 1 of lst.
Lst going well so far.
Likes
5
Share


@Bak2Blk
Follow
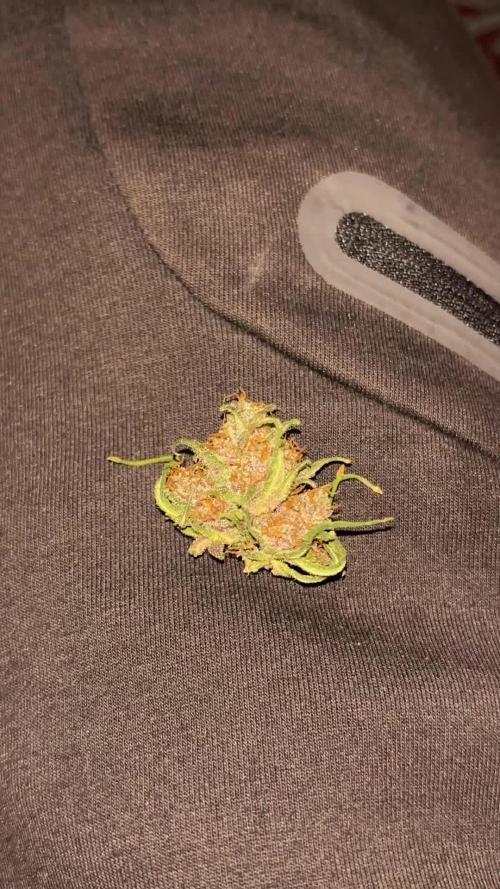
They're getting so big. I'm hoping this week I'll start to see some flowers starting to form. Gave them a ph'ed watering only today. I'll be giving them water with calmag on Wednesday.
7/27 - They're finally budding up. YIPEE! This is my best grow batch yet! GDP1 and BK are about 11 weeks old and GDP2 is about 9 weeks old.

Likes
61
Share


@PEAKYPLANTERS
Follow
MY FIRST GROWBOX
MY FIRST SEED
MY FIRST GERMINATION
MY FIRST CULTIVATED PLANT
MY FIRST COLLECTION
WHAT A SATISFACTION ... REWARDING AS FEW THINGS IN LIFE .... I MADE IT !!!
AFTER A FEW DAYS OF DRYING I DON'T HIDE YOU HAVING PUT SOME FLOWER ON THE LED GRID .... BLEAAA A STRONG FLAVOR OF GRASS AND SOIL .... I WAS A LITTLE IMPATIENT I ADMIT IT .... BUT DO NOT IMAGINE HOW MUCH IT IS ... IT HAS BEEN HARD FOR ME TO FACE ALL THE DEFENSE GROWTH BY EATING MY NAILS ... I HAVE NEVER ATTENDED THE ENTIRE BLOOMING PROCESS AND I WAS UNKNOWLEDGE OF WHAT THE NEXT STEP WOULD BE EVERY TIME AND THEREFORE FOR THE WHOLE TIME I WOULD ASK YOU FROM A PAIR OF LEAVES TO BECOME LARGE AND JUICY GEMS ...... SPECTACULAR ... MAGNIFICENT ...
I REMEMBER HOW LONG IT WAS WAS TO PURCHASE GRASS HERE AND IT DID NOT BE UNDEFEATED IMMEDIATELY IN THIS MAGNIFICENT EXPERIENCE ... MY GRASS IS MY GRASS AND THIS I UNDERSTAND IT NOW
I HAD FANTASTIC SUPPORT FROM ALL OF YOU
THANK YOU ONE BY ONE FOR YOUR VERY PRICE TIPS ...
I CUT THE PLANTS AFTER THE TWO WEEKS FLUSH AND I HANGED THEM WITH ALL THE STEM
I PERFORMED A DRY TRIMM AFTER FIFTEEN DAYS OF DRYING
AFTER TAKING CARE OF MY GRASS I REALLY UNDERSTAND WHAT PASTA IS MADE OF
WAUUUUU
I HAS A LITTLE HASH ... BUT NOT HAVING GOOD FILTERS IT HAS NOT COME VERY PURE
WITH THE REST OF THE WASTE I AM TRYING TO EXTRACT OIL WITH PURE ALCOHOL ... ONCE I EXTRACT I WILL MIX IT WITH A TEN GRAMS OF FLOWER MAKING IT A SPLENDID SMOKE
GREETINGS TO ALL MY FRIENDS OF GROWERE
VERY HAPPY AND ABUNDANT COLLECTED TO ALL OF YOU
Processing
Likes
27
Share


@CannaBury
Follow
As week 8 started, buds are gaining size. Plant is drinking lots of water. About. 3/4 a gallon a day to day 1/2. Added a second light to setup now. Hoping to help the flowering buds with extra light. Relocated my fan to help circulate air flow around more of the taper colas. Should have a around 3 week a left til harvest. Can’t wait to see how this first grow turns out and what to learn from it overall at the end.

Likes
17
Share

@CK-OrgGrow
Follow
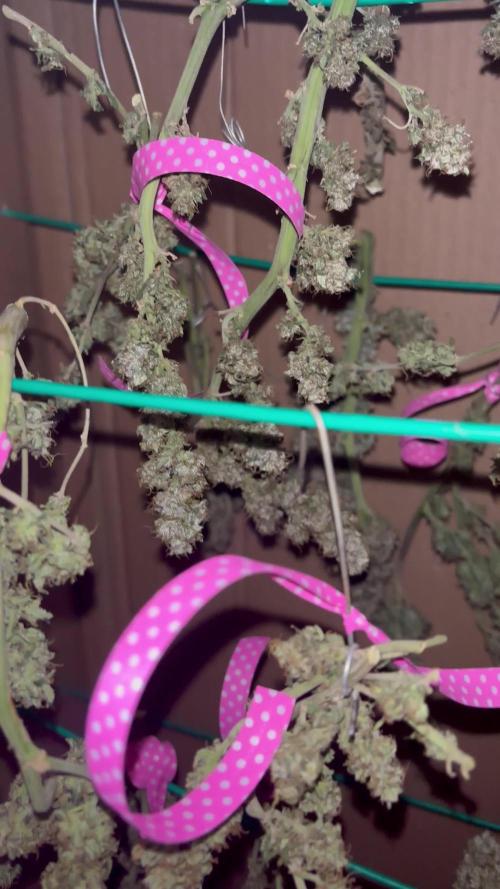
Ja in der Woche habe ich die Mimosa Fast geerntet und zum Trocknen gehangen. Bei der Ernte habe ich nur die ganzen großen Blätter entfernt und dann die Triebe auf gehangen.