Likes
Comments
Share
@MrLahey
Follow
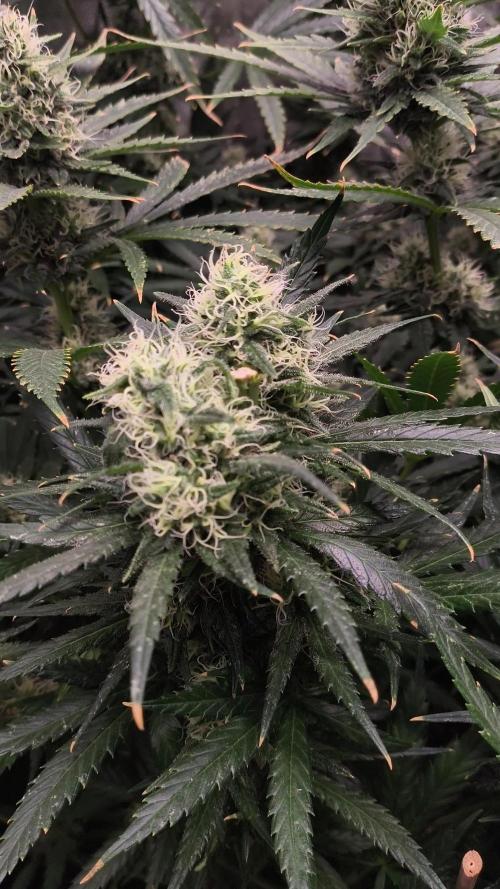
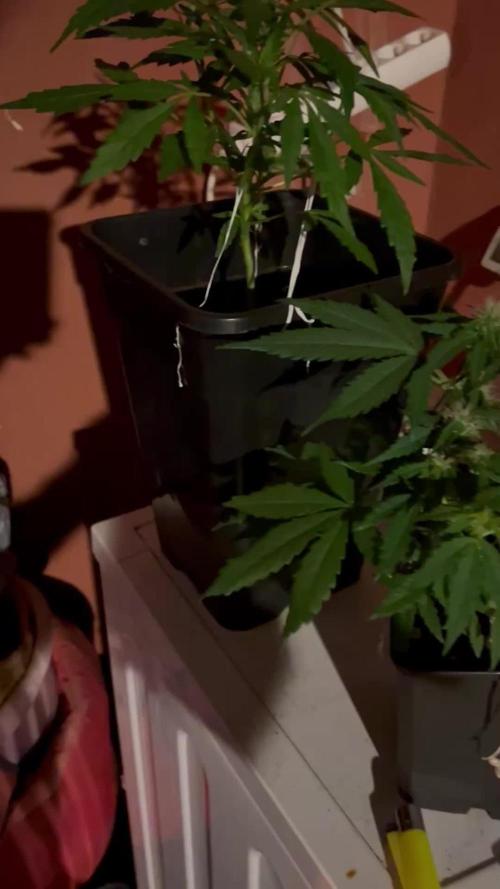
Day 53 - ripening up! She’s reduced her water intake down to one or less than one liter per day. Smell is phenomenal and strong - like spicy bubblegum almost although I have a post covid sinus infection so my nose is pretty stuffy still. I’m thinking 2-3 weeks MAX until I chop her. She seems ahead of or right on track for “estimated harvest time” from the breeder. Top colas are primarily cloudy trichomes and some clear and amber. Lower bud sites are cloudy/clear trichs. I think I’ve a tendency to harvest a little early so we will see how long I can push her before I feel it’s chop time. I suspect that will be dependent obviously on the trichomes, pistils and bract size but also overall health of fan and sugar leaves which seem to be fading due to senescence, improper ph maybe and cold night temps. Ordered an apera gs1 ph pen as I’m pretty sure my current pen hasn’t been accurate the past month or so. Also ordered a blumat watering system for next grow (chicken n waffles from Humboldt seed company). My vcure arrives this week so I’m really excited for when I chop this plant and dry/cure her in it.
Likes
20
Share
@Cauli
Follow
So, this will be their last week. After around twelve weeks, both guavas look to be ready for harvest. both plants didn't grow super big, the cold in the beginning seems to have really slowed things down super heavy. Nevertheless there are some nice and beautiful buds, looking forward how they will evolve when cured.
Likes
21
Share
Week 6 is in the books! This plant has beautiful bud structure. Tons of trichomes pushing out. I have smells amazing. Overall great plant in every aspect. Easy to grow. Took nutrients very well. From here on out it's coasting.
Likes
170
Share
Yo yo yo! Day 8 The start of week 2 growth seems ok. Although as always I’m very impatient at this point. Watered with plain water today. Let’s see what this week holds for us. Below is a link to RQS if you would like to have a look at there selection. ✌️ Day 10, added a little heater into the mix as night time temps were dropping, seems to have done the job. Plodding along. ✌️ Day 11, gone to 18/6 DLI 34 watered with plain water tonight. Day 14, not a lot to report. Girls are doing ok. Some good growth this week. Watered last night. ✌️ ⭐️⭐️⭐️https://www.royalqueenseeds.com/uk/autoflowering-cannabis-seeds/633-wedding-cake-automatic.html⭐️⭐️⭐️
Likes
3
Share
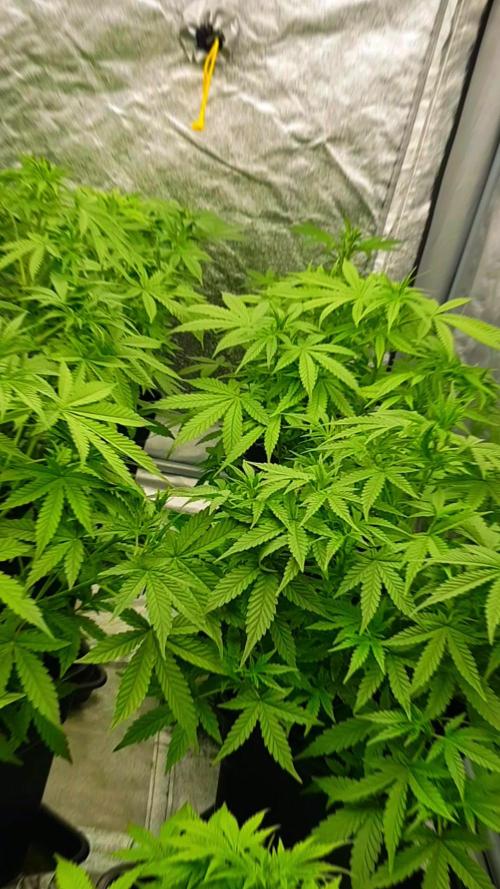
Week 2 went smooth... Started to see 5-finger leaves showing so I lowered the lights and turned them almost all the way up. Installed a Co2 Dispersal Canister that should finish out veg. Wish I knew the ppm for the Co2 but I don't. Finna start LST this upcoming week
Likes
15
Share
@YOZYY
Follow
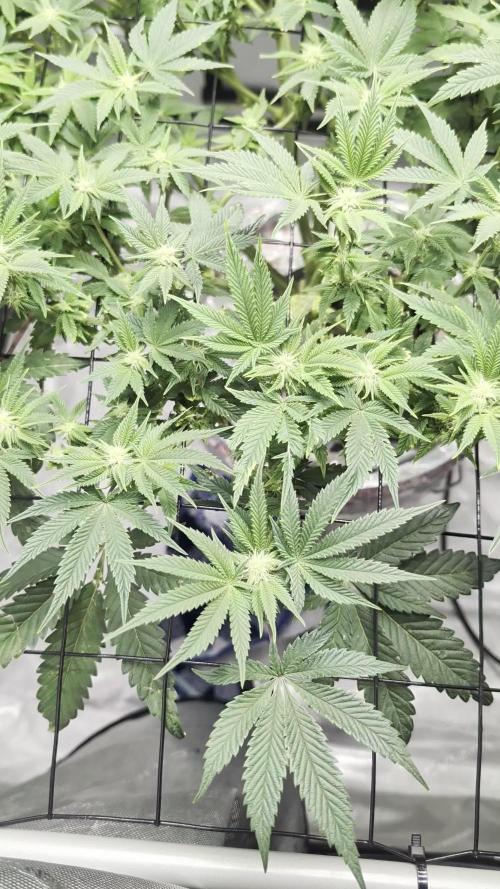
Did a heavy defoliation and did some low stress training going to be flipping Monday so trying to make sure they are as healthy as possible if they ain't by Monday I will wait.
Likes
3
Share
@ASCBOOGS
Follow
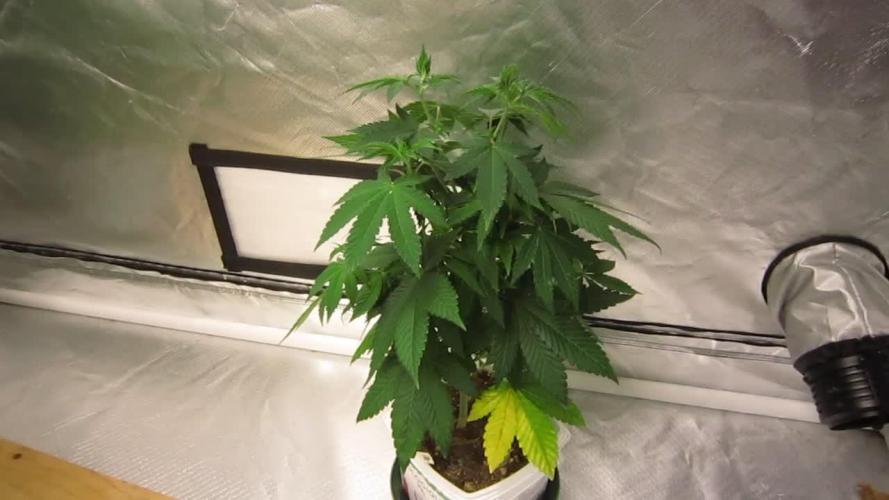
All looking good apart from some leafs yellowing
Likes
6
Share
Theses beautiful ladies are flowering now too and are big and tall while the other did not veg as long. I cannot wait to see these big frosty buds on them 🔥
Likes
8
Share
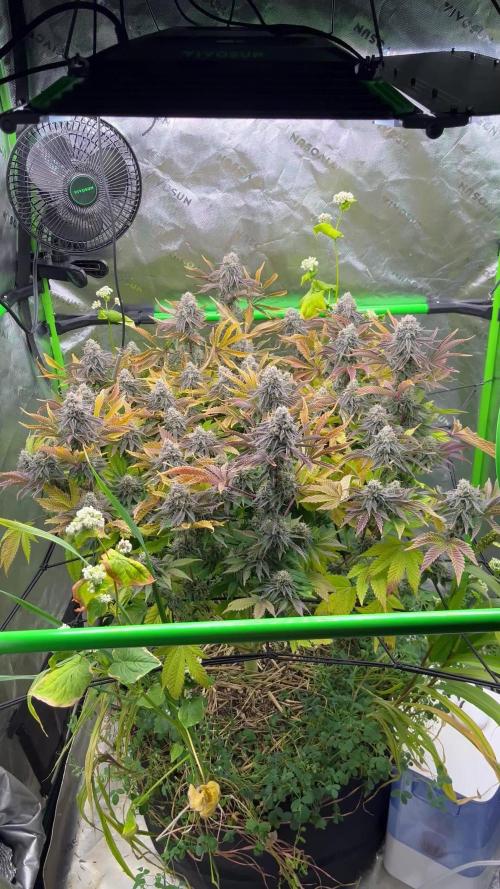
Week 11 She is having her last weeks now while fattening up her buds. Plant smells really nice and very strong to the fruity-peppery side now, I really like it. Some pistils are still white, so I give her at least another week. The color is really dark purple and gives a good contrast with the green. Really curious about how this weed is going to taste and smell when finally cured.
Likes
3
Share
Everything is looking good. I top dressed and got everything happy and healthy again. I switched to 12/12 last Wednesday. So we are coming up on 1 week since the flip. Soon we can start finding the males and females and then start inspecting them more closely to separate the best from the rest. Everything has been on pause up until this point. Now everything's going to start to be more interesting until the end. 10 seeds down to 7 and eventually down to maybe 2 that will be kept around Day 7 flower and this one male is going crazy super fast Check out my YouTube for long form content that I can't post here https://youtube.com/@aestheticgenetix?si=pSk5e-kvp-nVYccc
Likes
Comments
Share
@NastyNug
Follow
10 gallon res, Clonex Solution 5ml, CalMag, 3ml, Armor Si 2ml. 7 Bluberry Cobbler, 8 Valley Girl.
Likes
62
Share
Hello Diary, I am truly privileged to be one of the first to try growing this revolutionary new strain. My dear friends at RQS sent me this new hybrid seed at the beginning of the year and I'm really looking forward to seeing the result. Let's see what they say about this new strain. Medusa is a true F1 hybrid created from pure, inbred cannabis lines. She boasts uniform growth traits, mouthwatering aromas and flavors, and plenty of potency. Combining genetics from inbred lines deriving from Sugar Magnolia, a thick and sweet indica, and American Beauty, a fast, fruity hybrid loved for its well-balanced, positive high, the result is an autoflowering F1 variety that produces fresh flavors, a unique cannabinoid profile, and large yields. Medusa F1 seeds produce elongated autoflowering plants with long, strong branches and well-spaced internodes. Plants regularly grow up to 80–85 cm tall and boast a fast flowering time of just 42–45 days (72 days from germination to harvest). Thanks to her genetics, Medusa F1 produces plenty of thick flowers with big, swollen calyxes that make for very easy trimming. Medusa F1 is very stable, handling stress and unfavorable growing conditions with ease, although she is somewhat susceptible to Botrytis, so make sure to keep tabs on the humidity in your grow room/garden. SET-UP ON MY LITTLE FARM: Box - Secret Jardin DS120W 120x60x178 Lights - MIGRO 200+ Ventilation - TT Silent-M 100 Filter - Primaklima filter PK 100/125 Fan - Oscillating Koala Fan X 2 Humidifier - Beurer LB 45 Soil - BioBizz Light - Mix Pot - 11L Air pots Seed - Royal Queen Seeds Nutrition - RQS Organic nutrition LET THE DIARY START OFFICIALLY: 12/01/2023 Planting. I prepare everything I need for planting in advance. I fill the AirPot to a little more than half and add 50g of Easy Boost Organic nutrition in pellets and mix with the soil, then add more Easy Roots Rhizobacter and Easy Roots - Mycorrhiza mix and fill the pot to the top with soil. After that, I soak the soil well with water, make a hole in the middle and carefully insert the seed into the hole with gloves and cover it. After doing this with all three pots, I placed them in the grow box and waited for them to sprout. The lights are 35 cm away from the pots. The humidity is not high, but as soon as the plants sprout, I will put in a humidifier. 14/01/2023 I moistened the soil a little with water. I need to keep the soil moist. 16/01/2023 The first plant has sprouted. We are still waiting for the other two. 17/01/2023 The second plant has sprouted, but I'm still waiting for the third. 18/01/2023 Unfortunately, the third plant did not sprout, so this time there will be only two plants on the "Farm". 21/01/2023 First joint watering. Each plant received about 1 liter of water. That's all for this stage, see you soon and thanks in advance for your support.
Likes
5
Share
@Ninjabuds
Follow
Gas tax x obama runtz there is not alot to update this week. They have not grown very much the past week. They got extra dark last time when I watered and gave 2ml per gal of grow big. They are still the smallest 2 plants in the tent. They both have started making their 1st set of leaves with 5 point although the other leaves have not started to get larger yet. I don't think they have rooted solid quite yet. Happy late turkey day grow diaries world!!!! It's now day 24 from seed for all the seedlings I have going. The past few days the plants have really started to take off. There roots have really started to dig in. Every other water I am still giving 2ml per gal of fox farm grow big. I keep having to tell myself not to add any more nutes other than that. I don't want to fry my plants but I also want they to start jumping. I'm quite excited for the coming week, I think the next 7 days or so is when the plant really starts to transform and look more like a pot plant than just some random little green thing. A few days ago I decided to move the plants from under my 55w cheep amazon light to under my spider farmer 100w newer version light with the good leds in it. The plants will hopefully be ready to up pot them here soon and get them in the large tent. Sometimes when growing multiple different strains it can be really hard to balance giving to much or to little light. You don't want the faster growing plants to get to stretched out waiting on the slower plants to catch up I spend Thanksgiving day morning transplanting the plants into 2gal pots. I am useing spme promix potting soil it's my 1st time tring this soil. It is actually doing really well the roots were all white and nice looking. I think next time I'm going to add some worm casting, kelp, granular mycos, and a little bit extra perlite. I just didn't have the money with christmas coming to splurge for all the extra stuff. I got rid of 2 plants 1 of the bubble og and 1 skunk apple runtz. There is only room for 10 pots in the 2x4 tent. I will peob only bring 8 of them to flower, always good to have back ups. Yesterday I also stuck the plants back under the 500w medicgrow mini sun 2 in my 2x4 tent. They did great under it the 2nd half the day I was happy they didn't get stressed. I had put them under that light a little early about 10 days ago or so. I am expecting in a week these plants will ge going crazy with growth
Likes
Comments
Share
Rien à signaler de particulier, juste ça va 😉 J'ai rempoté en 15 litres avec biobizz lighmix cette semaine.
Likes
25
Share
@Hawkbo
Follow
Autos are just starting to flower the photos are dying for some bigger pots. I've been trying to bring up the overall plant health in general since moving everything to a basement the temps are a little lower than ideal. I had a space heater delivered today and monitored the temps but they only went up to around 78°f I want it to be atleast 82°f ideally 85. The heater uses 1500 watt and only increased it about 2 or 3°. I dont think it's worth the extra cost for such little boost. I'm thinking about returning the heater and throwing a 1000w hps in one of the other tents and see if that will raise it anymore. Especially with LED and co2 higher temps would be very beneficial in veg and early flower but the room is so big its gunna be tough to pull off without killing me on electric costs. Any suggestions are welcome. I know this room does decent in flower but I havnt done much veg work down here and I'll have some autos growing this round so it's important I get it up.
Processing
Likes
13
Share
SUNDAY 5/19: I accidentally left my UV timer in the "ON" position all night and half of the next day...fearing sudden death, I have moved everybody that was almost ready into the dark tent, including the most advanced Candy Cane x C4 and will start harvesting them tomorrow..maximum UVB stress for about 20 hours...if it works out that they are even more potent than expected without turning brown overnight, I'll claim it was "intentional," and purport it as an "advanced technique" 😉 MONDAY: The big one still looks fine after the mega-UVB incident , so she's still sitting in the dark. I flipped on the green light and went into the tent for a sniff test on everybody. She smells more like a C4 than a Candy Cane...a delightful aroma! The others have just about dried out..I'll probably start flushing a couple of them tomorrow and just water the others. TUESDAY: I harvested and wet trimmed CC4 #2 today. She wasn't very big, but her buds are ultra-dense and stinky. I also harvested the big one today(CC4#3) and hung her to dry in the dark tent. I decided to go ahead and flush everybody else today for the first time. I lowered the lights in the big tent several inches and set the light cycle back to 20/4, plus they are still getting hammered by the UVB for 6 hours of the day in 2 x 3-hour intervals. WEDNESDAY: I semi-wet-trimmed CC4 #3 and forgot to take photos..will do it when they are dry, prior to weighing and jarring it up. CC4 #1 was dry today, so I took some photos of the dried buds prior to weighing it and jarring it up. She weighed in at 66 grams after removing the excess lumber. She's very frosty, but her buds are a little bit fluffier than I like. THURSDAY: The last several CC4's will be flushed for the second time tomorrow. 2 more of the harvested plants will get weighed and jarred up tomorrow, but the other two will still need another day or two to dry. FRIDAY: I decided to wait to flush til tomorrow. I didn't have time today, so I'll weigh and jar up a few plants tomorrow. I just stuck the dry ones into some 2-gallon jars with boost 62's for now. I'm seeing about 20-25% amber trichomes on a few of them. They should be capable of putting me on my ass for a while. I killed the first few with just a couple ambers here and there, and the next two with about 5-10%, so I should have a pretty good sampling from them to know what it has and hasn't to offer. Glad I chose to grow these accidental F1 hybrids...muah hah hah hahhhh...😆 SATURDAY: I flushed the last 4 x CC4's with 3 gallons of ph-adjusted spring water today(and the remaining 4 other plants of different strains...my back is killing me..) and took some photos. Their foliage got pretty burnt from the mega-UVB overexposure incident, so I'll my work cut out for me with the trim..but damnit..they are getting super frosty and stinky!😋 I ran out of time, so didn't get around to weighing and jarring the dried plants. So, I just continued the cure in their big jars for the day.
Likes
36
Share
@nonick123
Follow
Día 37 (08/07) Ajustes de LST en todas las plantas! 🚀 Día 38 (09/07) Ajustes de LST en todas las plantas. Las ramas inferiores están creciendo como un cohete! 🚀😍 Riego con 250 ml H2O pH 6,5 Día 39 (10/07) Las plantas se muestran sedientas! Creo que el cepellón está lleno de raíces y piden el trasplante! El crecimiento no se ha visto afectado de momento Riego con 500 ml H20 pH 6,5 Día 40 (11/07) Paso a regar con 500 ml / día, ya que hace mucho calor (30 ºC) y efectivamente las plantas ya han copado la maceta de raíces Las ramas de nodo inferior se han quedado enanas tras el entrenamiento, de modo que las elimino y aplico canela en polvo en los cortes Riego con 500 ml H20 pH 6,5 Día 41 (12/07) Riego con 500 ml H20 pH 6,5 Clones! Mi experimento vuelve a demostrar que NO necesitas complejos productos de clonación ni sistemas para obtener clones! Hace 15 días puse 2 clones con el tallo sumergido en miel durante 5 minutos en una maceta de 400 ml con PRO-MIX HP BACILLUS + MYCORRHIZAE He mantenido la humedad alta con una cúpula de humedad casera hecha con una botella de agua PET de 5 litros cortada por la mitad y pulverizando a diario. Han estado los 15 días en mi terraza con luz indirecta, y temperaturas que rondan los 30 - 32ºC durante las horas centrales del día Hoy los he trasplantado a una maceta de 1 litro porque ya habían formado raíces y empezaban a formar nuevas hojas! 🐥🐥🚀🐥🐥 Día 42 (13/07) Riego con 500 ml H20 pH 6,5 Día 43 (14/07) Trasplante a maceta definitiva de 21 litros de ROOTPLUS Pot de GSKOREA GLOBAL! Estas macetas son una maravilla! Proceso de trasplante: Se prepara con 17,85 Litros (85%) de sustrato PRO-MIX HP BACILLUS+MYCORRHIZAE + 1,05 Litros de Humus de Lombriz (5%) + 2,01 Litros de Insect Frass (10%) + 210 gramos de Earth Vibes Super Soil (10 g/L substrato) Se llena la maceta de sustrato con las manos (limpias) y rompiendo los trozos más gruesos, para que el sustrato esté aireado y esponjoso, sin presionar Se coloca una maceta vacía de 6,5L para que quede la forma perfecta de la maceta donde están actualmente Se espolvorea la parte proporcional de la probeta de microorganismos sobre el agujero de trasplante Se saca la planta de su maceta actual (bonitas raíces 😍) y se coloca en la maceta final Se riega muy lentamente hasta percolación profunda con H2O EC 0,5 pH 6,5 Una vez asentada, complemento con un riego de 500 ml con 25 ml/L de Humus de Lombriz Liquido Se coloca mulch (acolchado) de paja para evitar traspiración excesiva y cuidar a los microorganismos del suelo A ver como reacciona al trasplante! Aplicación foliar Kelp hidrolizado de Lurpe Solutions a 0.25 ml/l Realizo ajustes de LST aprovechando el trasplante a la nueva maceta. De momento tienen una canopia muy bien formada! 💦Nutrients by Lurpe Solutions - www.lurpenaturalsolutions.com 🌱Substrate PRO-MIX HP BACILLUS + MYCORRHIZAE - www.pthorticulture.com/en/products/pro-mix-hp-biostimulant-plus-mycorrhizae
Likes
10
Share
Processing
Likes
27
Share
@Zamzam974
Follow
Salut les cultivars sa roule ?! C+29 a C+38 début floraison je pense... Sa pousse bien. Bonne vigueur des autofloraison surtout la critical... Arrosage tous les 3 4 jours 1litre par pot apport de mélasse à chaque arrosage... J'ai jouter deux ampoule une Led de 15w et cfl de 23w équivalente à une 100w la Led fait 4000k 1500lumens et la cfl 2700k 1500lumens la plante transpire pas mal mai pas de souci de moisissures... J'installe la cfl 250w 2700k quand la floraisons sera bien démarrer... Tous conseils sont les bien venu merci je c'est pas si je vais a 12/12 pour la wombat qui est féminisé pour ne pas perdre en quantité sur les auto qui et mieux 18/6 sinon bouturage pour la wombat je suis dans l'impasse total pour le moment 🙄