




Likes
18
Share


@xtchill
Follow
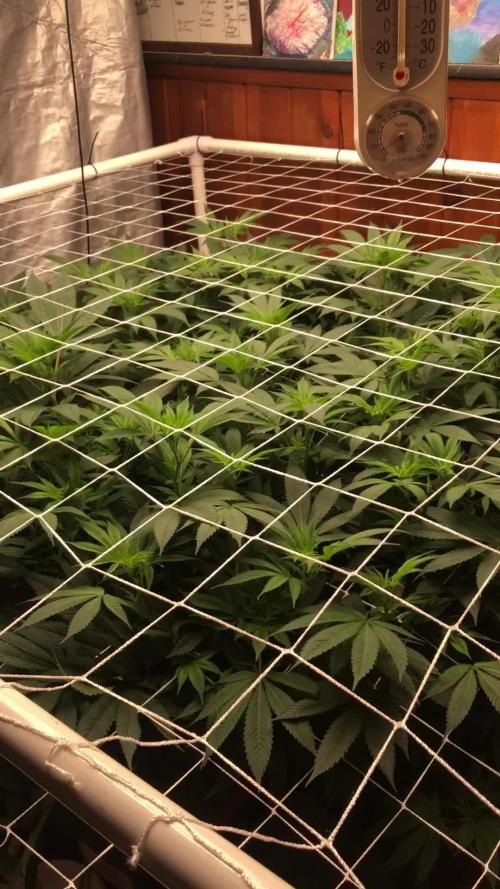
Need to get them out and do some stripping.
Will get on that later
Looking dank tho fairplay

Likes
7
Share

@AlphaVortex
Follow
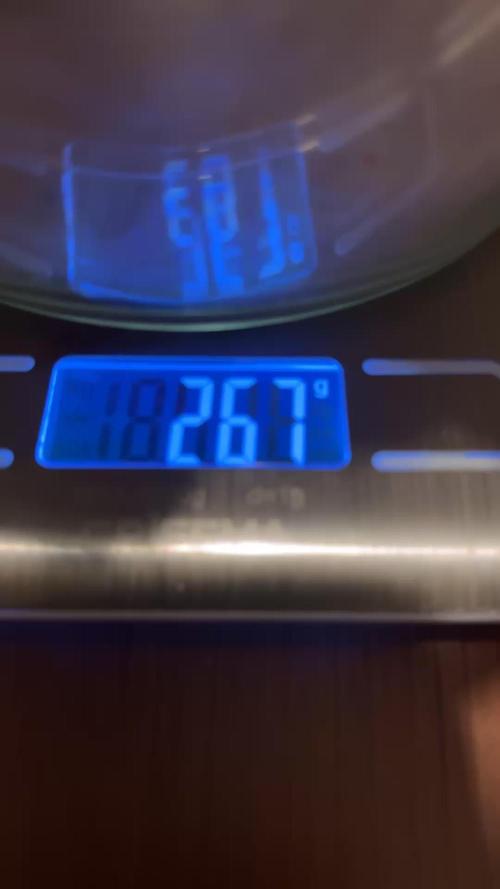
Tag 88 Erntetag, Ich musste leider Platz machen für die nächsten Projekte. Daher habe Ich, bei 20% Bernstein Rest Milchig Durchsichtig geerntet. Sind super dichte Buds geworden, riecht Mega. Etwas süßlich mit einer Zitrus Note

Likes
10
Share

@carlitoshaze44
Follow
Día 20!!! Estamos en el punto de comienzo de la 4 semana de floración ! Esa en la que notamos como el cultivo nos da el cambio que queremos y a partir de los dos vemos como
Nuestras flores evolucionan de una manera u otra dependiendo de clima,genética,nuestra mano con ella etc..
Vamos a comenzar la media floración bien cargados con la paleta de nutrientes alta en potasio y nitrógeno!
Siempre añadiendo también,nuestras mañanas de agricultor.
Tuve el fallo de abrir el tupper de lombrices y echarlas a el cultivo y no poderos grabar el proceso.
Fue algo rápido que hice con el armario apagado..lo tuve que iluminar por un minuto para añadir la bola de lombrices unas 60!!!
La siguiente tanda de flores si empezara a sacarle provecho a estas amigas!!
Deciros que el cambio en altura es muy grande no para aún de crecer!
Y las últimas están engordando mucho las flores a pesar de el corto periodo se ve que nuestra selección de amnesia haze,es un fenotipo muy especial..
Es de unas 8 semanas de floración y muy buena productora!
Día 21
Primer día de la cuarta semana de floración tenemos una escalera
Desde la puerta del armario hacia el fondo tenemos alturas que van 54cm/62cm/71cm/80cm
Gracias a el control individual en altura de cada luminaria iré trabajando con el control de dividir el área en tres Alturas diferentes,así lo requiera cada planta.
Una pequeña planta que está cerca de una rendija de ventilación tuvo unas pequeñas picaduras de tips”.
Observaré si no es de un periodo anterior de antes del fumigado..
Si no es así trabajaré un poco de jabón potásico y ajo!
De momento el olor es muy sutil.
Algunas flores empiezan a producir resina de manera temprana.
Dia 22
Va todo sobre ruedas,un verde lima en las hojas,las puntas tensas y bien firmes esperando el regado de mañana!
Una humedad de un 55% en el armario,cerrándolo con un 59% una vez echo el seguimiento,inspecccion de este en el día de hoy.
Seguimos con una semana de humedad en el exterior del 90% y toda una semana por delante de más lluvias.
Seguiremos controlando la humedad como hasta ahora con los riegos.
Guardo paciencia en las plantas que aún no llegaron a la red,para poder tener un control visual de todas las puntas!
Me alegra ver la cantidad de flores que están produciendo por casi todas partes de la planta y la resina que empieza a producir alrededor de estas,es un gran fenotipo de amnesia haze,con gran rendimiento productivo de flores y resina.
Todo un hacierto para quienes buscan genes de sativa bien marcados con un corto periodo de floración.
Día 24
Primero felices fiestas y feliz navidad a todos.
Mi pequeño jardín de pinos 🌲 jejejej está estos días espectacular,ya comienza a afinar el olor ese toque a madera recién cortada y ese fondo de lima tan característico de las haze,aaag que rico olerá en las siguientes semanas buen fenotipo y no es el más oloroso..
Esta semana la humedad ronda 65% después de un riego que fueron 60litros,más de un litro por planta!.
Justo lo que va necesitando para esta etapa de formación y engorde de flores… espero que en los siguientes días vuelva mejor clima también a esta zona ya que estos días de agua fueron nefastos para la interacción de aire de el exterior..no ayudaban a reducir la humedad.
Deciros que el riego se aplicó el día 23.
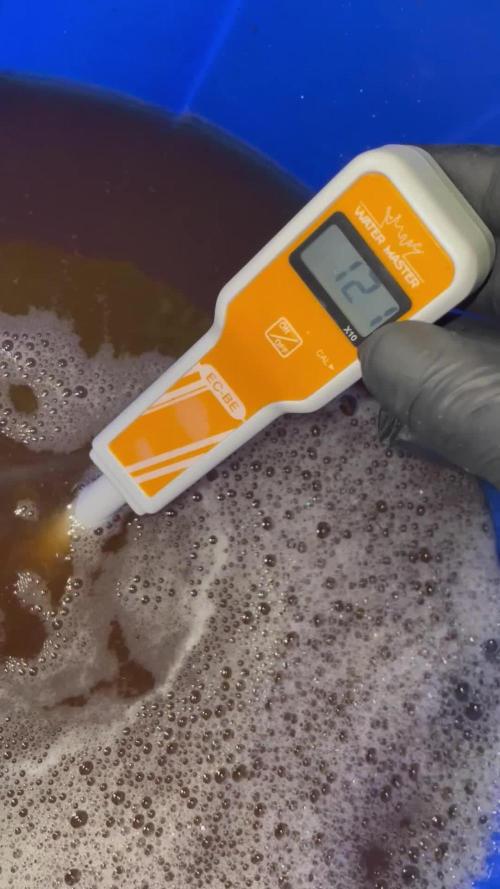
Con una EC1300 PH6,3.
Una de las 44 en el último riego sufrió un poco de sobrefertilizacion,mostrando está un poco de color en el tallo,rojizo.
Solo una quedó más pequeña,siendo esta 52 cm.
🏴☠️
Dia 25
Todo perfecto,las plantas están al 100x100
Un color perfecto,las hojas tensas y cojiendo volumen como es debido.
Ya solo queda mantenerlas,y que no sufran ninguna carencia nutritiva ni exceso de esta.
Dia 26
Último riego de la cuarta semana de floración.
Esta vez adaptando el riego subiendo la EC de 1400 a 1700.
En la siguiente semana ya trabajaremos con una EC de 2000,si es que la planta lo permite ya que con la EC de la tabla no me convence.
El PH sube a 6,3 y se mantendra entre 6,2/6,3 en el sustrato.
El siguiente riego será otro con carga de azúcares y aminoácidos.
Intercalando riego sí y riego no el PK 50-30.
Hoy me sorprendió mucho lo definido que es el olor con la humedad ambiental exterior,teniendo la puerta abierta salía un rico aroma que gana más en madera que lima 🍋

Likes
38
Share


@GODSGIFT_2005_JM
Follow
For LIQUIDS & NUTES ******GREEN BUZZ NUTRIENTS***** organic.
Also i’m using their LIVING SOIL CULTURE in powder form!
MARSHYDRO ⛺️ has large openings on the sides which is useful for mid section groom room work. 🤩
☀️ MARSHYDRO FC 3000 LED 300W
💨MARSHYDRO 6” in-line EXTRACTOR with speed-variation knob, comes complete with ducting and carbon filter.

Likes
23
Share


Likes
7
Share


@darb35
Follow
First week of veg and all 3 are growing at the same pace.
Will try to monitor and bend if one of then grows freakishly tall for some reason.
Likes
9
Share


@HIAZ_urbanbudfarmer
Follow
Been a busy week getting the new setup going. She has been going really well , first week of flower , interested to see how she goes. She is a nice little plant problem free so far.

Likes
2
Share


@thefrozenking
Follow
Day 49
-well what do you know. this one is an photoperiod plant
so now i need to flip to flower.
-hoping 12/12 doesn't ruin the autos
i've given cal-mag in the feed water and to the recharge feeding.
Likes
6
Share


@Bwright_315
Follow
4th week of flowering. So far so good she feeds like crazy. I water her at least 3 times a week.

Likes
1
Share


@Ananacio
Follow
Hola!
Van por el dìa 20 de floración.
Casi no he vuelto a defoliar, aunque esta bastante tupido no quiero estresarlas mucho.
Saludos

Likes
6
Share

@Sobreruedas
Follow
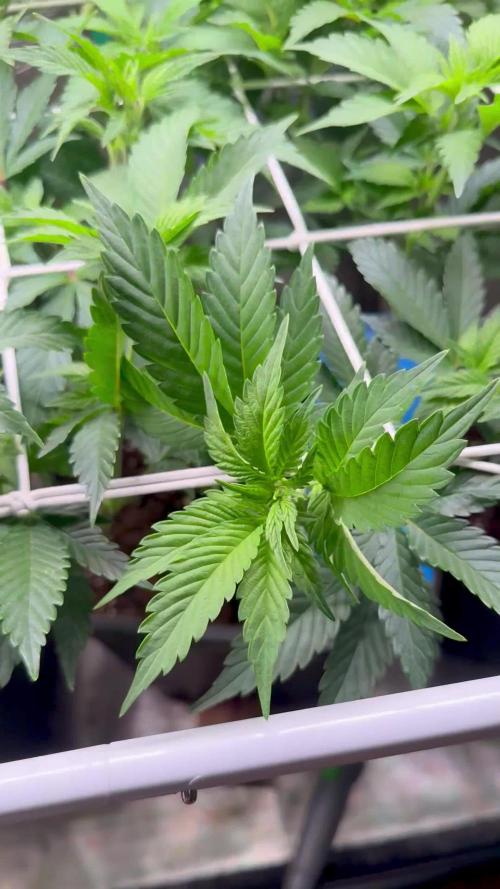
This week I focused only on bending and tucking the branches under the scrog net, trying to fill the entire space as evenly as possible.
No other changes were made — just guiding the growth and keeping the canopy level.
If everything continues like this, I might flip to flower next week 🌿💪


Likes
3
Share

@BluntTrauma416
Follow
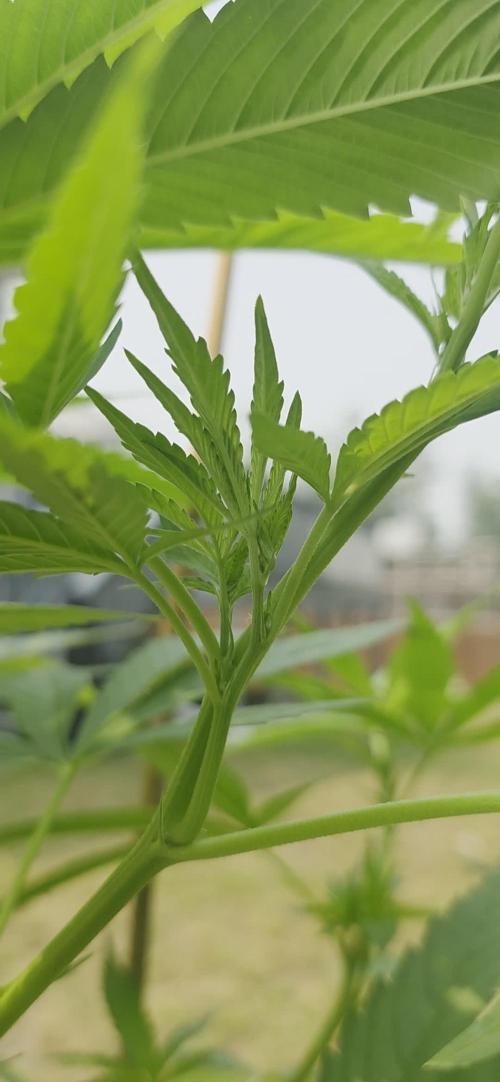
Gave 50/50 gaia green all purpose and bloom, I cleaned up the lower branches, lollipoped basically, , and i think we have started to flower , i see the white pistils starting to form .
Likes
4
Share


@Lazuli
Follow
Final week for the blue dream
The fade came fast i didnt even flush
Its a small plant but thet yield will be great, i grew her in soil to see if i could fit 9 in my 4x4 and the answer is yes


Likes
100
Share


@GreenAutoConsumo
Follow
Una semana más les muestro como avanza mi cultivo actual. Tras corregir los problemas con la humedad las plantas están avanzando genial, iremos viendo como siguen creciendo


Likes
14
Share


@Kakui
Follow
15 Noviembre:
-Hoy se instaló el sistema de riego "Drip to Waste" que me permitirá hacer riego de precisión, con protocolo "Crop Steering".
-Se instalaron sensores de humedad de suelo, para saber cuándo y cuánto regar, el sistema manda datos de humedad de suelo, temperatura y humedad ambiente, etc vía internet a mi celular.
-Mañana se comienza con el primer riego de precisión.
17 Noviembre: Segundo día de riego automático, 3.0EC y 5.9pH, las plantas crecen a buen ritmo, las raíces ya están saliendo por los orificios de drenaje a 2 días de transplantadas.
20 Noviembre: Se realizó una pequeña defoliacion de las hojas tipo abanico muy grandes.

Likes
7
Share


@delta_420
Follow
Started off germinating the Grapefruit and taproots showing at 05/06, planted directly into an Eazyplug cube w/10 L fabric pot + Freedom Farms seed starter. Red clovers were germinated the same time and thrown directly into the soil mix, those germinated and sprouted within ~7days for Nitrogen fixation into the soil.
Had a G13 Labs Berry Auto which unfortunately has gone up to day 11 now with incredibly slow growth, might have been error on my part with a bit too much water + humidity. Sadly had to pull the small girl out since there was evidence of stress + damping off as the root j-rooted and then died after trying to correct this minor issue. Don't think I'll buy G13 seeds soon considering the Grapefruit had 0 issues despite germination being slightly slower than the Berry.
The giant mycelium bag is a Co2 generator with some Shiitake mushroom culture pre-inoculated and colonized. Broke the substrate up a bit by squeezing the bag today so the mycelium fruit has more space to colonize in. :)


Likes
60
Share

@squalino
Follow
Journal de Culture : Frost 1 – "Dora" (Plein Boom de Floraison - Session PK)
Génétique : Frostbanger (F2 Perso) | Système : Autopot 20L
📣 Remerciements
Un immense merci à toutes les personnes qui suivent ce journal depuis le début ! Un merci tout particulier à @MIA_BIOTABS et à Mrs_Larimar pour leurs précieux conseils et leur accompagnement. Merci à tous pour votre soutien !
🛠️ Configuration Technique & Ajustements Climat
Éclairage : Lumatek ATS 300W Pro (réglé à 75%)
Distance lampe/canopée : 55 cm
Climat : Jour : 25°C / Nuit : 21°C
Humidité (HR) : Contrôlée via déshumidificateur
Tente : 1m80 de hauteur
📅 Évolution & Entretien :
État de la plante :
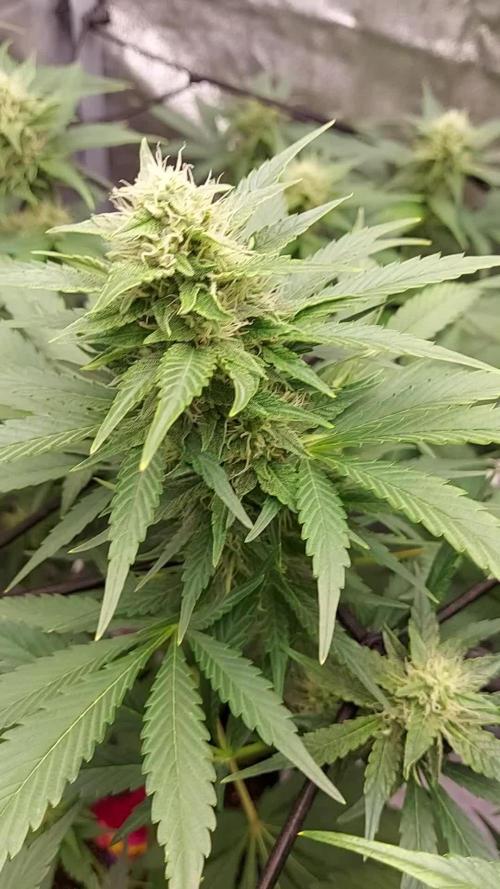
La Frost 1 (Dora) se stabilise parfaitement à 80 cm. Les fleurs continuent de se structurer magnifiquement :
les têtes se forment de mieux en mieux, deviennent de plus en plus denses et les premiers tapis de trichomes collants sont bien visibles sur les buds.
La plante affiche une superbe couleur et une excellente santé générale.
Gestion du système & Nutrition :
Autopot :
Le système est ouvert et actif .
La plante s'alimente en totale autonomie par le bas, ce qui a clairement boosté le développement et le gonflement des têtes ces derniers jours.
Soins du jour (Hier) :
Pour accompagner cette phase explosive, j'ai profité d'un petit moment pour faire un apport manuel ciblé sur le dessus :
4 ml de Bio PK 5-8 (Biotabs) dilués dans 0,75 Litre d’eau (pH ajusté à 6,3). De quoi donner le coup de boost parfait en phosphore et potassium.
Note de vie :
Un petit départ sur un coup de tête pour 4 jours de vacances à Rimini en famille !
Les photos ont été faites un peu à la va-vite juste avant de partir.
Le système Autopot étant bien ouvert et opérationnel, Dora va pouvoir s'abreuver tranquillement dans son réservoir pendant notre absence.
Les fondations sont posées, le PK 5-8 est injecté au cœur du substrat et l'automatisme gère le reste. Il n'y a plus qu'à laisser la magie Biotabs opérer pendant qu'on profite du soleil italien
merci à tous a bientôt ❤️❤️
Likes
12
Share


@prebiancagrower
Follow
Hello lads! How are you doing?
So, week 8 and the ladies are amazing, the buds are getting fat is this stage, and I am very happy with it.
Gonna start the harvesting in two weeks.
Thanks for following me!