


Likes
Comments
Share

@GoodTimesOrganics
Follow
Welcome Back!💚
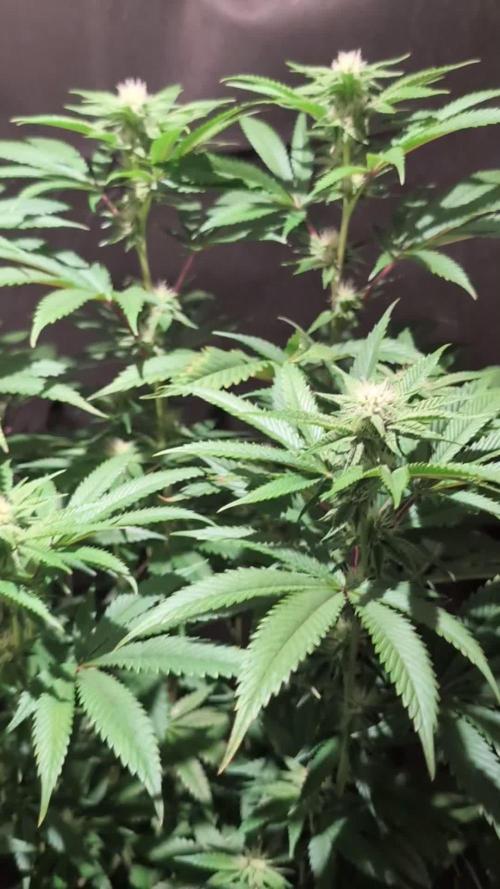
Die dritte Blütewoche ist ins Land gezogen und die Blütenbildung setzt nun richtig ein.
Langsam bilden sich die Blütenköpfe richtig aus und zeigen ihre Wuchsform.
Es entwickelt sich ein süßes fruchtiges Aroma, welches sich aber noch nicht auf den beschriebenen Geschmack zuschreiben lässt.
Der Stretch hat nochmal knappe 7 cm an Wuchshöhe gebracht und dürfte jetzt aber vorbei sein.
Die Werte im Zelt sind nochmal an die Blütenbedingungen angepasst worden.
———————
🌞 Temp: 24°C
🌚 Temp: 20 °C
💨 RH: 48%
VPD: 1,21 kPa
😎PPFD: 830 mqm
———————
Stay Tuned! 💚


Likes
35
Share


@XperencdGmanXG
Follow
This girl is growing so nicely Ive decided to toss her outside and see how she does. Her FIM worked out nicely and she is growing many long branches.


Likes
15
Share


@TheOtherSide
Follow
6/12 - 6/18 👉👊
-------------------
6/14 AM - (G)(Y) 1 Gal. 6.7. Cal-Mag 2.5. Micro 3, Gro 0 Bloom 5 *Forgot to jump to 6*, Easy Weed .25 tsp
6/14 - (Y)(G) are sharing 1 Optic XL. The other plant is under it's own Optic XL. *Lazy training! They got too big.*
6/16 AM - (Y) 1 Gal 6.7 pH Cal-Mag 2.5, Micro 3, Gro 0, Bloom 6, TErp 6, Recharge .5
6/16 PM - (G) (Y) 1 Gal 6.8 pH 2.5 Cal-Mag+, 3 Micro, 0 Gro, 6 Bloom, 3 Fish Shit *Yes, (Y) 2 gallons in a 24 hr period!
6/18 - (Y) 1 Gal. pH 6.7. 2.5 Cal-Mag+, 3 Micro, 0 Gro, 6 Bloom, .25 tsp Easy Weed
-------------------------
Green Clips - No Terpenez (G)
Yellow Clips - Using Terpenez (Y)
-------------------------
3 Gallon Fabric Pots
40% FoxFarm Happy Frog
40% Cana-Coco
20% Perlite
-------------------------
Veg & Bloom Tent:
2’x4’x5’ Green Architecture Tent 600D
2’x4’x5’ CoolGrows Tent 600D
Optic 1 54w COB 3500K (Seedling, Early Veg) 18/6
Optic 1 XL100w COB 3500k (Late Veg, Bloom) 18/6
Optic 1 XL100w COB 3500k Dimming (Late Veg, Bloom) 18/6
1 Gal Humidifier
2x 6” Clip Fan
2x 28” Oscillating Fan
2x 4” Carbon Filter with 2x 200 CFM


Likes
24
Share


@DevokeOG
Follow
First grow, if you have any advice, pictures you would like to see or feedback to give me go ahead :). All conditions of the plant will be what the plant is currently at in week 4. I tried to keep it as organic as possible and only cut one of the lower leafs to try to get a clone going. Also I know there are a lot of photos and is aids to go through on a phone but I try to get as much photos as I can everyday.
Likes
60
Share

@GrowerBaal
Follow
Day 92
Had no time.
Day 93
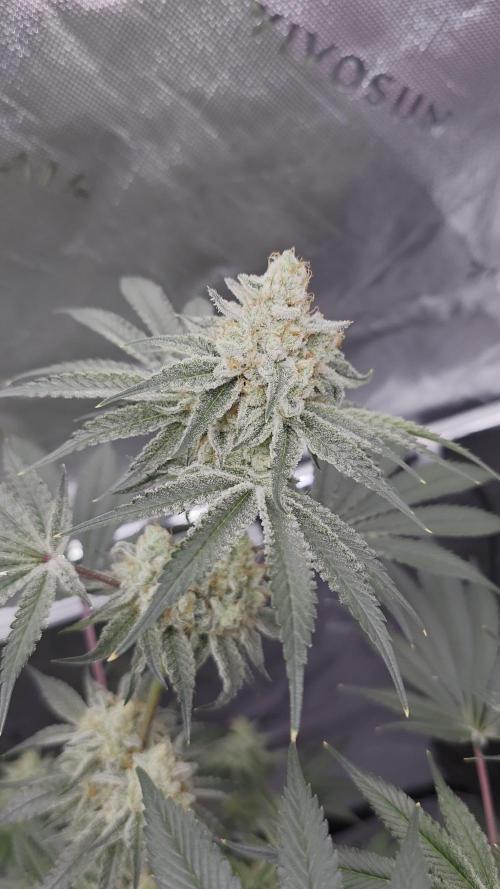
Her eighth full week of flowering started yesterday and today is the 55th day on 12/12. HSC wrote she needs 50 to 55 days to mature, so i will check her this weekend. Her buds became already very frosty . As the heat wave had ended the humidity inside also decreased.
Day 94
Decided to chop her after i checked the trichomes. There are already amber ones at the buds on the middle of the height. She smelled intensively like sour oranges.


Likes
142
Share


@PapaNugs
Follow
A great week. Included a diagram so you can better tell which plant is which. I will be changing that up come flower to better fit the plants so I'll label them later as well.
Gonna flip to flower I believe to try and save space. Gonna be tight but wasn't planning that this time. Have to do a lot of training still. Haven't gotten to it due to being so busy with life.
I got some BT var israelensis or something close to that for the fungus gnats thanks to @resimax and will test that.
Lastly, you might catch a glance at the upcoming diary...

Likes
45
Share


@KnightRider
Follow
Hey Cannafam hope you are well 💚,
Its been another mixed week for my purple gal but lets start with the positive.
This Lady is absolutely beautiful, i cant stop staring at alluring purpleness and im completely obsessed 💜 Bud developement has continued further this week and shes actually gained height by an inch from growth of her top cola. Secondry branches have continued to fill out and the smell has increased again, she now has what can only be described as roudy honk of forest fruits. I love the smell but she is not subtle and can be detected by nose at least 20 metres away!
On the weather and the other side, we have had mainly dry weather with one day of rain on Monday. Yesterday i checked her and a bud site on the opposite side and down a tier had budrot which was removed, she was then inspected closely again and i found another lower down and again removed 😑 Her Trichs are now mainly cloudy and although i feel she needs a bit longer, ive started to flush today, this gals coming down soon as or i will lose more of this beauty.
Thats all from me this week, stay safe people ✌️💚💚💚
Likes
150
Share


@Budz_Bunny
Follow
I grew an Apple Fritter feminized plant, which is a cross between Sour Apple and Animal Cookies. It is an indica-dominant strain with a high THC content and a sweet and fruity aroma.
I grew the plant in a tent under an LED lamp. The temperature was between 20 and 25 degrees Celsius and the humidity between 40 and 60 percent.I watered the plant regularly with water and organic fertilizer and protected it from pests and diseases.
The plant grew very fast and formed many side branches. I topped it several times to control its height and promote its branching. The flowering time lasted about 8 weeks, in which the plant developed many dense and resinous flowers.
The harvest was very satisfying. I harvested a total of 74 grams of dry flowers, of which 58 grams were large and 16 grams were small. The flowers had a beautiful color with orange hairs and a white coating of trichomes. They smelled very sweet and fruity. They also tasted very delicious and had a strong and relaxing effect.
I had hardly any problems with the plant, except that it was a bit cold-sensitive. I think it would have grown even better in a slightly cooler environment. But I am very happy with the result and would like to grow this strain again.👌
I thank you for the support from all of you and hope you stay tuned to see what happens to my other ladies.👆

Likes
67
Share


@CommanderCannabis
Follow
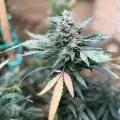
I had a busy week. I updated my 4" exhaust fan to a Cloudline 6" booster exhaust fan and a bigger carbon filter. I also added another mini-fan that can oscillate and I had to add a heater. Why you ask? Because I got a CO2 tank from a friend and it is recommended to have temps in between 85-95 degrees. Granted I could have used it three weeks ago but better late than never. I have a nice CO2 monitor inside the chamber and I use the internal video camera to watch the readings. I have also added some HydroGuard to help the roots. They are slightly brown and another grower recommended it. Daphni continues to grow well and has maintained her dark green color. She has also started to make pistils and they are starting to form into buds just three days after first pistil sighting. I can smell her now too. latest readings are Air Temp = 79F, Humidity = 42%, PPM = 1810, pH = 5.9. Concerning my roots, I put a black trash bag over the top of the reservoir to keep as much light out as possible. The reservoir is tan and white and I think light was getting thru.



Likes
19
Share


@Cannabis_carlitos
Follow
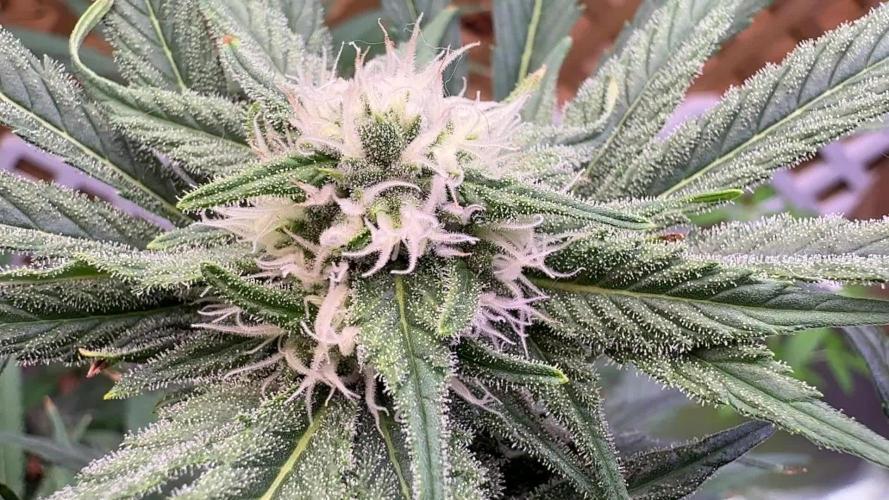
Finally started to show signs of flowering, I was a little worried and inpatient.
Scrog is filled out nicely, I have stopped tucking the branches and plan on letting the plants have their stretch.
In about a week or so will go in for another defoilitation.
I've started to add to PK boosters to my nutrient mix.
Using general hydroponics , for some reason I can't select their nutrient line.
Cal mag - 2.5ml/gallon
Micro-2.5 ml/gallon
Gro - 1ml /gallon
Bloom - 2.5ml/gallon
Koolbloom - 1ml/gallon
Floralicious plus- 1ml/gallon
Likes
3
Share


@MarihuAchA
Follow
Verdaderamente por estar en maceta de 5 litros fue una productora en potencia. 68 gramos en seco de cogollos resinosos, compactos y dulces. Buena generación de resina. Se aguanto mucho las defoliaciónes y las podas en los bajos. Gran abrazo gente


