


Likes
Comments
Share

@Professor_Little
Follow
27.11.
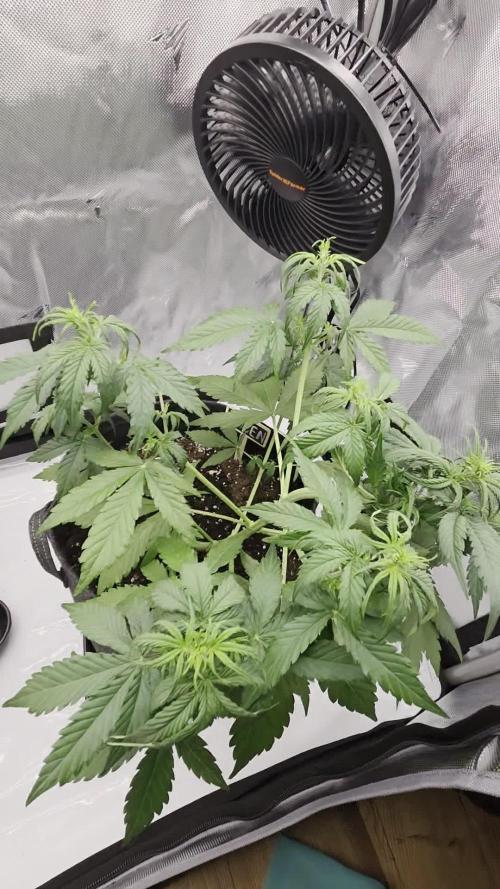
She’s really starting to take off — looks like she’s about to flip into flower soon (at least from my noob POV). I can already see some pistils popping. I did stress her a bit though — didn’t water in time and she got a little droopy the next day. Gave her a good drink right after and she bounced back nicely. We’ll see how she goes.

Likes
3
Share


@BudsBanditUK
Follow
Not much going on, the buds are getting fatter. There is now a faint smell. Some buds now getring some colour. Still taking feed probably at least 2 weeks left.

Likes
17
Share


@PEAKYPLANTERS
Follow
hi friends farm, did you have a good Easter? we made a decent harvest that left me quite satisfied even if I had to collect a little earlier because of my absence at home but this did not ruin the work 🤪🤪🤪🤪😎😎

Likes
2
Share


@YAMA47
Follow
Bien..ya corto el Stretch.. estiramiento a princ de flora..miden 70-80cm ..se estan llenando de tricomas.baje lampara a 50cm del dosel. Fertilize c Tricomas-namaste y con Flora Booster-namaste...en unos dias hago lavado de raices..y luego regare solo c agua c detox..p limpiar raices.¡

Likes
31
Share


@RFarm21
Follow
Olá growmies! Fiz um pequeno desfolhamento das folhas que tiveram contacto com o solo.
Likes
8
Share


@kronoslogic
Follow
Moved the plants to their final home in my 4 site RDWC system. This system has much more advanced equipment and the plants perked up before the end of the first day in their new system. Even after I had to detangle the roots to get them out of their last site.
I have started the lighting at about 50% of the max and plan to bring it up slowly. I also added 10 gallons (about 35% of the total system volume including the res) of of bloom nutrient solution to some of what they were already drinking in veg to ease them into it. I am officially flipping them three days after transplant but we will call this flowering week one.


Likes
10
Share

@all_about_420
Follow
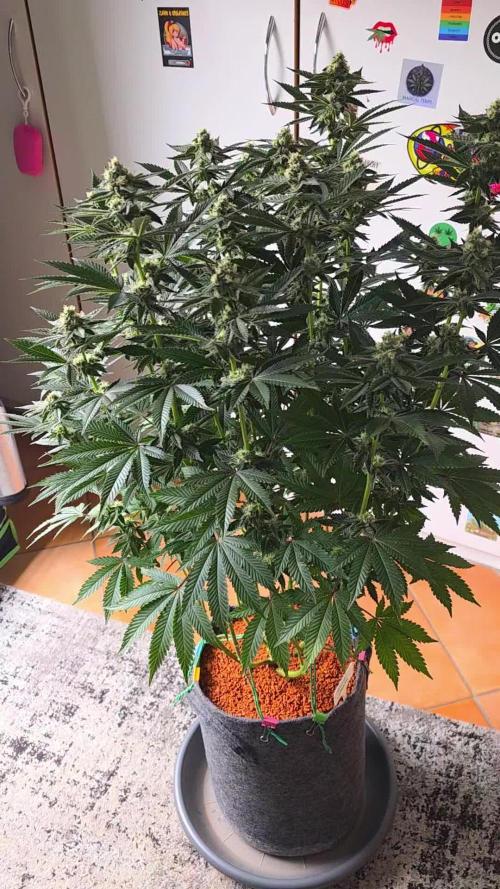
Halbzeit in der Blütephase, und die Blue Lobster von Cipher Genetics zieht jetzt alle Register in Sachen Harzproduktion. Die Entwicklung auf den aktuellen Bildern ist absolut beeindruckend: Die Knospen schwellen spürbar an und werden bereits von einer dichten, glitzernden Schicht aus Trichomen überzogen, die sich wie feiner Frost über die Zuckerblätter legt. Nach dem Lollipopping am 21. Tag macht sich die gezielte Energieverteilung voll bemerkbar; die Pflanze steckt ihre gesamte Kraft ohne Umwege in die Ausbildung kompakter, harziger Blütencluster. Die Umstellung auf das Advanced Nutrients Programm läuft weiterhin perfekt, und das tiefe, vitale Grün der Blätter zeigt, dass der Nährstoffhaushalt nach den Korrekturen der Vegi-Phase nun absolut stabil im optimalen Bereich läuft. Ein extrem sauberes Bild, das definitiv Vorfreude auf die kommenden Wochen macht.
Likes
5
Share


@BigGeekSmallGrower
Follow
Its been smooth sailing the last week, little to do but admire progress. I kept feeding the full 3.0 EC from start of flower to today, no signs of too much nutrients nor of too less.
I wonder why, either the Athena Pro line is excellently fine tuned to what the plants need and nothing is left to really build up, or I am missing something big...expected some sort of problems at least, but I wont complain also...maybe its the silence before the storm and I am compromising what I would call formidable chances on a high grade yield😅
Ill keep this updated if something big happens or I find too much free time laying around.

Likes
24
Share


@Weed_marseille
Follow
Ce début de semaine l'allongement à commencer fort avec l'apparition de petits ponpons blanc.🌸
J'essaie de gérer le gros pied et l'ensemble dans une forme homogène. Je m'aguerrie à l'art de la taille.👨🌾🏼

Likes
38
Share


@Aedaone
Follow
This week is going to be hot. I expect everything to hit generative 2/mid flower this week. The #1 & #2 plants should hit that phase day 2 and day 3 of this week. The #3 plant around day 7. The coop poop I top dressed with is still feeding. It should be just supplemental about mid week. I'm feeding my gen 2 formula that's in the nutrient section for this week. The plants will get that feed daily once generative two phase begins.The one I didn't top is over 7' tall. I used it's height for the plants height. The other two I topped are just over 5'.
Likes
3
Share

@Dottgreenthumb
Follow
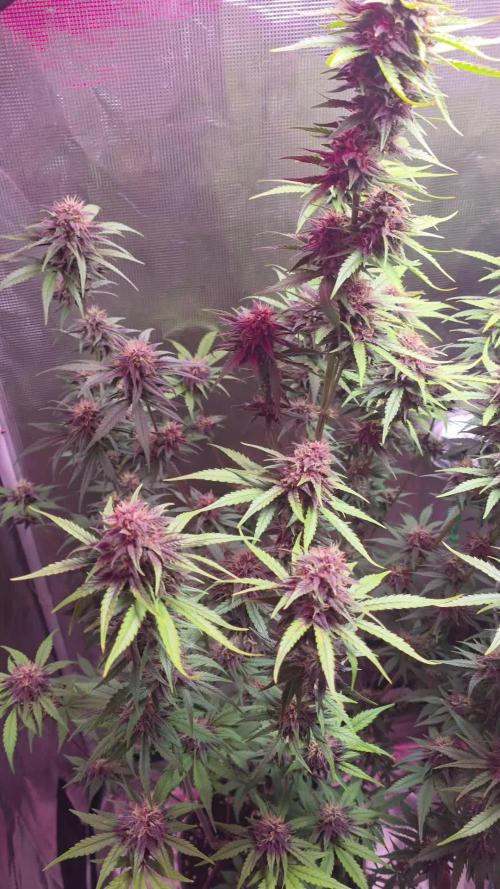
i colori e odori fantastici questa sarà l l'ultima irrigazione dalla prossima settimana si inizia il flush
run off 2.1
Ph 6.0
Likes
7
Share
@all_about_420
Follow
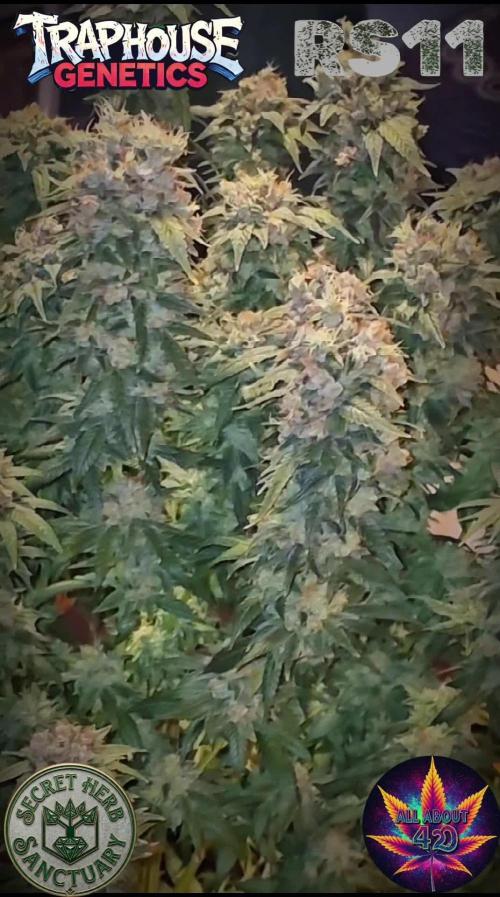
Der Tag der Tage für die RS11 von Traphouse Genetics ist endlich gekommen. Nach einer punktgenauen Reifephase wurden die Scheren angesetzt. Die aktuellen Aufnahmen zeigen die Dame kurz vor und während des finalen Schnitts: Die Krone präsentiert sich als extrem kompakte Einheit, getragen von den starken Ästen, die durch das konsequente Training geformt wurden. Die Blütenkelche sind prall geschwollen und perfekt ausgereift. Aktuell befindet sich die Ernte in der Trocknungsphase. Die Vorfreude auf das fertige Endprodukt steigt, während ein gesonderter Smokebericht folgen wird, sobald die Buds die ideale Restfeuchte erreicht haben.
Likes
6
Share


@Lordviper28
Follow
These lady's have been weird but have been growing great I got two them with Topps showing orange furs and are frosty as hell and smelling lovely this thebstart of the 5th week of flower


Likes
26
Share


@SativaSteve88
Follow
Second week of flower out the way plants coming on well had a nice stretch over the last two weeks , one week to go before give them a good defoliation, conditions been spot on and haven't had a issue yet so hopefully all stays well till harvest
Likes
25
Share

@Latrodectus
Follow
hi everyone ,
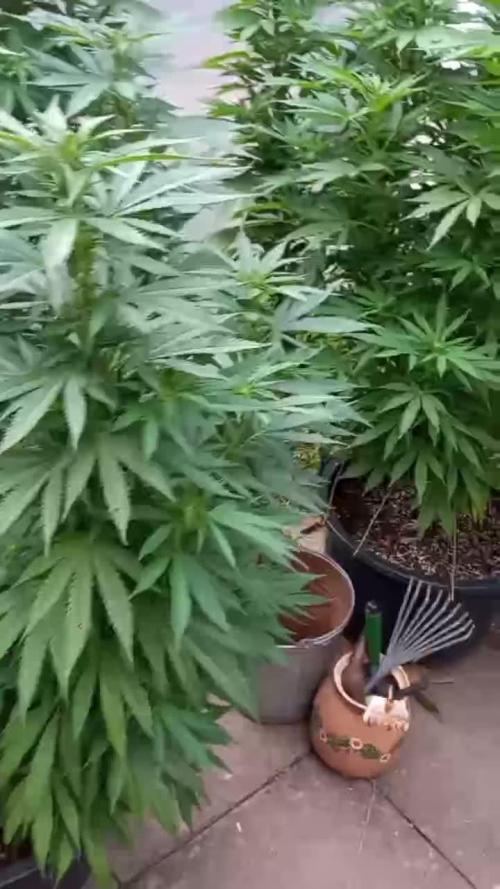
I had to rearrange the greenhouse a bit the "Jamaican 1" was about to touch the ceiling and I had to take her of the table 😆
I realy love the view this year...
...they started to show the first real flower signs and I hope the sun will stay with me for some more weeks this year 😇
happy growing everyone

Processing
Likes
142
Share


@MadeInGermany
Follow
Hi everyone :-)
This week the buds developed super ;-) All are beautiful 😍.
Super genetics 👍.
Blue Cheese pheno 1 is slowly coming to an end :-)
This week I will start to use up the remaining nutrients and harvest in 10-14 days ;-)
Everyone else needs something else :-) have fun with the videos, stay healthy 🙏🏻 and let it grow 🌱


Likes
15
Share


@Waveform
Follow
Day 33: What an amazing height and bud gain in just 3 days! Lady #1 is 67 cm tall now, her sister a tad smaller. Both still have a great color, and I dared to cur away just the lowest branches and leaves that do not look like they could gain height in time. Really enjoying this strain so far!
At the end of their day, they are a bit dropping leaves, so clearly no hunger for more light. The impressive growth speed continued on their buds: Tallest lady at 70 cm now.
Their next morning shows growth is still at an impressive 5 cm/day as lady #1 with her leaves erected again stretches now 72, the maximum of my previous growth. Pulled the lights as close as possible to the ceiling and hope they won’t make it much more than 1 m. I activated the Sansi 30 W folded wings LED to give them somewhat of a morning and evening light and to add some more light to their overlapping center branches in the middle of "their" day. Sadly that’s causing some interference to the timelapse videos, but I can’t say they’re perfect if it wouldn’t.
Watching the timelapse video of day 34, I have the feeling the additional light rather irritates them. Maybe the interference is not only visible for electronic eyes. I’ll keep it off next day for comparisons.
Day 35 shows stretch speed has reduced indeed and they seem to be concentrating on leaf and bud growth instead. 75 cm, so we are currently at "only" 3 cm/day. Watered them with a HPE/Bud growth mix again last night, about 1 l each.
Well, forget my words about reduced growth. After they recovered during the night, we are at 77 cm for lady #1.
Which measured at 78 with hanging leaves in their day’s evening. I must have missed a day number – day 36 concludes their 5th week. I gave them another 2 l of fertilised water each and will lave them for the weekend again.
Video shows that growth concentrates now more on leaf and bud development than on gaining height. So I guess my 160 cm tent will be sufficient. For a moment I was worried, but it looks like stretch is over. Anyway, time to rearrange the camera next week. Leaves are running out of focus.

Likes
7
Share

@PhinolaGreen
Follow
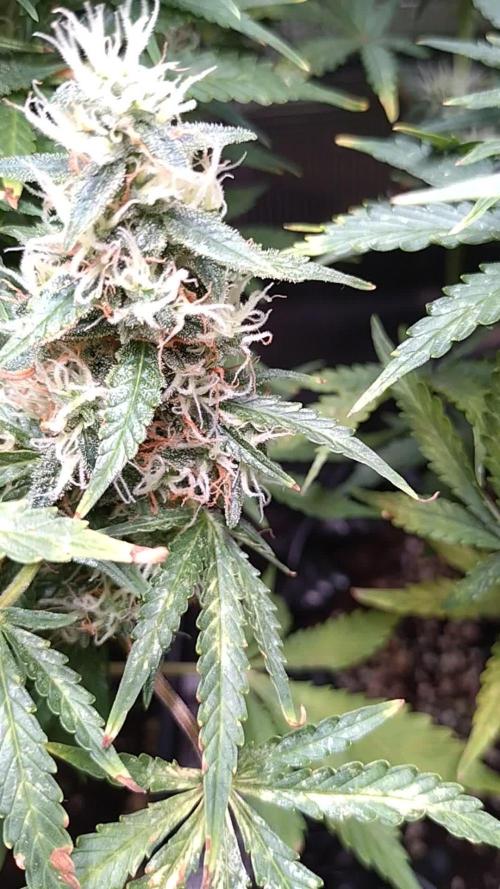
13. Woche
Sieht soweit gut aus, sie ist ganz schön hungrig und durstig, ich bekomme auch 1L in den 6L Topf ohne Probleme rein so ist es nicht aber die legt schon ordentlich was drauf jedesmal. Ich habe den Düngerplan auch schon vor längerer Zeit gewechselt zu 2x die Woche statt einmal. Sonst ist der EC zu Hoch, lieber immer bisschen weniger aber dafür dafür dann regelmäßig 😄😊
Denke sie braucht noch 3-4 Wochen, ja das habe ich letzte Woche auch schon gesagt hehe 😅
Likes
37
Share


@TheIceCreamParlour
Follow
Week 12 over!
Cant believe how fast this last 3 months has gone! My 6 ladies are powering on and just keep getting bigger and bigger.
They have had 2 nute feeds this week and now 2 flush feeds. Planning on going with a 10 day flush.
I will continue to upload pictures throughout the week as I'll be asking for a experienced opinion on when to chop. So far I'm seeing literally 1 or 2 amber trichs on the biggest of the 6 but no anywhere else. I'm thinking this is a good sign that my target of cropping next Sunday is still on track. That would be exactly 13 weeks.
Buds are looking so so dense. Hard to get a photo that does them justice but the biggest colas are 75mm thick!
If your here then please also check out my new diaries where I'm running 3 FastBuds strains. These will be going in my environment as soon as the stardawgs are jarred up.
