Likes
Comments
Share
Ernte Tag ... ich liebe es zu grown, das entlauben mag ich garnicht. Aber was Muss das Muss, erst Sonnensegel ab, dann rein in Dryferm Bags. Zum Teil hab ich sie schon von den Stielen getrennt, andere ganz gelassen und ein Teil so wie immer auf das Netz gelegt. Ich bin gespannt ob man ein Unterschied bemerkt. Nächstes Update nach den Feintrimm in ca 10 Tagen. :)
Likes
11
Share
Flower Week2 (Week8) starts today 🙌 Extremely bad weather with few days of constant rain affecting the humidity levels. I’m having a massive issue to lower it below 70% with humidifier, fans and outtake with carbon filter constantly on. Fingers crossed 🤞 Stay tuned! Update day 5 Still battling the humidity levels but it’s way better than the start of the week. LemonWalker is definitely looking as the first to finish from those 2 They getting around 3 litres of water (food) straight after lights are on - EC 1.9 / pH 5.8 In two days with a a start of week3 I will be dropping CalMag extra and Roots excelurator as they won’t be needing it anymore. Absolutely can’t wait till the end 😍
Likes
9
Share
Starting to smell very dank and musky, will start to lower nutrients next week and start ghe ripen. Lots of nice colors coming though as result of changing to LED . Had a humidity problem where it was about 80% I got a 2l dehumidifier on and has somewhat cured the issue , humidity is now as 45-50%
Likes
422
Share
Hi all, Welcome to my🍌💜👊 week update Thank you so much for all support on this bananas journey. Much appreciate all your likes, follows and comments. 🙏💚❤️💜 Week 13 Jan 8- Jan 14 This was another amazing week. Girls are behaved very well. Drinking their juice like crazy. 2 waterings of 9ltrs on Jan 10th and Jan 13th. Runoffs at ph 6.2. Buds are gaining some serious weight and the trichomes development is of the charts. Girls are covered with frost. Trichomes are mainly milky now with individual ambers here and there. On Jan 10 noticed on one Athena top colas a white topped bud! It's something that has never happened to me. It may be only led bleach or it's something abnormal and phenomenal. It's white and has red and amber pistil hairs in between and all covered with trichomes. Few days after. White coulour is not spreading and not seeing any damages. The smell in my cabinet its insane. Very sweet scents. I wouldn't say bananas but definitely sweet berries and gummies 🤤 new dehumidifier doing an amazing job. Humidity when light is on is between 49-54% and 52-58% when lights are out. It's all looking that my 🍌💜👊 girls will be ladies very soon. Harvest is coming big time. Next week planning to gradually cut nutrients down and prepare for flush. Stay tuned for new week update very soon! Peace and love brothers and sisters ✌️💚👨‍🌾 Links https://2fast4buds.com/seeds/banana-purple-punch-auto https://plagron.com https://www.biobizz.com/ https://fishheadfarms.com/
Likes
25
Share
@Sators
Follow
Day 36. topping for seven branches. Day 38. Water with 2L nutrients mix. Day 39. does super cropping for four brunches. Day 40. Switch to 12/12h
Likes
11
Share
@420Paddy
Follow
Last week I think. Nice amount of cloudy trichomes next week should show enough Amber to please me. Waiting game now. At least plant 1 is now smokeable. Starting to focus on the next now and letting these do their thing.
Likes
29
Share
D79/F32 - 12.7 - 👽 ❄️ ❄️ ❄️ ❄️ ❄️ ❄️ ❄️ ❄️ ❄️ ❄️ ❄️ ❄️ ❄️ ❄️ ❄️ ❄️ ❄️ ❄️ ❄️ ❄️ ❄️ ❄️ ❄️ ❄️ ❄️ ❄️ ❄️ ❄️ ❄️ ❄️ ❄️ ❄️ ❄️ ❄️ ❄️ ❄️ ❄️ ❄️ ❄️ ❄️ ❄️ ❄️ ❄️ ❄️ ❄️ ❄️ ❄️ ❄️ ❄️ ❄️ ❄️ ❄️ ❄️ ❄️ ❄️ ❄️ ❄️ ❄️ ❄️ ❄️ ❄️ D82/F35 - 12.10 - A picture paints a thousand words but the loudest one is PUUUUUUUUUUURP
Likes
55
Share
@Xpie77
Follow
Day 18 of flowering! 💚Please Like This Diary and Leave a Comment!💚 This week the flowers start to swell up. The smell is very nice and love this strain to grow🌿💚🍀 Nutrition: not so much, just a quarter of what is asked on the bottle. Smell: plant already have a nice smell, very punchy, skunky, forest fruits Health: nice strong plants, will grow big and flower fast! Red Wine was created by crossing Rozay F2 with Jet A. They are 2 very powerful aromatic Cali hybrids. This exclusive new Cali strain is a very strong and fast flowering indica-dominant strain. It has an aromatic, intoxicating and relaxing effect. That is comparable to enjoying a good glass of wine. Red Wine has an average flowering time of about 7-8 weeks when grown indoors. Outdoors it is ready fairly early, usually around the end of September. The yield is very good. Indoors she has an average yield of 450-650 gr/m². When growing outdoors, 600-800 grams can easily be achieved per plant. Red Wine has an aromatic scent that can be compared to a full red wine. Her full, purple-green buds are very compact with few leaves. This is very convenient when cutting the plants and saves a lot of time. Smoking this weed gives you a nice high with relaxing properties. The taste of Red Wine is very fruity sweet with an aroma of red grapes. Flowering time: 7 – 8 weeks Genetics: Rozay F2 x Jet A 30% Sativa, 70% Indica Plant height outside: 100 – 180 cm Outdoor harvest month: from June to October Yield indoors: 450 – 650 gr/m² Yield outdoors: 200 – 800 gr / plant THC: 25% 💚💚Wanna Try Red Wine from Seeds Genetics💚💚 Link: https://seedsgenetics.nl/product/red-wine-gefeminiseerd/
Likes
5
Share
@Boscoweed
Follow
Alguien sabe algún remedio para los trips
Likes
13
Share
7/13 It's maine-ing out. Overcast and misting. I guess it rained last night but not much. Today is my watering day although I think they could've made it until tomorrow. These drastic temp changes makes it hard to get a STEADY routine in place. I watered everything in the 20's a gallon the 10's 1/2 gallon. The 10th planet in the front was still heavy so I didn't water it. I'll keep an eye on it. Temps are much milder. I noticed a few more septoria leaves on the 10th planet which I promptly defoliated. This pheno is flowering. I could've put this week as flowering as several plants have started. I also saw ONE leaf on my chem dog that had septoria on it. ONE f-ing leaf! I was planning on treating this early anyway so I mixed one gallon of plant doctor 3 tsp gallon/gallon which was the recommendation. I'll monitor this plant and continue treating it the next two weeks. I may do foliar too but the mixture is different. It's a systemic so I don't think that matters as much. Considering getting mulch to protect from spores on the soil. My plants look GORGEOUS. I Hate to use such a nice plant as a guennie pig but I'm not going to sit here and watch it progress. I'm lucky it's really not that bad and that it's on a reveg. There's so many leaves that I would be forced to prune anyway. I'm seeing two MAYBE three leaves a morning but I want to get this under control. Last year u let a plant with septoria go and it finished but went to extracts. I've got a pretty good feeling about this plant doctor. I've used it before with good results. Only time will tell though.🤞 EDIT: WENT OVER AT ABOUT 1PM. ITS 2 NOW AND BLUE SKIES AND SUNNY. IM SUPER GLAD I WATERED AND EVEN MORE SO THAT I APPLIED THE PLANT DOCTOR HOW I DID. THE GIRLS ALL LOOKED AMAZING. THE TENTH PLANET I TREATED WITH PLANT DOCTOR LOOKS THE BEST IVE EVER SEEN IT. I FOUND ON LEAVE DEEP ON THE INTERIOR WITJ A SMALL SPOT BUT ITS SOMETHING IM SURE I MISSED THIS MORNING. IF THIS WORKS THIS GOOD ILL BE APPLYING IT TO EVERYTHING EVEN IF ITS JUST PREVENTATIVE. 7/14 Rained last night andcwas still sprinkling when I went over. Amazingly the 10th planet that I treated with the plant doctorcmix had ZERO visible signs of septoria. I did find one leaf on Mt chem dog and two on my mk ultra with the big leaves. It could've been calcium deficiency but I really doubt it because I think I saw THAT as well. I'm going to wait a day or two and if there are still no negative results and the plant is still looking good I'm going to treat AT LEAST the two others that MAY be infected. It's a systemic and can be used proactively and supposably breaks down into p and k after stimulating immune response. I'll monitor a little longer but as it stands I think I'm going to treat the other two just in case. I also need to start feeding. I've watered a lot more than I normally do so obviously the soil won't last as long. This has been some tricky weather but I'm happy with how things are progressing. I probably should've changed this to the first week of flower as several plants are popping pistols everywhere.
Likes
12
Share
Other than spreading folage out to new found space (had two male seedlings), I haven't maintenanced much. I want to get the pH down slow. I'm doing a top up and going to be careful for no big jumps. I'm gonna take the bins my tank sits on out to give me more grow room for next crop, and to keep reservoir temp down. Check ya later dudes:)))) Oh..I agree that the value of buds far exceeds the amount of vegetables I could ever grow but I'm an outdoors man- it's majority of what I smoke. im doing this strictly as hobby and for more variety.
Likes
33
Share
Letzte Woche wurden die Damen in ein größeres Zelt gebracht nachdem sie vorher in 18l Töpfe gepflanzt wurden. Leider kann ich bei dem Grow die Beleuchtung ändern. Alle pfanzen stehen jetzt unter einer GC Bar 8 von "Greenception".
Likes
22
Share
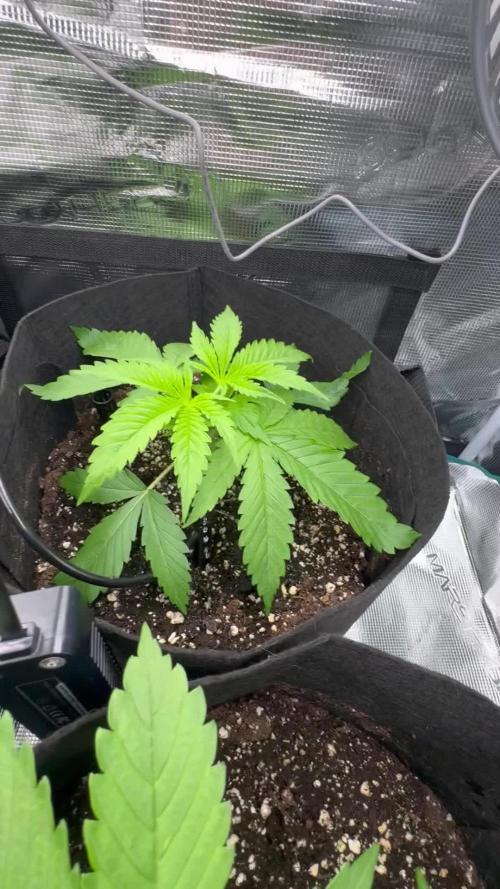
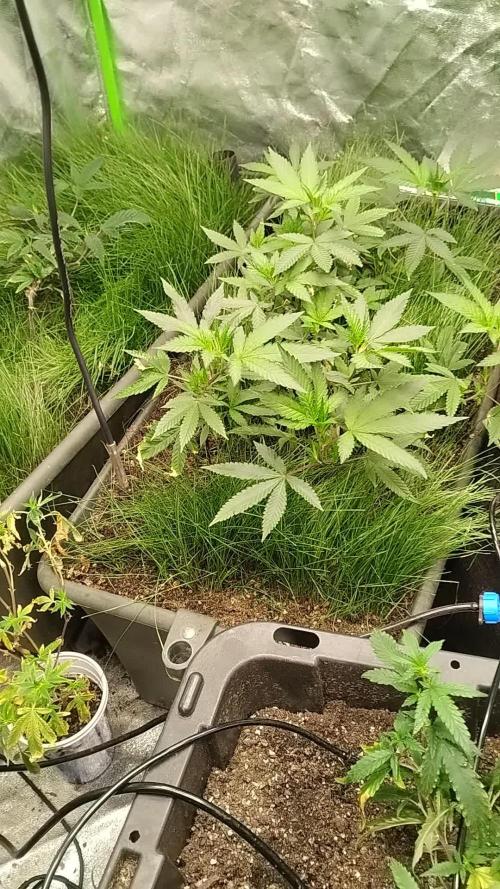
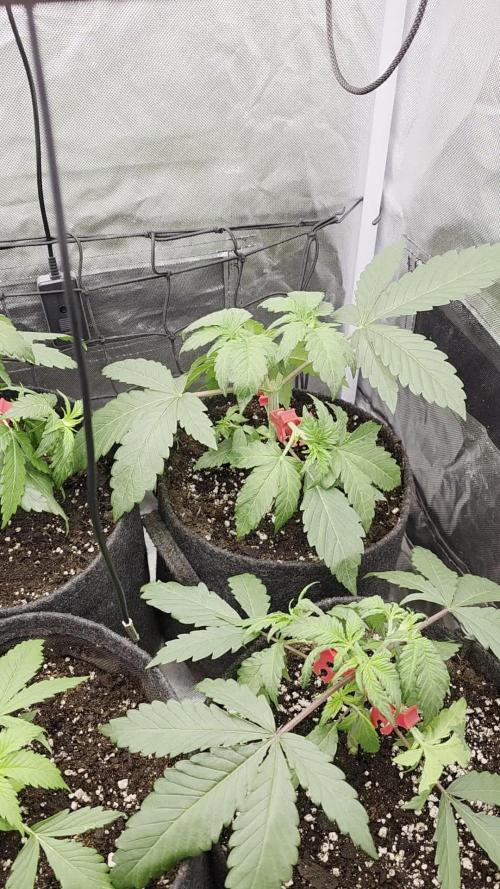
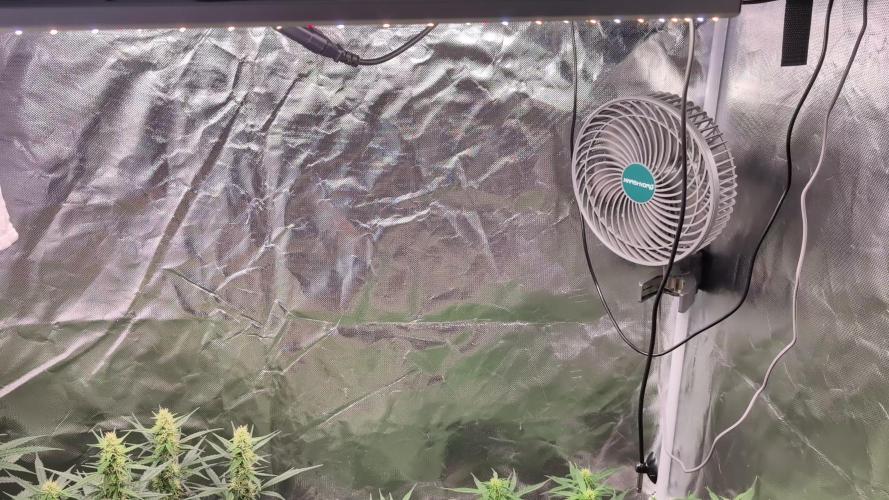
- Semana 2 de flora. - Consumen 2 litros de líquido al día - 3 especies niveladas a la misma altura
Likes
8
Share
Likes
9
Share
@cannanova
Follow
Day 14: This week I'm increasing the humidity inside the tent with a wet towel and containers with water. I also removed the half bottles that were over the plants to generate extra humidity, because they got burned because of that, as you can see in the leaves, there are some brown snipes. Day 15: I added a towel and containers with water inside the tent to increase humidity, I managed to bring it up to 67% in some parts of the day. Day 16: I'm convinced Mario has thrips. I will add Potasium Soap in a couple days to kill any thrips possibility, and also add a moistmeter in the soil to know exactly if I'm overwatering or not. Day 18: Started with the feeding. Rizothonic + Vega at 25% of the recommended dosage. Added just 12ml of water on each plant. I don't want to overwater. Also added a new fan to the setup. Day 19: Added Potasium soap to the leaves during the dark hours. They look better already. Day 20: Added water + Solution of water with 25% nutrients I already created on day 18. I'm going reeeally slow with nutrients. D21: Forgot to make photos. Sprayed potasium soap solution at 2% over the plants, to avoid any pests.
Likes
56
Share
High GD community, Week 12, Haze doing very good. Her sativa genes push her to grow big. But the stems are a bit thin. Hst and LST will help those branches get more solid. She had a hard time in the beginning of her life, but now she is definitly on the good flow. Thats it for this week boys and girls, Thanks for reading and passing by and 💚💚💚👏👏👏👍👍👍 for Marshydro leds. Quality/price top! Grow safe buds and feel free to check out my other ladies doing fine thanks! 🙏🌿🌿🌿🙏 Weedseedsexpress!!!! 👏👏👏 LarfxWSE for discount at weedseedsexpress!!! 15% off!!! Zamnesia!!! 👽👽👽 Add OrganicLarF as a code when buying your own MarsHydro LED light and get a nice reduction!!!👽🚀🛸
Likes
49
Share
Hey everyone 😊. We arrived at the last update before the harvest 😍. The buds have become so heavy that they are all kinked 😅. It smells like the last Grow pushed very good 🙂. Today it is put in the darkroom for 48 hours before it is finally harvested after 72 days of flowering 👻. I wish you all a lot of fun with this update, stay healthy 🙏🏻 and let it grow ☘️ Strain : Sour Diesel ☝️🏼😍 Genetic: Diesel x Northern Lights 👍 Vega Lights : 2 x Todogrow Led Quantum Board 100 W 💡 Flower Lights : 2 x Todogrow Led Cxb 3590 COB 3500 K 205 W 💡 ☝️ Soil : Canna Terra Professional + ☝️ Nutrients : Canna Terra Vega, Canna Terra Flores, Rizotonic, Cannazym, CANNA Boost, Pk 13/14, Canna Cal/Mag, Canna Ph - Grow, Canna Ph - Flores ☝️ 🌱 Water: Osmosis water mixed with normal water (24 hours stale that the chlorine evaporates) to 0.2 EG. Add Cal / Mag to 0.4 Ec Ph with Organic Ph - to 6.0 💦 💧
Likes
12
Share
@Luv2Grow
Follow
Day 64 - The start of week 10 and decided against defoliating and just tucked all the leaves in the middle instead. I’ll still pluck some here and there when needed. Buds are getting nice and fat and still has some decent time to fatten up even more. Day 65 - Ended up having to give her 2 gallons of water today, she’s starting to drink a lot. Buds are still fattening up nicely and smell is strong as hell. Day 67 - Not much happening, just watering/feeding when she needs it and doing a little light defoliating every couple of days. She should be ready for water tomorrow. Day 68 - All still good and she was ready for water and nutes so she got 2 full gallons today. This might be her last actual feeding of nutes before starting to flush but I’ll see how she is over the next week or so. Day 69 - Just some updated pics for the day, nothing new happening. Waiting for the pistils to start dying off but no real sign of that yet. Day 70 - Ending week 10 today and she’s got some fat and stinky buds. Haven’t really started looking at trichs since all her pistils are still bright white and healthy. Hopefully she’ll start winding down here in the next couple of weeks.
Likes
30
Share
@BC_Green
Follow
It has been another amazing week of the plants growing. I have been watching as the Fruity Freak leaves become progressively more fern-like, and ornamental as a result! Based on my Banizzle grows, I knew I needed to understand plant nutrients in a more meaningful way if I wanted these plants to thrive. So, I decided to get a soil test (see Ref. 1 below on how to perform a test) to understand what nutrients my plants needed. The report I received advised that I needed to add 200 lbs/acre of nitrogen, 150 lbs/acre of phosphorus, and 190 lbs/acre of potassium (see picture labeled Pic.1 (FYI you can't see these images unless you login to growdiaries)). I then researched what to do with my results (Ref. 2 helped), and I figured out that my nutrient needs of 200-150-190 fall close to a 2-1-2 ratio. I then looked at different types of organic fertilizers (see Ref. 3 and Ref. 4) and considered that I already had a 3-10-5 fertilizer (Vermibloom) on hand. I discovered Dr Earth’s Alfalfa Meal is 2-1-2 and includes beneficial bacteria and mycorrhizae (to promote healthy plant growth and disease resistance). However, I knew I would be low on nitrogen if I only used those two fertilizers. Therefore, I decided to buy some blood meal (12-0-0). I also liked that blood meal is more fast acting while the other two are more moderate. I hunted around for a solid fertilizer calculator and found an amazing tool from the University of Georgia Extension (Ref. 5). I entered all three fertilizers into the calculator, and it kicked out the exact amount of each fertilizer I needed to apply to 1 square foot (see Pic. 2). As I am using 10-gallon fabric pots (that can hold 1.5 cubic feet, but I put stone on the bottom and there’s space left at the top) I decided to use the one square foot application rate as I can always add more later, but I can’t take it away. Not only did I want to understand the nutrients I needed, but I also wanted to understand the structure of the soil (as it was not included in my test results). North Dakota State University has a nice page that discusses this (Ref. 6), and I performed a soil ribbon test (see Video 1) based on this information. I determined my soil to be medium textured (which is great), but I have seen occasional water pooling on the surface, suggesting that it may be more of a medium-fine. This means adding peat moss, coco coir, or other amendments might improve drainage (and plant hydration) and allow for roots to grow more easily. In the long run, I plan to use compost to enhance the soil structure and nutrients. I filled the bottom of my 10-gallon fabric pots with a ½” of pea stone to allow for drainage (Pic. 3). I then partially filled two 5-gallon buckets with topsoil from near where I will plant (but not in an area the roots will reach). I used a digital scale to measure the amount of fertilizers recommended by the calculator (Pic. 4, 5, and 6) and added it to one of the 5-gallon buckets (see Pic. 7). I mixed the fertilizers into the soil as evenly as possible (Pic. 8 and 9). I then poured a two-inch layer of non-fertilized soil, then peat moss, and then fertilized soil (in a roughly 2:1:1 ratio) and blended them together. I repeated this until the pot was full (getting additional soil as needed), and then I repeated the process for the other three pots. I set the filled fabric pots in my garage (Pic. 10) for two days to allow any upset bugs to flee into my garage instead of my house. I then moved the pots (wrapping them in a contractor garbage bag to prevent making a mess) into the room with the grow light. I placed a board on top of the fabric pots to insulate the plants (in their smaller pots) from the cold soil (Pic. 11). Once the soil in the fabric pots reaches room temperature, I will transplant. (Ref. 1) This video shows the method I used to take a soil sample. I didn’t have a field to test, so I took four samples from the area where I will eventually plant outdoors and blended them together. I then mailed my soil sample off to the lab, and about a week later, I received an email with a PDF of my results (included with my pictures this week). https://www.youtube.com/watch?v=N9AwxmFxBwg&t=8s (Ref. 2) This video from the University of Minnesota Extension (many universities have agriculture extensions that can assist you with soil testing and growing information for your area) discusses what to do with your soil testing results: https://youtu.be/HYrkcfE62Pg (Ref. 3) This is a nice article that discusses organic fertilizer solutions: https://www.grow-it-organically.com/npk-fertilizer.html (Ref. 4) This article lists the NPK values of many organic fertilizer solutions: https://www.epicgardening.com/organic-fertilizers/ (Ref. 5) Many websites tout a fertilizer calculator…but this one is hands down the best I have found. If you scroll down to the bottom, you can enter any fertilizer type you want (and the cost, if you want). It will give you the exact blend of multiple fertilizers to solve your nutrient deficiencies (I included a snapshot of the solution I used in my pictures). https://aesl.ces.uga.edu/soil/fertcalc/ (Ref. 6) This is an excellent article that discusses how to evaluate your soil: https://www.ndsu.edu/agriculture/extension/publications/evaluating-preparing-and-amending-lawn-and-garden-soil