


Likes
Comments
Share

@DevelGrow
Follow
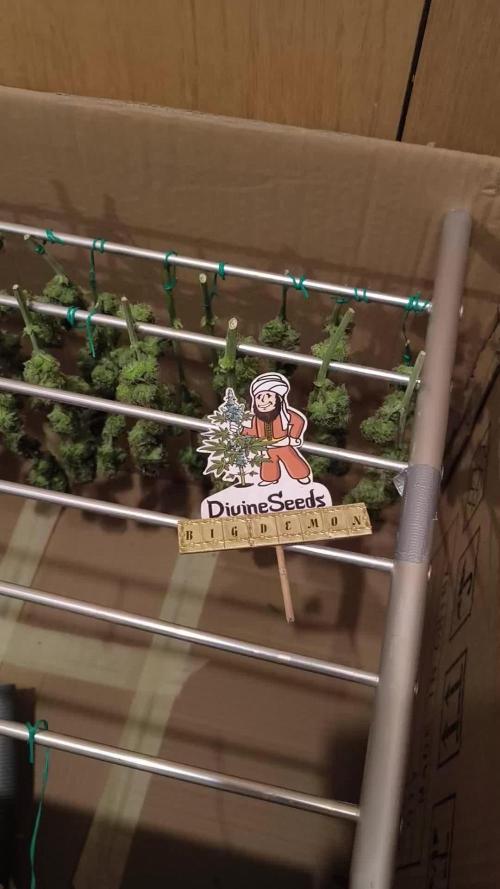
Hallo Freunde 👋 es wurde Zeit und Big Demon wurde der Schere zum Opfer! Dieses Mal wurden die buds am Ast getrimmt und ab in die Kiste! Mal schauen was rauskommt!

Likes
6
Share


@TrapnTrade
Follow
So 4/5 weeks into these auto babies 👶 straight into flowering no veg then we gonna go for a crazy light switch from 7th week till finish with 10/14 darkness and see how the girls finish up after flushing.

Likes
6
Share


@valiotoro
Follow
Hello everyone week 3 of flower has passed for this Mint Jelly auto ❄️
Mars hydro FC-E6500 75%
have a great day and wish you all happy growing 😎👨🌾🏻

Processing
Likes
27
Share


@Dunk_Junk
Follow
She's grown 18cm this week!
Entered flowering too.
Looking lovely!!! Very cute. A mini weed plant 😂 😍

Likes
14
Share

@Growtopus
Follow
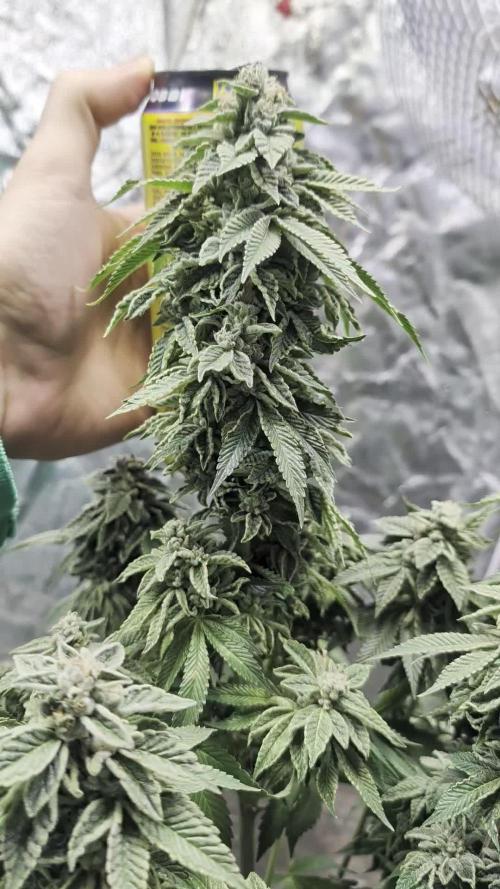
Die anderen beiden wurden geerntet, da die Cookies and Cream komplett gezwittert ist, die Seifuku war reif.



Likes
Comments
Share
@JamesRenato
Follow
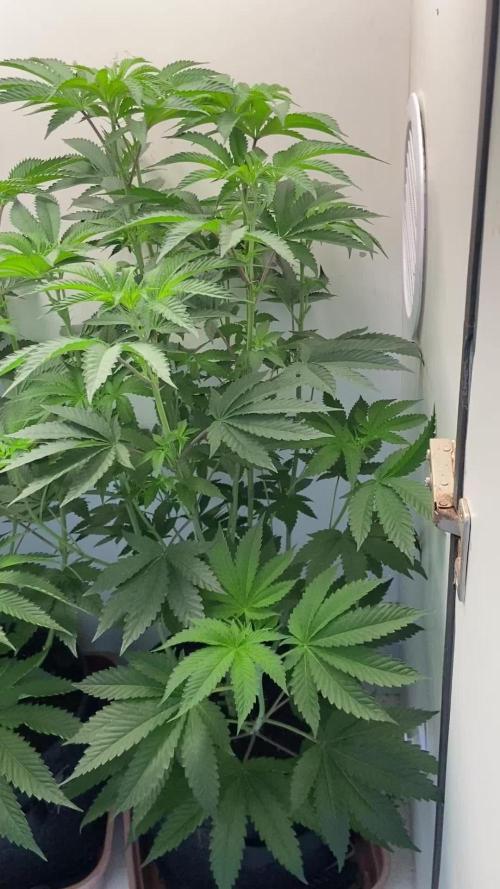
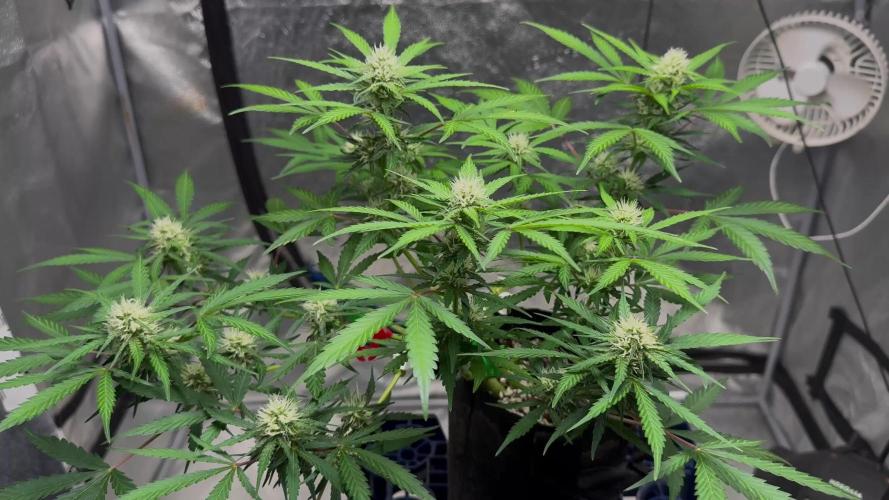
Agora sim o período de luz está em 12/12. Liguei o adicional de luz que alcança mais no espectro, o tom de vermelho, comecei entrar com ácido húmico, e uma proporção de NPK para suprir as necessidades da floração (BioBloom e TopMax). Com a mudança da luz, previsivelmente a planta começou a crescer bastante em altura, porém ainda não apresentou sinais de pré flora, o que é normal. Com certeza na próxima atualização veremos alguns pistilos.



Processing
Likes
9
Share


@Northerngarden85
Follow
Looking nice now taking a bit for feed now
The smell is definitely getting stronger now really looking forward the see these baby's in final stage also big shout out the @barnysfarm my seed have arrived today ready for launch. And new diaries tk come piece out growmies update few pictures when lights are off 🍋🍋

Likes
17
Share


@Chevywood
Follow
Smoke some of it already before I could get a scale so it’s probably bout an ounce or two.. but overall first time trying it gave me more of an head high than anything then later I smoke some other buds it’s more of an relaxing feel. But overall it’s get me high I believe I could’ve let the trichomes get a tad more cloudy but again I’m satisfied with I gotten and on to the next grow.
Likes
4
Share
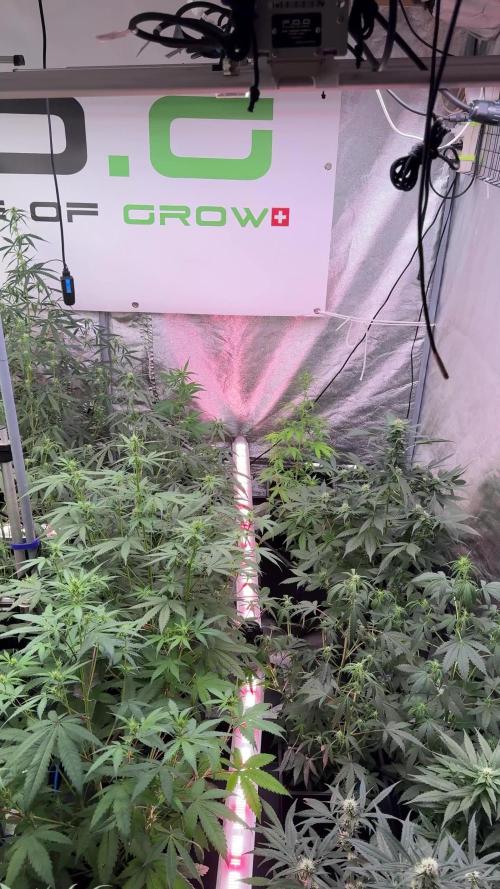

@DogDoctorOfficial
Follow
🍑 Passion Fruitz by Zamnesia
Week 7 | Finally Whispering That Flower Is Coming
Welcome back to another chapter of the 8×8 Adventure!
If you've been following this diary, you'll know that Passion Fruitz has become one of the most fascinating plants in this entire project.
Not because she's the biggest.
Not because she's flowering the fastest.
Quite the opposite.
She's teaching us that sometimes the most interesting plants are the ones that refuse to follow the schedule we expected.
Every other lady in the room has already settled into flowering.
Meanwhile, Passion Fruitz has continued building herself, almost completely ignoring the fact that she's been growing under a 12/12 light schedule since the day she broke through the soil.
This week, however...
Something finally changed.
🌱 Why We're Calling This Week One of Flower
Technically, she's still only in pre-flower.
The first signs are there.
Tiny white pistils are beginning to appear.
The growing tips are changing shape.
The plant is slowly transitioning from producing leaves into producing flowers.
Is she fully flowering yet?
Not really.
But every flowering journey has to begin somewhere, and this week feels like the true beginning of that transition.
So for the sake of documenting this phenotype consistently, I'm officially calling this her Week One of Flower.
She's finally telling us she's ready.
She's just doing it in her own time.
And honestly...
That's exactly what makes this phenotype so interesting.
🌿 The Bush That Never Stopped Growing
Standing at approximately 66 cm tall, Passion Fruitz remains one of the shortest ladies inside the tent.
But don't mistake short for small.
She's become an incredibly dense, wide, and vigorous bush.
Large fan leaves.
Thick stems.
Strong side branches.
Beautiful spacing throughout the canopy.
Instead of stretching vertically, she's invested her energy into building a broad, healthy framework.
Looking at her now, I can't help wondering just how enormous she might have become if I had given her several weeks of vegetative growth before flowering.
Considering she's been under 12/12 from seed, her ability to keep producing vegetative growth for so long has been remarkable.
🍃 Healthy, Lush & Full of Life
Every time I look at this plant, one thing immediately stands out.
The colour.
Her foliage is rich, vibrant, and beautifully healthy.
The large fan leaves almost glow under the lighting, while fresh new growth continues emerging from nearly every branch.
She may be taking her time to flower, but she's certainly not wasting that time.
Every day she seems to become stronger.
Healthier.
More prepared for what's ahead.
Sometimes patience really does reward the grower.
🌱 Low Stress Training — Guiding, Never Forcing
Low Stress Training has continued playing an important role throughout her development.
Rather than forcing the plant into an unnatural shape, LST simply encourages branches to spread out, exposing more growing tips to light while maintaining a level canopy.
Combined with occasional leaf tucking, it allows airflow to improve naturally while opening the plant without causing unnecessary stress.
It's one of my favourite techniques because it works with the plant instead of against her.
Passion Fruitz has responded beautifully.
Her canopy is open.
Balanced.
Healthy.
And ready for flowering whenever she decides it's time.
💧 Feeding & Consistency
This week's feeding remained exactly in line with the rest of the flowering room:
• Terra Bloom – 2 ml/L
• Pure Zym – 1 ml/L
• Green Sensation – 1 ml/L
• Sugar Royal – 1 ml/L
• Power Buds – 1 ml/L
• pH adjustments using Lemon Kick and pH Plus when required.
Even though she's only just entering pre-flower, consistency remains the priority.
The goal isn't to force development.
It's to provide everything she needs so she can continue progressing naturally.
💡 Under Canopy Lighting From Day One
One thing I'm particularly curious about with this phenotype is how she'll respond to the Lumiflora under canopy lighting.
Unlike most of the other ladies, which received the additional light after flowering had already begun, Passion Fruitz has been benefiting from it while still building her structure.
Although she doesn't yet need extra support for developing buds, those lower branches have been receiving additional light from a very early stage.
Will that help her build stronger lower flower sites later?
Will the lower canopy develop differently compared to the other phenotypes?
Only time will tell.
That's one of the reasons I love documenting projects like this.
Sometimes the biggest discoveries are the ones you never planned to make.
🌡️ Environmental Conditions
The environment continues providing the stable conditions shared by every plant in this project:
• Day temperature: 29°C
• Night temperature: 25°C
• Relative humidity: 60%
• pH: 5.8
• EC: 1.95 mS/cm
• Solution temperature: 25°C
• Root zone: 21°C
• CO₂ concentration: 636 ppm
Keeping these variables consistent allows the genetics—not environmental changes—to tell the story.
📸 This Week's Gallery
This week's photographs perfectly capture the personality of this incredible plant.
The full plant images reveal an impressively dense canopy despite her relatively modest height.
The close-ups showcase beautifully healthy foliage, rich green colour, vigorous new growth, and those very first hints that flowering is finally beginning.
Every picture tells the same story.
She's been slow.
But she's never stopped growing.
And now she's finally preparing for the next chapter.
🔮 Looking Ahead
Over the coming week, I'm hoping to see more white pistils appearing across every growing tip as pre-flower gradually develops into true flowering.
I'm not expecting explosive bud formation just yet.
Knowing this phenotype, she'll probably continue doing everything at her own pace.
The stretch may begin slowly.
The first clusters of calyxes should become more noticeable.
And I'm especially curious to see how the Lumiflora under canopy lighting influences those lower branches as flowering finally gets underway.
One thing is certain.
Whatever she decides to do...
She'll do it on her own schedule.
And after watching her these past weeks, I've learned not to rush her.
💚 Thank You
Thank you so much for following another chapter of this 8×8 Adventure.
Passion Fruitz has reminded me that growing isn't about trying to force every plant into the same timeline.
It's about understanding that every phenotype carries its own personality, its own rhythm, and its own way of expressing its genetics.
A huge thank you to:
💚 GrowDiaries for providing an incredible platform where growers from around the world can learn, share, and inspire one another.
🌱 Zamnesia for providing the fantastic genetics that make this phenotype hunt possible.
💜 Plagron for supplying the nutrition supporting every stage of this journey.
💡 Future of Grow LED for delivering the light powering this entire project.
🌿 TrolMaster for helping maintain a stable environment every single day.
✨ Lumiflora for providing the under canopy lighting that's helping every branch receive the best possible opportunity to perform.
And finally...
Thank you to everyone following these diaries, leaving comments, asking questions, sharing knowledge, or simply enjoying this adventure with me.
The first flowers may only just be arriving...
But sometimes the slowest journeys become the most memorable ones.
I'll see you all next week as Passion Fruitz continues writing her own unique story, one leaf, one pistil, and one flower at a time.
Growers Love, and happy growing everyone! 🌱🍑💚

Likes
28
Share


@MadeInGermany
Follow
Hey guys .
A wonderful week goes by with a super growth :-).
After I topped it for the first time last week, it recovered very quickly and showed great growth.
I don't think I will use topping again on the lady because I should slowly blossom with a few other women :-)
think it will be ready in the next 7-14 days for Flowering 👍.
This week it was poured 3 times with 1 l each time
(for nutrients, see table above).
The tent was cleaned and the health of all women was checked :-).
After the photos she was sprayed again with neem oil so that the last little tripse disappeared.
Even if you can't see any more trips I will spray it one last time next week to make sure :-).
I wish you all a happy new year 2022 ☺️.
Stay healthy 🙏🏻
👇🏼👇🏼👇🏼👇🏼👇🏼👇🏼👇🏼👇🏼👇🏼👇🏼👇🏼👇🏼
You can buy this Nutrients at :
https://greenbuzzliquids.com/en/shop/
With the discount code: Made_in_Germany you get a discount of 15% on all products from an order value of 100 euros.
👇🏼👇🏼👇🏼👇🏼👇🏼👇🏼👇🏼👇🏼👇🏼👇🏼👇🏼👇🏼
Water 💧 💧💧
Osmosis water mixed with normal water (24 hours stale that the chlorine evaporates) to 0.2 EC. Add Cal / Mag to 0.4 Ec Ph with Organic Ph - to 5.8 - 6.4
MadeInGermany

Likes
9
Share

@S3phwea
Follow
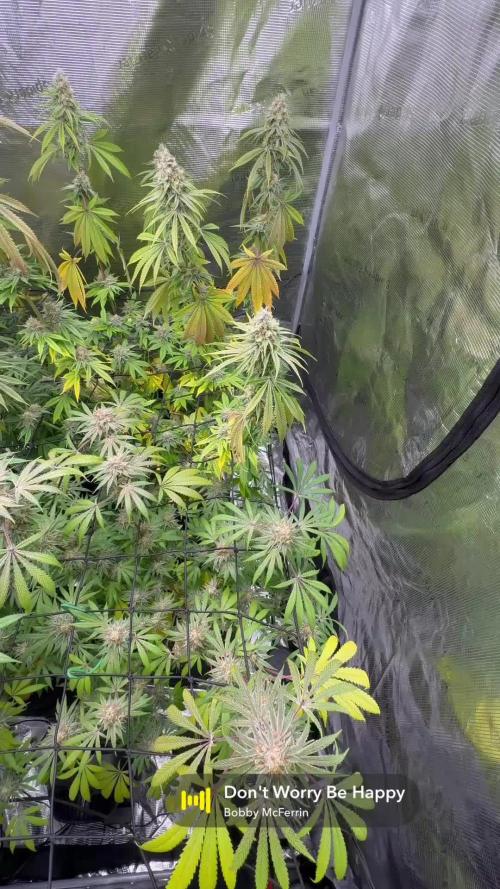
Final stretch, let’s hope I can figure out when to harvest at max potency.

Likes
45
Share

@RockoCalenberg
Follow
Wochenupdate – Tag 91 | Blüte Tag 31
🌱 Allgemeiner Eindruck
Der Grow läuft insgesamt noch stabil, aber man sieht inzwischen recht deutlich, dass die Pflanzen in den letzten Tagen am Limit gefahren sind.
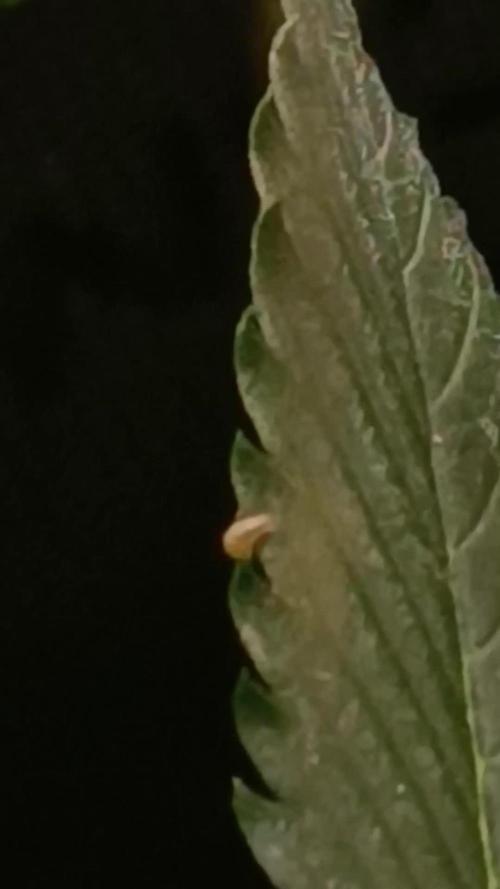
Der Blütenaufbau geht weiter voran, der Geruch wird intensiver und die Kush zeigt ordentlich Harz, gleichzeitig zeigen beide Pflanzen sichtbare Calcium- und allgemeine Nährstofftransportprobleme, die klar auf das Klima zurückzuführen sind. Das war für die Blümchen spürbar Stress.
🌡️ Klima & VPD
Durch trockene Winter- und Heizungsluft kam es zeitweise zu sehr hohen VPD-Werten (teils im Bereich 1,7–1,9), vor allem morgens – klassisch morgens Sahara, mittags Treibhaus.
In dieser Phase stand mein Luftbefeuchter noch bei einer anderen Pflanze. Er ist inzwischen wieder im Blütezelt, wodurch sich das Klima deutlich beruhigt hat.
Die aktuellen Symptome zeigen gut, dass der Nährstoff- und Calciumtransport unter dem hohen VPD schlicht eingebrochen war.
Nährstoffe & Maßnahmen
CalMag wurde ordentlich erhöht, um die Calcium-Verfügbarkeit abzusichern.
Zusätzlich wurden Mikroben gegeben, um das System wieder besser ins Arbeiten zu bringen.
Bio-Bloom wurde ganz dezent nachgeschoben.
Durch das ungünstige VPD haben die Pflanzen zeitweise nicht sauber getrunken, was den Transport zusätzlich ausgebremst hat.
Seit der Entlaubung an BT21 ist der Wasserverbrauch sowieso etwas geringer.
Jetzt heißt es: abwarten, wirken lassen, Geduld üben
🐛 Schädlingslage
Trauermücken gehen dank Nematoden langsam zurück.
Trips sind weiterhin präsent, daher gab es nochmals Raubmilben sowie Florfliegenlarven zur Regulierung.
✅ Fazit
Insgesamt bin ich weiter zuversichtlich.
Der Stretch ist eingefangen, die Richtung stimmt, auch wenn das Klima kurz deutlich zu hart war. Jetzt geht es darum, das Setup stabil zu halten und den Pflanzen Zeit zu geben, sich wieder sauber einzupendeln.
Draußen Winter, drinnen Blüte.
Allen eine gute Woche. 🌱
RockoCalenberg
Weekly Update – Day 91 | Flower Day 31
🌱 Overall Impression
Overall the grow is still running stable, but it’s now quite clear that the plants have been pushed close to their limit over the last days.
Bud development is progressing, the smell keeps getting stronger and the Kush is showing plenty of resin. At the same time, both plants show visible calcium and general nutrient transport issues, clearly linked to the climate. This phase definitely caused some stress.
🌡️ Climate & VPD
Due to dry winter air and heating, VPD levels were temporarily very high (partly around 1.7–1.9), especially in the mornings – classic Sahara in the morning, greenhouse at noon.
During that time, the humidifier was still running with another plant. It has since been moved back into the flower tent, which helped calm and stabilize the climate again.
The current symptoms clearly show that nutrient and calcium transport was simply maxed out under those high VPD conditions – this wasn’t just isolated spots, but visible overall.
Nutrients & Actions
CalMag was increased properly to secure calcium availability.
In addition, microbes were applied to help the system get back into balance.
Bio-Bloom was topped up very lightly.
Because of the unfavorable VPD, the plants were not drinking cleanly at times, which further limited nutrient transport.
Since the defoliation at FD21, overall water uptake has been slightly lower and is being taken into account.
For now it’s about waiting and letting things work, without further interventions.
🐛 Pest Situation
Fungus gnats are slowly declining thanks to nematodes.
Thrips are still present, so another round of predatory mites was added, along with lacewing larvae for additional control.
✅ Conclusion
Overall I’m still confident.
Stretch is under control and the direction is right, even though the climate was clearly too harsh for a short period. Now it’s about keeping everything stable and giving the plants time to settle back in.
Winter outside, flowering inside.
Wishing everyone a good week. 🌱
RockoCalenberg

Processing
Likes
4
Share


@Shoots3845
Follow
despite heavy rain again this week plants keep showing its tenacity to grow.
Also noticed some leaf claws from nitrogen toxicity, some flushing should fix it
Likes
14
Share


@Changman
Follow
As always this run is set to not Disappoint, we had such beautiful results with her outdoor and indoor, this time once again we see just how far we can stretch her limitations. Here's some stats from their website regarding this beautiful strain - "Origin:Hawaii / India / Colombia
Type:65% Sativa / 35% Indica
Flowering:64-66 days
THC:25%
Harvest:700-900 g/m2
Height:180-250 cm"
Amnesia marijuana strains are among the most world-famous rich flavor Sativas, renowned for their energizing effects and exquisite smell. Amnesia XL by Divine Seeds was bred by crossing several Amnesia Haze phenotypes. The idea was to create a more massive variety with a shorter flowering period. As a result, Amnesia XL takes to flower just a little slower than Indica normally does: 66 days. Apart from that, the new hybrid has been proven sturdier and more adaptive to non-tropic climatic conditions. Descends from Thai, Hawaiian, Mexican, Colombian, Indian and Afghani cannabis varieties. Can't wait for her results
Likes
21
Share


@cheetah844
Follow
They're really starting to bush out, I think I'm liking the topping of all tops on the whole plant 1 time. Makes it easy to train as well. We'll see how they compare in harvest amount to my LST long veg plants.

Likes
9
Share


@Naujas
Follow
everything is going quite well, there were problems with lack of potassium, but that error has already been fixed :) the girl has already started sugar leaves :)


Likes
25
Share


@Ultraviolet
Follow
Replaced nitrogen with omina, omina has 14.0.0. Stretch almost over, growth almost switched to full flowering. Increasing phosphorous and potassium, beauty of nature is it only takes what it needs.
Started to remove some weights as stems starting to show solid reinforcement and are ready to hold fat cola. Fingers 🤞.
Decreased hours of light to 10.
Extended hours of cold @ night from 2 to 6 hours @59 Farenheight with 2 hours both sides @ 70&77 respectively.


