


Likes
Comments
Share

@420-Grow
Follow
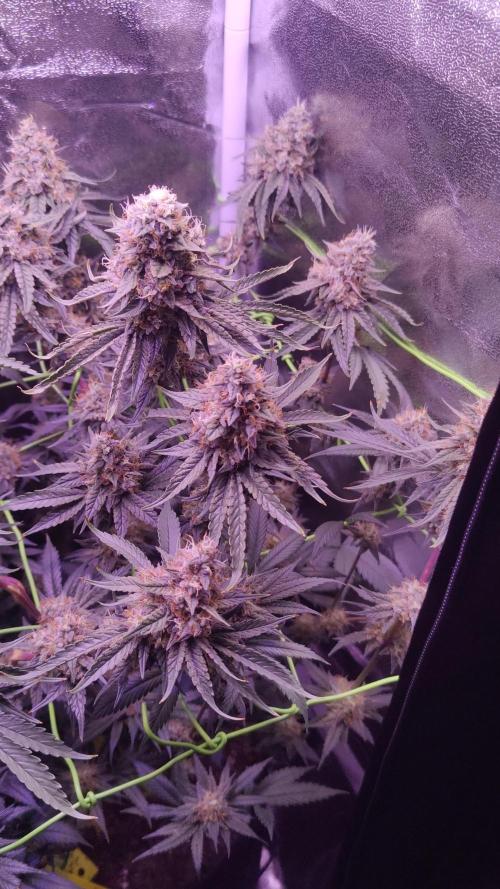
Blütewoche 9 so denke Mal die Woche ist sie fertig freu mich schon drauf


Likes
1
Share


@420Cannaking
Follow
Vegetation cycle starts.
Light intensity 50% @ 16 inches
Nutrient program starts at 50% Green Planet Easy Feed and Week 2 begin Green Planet Pro Feed @ 50%.
Abit too much light for the plants finding the sweet spot on a 480watt LED,they recovered well.
Still battling high humidity and high temps. 28-31'C 65%-90%. Introducing a new dehumidifier as of next week.
Have turned AC on High between 11am-5pm (hottest part of the day) Summer only!

Likes
6
Share

@WeedForceOne
Follow
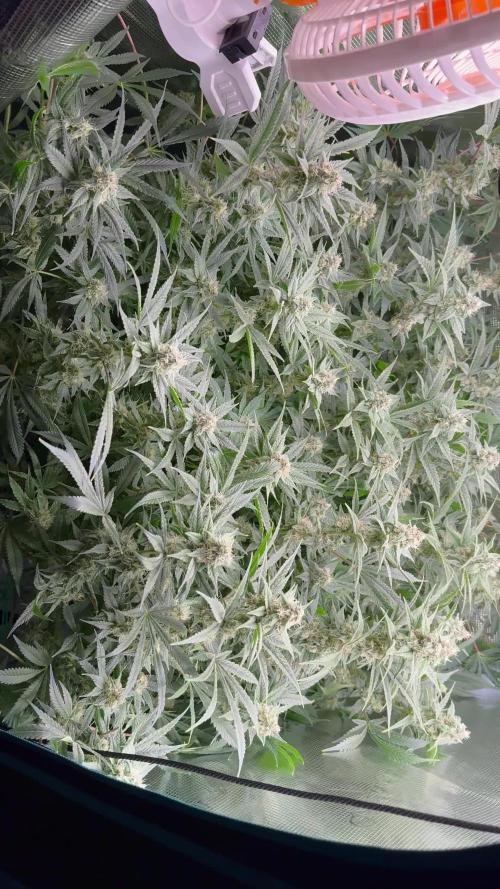
Left out week. She grew insanely this two weeks. She have 4-5 weeks to go.

Likes
179
Share


@StarLorr
Follow
Welcome to my Øpium diary.
In this diary:
Seeds: sponsored by Ðivine Șeeds
Media: Promix HP
Nutrients: Advanced Nutrients, Diablo Nutrients, Gaia Green Power Bloom.
Light and Weather: Şun☀️and Mother Earth.🌎
___________________________
Feeding:
Tue 17Sep: 8L water not pH'd
Thu 19Sep: 4L Flawless Finish not pH'd
Fri 20Sep: 4L Flawless Finish not pH'd
Sat 21Sep:4L water not pH'd
___________________________
*please note that watering are from the top.....since i smashed the saucers with the weed wacker*🤦🏻♂️
______________________________
Amazing weather throughout the week! Again☀️Sunny 26°C 😎"Except for today Monday 23-Sep-24 as per cloudy☁️photoshoot🙃😄
______________________________
Did my flushing thing, it's happening😉
______________________________
Thanks for stopping by, likes and comments are appreciated!👊🏻😎
Keep on growin!
Keep on tokin!!!
😙💨💨💨💨💨


Likes
12
Share


Likes
12
Share


@Kakui
Follow
F47, riego pH 6.3 y EC 1.5, cogollos grandes y densos, los tricomas ya presentan tonos lechosos, a un par de días de cortar. Bajé el rango de temperatura para que en las noches sea más frío, y las plantas se adapten al supuesto invierno que se acerca, de está manera, generando más tricomas.
F50, las temperaturas mas bajas han aumentado los tricomas, los cogollos han aumentado su densidad, no se ven cambios en tamaño, pero algunas ramas se están doblando debido al aumento de peso. En 2 días más aproximadamente se hará el corte para empezar el secado.

Likes
10
Share

@NoProbation4Weed
Follow
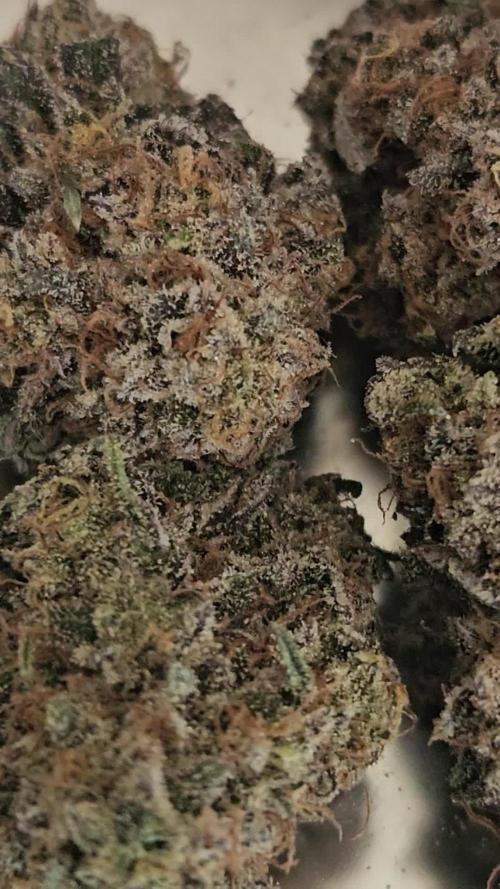
drying under 62% rh and 21°C over 10 days.
really good strain. Hast gelato with a little bit of gas and sweetness.

Likes
Comments
Share


@High_Grade_Dadli
Follow
Pic was taken 2 days into the other week..all I can say that they are doing their thing have no complaints whatsoever....jus have to tighten up on feeding abit but results are great for the lil that's being done...have to work on increasing resin production and continue to dense up dem bugs
Until next time happy growing
Likes
11
Share


@SeshHouseCannabis
Follow
As expected the look of the bud from Exotic Genetix never disappointed us but as always it come with low yield and small bud. Even though the bud tastes amazing and it give a pretty heavy indica effect


Likes
19
Share


@Dunk_Junk
Follow
Finally some decent growth!! 19cm this week and she got a lot bushier.
Not in flowering yet but that's ok, she needs to grow more ideally.
For nutrients I'm using 15g of 20-20-20 mixed with 10L of water. Also added 4ml/L of both Cannazym and Terpinator. This brings it to around 1600ppm including ~300ppm for my clean water.
Timelapse Sequence:
Pineapple Express
Blue Dream
*** Auto Jack (Not in shot) *** 😭
Pineapple Express
CBD Compassion

Likes
8
Share
@NoProbation4Weed
Follow
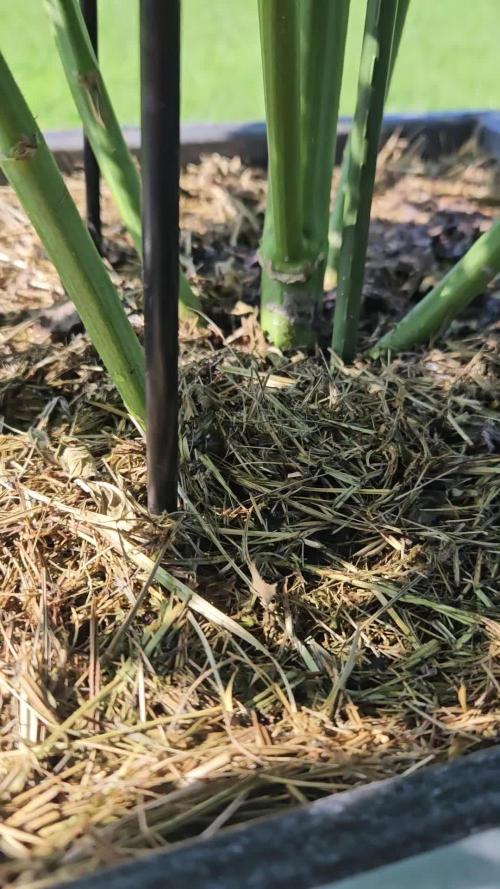
Both plants look very healthy and are showing vigorous growth. They only receive nettle manure tea occasionally and no other supplements or fertilizers. Considering this minimal input, they are in excellent condition and look outstanding.
Likes
6
Share


@field_nigga
Follow
had a little problem with watering I hadn't done it in a whole week so the plants looked really dehydrated but then I watered them and now they look fine though I honestly really did have to remove a lot of dead leaves sadly...I don't know if it's time to harvest I'm not sure cuz the trichomes look pretty cloudy and so do the hairs looking all brown yeah

Likes
5
Share


@BasiGoToGrow
Follow
Week5
The week is over and all looks fine.
Both ladies are preparing to bloom and are growing. Orange Sherbet is now 28 cm tall. Bruce Banner has caught up a lot this week and is at 25 cm.
For 1 liter of water there was 0.5 ml of silicate;;
0.5 ml of Calmag;; 2 ml of BioNova BN-Zym, 2 ml of BioNova TheMissingLink;; 2 ml of BioNova Auto complete fertilizer and 1 ml of 100% organic algae juice.
Ph 6.0-6.3 23°C
Likes
2
Share


@TTerpz
Follow
Fed with nutrients on 4/16/25
Watered with 6.8 ph plain water on 4/18/25
Day 5: fade began
4/20/25: fed with nutri
Likes
5
Share


@Ninjabuds
Follow
Gas tax x obama runtz there is not alot to update this week. They have not grown very much the past week. They got extra dark last time when I watered and gave 2ml per gal of grow big. They are still the smallest 2 plants in the tent. They both have started making their 1st set of leaves with 5 point although the other leaves have not started to get larger yet. I don't think they have rooted solid quite yet.
Happy late turkey day grow diaries world!!!! It's now day 24 from seed for all the seedlings I have going. The past few days the plants have really started to take off. There roots have really started to dig in. Every other water I am still giving 2ml per gal of fox farm grow big. I keep having to tell myself not to add any more nutes other than that. I don't want to fry my plants but I also want they to start jumping. I'm quite excited for the coming week, I think the next 7 days or so is when the plant really starts to transform and look more like a pot plant than just some random little green thing.
A few days ago I decided to move the plants from under my 55w cheep amazon light to under my spider farmer 100w newer version light with the good leds in it. The plants will hopefully be ready to up pot them here soon and get them in the large tent.
Sometimes when growing multiple different strains it can be really hard to balance giving to much or to little light. You don't want the faster growing plants to get to stretched out waiting on the slower plants to catch up
I spend Thanksgiving day morning transplanting the plants into 2gal pots. I am useing spme promix potting soil it's my 1st time tring this soil. It is actually doing really well the roots were all white and nice looking. I think next time I'm going to add some worm casting, kelp, granular mycos, and a little bit extra perlite. I just didn't have the money with christmas coming to splurge for all the extra stuff. I got rid of 2 plants 1 of the bubble og and 1 skunk apple runtz. There is only room for 10 pots in the 2x4 tent. I will peob only bring 8 of them to flower, always good to have back ups. Yesterday I also stuck the plants back under the 500w medicgrow mini sun 2 in my 2x4 tent. They did great under it the 2nd half the day I was happy they didn't get stressed. I had put them under that light a little early about 10 days ago or so. I am expecting in a week these plants will ge going crazy with growth
Processing
Likes
11
Share


@Hawkbo
Follow
These are doing pretty damn good for the most part. I figured out with the green buzz the only thing in bloom that raises ppm is the base bloom and the more PK which is good to know. Also been using lower ppm for the autos and they seem healthier than usual. These pics and the video were taken on Day 36.


Likes
6
Share


@Nickeluring
Follow
This girl is beautiful, and she is starting to show some flowers. Her shape is perfect. She will get some bloom nutes tomorrow.
I had some bugs munching on the plants so I gave them a good spraying with Neem oil and Potassium soap. I´ll give them another shortly.
Likes
34
Share


@The_Bearded_Grower
Follow
Welcome to week 4 a flower it's day 86 and she is still growing beautifully with tons of trichome development no deficiencies and getting bigger all the time I still got at least four weeks left I'm hoping she gets nice and fat and I'm really hoping that it turns purple in the late stages. I haven't really changed much other than I increase the amount of flush material as I started to notice a little bit of Browning tips on some of the leaves I raised it from 2L to 4L of straight water I also increase the amount of nutrients from 3 to 4 litres starting tomorrow I'll be reducing the amount of flushing water down to three but keeping the nutrients the same. Hope the information was useful happy growing and keep your stick on the ice
