


Likes
Comments
Share

@BenDidKnEe
Follow
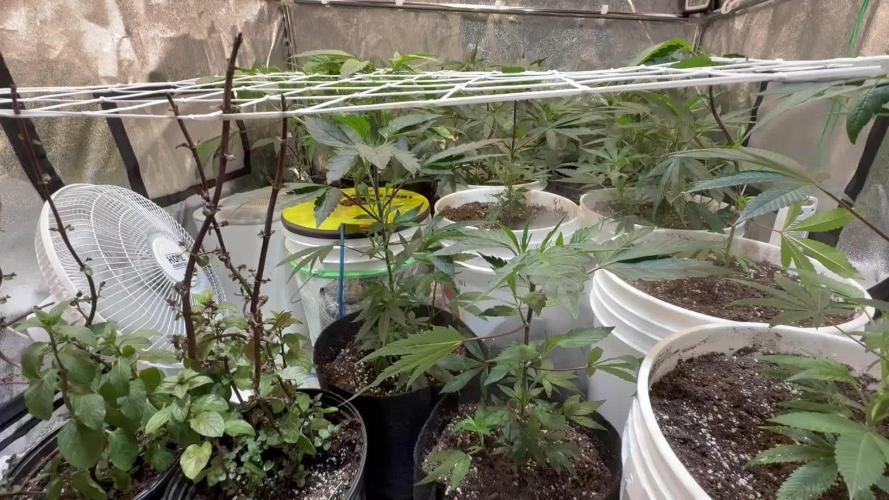
This week I noticed the plants really starting to take off. I’m adding more C02 tonight to speed things up, I plan to get 2 more harvests before the winter!
Did a Rez change on the DWC BCP, I’ll snip clones off the other two strains during the next defoliant sessions. I’d like to get a 5x5 just for a few DWC or RDWC. How can I join some contests?

Likes
14
Share


@TherealNICOGREEN
Follow
Er lige blevet plantet over i 4 liter potte , tilsat PLAGRON bat pouder 💚👍🧡🖤💚👌plus hun er blevet flyttet uden for samme med resten af hendes familie:-), som er hastigt på vej til at blive nogle gode dagbøger. Hun har overlevet sin første nat nu og har det rigtig godt. 👍 godt hun strutter af sundhed:) jeg skal have ryddet op, så jeg får mere plads til mine piger. Jeg har en ok terrasse der bare lige skal ryddes lidt op i og fejes. Det bliver RIGTIG GODT 😊.

Likes
33
Share


@Oyziphar
Follow
FLOWERING
First flowering phenomena are visible in the tops of the plants.😜
--------------------------------
GROWTH
The plants are still growing rapidly. To keep the size of the plants somewhat at the same height, I use the following techniques: 😷
1. Removal of the side branches (Defoliation)
-Small plants: I remove almost all side branches. In this way the small plants do not have to spend energy in the growth of side branches.
-Large Plants: I don't remove anything. The plants will put energy into the growth of side branches, so the plants will not grow too fast in height.
-Other plants: I remove the side branches in proportion to the size of the plants.
In the course of the following days, I gradually remove all low side branches!
2. Tying the branches (Low Stress Training)
-The smallest plants grow straight upwards.
-The largest plants are tempered in their growth, afterI have tied them to the plant sticks with the help of plastic plant binders.
On DAY 5 the plants vary in length between 23 and 41 cm
AIR HUMIDITY 😨
When the lights are on, it gets nice and warm in the growing room. To keep the humidity at the desired level, I have two 7.5 liter humidifiers working almost continuously. In less than 24 hours I have to refill them.
As long as the plants do not have real buds, I like high humidity so the plants to keep a low VPD.
--------------------------------
WATER and NUTRITION 😱
Due to the high humidity, I don't have to give that much water. Every 3 days I give 1.25 liters of water per pot. I add 3 tablets of Easy Grow Booster to 10 liters of water. I divide this mixture between the 8 pots. This week I gave 2 x water.

Likes
20
Share


@Elysian_gardens710
Follow
Hey Guys! Check out our AK-47 Goxuak from Genehtik 😊 we are very proud of and impressed by this girls so far!
This weeks Objective; hardening off for the Optic 8+ tent. We will be moving her to the big tent in a couple weeks and the light is MUCH more powerful, so right now she goes under it for a couple hours b4 bed each evening.
She has overcome some obstacles in her life and is thriving! It's kinda funny. We had never heard of Genehtik b4 buying the seed from single seed centre, and honestly didnt expect much. So, when the time came to transplant and we realized we were out of pots we decided to put her in the only container handy (we were transplanting them in the kitchen at the time lol) and she has thrived!
It's really cool because we can see root growth through the pitcher. But we wrapped it in duct tape to protect them.
Of the 3 autos we sprouted, she is the only not yet in flower (thankfully) hopefully the pitcher is large enough for her to put on some wieght!
We are new to this diary thing so if anyone takes the time to read this and has and questions or advice please please let us know!! And thanks for checking her out! We will name her at flower
Stats:
Vivosun 2x4 tent
1gal water pitcher
Fox Farms Happy Frog soil
2x viparspectra 600w refractive LEDs
2hrs,3hrs,4hrs 5hrs then permanently under an Optic 8+
Durabreeze carbon filter
4" inline fan


Likes
1
Share

@Captain_Greenout
Follow
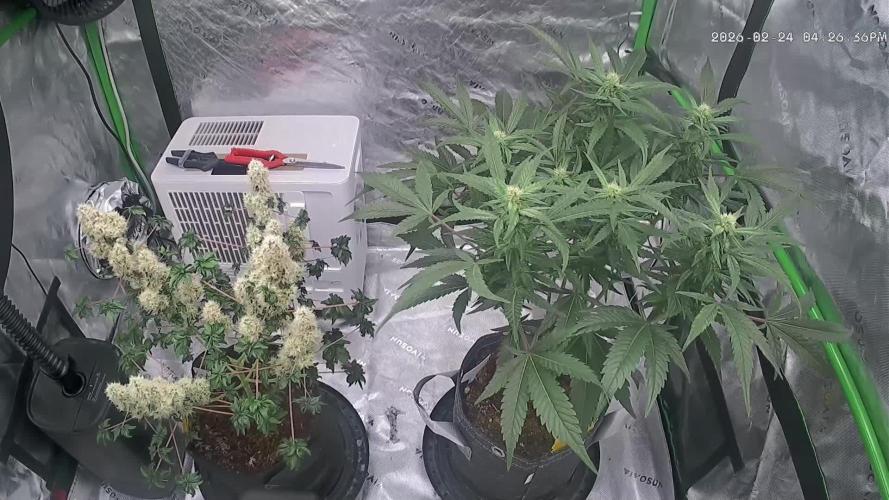
[2026-Feb-27 | Day 63] - She's really developing fast now, and drinking a ton. The estimated 60 day flowering time might just be accurate after all. she seems happy for the most part, and not showing any signs of overfeeding yet.
I've increased lighting to 38 DLI at present, and aside from a small amount of bleaching/burning on a couple of fan leaves, the rest are putting out lots of trichomes to compensate. I will try to increase lighting a little more in the coming week to help maximize energy production and bud development, then start to taper off after that as buds start to ripen.
If she continues to develop this fast, she might just end up getting harvested around the same time as the blueberry bastard nearby.


Likes
40
Share


@Hempface86
Follow
Another week has stared and thease girls are monsters! The Gummiebears is in a 4 gal pot and is 41 inches tall ( 52 from the floor ) and is outgrowing the tent ( who says you shouldn't too autos? Lmao ) and as you can see the other 3 are in 1.5 gallon pots and are monsters as well .. if I don't pull 20-24 ounces this run I will be surprised honestly..
side note.. I cut the 2 lines branches early on from the Cream auto and put them in a vase for 2 weeks and they rooted so I stuck them both in the same little container and they have settled in nicely as I see new growth daily.. it's gonna yeild me an additional half ounce possibly? Idk 🤷♂️ fun experiment tho .. hope everyone is doing well! Happy growing! Likes and comments are appreciated! ✌️


Likes
9
Share


@greenthumb86
Follow
awesome strain would 100% recommend.... still got a plat and a half to chop


Likes
4
Share


@NigelCake420
Follow
Wow... Very healthy plants... Going from seed to monsters in 22 days... 😁😁 Can't wait to see them flower..under the 400 hps... Topping and thinning the lower branches for a hst/sea of greenish 👍

Likes
7
Share

@Ninjabuds
Follow
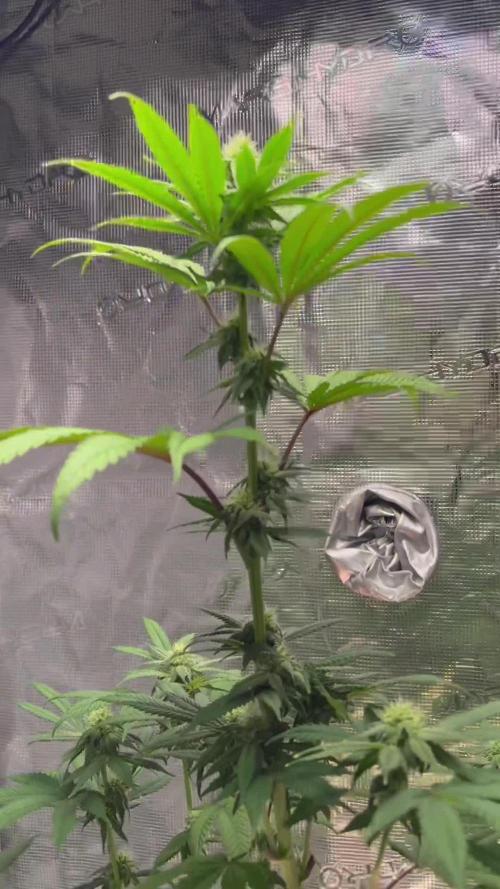
My ELUFAH UAP 1500 test grow is showing excellent results, with the plant thriving under my care. The addition of the ELUFAH Saturn Ring under canopy light has been a game-changer, significantly boosting growth. It's clear that the supplemental lighting is providing the plants with the extra energy they need for robust development and impressive yields.


Likes
12
Share


@Zoe_Spacecake
Follow
He elegido una red metálica. Es muy fácil de instalar y permite un control eficaz de las plantas. El resto es igual a cualquier cultivo hidropónico. Subo el nivel de nutrientes cada día.
Likes
14
Share


@Cannibalgardens
Follow
Boy this plant has been going a slow and steady race so far I can't wait to see how reacts to bring put into a bigger pot. The growth is a great green colour and she hasn't been lacking anything . Looking forward to next week and seeing how the growth has come along .. cheers and thanks for checking out the grow..
Likes
Comments
Share


@kissrubb
Follow
me encantaría escuchar sugerencia de mas gente con mas experiencia y consejos, espero os guste y muy buenos humos a todos
Likes
62
Share


@masterofsmeagol
Follow
This strain was wicked fun to grow. Yield is amazing. One plant filled a 30 gallon tote once dried. WPM and leaf septoria was horrible this year but this strain seemed to do just fine. Very resilient. Grew short and stout like an indica. Covered in trich's and smells amazing.


Processing
Likes
7
Share


@Biscuits
Follow
Better and bigger everyday! I have finally overcome my problems with nute burn. I create 1 gallon of the solution w/ no dilution, running full strength nutes, and this solution is lasting 1 week+ now. Then daily, fill 1 gallon with purified city water, with 1ml of Heavy 16 Roots for PH balance.
Since I topped the 4 bagseed plants multiple times very early in veg growth, they are extremely short and bushy. But the flowering stretch seems to definitely be happening. Plus they have a ton of budsites being created.
Still waiting to see what sex the 4 bagseed are. I have multiple close-up pictures of the 4 bagseed photos if anyone can see any signs of the sex?
No PM or mites I can observe. Sprayed for them in week 5. Every day I am defoliating the lower branches of the plant as it becomes more obvious what isn't getting light. No smell.
Bagseed were started from seed, germinated using paper towel method, and pretty neglected with light up until week 4. Also they spent too long in small containers before being transplanted. Unidentified genetics/sex. Clones were bought anywhere from 9 inches to 13 inches tall. But the clones have just really taken off in their larger pots. The Blackwater plant in the middle is the smallest clone of the three I received, and it was also filled with less dirt than the other 2, which are obviously taller an bushier.
Anyone see anything else I should be doing?

Likes
39
Share


@Mastr
Follow
Hi everyone Today day 30 and I stop feeding with silica and I take co2 bag off too due make high humidity also I reduced bio grow from 3ml to 1ml for this week next week i will stop bio grow till harvest
And I done aggressive defoliation on bottom almost take half leafs down
Update day 39 I done another defoliation and some lst to keep them separate from each other guys the orange sherbat is thirsty strain and seems she love nutrients she drank twice a day and each time 1.5L nutrients whitch is
.5 calmag
2ml heaven
2ml activera
2ml alg amic
2ml bloom
1ml top max
Because they are in small pot so I don't wanna give lots off water so I prefer to feed them twice a day


Likes
17
Share


@StickyFingah420
Follow
Planta de crecimiento no muy exigente, no demanda grandes cantidades de agua y nutrientes.
En este caso solo apliqué LST y respondió bastante bien. Formó un buen tallo principal y una estructura ramificada y firme.
Lo mejor de todo viene en la floración, adivina porque?... COLORES!, alrededor de la 3era semana comienzan a aflorar tonalidades rojizas, púrpura, rosas que deslumbrarán a cualquiera.
Sus cogollos son más bien aireados y desprenden un fuerte olor cítrico como a cáscara de naranja intensamente dulce.
En fin, una genética de calidad y con una visual hermosa y aromas asombrosos!. En lo personal prefiero los brotes más densos y compactos, pero me encantó todo el proceso de esta hermosa planta, totalmente recomendada!