


Likes
Comments
Share


@QualitySeeker
Follow
End of the week 5 of flowering
I have little bit problems with humidity 60-70% and i found something that doesnt look like good thing in bud :( but only in one lady
Overall ladies look good only one have something going, should i start flushing?
week 6 of flowering starts today




Likes
5
Share


@HegauHillsFarmers_D23
Follow
Ab dieser Woche wurde die Pflanze seltener besprüht und die Luftfeuchtigkeit ein bisschen gesenkt.
Zusätzlich starte ich die Woche mit ein bisschen mehr Dünger um der Pflanze jetzt zum Start in die richtige Vegetationsphase Kraft zu geben.

Likes
17
Share


@CampaCavallo
Follow
Ragazzi è stata una vera soddisfazione di aver avuto l'opportunità di provare una genetica di SSSC 💜
Li ringraziamo tantissimo per l'opportunità che ci hanno dato e ci rivedremo molto presto con un'altra delle loro favolose genetiche... molto probabilmente una della fioritura rapida!
Coming soon on CampaCavallo 🏆 💚👍🏻

Likes
2
Share


@KannaGrowing
Follow
Ya estamos en plena floración y con las luminarias a max potencia... Evidentemente el aire acondicionado también está trabajando durante la fase de encendido.
Flowa-Bloom es la estrella de los nutrientes a incorporar, pero todos son importantes... Así que sigo la tabla de fertilización de JUJU Royal al pie de la letra.
Eso si, primero humedezco bien el sustrato con agua, para aprovechar bien la solución con los nutrientes y que no filtre por las macetas textiles.
Riego cada cuatro días.

Likes
3
Share


@Grammo216
Follow
Late update, ran into some issues with the roots but the end product is still decent. Will make some tweaks next time, the problem was my transplant. I didn’t put the plants down deep enough and the soil was compacted to add. Plants start tipping over and nearly derooted when buds got heavier. Also was using too much nutes, will be switching to coco. Don’t think I used too much, soil just retained a lot of the nutes and water. Hoping coco will solve that issue for me.

Likes
8
Share


@Froggman
Follow
Week 10 was more like week 11 but I dunno how to change the pics. I’ve really lost track of how long it’s been after stunting them so badly a couple months ago. I’m giving them 8 weeks (at least) in flower each regardless.
Likes
21
Share


@Dunk_Junk
Follow
Wow look at her this week. Buds really filling out.
Beautiful.
I think she has 2 weeks left referencing my previous AutoGlueberry.

Likes
22
Share

@Pierrougarou21
Follow
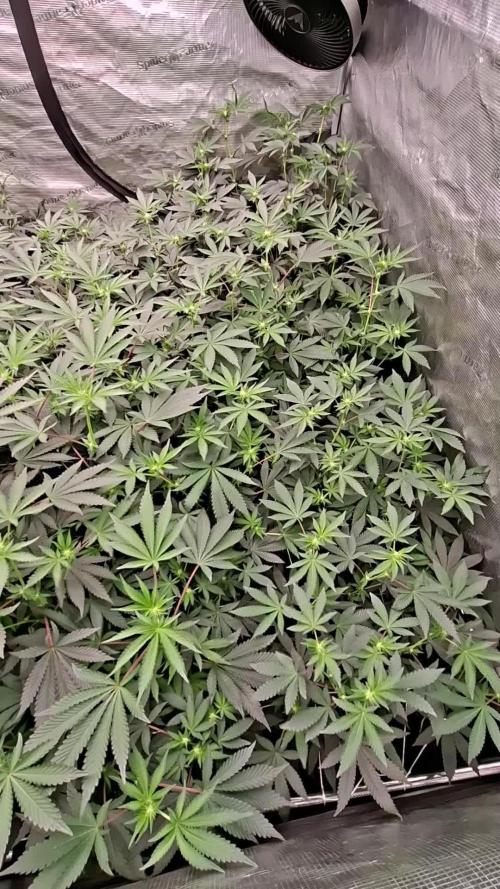
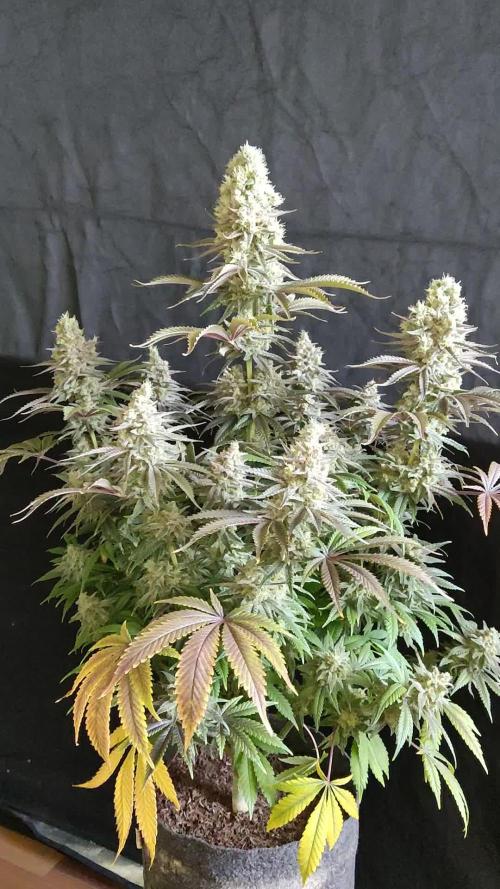
salut les growmies, deuxieme semaine de floraison, le spectre rouge profond et rouge intense permet d aider les filles a passer en mode nuit , comme un couché et un levé de soleil il permet aussi un développement des terpenes.



Processing
Likes
88
Share


@No_Clout
Follow
25/07/18 - watered with 300ml each 24 hours ago giving them their first taste of veg nutes and their responding well so far, I will be upping the dosage later this week.
29/07/18 - everything’s looking alright so far, plant #3 did fall over because of the weight of the leaves but I’ve sorted it all out and it’s back to standing on it’s
own two feet.
30/07/18 - I dident feed them from 72hrs and the girl in the middle started to droop so I fed them all 600ml each.
31/07/18- the girl in the middle has perked up abit but all three seem to be not praying 🙏🏻 to the sungod.

Likes
98
Share


@Tropicannibis_Todd
Follow
💩Holy Crap We Are Back💩
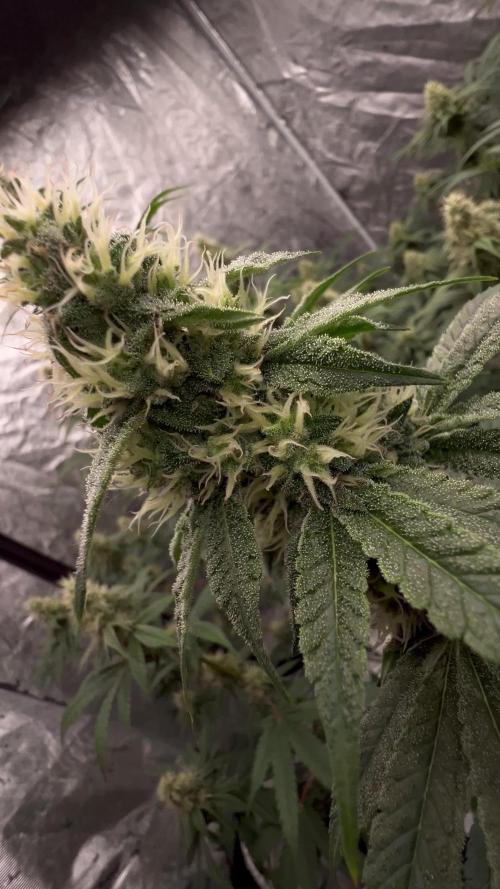
Well i took the summer off to do some outdoor but thats all done so , we are back indoors and at it again 😁
So super happy to be trying this one out , can't wait😝 ..... it's been awhile since I've grown some BubbleGum so looking forward to it ..👍
We are 7 Days in and everything is going great 👌
Lights being readjusted and chart updated .........👍rain water to be used entire growth👈
👉I used NutriNPK for nutrients for my grows and welcome anyone to give them a try .👈
👉 www.nutrinpk.com 👈
NutriNPK Cal MAG 14-0-14
NutriNPK Grow 28-14-14
NutriNPK Bloom 8-20-30
NutriNPK Bloom Booster 0-52-34
I GOT MULTIPLE DIARIES ON THE GO 😱 please check them out 😎
👉THANKS FOR TAKING THE TIME TO GO OVER MY DIARIES 👈


Likes
27
Share

@GrowBro1981
Follow
Hallo liebe Growfreunde 💞
Ich bin zurück mit dem neuen Wochenbericht 🤗
Danke an die neuen Follower, ich hoffe es macht euch Spaß meinem Grow zu Folgen
An alle anderen, für immer aktuelle Updates auch Folgen😁😁😁🤗🤗🤗
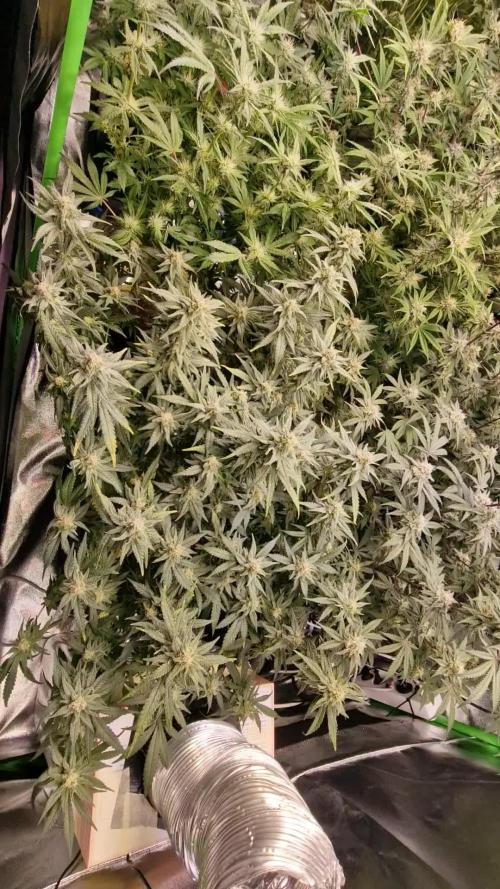
So jetzt zum Wochenbericht. Alles läuft sehr entspannt, kaum was zu tun, aber es ist einiges passiert🤩🤩. Die Buds werden fetter, der Geruch ist einfach himmlisch und die Farben sehen toll aus. Leider kann man die Farben nicht so gut erkennen auf den Bildern, aber es purplet ganz schön🤗😁
Die Sweet ZZ erholt sich von ihrer Calmag Blockade und die neuen Blätter zeigen keine Anzeichen mehr auf Mängel. Die Gorilla Zkittlez holt an Größe auf und ist jetzt etwa so groß wie die Sweet ZZ, aber mit deutlich weniger Nodien. Ich denke die Peyote Critical wird als erstes reif sein, sie wirkt am weitesten entwickelt und auch die Blütezeit ist die kürzeste von meinem Setup. Danach wahrscheinlich die Sweet ZZ und evtl. Die Green Gelato. Die Runtz und die Lemon Shining Silver Haze werden am längsten brauchen. Ne quatsch, die Gorilla Zkittlez wird am längsten brauchen da sie erst seid etwa 2 Wochen blüht.
So das wars für diese Woche meine lieben💞
Ich hoffe euchvgefällt was ihr seht und lasst likes und Kommentare da🤗🤗🤗
Tut gutes💞
Cioaiii👋👋👋

Likes
38
Share


@biggreens420
Follow
These monsters are just piling on the weight majority of buds on the right side are tied up did minor defoliation just watching them stack and keeping an eye on the humidity as its begun to rise .left side front to back am haze 1, exotic thai ,am haze 2 .right side front to back lsd,fruit spirit,blue mystic. Thanks for reading happy growing guys


Processing
Likes
33
Share


@Weird_Jimmy
Follow
✋Wk10: Playing the guessing game and learning is doing.
👉I started the week knowing I needed to do more of a full low EC rinse. I have been noticing purple stems around both plants spreading. As the week started the stems also started spreading on to some of the veins. The upper leaves started looking lighter green colored and by mid-week some yellowing spots and some very small brown spots on some of the upper leaves of the 3 gallon. The one gallon was getting more burned leaf tips. Until the yellowing splotches and small brown specks I was suspecting low Magnesium. I was compensating by adding a little extra cali-magic to the low ec solution I use to adjust the ec of the solution I fertigate with. But as the yellowing spread I knew I was wrong about something, so a little more searching and I may have nitrogen toxicity AND Phosphorus deficiency. The upper leaves on the 3 gallon plant were also showing a bit of ‘clawing’ which was pointing at the Phosphorus shortfall. So I may be wrong, but Ill only know by doing. So I did a large low EC rinse that was pH’d with the regular dosage of liquid Koolbloom, on both plants at the end of the week. I’ll continue to fertigate with a lower EC solution that will have the Koolbloom mixed at full strength. I may discard the current solution batches and remix fresh with less of the Flora Micro, more of the Flora Bloom and Liquid Koolbloom. It may all stem from not doing low EC fertigations as a matter of routine. Perhaps the Nitrogen was building up because there wasn’t a regular higher volume rinse. The Low EC rinse dropped the EC of the run-off right away. I know the common practice is to have routine low EC rinses, but I wasn’t having high EC run-off and it was stable, so I was trying to keep the nutrient level in the media at optimum levels. Doing one plant at a time is a very slow way to learn. I do read lots of science related gardening articles as well as scientifically inclined cannabis articles. I don’t look at too many forums because most of these people must be high ;)
👉I finally got around to clearing out some of the lower leaves from the 3 gallon plant and removing some of the leaves and shaded buds sites under the dome. Its still a thick tangled jungle. But more manageable. Doing tucking to give cola sights light. The buds are bulking up. The first signs of frost have appeared as well. Hopefully I can level out the nutritional needs and the buds will be fine. The trunk of the 3 gallon has gotten very thick. Its a work of natural engineering to support the plant. The branches are also very stout and strong.
👉The 1 gallon is making some potentially nice colas. Each branch is a long cola covered with buds. Ive added a little support to some of the branches, even though the branches dont need the support yet. The aroma is creamy caramel. Its almost bizarre to me. The plant has the light skunkyness that is typical of cannabis in flower, but that aroma is the undertone of the dominant smell, which is creamy caramel. Such a strange and wonderful combination of smells is almost as intoxication as the gorilla glue I grew last spring. The trichomes are mostly clear with cloudy ones making a showing.

Likes
5
Share


@RumplePuffskins
Follow
It’s getting cold and damp. Fingers crossed for a couple warm weeks into croptober
Likes
117
Share


@Nomad
Follow
What can i say the maui is charging it handle my little heat problem this weekend alot better than my TSA plant (trans siberian auto). I topped her once and have her tied down im gunna try and let her veg until the TSA is almost finished then ill flip the light schedule just so she can grow up big and the autoflower still gets 20/4 for most of its flowering stage. Im thinking about scrogging this plant im going to let it veg for a really long time so everything can grow up sortve tall so when i flower it i can make it a giant. Ill vaeg it until my tsa is harvested than flip it.
THE GIRLS ARE LISTENING TO NEIL YOUNG

Likes
Comments
Share


@GrowDiaries
Follow
Best Hydroponic Systems Brand 2025
Cheers to Terra Aquatica, named Best Hydroponic Systems Brand 2025 by our growers! Thank you to our community for voting! #GrowDiaries
@terraaquatica_ta
Likes
6
Share


@IamCy
Follow
My light broke. Sorry for not updating this week. Catch everyone back on Tuesday.
Update: 3/27 installed a Spider Farmer SE5000 (2024 edition). Hopefully the recovery time will be quick.