


Likes
Comments
Share


@Piablo
Follow
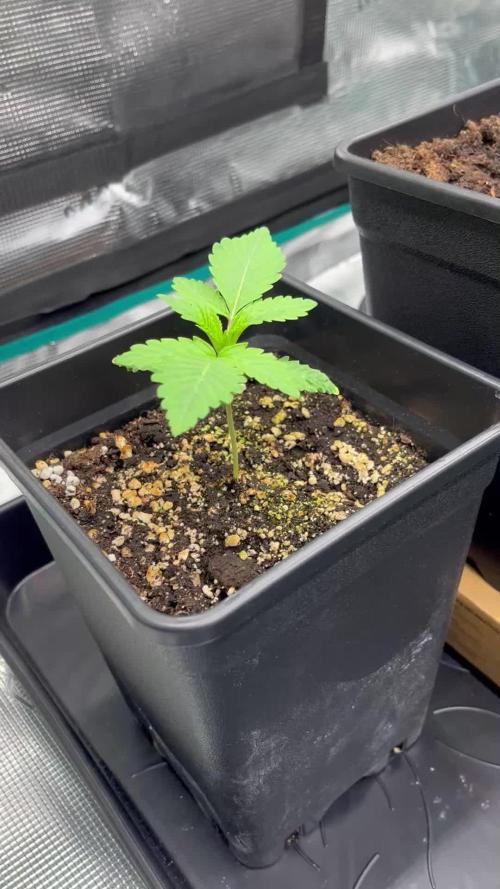
Lessons learned from week 1 of my first grow so far:
the best watering solution I found so far is a mix of distilled water from the store and filtered tap water. with a final ph of 6 and ppm of 20-40.
a little ph buffer goes a bloody long way. Use with caution.
performing tasks like mixing solution and potting a germinated seed are best performed without a phone (camera) in one hand.
the seed germinated within 24 hours using paper towels. I planted after 36 hours.
After 24 hours of potting, the stem was already shooting up, and I turned on the lights, set to an 18 hour schedule. I wasn't quite ready for this, so it took me some time to research and get the desired humidity and temperature.
At this point I added more nutrient in even quantities of FloraGro, FloraMicro, and FloraBloom, according to instructions. Perhaps a little early though, although after just one 18 hour light cycle this plant is shooting up like a rocket and showing leaves.
I bought a fan for the inside of the tent and propped it up on a box, and a humidifier to bring the humidity from 40-50% to around 70%.
Since it's a winter grow, I have to periodically increase the temperature to keep it at 25 °C. The intake fan, humidifier, and inside fan are significantly lowering the temperature. I'm also experimenting with finding the right humidifier settings since the humidity seems to increase a lot when the lights go out, and the machine is still new.

Likes
1
Share


@GrowPro3500
Follow
The S.O.1 gets still only Water and calmag.
I love how she turns purple now…I dont know is it about the Pheno Or that I did something right or wrong but i love it.
The s.0.2 get now biobizz like plan.
She is the biggest one with the Most Buds but also the smallest at all.
S.0.3 is about Day 65 and i think my Favorit with S.0.1
I think the 1 one only Need one more week but the other two about two or three.
I’m more than happy about my first grow ever and will run this strain again as my second run to get better
Can’t wait to harvest woohoo
Likes
11
Share


@CanabisLoverHobbyGrower
Follow
Little bit of defoliation today just to allow light to hit as much as possible,.. day 21 from breaking soil, all look healthy, started a proper nutrient feed today also, still toying with the idea of topping or just some lst, not sure yet, will see how they look next week,.. stay tuned 😀

Processing
Likes
15
Share


@eldruida_lamota
Follow
Que pasa familia, hoy actualizo la ... no se que semana será de floración pero ahí están, engordando, no veas que céntrales que tuesta tirando, son cohetes.
El ph, lo estamos controlando en 6,2
La humedad está en 35% y la temperatura oscila los 29 grados encendido y 22 apagado.
Os confirmo a que este y los últimos 2 diarios activos serán con advanced nutrients.
Y a partir de ahora los próximos proyectos aportaremos la alimentación de la casa agrobeta. Y nos centraremos más en una buena tabla de alimentación para las futuras niñas ( en mi instragram @eldruida_lamota ) tenéis un post con todos los productos a utilizar en todo el proceso de crecimiento y floración.
Volviendo a las crazy cookies, estamos en su recta final, osciló que como mucho 2 semanas más pero ya veremos cómo avanzan, llevan sin alimento unas semanas también y empieza a notarse en la falta de alimento. Pero ya solo agua, estrés hídrico cada riego menos cantidad de agua , las raíces abajo mueren , termina chupando el alimento por la parte superior de las raíces y ese estrés genera que la planta siga escupiendo tricomas.
Esto es todo por ahora , la próxima semana actualizamos todo fumetillas.

Processing
Likes
74
Share


@PureMedicin
Follow
Still a few week before harvest. I have stopped adding N as much as possible to my nutrient solution. It might help the bud swell up a little more the last few weeks. Also been adding big bud and bud candy from Advanced Nutrients. I will feed the girls 2 weeks more before going into flush.
My soil Sour diesel is ready for flush anytime soon.
#1 (back right) have suffered from being to close to the light while also not having enough airflow around it. Have fixed the air problem but cant bring my light any further up. kept around 22 cm from the tallest branch 30< cm from the rest which is the minimum recommended.
They smell really pungent and the suger leafs and buds are coted with crystals. My autoflower (front left) is doing good too and i really cant wait to taste it.
A good week (kinda)

Likes
4
Share

@SwabianMadness
Follow
Peace Grower Community
Week 2 is almost over. And i‘m happy with everything for now. The shortest of the Bilbos was since Day 1 in the Tent. But after i put her little bit higher she was coming too!
The others are really strong and want to reach the Light hahaha 😜💚
In Veg Week 1 i was nearly 300 PPFD. Going up to 400 after few Days.
Tomorrow when the Week is over i started to give them every Hour 5 Mins UV Light
If someone has some Tips for me, im every time open for that. As a Grower you have to listen sometimes to the Opinion of other People to get better 🙏🏼
Hope you enjoy my Grow much
And respect to Genehtik Seeds for this amazing Genetic 💚💚 she definitely have earned for a Reason 28 Cup Pocals 😎😉 keep up the good Work

Likes
30
Share


@Grower_Of_Persia
Follow
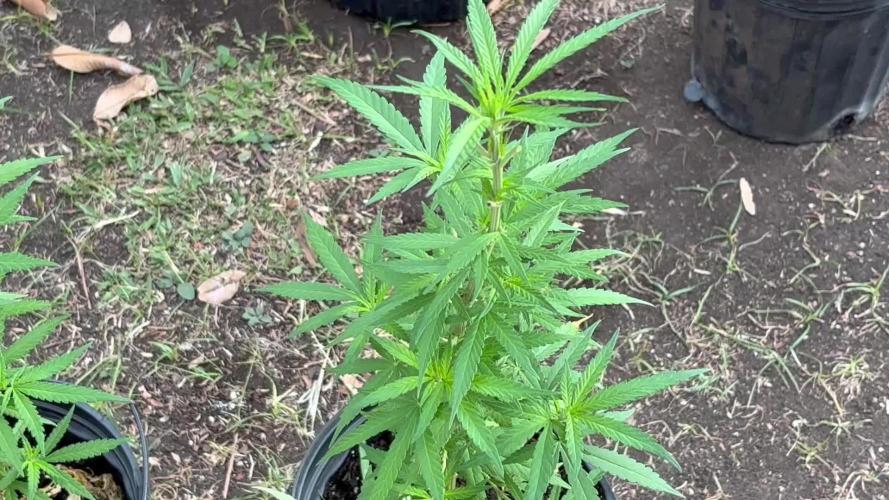
at last we are in harvest week. im happy at all it was a good experience.
my dry and cure style is this:
4 days of hanging upside down to get water activity lower to around 0.6 in 50% humidity and 26 C temp (i know its a little high but we are in a hot summer right now and i cant get it lower even with air conditioner) and then after 4 days of drying i remove leaves and stalks, trim buds and move them to jar for the rest of their life :D . and in the first 4 days of curing i open the jar door and let hem get some fresh air in the jar for about 5 minutes and close the jar door again, after 4 days of curing like that buds are smokable but they will get better as they getting cured about 1 month.
buds are dense and frosty but very little in size!
i had some mistakes and problems with this grow so i admit i wasted them .
lesson from this grow :
grow autos far from fems and always give them 20 hours or more light per day to get good weight in little time.



Processing
Likes
5
Share


@Mr_nugs_lover_David
Follow
She's looking very healthy and strong so far, let's see how big this lady gets.


Likes
37
Share


@Cheeba_Inu
Follow
As of day 21, growth is strong and I have begun LST. I have transplanted to a 5g grow bag, as the roots had fully populated the previous 1g container.
The lower leaf browning has continued, despite a nice healthy root system (confirmed during transplant), so I have added h202 to the reservoir. This should prevent bacterial growth/PH swings, and will hopefully this will fix the issue.
Overall, my nutrient mixing and fertigation schedule is the following:
-H202, wait an hour.
-Liquid silica, wait an hour.
-Cal-Mag
-Micro
-Grow/bloom
-Humic acid
-Rapid start
-Confirm EC (1.3)
-PH down to hit a PH of 6
Then I fertigate to 10-20 percent runoff. I fertigate 2-3 times a day, as the coco/perlite blend is very resistant to overwatering.
Thanks for reading, and happy growing! 🌱👍
Likes
35
Share


@Master_weeda
Follow
Bonjour à tous les padawans et les maîtres jedis
Pour cette semaine je prévoit de pratiquer comme technique spéciale le LST et juste un arrosage.
Pour cela comme à mon habitude j'attend le cinquième noeud ou que je juge la plante robuste.
Je profite que cette semaine qui va être relativement calme pour faire un LST appliqué et vous faire un rappel de ce qui est pour moi la meilleure technique pour arroser une autofloraison et la façon dont je pratique le LST.
En suivant ces quelques simples conseils vous obtiendrez un résultat optimal tout au long de votre culture :
Le cannabis est une plante qui n’aime pas recevoir un léger arrosage en continu. Il est impératif de l’arroser en grosse quantité, puis d’attendre que la terre soit bien sèche avant d’arroser à nouveau!
Pour calculer la quantité d’eau nécessaire à chaque plante, suivez cette règle :
Le volume d’eau à donner lors de chaque arrosage doit représenter au moins environ un quart du volume du pot !!
Exemples :
pour un pot d’1L, donnez 0,25L d’eau à chaque arrosage pour un pot de 4L, donnez 1L d’eau à chaque arrosage pour un pot de 12L, donnez 3L d’eau à chaque arrosage pour un pot de 30L, donnez 7,5L d’eau à chaque arrosage !etc…
Pour donner un tel volume d’eau, il est souvent nécessaire d’arroser en deux (voir trois) fois, lentement et uniformément sur toute la surface. Disposez de bonnes coupelles sous les pots, celles ci se rempliront d’eau qui remontera dans le pot par capillarité en moins d’une journée. Il est également très important d’utiliser un bon terreau de qualité, avec une bonne capacité de rétention d’eau mais qui assure également un bon drainage (celui ci doit contenir de la perlite, et/ou de la coco, etc..)
Il vous faut alors maintenant attendre quelques jours en sous-pesant régulièrement les pot avec vos bras. Quand ils seront redevenus très légers, vous pourrez arroser à nouveau !!
En effet, comme l’eau pèse beaucoup plus lourd que la terre, un pot gorgé d’eau pèse plusieurs fois le poids d’un pot d’une plante prête à être arrosée. Avec un peu d’entraînement, vous apprendrez donc très rapidement à sous-peser vos pots pour savoir quand une plante a soif.
C’est une technique à la fois très facile et très efficace, et qui peut être appliquée à toutes les plantes en pots !
En arrosant de cette façon, en général vous devrez arroser vos plantes tous les 3 à 6 jours.
Pour cette semaine 3 au jour 17 ma plante fais 12 centimètres et son cinquième noeud apparaît je décide donc de pratiquer un LST sur ma plante.
Pour ce j'utilise du fil de fer galvanisé que je plante directement dans le substrat en faisant attention de ne pas endommagé les racines car n'oublions pas que ce qui pousse dessus pousse aussi dessous.
Jour 17 je pulvérise du une solution composé d'une cuillère à café de savon noir mou dilué dans un litre d'eau en prévention d'éventuels nuisibles.
Je corrige mon LST suivant la pousse de ma plante ...
Pour ma par c'est la manière dont je procède. Comme promis petit rapel de:
Quand commencer à appliquer la technique LST
De nombreux cultivateurs commencent la manipulation dés que les plantes possèdent entre 3 et 6 nœuds ou une paire de feuilles. Durant cette première étape de la croissance, le tronc encore flexible est pliable sans risque qu’il ne se casse, même si au fur et à mesure du développement de la plante il sera de plus en plus difficile de le plier. Nous pouvons continuer à guider la croissance des branches durant toute la culture, même durant la floraison, ce qui pour cette étape représente un grand avantage face à la taille, qui n’est pas du tout recommandé une fois que la formation des têtes commence, cela stressera en effet la plante, ce qui aura pour effet de retarder la récolte.
Comment appliquer la technique de guidage LST
Si nous sommes prudents, la flexibilité naturelle des fibres du cannabis permet de plier leur tronc et branches avec une relative facilitée, même durant la floraison des plantes.
En utilisant une corde fine, nous pouvons accrocher la pointe de la plante à la base du pot par exemple ou à un tuteur que nous aurons planté dans le substrat. Nous plierons le tronc avec précaution et nous le fixerons avec la corde, à partir de là, nous pouvons augmenter progressivement la tension de la corde, chaque jour un peu plus, jusqu’à obtenir la position souhaitée. Soyez attentif à la réaction de la plante, essayez de ne pas appliquer trop de pression sur la corde et rappelez-vous que la flexibilité des branches peut varier d’une plante à l’autre.
Pour obtenir de meilleurs résultats, il suffit de suivre quelques règles simples. Pour commencer, nous devons choisir une corde fine mais pas trop pour ne pas blesser les troncs au fur et à mesure qu’ils grandissent et qu’ils deviennent plus gros.
Nous pouvons utiliser des crochets en plastique souple ou de n’importe quelle autre matière flexible pour éviter d’endommager les plantes. Spécialement en intérieur, utiliser des cordons en plastique de couleur (voir les diaries de @Silky) est très pratique pour voir facilement les accroches et faciliter le travail au milieu du réseau formés par les cordes, les tuteurs, les mailles ou les supports que nous aurons dans la culture. Bien entendu, en culture extérieure et surtout en guerilla nous ferons juste le contraire et nous utiliserons des matériaux de couleur qui n’attirent pas l’attention pour que notre jardin reste discret.
Pour stresser les plantes au minimum, la mieux est de réaliser ces manipulations le soir ou juste après que les lampes en intérieur s’éteignent, ce qui leur permettra de se remettre durant la nuit. Normalement, le jour suivant nous pourrons observer comme les pointes des branches que nous avons pliées se dressent de nouveau vers le haut à la recherche d’une source de lumière.
Que la force soit avec vous
Likes
5
Share


@Ninjabuds
Follow
My gorilla cookies from fast buds is really starting to fill in now the buds are getting nice and large. Also the buds have really really pretty tricombs there super white and just pretty. The plant has a super strong smell a carbon filter is a must with this one for sure. Even with one plant it’s to much for my carbon filter you can smell it thru the hz. This plant has a very high potential for making extracts
Likes
7
Share


@Aleks555
Follow
Blue Gelato - Royal Queen Seeds
After 124 days of growth and 76 days of flowering, it's finally time to harvest our incredible Blue Gelato from Royal Queen Seeds! The buds are absolutely massive, coated in resin, and the aroma is unbelievably strong—intensely potent, yet so addictive in its richness. It’s like nothing we’ve experienced before. We are completely blown away by this strain!
We didn’t weigh the buds while they’re still wet, but once they dry, we’ll share the final weight. Judging by the size of these beauties, we’re expecting a generous harvest.
A huge thank you to Xpert Nutrients for your ongoing support, top-notch service, and, most importantly, the incredible fertilizers that have helped us grow such powerful plants year after year. Your products are truly the secret behind these massive, potent results. We love Xpert Nutrients!
We also want to give special thanks to Royal Queen Seeds for providing such fantastic genetics. Blue Gelato has exceeded all our expectations in terms of both growth and quality.
And yes, we’ve already had the pleasure of sampling her, and let me tell you—this is premium-grade cannabis! The smoke is incredibly potent, much stronger than expected, and hits hard, leaving a long-lasting effect. It’s not just strong—it’s very strong, and the intensity keeps you floating for quite a while. It’s so powerful that you may find yourself wondering when the high will start to ease up. This is no joke—Blue Gelato is as dangerous as it is amazing, and it’s not one to be taken lightly.
Thank you once again to Xpert Nutrients and Royal Queen Seeds for this phenomenal experience. We couldn’t be happier with the results and look forward to growing more of your amazing products!
Likes
21
Share


@JeyGanesha
Follow
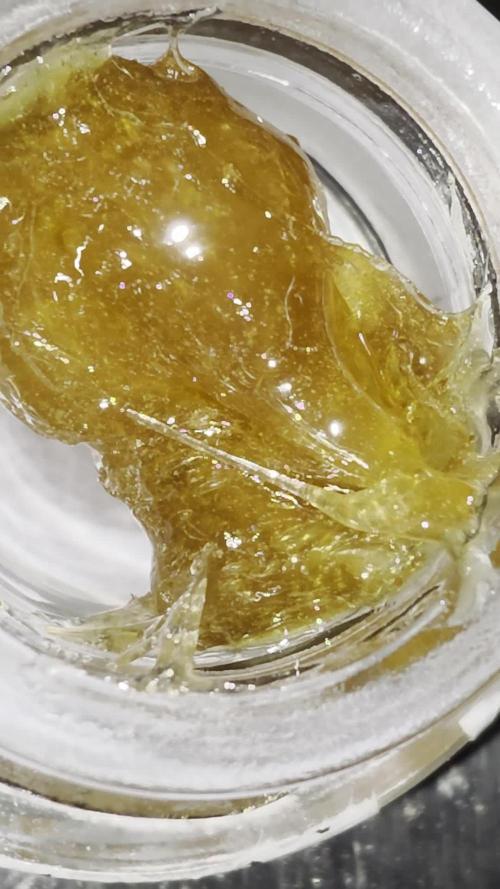
Iniziò seconda settimana di fioritura... Questa papaia cookie mi sta sorprendendo...bella davvero,sta iniziando a profumare bene e sopratutto buono😂😉💪💚💛

Likes
2
Share


@PalmaGrow
Follow
Hermosa floración mucha resina
Defoliación para permitir mejor ingreso de luz
25 - 31 agosto

Likes
2
Share


@Scannr
Follow
It was harvested slowly. First up bud and 3-4 days later down bud harvested. Very nice harvested
Likes
10
Share


@TiRobotProds
Follow
Forte odeur de fruits exotique se dégage de ces dames, elle sont bien givré etle rinçage a commencé.

Likes
3
Share


@Coupleofstoners
Follow
This is actually 10 days into flower, i forgot to post pictures at week 1!
We will be flushing in 3 days (at around week 2 of flower) and then a few days later will be introducing flower nutrients.
