


Likes
2
Share


@cafer
Follow
When I brought the LED lamp closer than 30 cm, the tips of the leaves of the plants dried up, fortunately they are fine now.

Likes
11
Share

@420DeepGrow
Follow
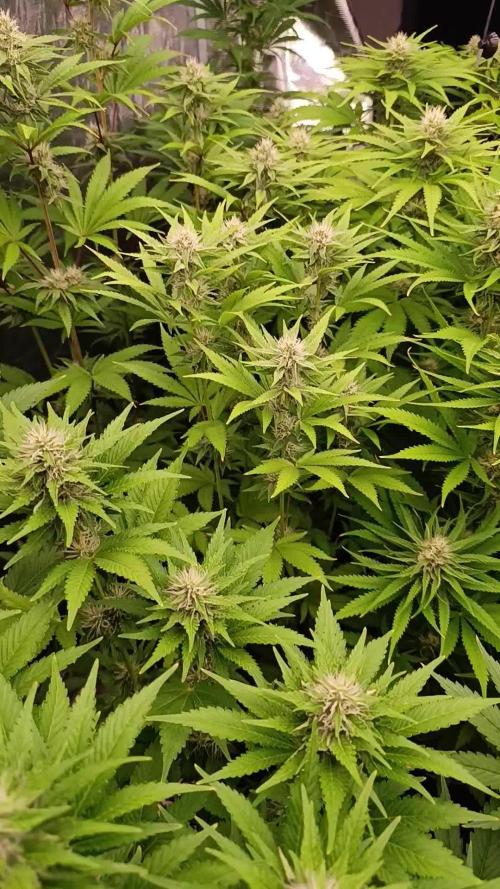
📆 Semana 5
El engorde entra en su fase más intensa y los cogollos aumentan de tamaño con rapidez. Los cálices comienzan a apilarse, la producción de resina se acelera y el aroma se vuelve cada vez más intenso, mientras la planta alcanza uno de los mayores consumos de agua y nutrientes de todo el cultivo.
La demanda de fósforo y potasio continúa siendo elevada para sostener el desarrollo floral, sin descuidar el aporte de calcio y magnesio, esenciales para mantener un metabolismo activo y prevenir carencias durante esta etapa de máxima exigencia.
⚡ EC: 1.7–1.8
💧 pH: 6.2–6.5
🌡️ Temp: 21°C
🌫️ Humedad: 45–50%
💡 Intensidad: 1000–1100 PPFD
🔥 Nota de cultivo: La estabilidad del riego, la nutrición y el clima será determinante para maximizar el engorde y la producción de resina sin comprometer la salud de las flores.
Seguimos creciendo fuerte! 💪

Likes
10
Share


@Lodzik
Follow
Its smells amazing. All three tribes.
G13 Haze I expected to stretch in height but it is the smallest of all the trunk ( about half the size of purple p. And pineapple) Let it grow :)

Likes
29
Share


@ClubRiot
Follow
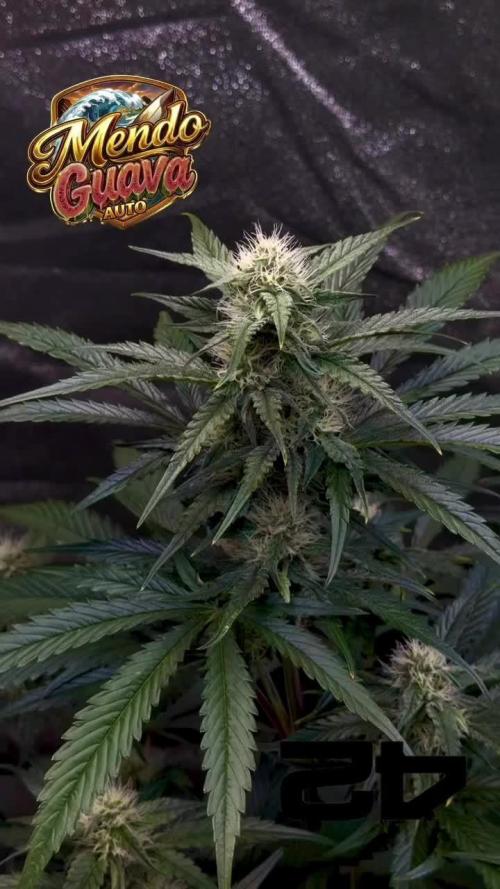
Afghan OG
Week 13
11L Pot
LED: SP250 (245W) for Flow. Stage
Canna COCO
Mineral Nutrients:
👇
Sensi Cal-Mag Xtra: 1 ml/L
Power House Part A: 1.5 ml/L
Calcium Plus Part B: 1.5 ml/L
Stimulus: 1.5 ml/L
Bud Explosion: 1.5 ml/L



Likes
101
Share


@DogDoctorOfficial
Follow
OMG the smells are becoming so intense, from lemon to the sweet caramel mix with chilies and a touch of pine trees, i think i cant put in words what im smelling and were is taking my mind, but i can tel this, what an amazing combination of fragrances that are flying around
The tricomes are shouting up as they become fatter and frostier, all cristal clear so far, i think i still have 3 mb 4 more weeks to harvest, lets see 😜
Just calculate my VPD and it’s 0.98 kPa need to increase this up to 1.2 for now s i’m moving my ligth up a bit and see if it works 🙏🤓🙏
Thank you all for following, comment, like and all 🙏 100 likes 😅🙏 🙌🙌🙌🙌🙌🙌🙌🙌 ❤️❤️❤️❤️
Loving this LED Tec 😍
Girls:
1-BlueBerry
2-Alaskan Purple
3-Poyote Gorilla
4-Hindu Kush
5-Whitw Mango
6-Super Glue
7-Badazz Cookies
8-S.A.D.
tent -8x8 / 2.4x2.4 but i'm only using 1/2 so 4x4 / 1.2x1.2
Led - Lumatek 465w Compact Pro at 100%
All i Grow is medicine for myself,
Stay safe, stay tuned and B Happy
Peace out
D


Likes
14
Share


@eldruida_lamota
Follow
Vamos familia tercera semana de floración de estás Punch Pie de RoyalQueenSeeds .
Que ganas tengo de ver el progreso de esta variedad, las plantas están sanas, se ven con buen color.
La cantidad de agua cada 48h entre riegos, nutrientes de la gama Agrobeta.
Esperaremos que no me suba mucho la temperatura , por el momento se mantiene entre 25-26 así que lujo.
Estas próximas semanas veremos cómo avanzan y progresan estas flores.
Mars hydro:
Code discount: EL420
https://www.mars-hydro.com/
Agrobeta:
https://www.agrobeta.com/agrobetatiendaonline/36-abonos-canamo
Hasta aquí todo, Buenos humos 💨💨.
Processing
Likes
4
Share


@OneBakedWalrus
Follow
Chugging right along were getting some stinky sticky ass buds. They smell my whole basement up of sweet citrusy with some skunks undertones(probably my photos that are also in bud but I dunno for sure) the buds are getting thicker daily and I mean daily doubling pretty well. I've never seen such a thing. I included the 4 photos I have that are also a month in to bud for a kind of comparison. The multi top frosty ass indica is the farthest along of the photos at 32days. I started them just before the autos went in. The other 3 are more sativa than frosty. They are all experimental to me so please excuse the way they are. I have been playing doctor since I bought this tent. Trying different things to see what works what doesn't what i am and am not capable of.Anyway I'm gonna start some Northern Lights x Big Bud Auto sometime after these 2 Short Riders get hung and i pull the indica . Ill keep a diary of it in case anyone starts following my adventures. Anyways I'm late with this one so enjoy my ramblings and my pics of my girls.

Processing
Likes
15
Share


@greenflipcali89
Follow
Finished week 2 of flower. I have been inspecting every single leaf for PM and have found a few spots, but quickly spot treated with solution. I have learned that PM is a SYSTEMIC disease and the spots on leaves are a symptom of an already infected plant. So the best thing I can do is keep the symptoms in check by spot spraying and its working! Only a few burned leaves as a result, but nothing like my first grow where it was widespread!
Defoliated to thin out a bit and allow for better airflow. Light LST to a few of the taller stems to maintain an even canopy. Overall, I am happy with the way my 2nd indoor grow is progressing.

Likes
17
Share


@Hoodoo
Follow
2020-07-12 New week, same nutrients. I've been carefully monitoring nutrient intake and topping up plant 1 quite often, almost a gallon a day now. The 2nd plant is growing slower and eating a bit less but it's also a week behind developmentally. Plant 1 is happy with EC=1600 and I dilute that down to EC=1400 for plant 02. Plants are looking good!
2020-07-18 Last day of the week. Plant 01 is completely insane. It is so tall that I keep having to supercrop the top as more colas try to hit the light. I obviously let it veg for way too long but I struggled early on with nutrition so I didn't know what would happen when I finally dialed everything in!!! I am gonna take them to the end, I just hope I don't have to cut any colas off that become unmanageable. I have to be way more aggressive with my LST next time. Very very light nutrient burn on plant 2. Still running EC=1600 and EC=1400 for plant 1/2.

Likes
6
Share


@Nickeluring
Follow
It is so very hot now every day here. All my girls are suffering from the heat and they need to be watered very frequently. I avoid drying them out completely.
She is starting to get some seriously fat colas. I currently have 6 autos growing, and this girl shows the fattest buds yet. She also smells really good - very fresh. I hope that she won´t lose her smell with the heat...
Likes
12
Share


@MicroHidroGrow
Follow
Empieza la sexta semana. Esta debía ser la última. Pero todavía quedan unos días más, así que me voy a extender a 7 semanas. Se pueden ver algunos cogollos grandes y voluminosos. Algunos otros no tanto, pero sin tanta diferencia. Hice una solución bien cargada para aprovechar la última semana de engorde. Espero llegar cómodo a la cosecha y sacar buenos resultados. Ya fumé algunas hojas con la pipa de agua, y el sabor y potencia se empiezan a notar. Seguiré actualizando cómo se termina esto.
Día 38. Todo sigue muy bien. Las flores siguen engordando y las hojas llenas de tricomas. Creo que a pesar de algunos detalles, el resultado va a ser interesante. Ya es la cuenta regresiva y de no mediar problemas habrá una cosecha abundante. Por ahora se prende intermitentemente el ventilador a la noche, por lo que no se ven problemas de humedad. Pero ante la duda en cualquier momento coy a dejar prendidos los extractores toda la noche.
Día 40. Estoy viendo que unos pocos tricomas recién se empiezan a poner blancos. Por lo cual puede ser que incluso se alargue una semana más de lo que pensaba, llegando a 8. Hoy llegó el overdrive de advanced, pero no se si usarlo en esta planta, ya que depende de la maduración de los tricomas si empiezo el lavado en tres días, o no. El engorde es muy notorio en estos días, así que ya estoy bastante conforme. Aún así voy a ver si es necesaria una semana más de nutrición o no.

Likes
5
Share

@Moe_Mr_X
Follow
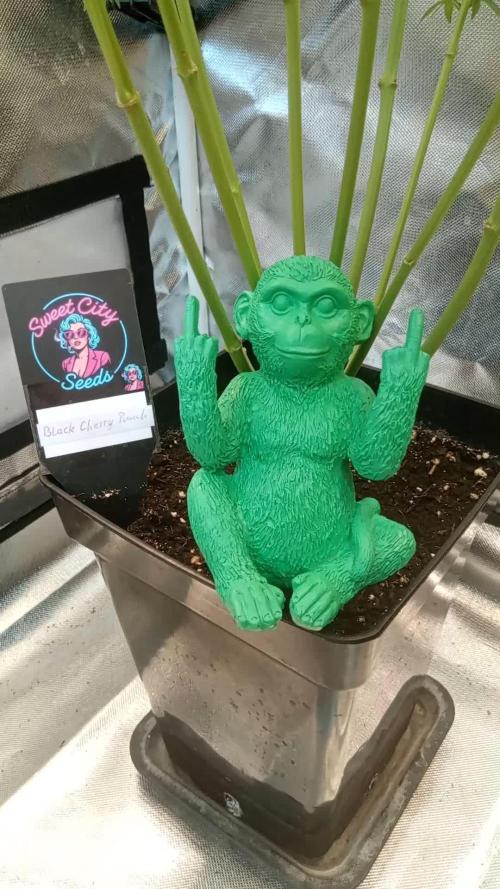
Eine fantastische Entwicklung am Tag 49. Habe nochmal ein paar Fächerblätter entfernt (Ausdünnen/Entlauben), damit sie auch im unteren Bereich Licht bekommt.
Likes
44
Share


@XperencdGmanXG
Follow
coming along nicely, this one did not like the low temps. I found 1 bud with some rot on it, cut that out. NO PWM thanks to the foliar sprays of Si. Buds did not grow much from last week to this one due to cold temps. This is an indoor strain here or its going to need to be crossed with something that likes the cooler fall temps.
Likes
17
Share


@Brickie74
Follow
Sour Diesel plant is growing great. Now at 27 inches and growing fast. She has been topped and is now in Flower. Now it will be watering and pruning until we get some buds.

Likes
15
Share


@HighOhioAn
Follow
Pineapple express auto has been absolutely one of the most exciting plans I’ve ever grown. The growth is explosive. Once it goes into flower the highest yield I’ve ever had on a auto nice dense: cola even the lower nugs are nice and firm as her leaves fall off one by one she Starts looking like a Christmas tree of nugs
The Terps are outstanding truly smells like a pineapple she fades kinda looks like a pineapple I love how fastbuds420 names, All right on point truly pineapple express auto🔥💯


Likes
5
Share


@C4NN4815_030
Follow
All good :) very frosty and smells so good. She‘s so happy. At day 35 end of week 4 approaching week 5, i flush her to remove salt buildups since i didn’t had runoff the entire grow ever. She has crazy 2.6EC run off the ph is on the spot though. So lets see how will she react after heavy flush with runoff 1.6EC by week 5. i am now lowering my nuts half of the manufacturers recommendation.


