Likes
Comments
Share


@bubatz420
Follow
Im Zelt stehen noch die 3 Lemon Cherry Gelato und die 1 Strawberry Lemonade
hab jetzt heute die Blüte eingeleitet :)


Likes
26
Share


@d0cterstrain
Follow
added some guano tea. plants chugging along just fine. happy growing

Likes
8
Share

@GERGrowDesigns
Follow
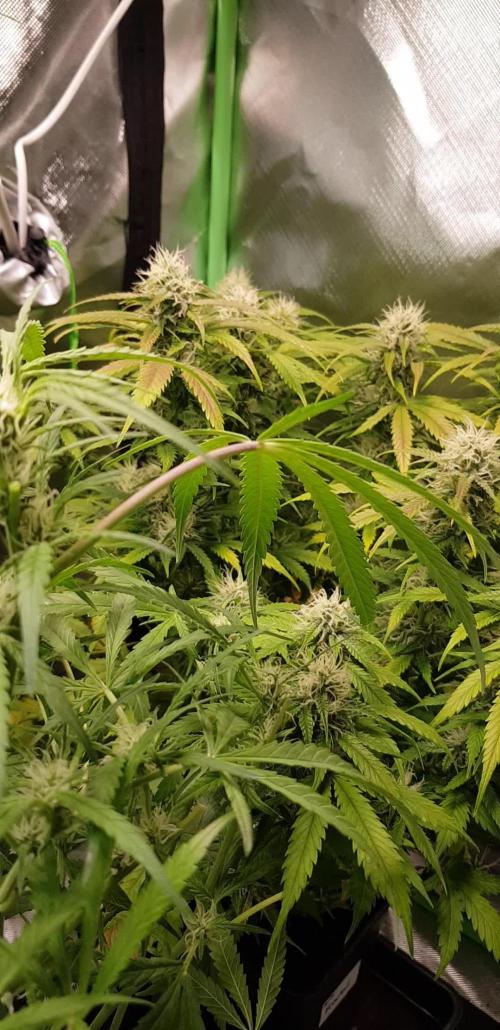
Welcome to Flower Week2-3 of Divine Seeds Auto Black Opium
I'm excited to share my grow journey with you all as part of the Divine Seeds Autoflowering Competition 2025. It's going to be an incredible ride, full of learning, growing, and connecting with fellow growers from all around the world!
For this competition, I’ve chosen the Feminized Automatic strain: Auto Black Opium
Here’s what I’m working with:
• 🌱 Tent: 120x60x80
• 🧑🌾 Breeder Company: Divine Seeds
• 💧 Humidity Range: 50
• ⏳ Flowering Time: 60-63 Days
• Strain Info: 25%THC
• 🌡️ Temperature: 26
• 🍵 Pot Size: 0.5l
• Nutrient Brand: Narcos
• ⚡ Lights : 200W x 2
A huge thank you to Divine Seeds for allowing me to be a part of this amazing competition and Sponsoring the Strains. Big thanks for supporting the grower community worldwide! Your genetics and passion speak for themselves!
I would truly appreciate every bit of feedback, help, questions, or discussions – and of course, your likes and interactions mean the world to me as I try to stand out in this exciting competition!
Let’s grow together – and don’t forget to stop by again to see the latest updates!
Happy growing!
Stay lifted and stay curious!
Peace & Buds!


Likes
11
Share

@HillCountryHempCo
Follow
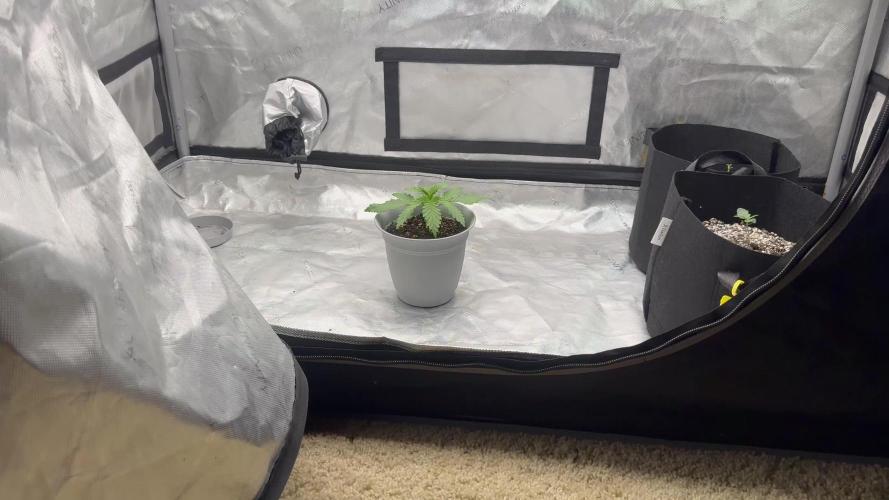
This plant came from a random seed I found in a dispensary bag and since we have dozens and dozens of bags I don't know which one it came out of...so the strain is unknown. I’m not sure whether it’s a photoperiod or an autoflower, but I’m assuming it’s a photoperiod for now. I started it indoors in a tent, germinating the seed using the paper towel method before planting it in a small quart-sized pot.
It’s been growing for a few weeks in Fox Farm Ocean Forest soil, but the leaves have just started to fade, so I’m preparing to transplant it into its final home—a 50-gallon pot outdoors now that it’s spring.
The 50-gallon pot is filled mostly with standard potting soil, mixed with Fox Farm Ocean Forest and perlite. A few weeks after transplanting, I’ll begin feeding it a combination of liquid nutrients including Advanced Nutrients, Fox Farm, CalMag, and Mikrobs Microbial Superpack. I’ll also top-dress with worm castings and other amendments as needed.
If the plant turns out to be male, I’ll harvest the pollen or any seeds it produces. If it’s female, I plan to grow it as large as possible—which is why I’ve chosen such a large pot and moved it outdoors.
Likes
1
Share


@WeedbayGarden
Follow
2.2 Plants have been moved into the tall RoyalRoom tent. Tent sits inside Ikea PAX wardrobe, I use RuuviTag meters for temperature and humidity monitoring and a couple UPS devices as a backup power for exhaust fan & led light. I have planted Alfalfa and red clover as a cover crop, also trying out Blumat digital soil humidity meters this round. PPDF at canopy level is at 400-450umol/m2/s, there is a possibility to swap out the solo led drivers for one big one if I want more power for flowering.
3.2 I tied down the tallest branches to the fabric pot to even the plant out, also gave the pots a little Raw nutrients B-vitamin foliar spray.
4.2 Worms added to pots and gave both plants 1L of B-Vit water.
7.2 Tied down the plants, also gave the right side plant 2 litres of water today, 1L for the left one.


Likes
56
Share


@Zannabis7
Follow
Day 35 – The Auto Kush is beginning to throw out some nice flowers and is starting to frost up a bit. She continues to stretch as she has gained 6” in height this week and hasn't shown any signs of slowing.
Continuing to feed the Nectar for the Gods nutrients and have added Triton’s Trawl (liquid fishbone meal that is rich in calcium from fish cartilage and is designed to deliver flavor, aroma and color to the finished product) and Aphrodite’s Extraction (a rich blend of sucrose, fructose, chelated nutrients, and organic acids necessary for enzymatic activity, and a complete balance of vitamins A, C, D, E, B1, B6 and B12, which are essential to a plants’ biological growth processes). These two additions are known to increases oil, resin, frost, and terpene production in flower. Continuing to add Recharge as a soil amendment to establish colonies of beneficial fungal and bacterial microbes.
Temperatures are consistently between 74° - 78° and humidity between 30% - 45%. Soil pH is 6.5 and PPMs at 321 which is perfect for the Nectar for the Gods nutrient line.
Added a homemade Co2 generator to boost carbon dioxide levels and to improve overall plant growth and health. – Zannabis7
Day 36 - Fed the Nectar of the Gods nutrients as indicated above and in photo. Added Recharge to the nutrient mix for microbes and to aid in the breakdown and uptake of nutrients. - Zannabis7
Day 39 - Fed the Nectar of the Gods nutrients as indicated above and in photo. Again added Recharge to the nutrient mix for microbes and to aid in the breakdown and uptake of nutrients. Also did some very light defoliation and more leaf tucking to expose flower sites - Zannabis7


Likes
13
Share
@BettyFlores
Follow
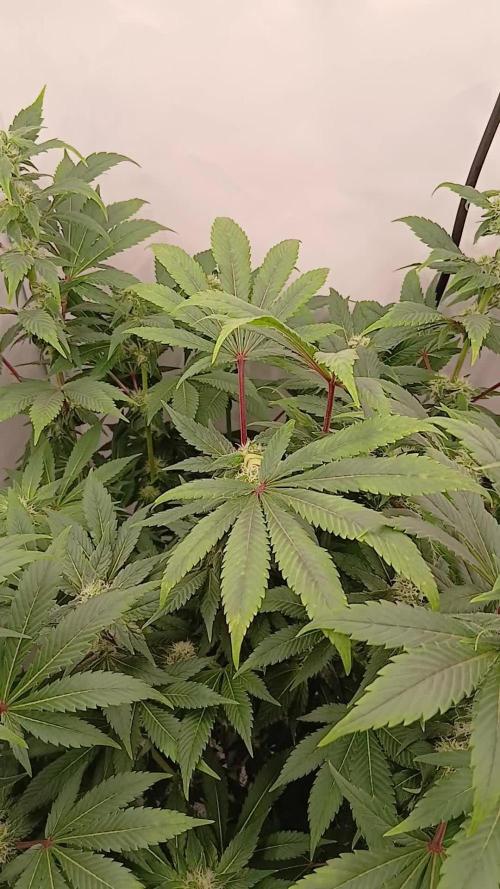
04.12.2025 After having finished the update last week I went to crop her. When touching her stem I could already notice that her stem is just hole inside. When cropping her she just split apart and first I was shocked. But she recovered well and her main bud is keeping growing strongly. Also I applied two more waterstones and I can notice a better health of the plant.
Likes
16
Share


@HegauHillsFarmers_M11
Follow
Tag 35 - Beginn der 6 Woche.
Die Pflanze hat sich nochmal bisschen gestreckt und der intensive Wachstum der Blüte fährt fort, mehrere Schichten von Stigmen erscheinen.
Die untersten beiden Fächerblätter wurden letzte Woche entfernt.
Der Blütendünger wurde letzte Woche nochmal erhöht.
Gedüngt wurde an Tag 30 der letzten Woche.
Nährstofflösung:
1 ml/l - Big Bud Advanced Nutrients
1 ml/l - Bud Candy Advanced Nutrients.
1 ml/l - B-52 Advanced Nutrients.
2 ml/l - pH Perfect Sensi Bloom Part A.
2 ml/l - pH Perfect Sensi Bloom Part B.
Likes
9
Share

@00000000000001c
Follow
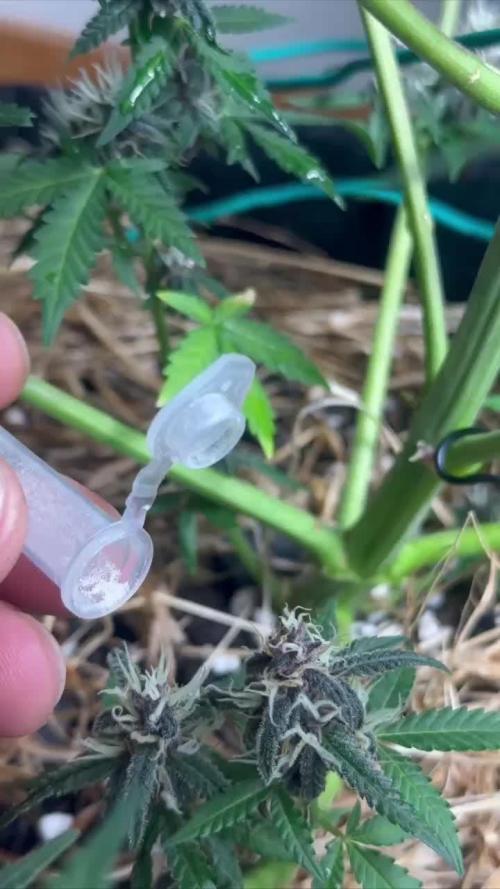
конец 6-й неджели цветения. Растения выглядят лучше чем я ожидал))) сначала про Soure Rot Candy, соцветия огромные и плотные, запах фурктовый, прям ярко выраженный. теперь про Frost banger, соцветия, не такие плотные, но они по своему прекрасны, фиолеттовыйц оттенок это нечто)) запах сейчас уже такой резко ядовитый, в целом растение выглядит тоже отлично, Это растение я решил немного опылить, проццес и развитие видно на фото/видео, были опыленны только нижние несколько соцветий.
так же последний полив удобрениями произошел, дальше чисто водой. 😍😍😍
Likes
42
Share


@MadeInGermany
Follow
Hey everyone 😃
Today is the 42nd flowering day.
Both phenotypes continue to develop great 👌.
For me they should have been a little bigger.
But since I have cuttings from both, I will let them grow longer next time 😀👍.
The buds also continue to grow vigorously 😀 and already smell very sweet 😍.
I am very curious how the coming week will continue and until then I hope you have lots of fun with the update.
Stay healthy 🙏🏻 and let it grow 🍀
You can buy this Strain at :
https://sweetseeds.es/de/cream-caramel/
Type:
Cream Caramel
☝️🏼
Genetics:
Blue Black
x
Maple Leaf Indica
x
White Rhino
👍
Vega lamp:
2 x Todogrow Led
Quantum Board 100 W
💡
Bloom Lamp :
2 x Todogrow Led
Cxb 3590 COB 3500 K 205W
💡💡☝️🏼
Soil :
Canna Coco Professional +
☝️🏼
Fertilizer:
Green House Powder Feeding
☝️🏼🌱
Water:
Osmosis water mixed with normal water (24 hours stale that the chlorine evaporates) to 0.2 EC. Add Cal / Mag to 0.4 Ec Ph with Organic Ph - to 5.5 - 5.8 .
Processing
Likes
24
Share


@Saven
Follow
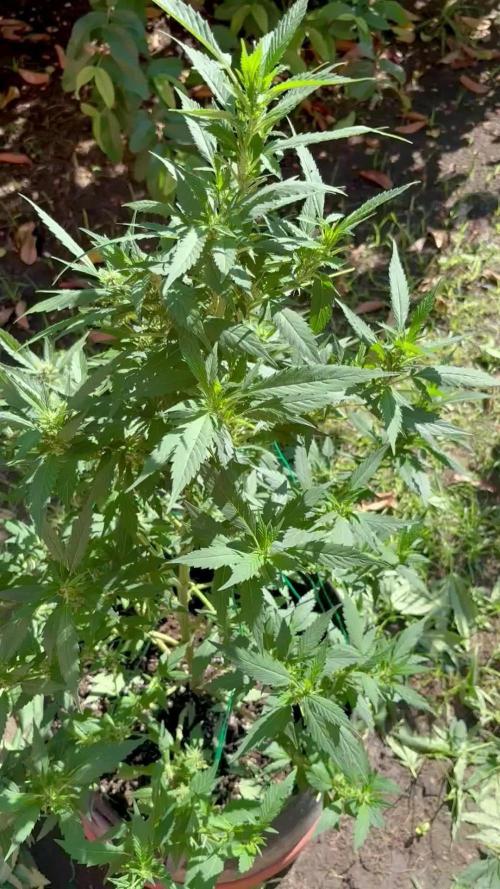
It's now the start of Week 6. I defoliated like 4 fan leaves because they were disgustingly huge, 😅. So I added the "Defoliation" grow technique. 😆



Likes
Comments
Share


@High_Grade_Dadli
Follow
Pic was taken 2 days into the other week..all I can say that they are doing their thing have no complaints whatsoever....jus have to tighten up on feeding abit but results are great for the lil that's being done...have to work on increasing resin production and continue to dense up dem bugs
Until next time happy growing


Likes
17
Share


@Sergio_721
Follow
So far it seems to be fine even if the high humidity worries me even if the temperatures are still high then they have stopped growing and will finally focus on the flowers and slowly we recover these small deficiencies


Likes
Comments
Share


@matejkolar
Follow
not the best run a ever had but at least shes pretty big compered to autos
Likes
5
Share


@ChiloteAnonimo
Follow
- Día 1 de la segunda semana de flora con riego foliar de calmag
- Videos tomados día 2 de la segunda semana