


Likes
Comments
Share


@HeitorLeao
Follow
Day 49 of flowering.
Will be harvesting Anandamida next week, spider mites started attacking her, besides the trips





Likes
119
Share


@DogDoctorOfficial
Follow
I love growing and i love the GD community, we are like a big canna family and its a pleasure and an honor to be part of this all. Thank you all for being here , for growing and believing in this beautiful healing plant . Growers love to you all

Likes
2
Share


@fabialien
Follow
13 Agosto 2024. selección de semillas y colocación en vaso con agua ph 6.0 con agua Oxigenada.
14 de Agosto se ponen en agua las semillas por 24 horas para hidratación.
15 de Agosto, con las semillas con muestra de radicula procedemos a pasarlas a papel absorbente.
16 de Agosto se muestra la radicula avanzada.
17 de Agosto en la mañana se puede apreciar el crecimiento de la radicula.
17 de agosto en la noche trasplantamos a "Peat Pallet" y una a maceta de cartón ya que la radicula creció bastante.
18 de agosto ya en los "Peat pallet" se pueden mostrar qué las semilla se cayo por completo e iran abriendo en el transcurso de las horas, las tenemos en un domo germinador dentro del Indoor.
🌡️ 27.1 ⁰C
💨 75% Humedad
🌫️ 0.9 VPD kPa.


Processing
Likes
8
Share


@TegridyCal
Follow
The beginning of flowering was worrying us, we had yellowing and weakness of the leaves, but after a defoliation the plant seems to have re-balanced and seems to be going great again.
Likes
23
Share


@Joni2017
Follow
Day 72, well, this week I interrupted the watering cycle because the tips of the leaves were twisted by excess nutrients 😋, four days until today, only with osmotized water 💦💦 and it has returned to normal 👏🏻👏🏻 today the irrigation I will try with nutrients to see how it reacts. Size 82 cm👏🏻👏🏻 temperature 24º C ☀️, humidity 60% 💧 Session 45 min. of binaural sounds for growth and healing 🎼 and music 😉👍
Likes
11
Share


Likes
19
Share


@Mo_Powers
Follow
it actually behaved exactly as indicated by the breeder. a bit of a shame that it was so humid in germany and it got mouldy. but otherwise it was very resistant. a beautiful and easy to grow plant. a classic
Likes
29
Share


@Seldom_Seen
Follow
Day1: Father and child both doing well after a successful and happy birth.
Day 2: The stem stretched a bit further than I would have liked so I’ve added another layer of soil to build up around the stem and I’ve moved the light a bit closer. Looks good now.
Day 3: Continued to use the Force to make the seedling grow. It’s looking happy and healthy. It’s tedious work just standing there 18hrs a day.
Day 4: Another good day of growing. I had R2 telling me dirty jokes to keep me distracted from the monotony of the task. Put some water around the stem just to dampen it down a bit.
Day 5: Nothing to report. It’s already starting to feel like I’ve been here for a light year but Mr.Nelson said he’ll be bringing round some bud soon so that should help with the boredom. He said it’s important that I learn for myself by actually trying it, the difference between Indica and Sativa.
Day 6: Dampened down soil around seedlings 🌱
Day 7: A week down and everything is looking good. Dampened down soil again today around seedling 🌱



Likes
35
Share


@Da420Andi
Follow
Yo yo yo what's poppin fellas.
We now in week 6. Had a little defolliation going today. 3G is my favorite so far. It smells amazing.


Likes
13
Share


@MiyaguiOkPolilla
Follow
Que maravillosa planta. He cambiado su nutrición hace 7 días dando puro organico y natural. Se siente un exquisito aroma a bubble gum, berries y un poco de caramelo. Sus cogollos son muy densos y duros.
Esta semana he rociado con un poco de infusion de cola de caballo en reducción para evitar posibles hongos y quitar un poco los restos de diatomeas que había en sus hojas.
Crece y crece preciosa.
Una semana mas y estará lista para su corte final!
Saludos a todos amigos y gracias por compartir aquí.
Likes
2
Share


@SSKNFbyHAZE
Follow
Hi Growmies~!
What This Post is About
Today, I'll be recording how to cultivate soil microbes at home.
These microbes offer numerous benefits, and they are simple to make.
How I Came Up with This Technique
Since 2014, I’ve tried synthetic growing methods like DWC. While they gave quick results, I often ran into issues with consistency.
Nutrients would expire during breaks, meaning I had to keep buying new bottles.
I strongly felt I needed a change.
A couple of years ago, after taking a break, I started to research and switched to organic growing.
At first, it felt overwhelming with all the steps and prep work, but I saw real potential.
After experimenting with different methods, I came across Korean Natural Farming (KNF) and JADAM, introduced by Mr. Cho.
His simple, ultra low-cost techniques inspired me. They focus on letting nature do the work.
While growing,
I noticed that synthetic nutrient bottles were expensive, especially when trying to complete a full nutrient set.
Organic growing may require more attention and can be costly when investing in organic materials.
Preparing the soil in advance and top dressing with dry nutrients every other week - just these two methods were consuming space, time, and money.
Indoor farming is unnatural, while organic farming is a natural approach.
I had to bring these ideas together, but organic farming often seems geared toward large plots like farms.
Incorporating organic techniques into my indoor garden requires a lot of effort and careful calculations.
So this is one of my techniques for keeping my plants happy:
supporting their daily needs helps them snap out of deficiencies quickly, allowing them to grow consistently.
It took me a while to adapt this technique for indoor use.
I hope this helps, guys!
Supplies Needed
- Potatoes: Provide nutrients and food for the microbes.
- Sea Salt: Stimulates microbial activity and controls harmful organisms.
- Dechlorinated Water: Allows the microbes to grow and multiply.
- Compost, leaf mold, or worm castings: Contains natural microorganisms that are key for this process.
How to Make (1 gallon)
1 cooked potato (about 2 golf ball-sized)
1 pinch of sea salt
2 tablespoons compost or worm castings
1 gallon dechlorinated water
1. Mix Ingredients: In a clean container, fill it with the dechlorinated water, dissolve the sea salt, and add the compost along with the mashed potato.
2. Ferment: Optionally cover the container and let it sit at room temperature for 24-48 hours.
3. Strain (Optional): After fermentation, you can strain the solution if you prefer a clearer liquid.
Note: Watch the timelapse video to see how the microbes activate!
**WARNING**
Wear gloves if possible and/or avoid contact with open wounds
How to Use
IMPORTANT: Always dilute the solution before applying it to plants.
- Use when bubbles form a "pizza shape" on the surface.
- Dilute 5-10 ml per liter of water for bi-weekly feeding. (Test a small batch first to find the best rate for your setup.)
- Once the bubbles disappear, the microbes are likely inactive. You can either mix the rest with water as fertilizer or discard it.
Pros
Promotes Plant Growth
- Usually fixes deficiencies in as little as 6 to 72 hours.
- Improves nutrient absorption, and helps plants thrive.
Boosts Plant Immunity
- Works as IPM: Can be used as foliar sprays (no staining on leaves).
- Lowers the risk of powdery mildew and other diseases.
- Helps the soil ecosystem with beneficial organisms like predatory mites and springtails.
- Naturally reduces pest pressure (Less risk of fungus gnats and other pests).
Improves Soil Health & Supports Composting
- Quickly breaks down organic matter and nutrients.
- Makes growing organically in small containers, like 1-gallon pots, easy.
- Over time, soil becomes softer and richer, even in small pots.
Cost-Effective, Sustainable & Eco-Friendly
- No need for complex equipment like pH pens, air pumps, or other tools.
- Reduces the need for CalMag, N-P-K, or micronutrient supplements (just add a little bit of sea salt to every watering).
- No sugar sources needed in the soil.
- Works for all types of plants—houseplants, exotics, ornamentals, and crops.
Cons
- Limited shelf life; the solution will develop an unpleasant odor after a certain period.
1 Corinthians 10:26
Likes
5
Share


@fadagrow
Follow
Week 2 is cruising along, and the lady is looking strong and healthy 💪🏼. Feeding her the full Canna suite with the pH locked at 5.8 and watering every 3-4 days. Everything's on track with no major updates—next week, I'll kick off LST!
Likes
11
Share


@THe_Cannadaddy
Follow
HARVEST TIME AT DAY 55 - 06/08/21
I wanted to get these ladies cut before we go through a heat spell. they were all ready but the gelato could have used a few extra days to make some more amber trikes... oh well
cut them all and hung them at 72F @ 55%RH - hopefully I can keep the temps from fluctuating too much!
I did a bit of trimming before the 48 hour dark period but none today
see y'all in a week or so... if i can keep the temps good then it should be more like 10 days... we'll see!
THCdaddy
Likes
16
Share


@GreeneScene
Follow
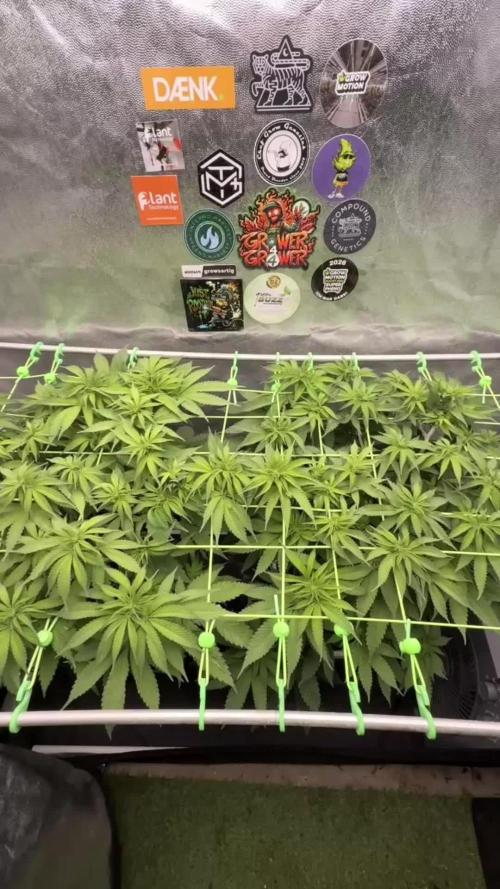
What to say about this week? For starters LST was started this week. Initially I used garden ties but soon after replaced them with 6” garden staples .
2 of the 6 girls began throwing pistals resulting from the LST starting around day 15 YIKES 😬.
The Zkittlez & the Runtz both from (Expert Seeds ) began giving the 5x5 its first smells .
The LST so far has been a pleasure no ooosy daisies so far & the girls are showing what they are made of . The secondary shoots have great potential to form a nice round bush that I can train out into an even-as-possible canopy .
Today is day 21 & day 20 for this bunch . They are only using Gaia Green dry amendments for feedings but I decided to take some advice given to another grower & supplement my girls with some compost tea . NO I DONT THINK THEY NEED ANYTHING ADDITIONALLY IM REALLY HAPPY SO FAR WITH MY NUTES bbbbuuuuuttttttt in the short chance that my ladies may take a liking to an occasional tea & reward my pampering with large , long , frosty, stacked cola’s . . Thennnn I’m supplementing , I consider this all “4-play” for my ladies Ik a giver 🤷♀️😭
My only concerns are racing against this clock to get as much size & solid structure before flowering sets in I’ve really got my heart set on a certain outcome & I’m one for a good challenge.
Finally , atleast as much as I can remember, I increased the dimmer knob on the light from 65% to about 78%. I won’t increase the watts any higher until bloom sets in fully & at that point I’ll be turning it to 100% raising it a maybe 6 inches & watching patiently for my girls to start praying 🙏 to it .
Week 3 in the books !
