





Likes
24
Share


@TerpTurtle
Follow
14 day dry | Curing in Grove bags, filled 7 QP bags & got 56g of keif out the trim bin from only 2 plants!
More pictures coming! STAY FROSTY GROWMIES


Likes
8
Share


@TeaTime
Follow
Fastberry Auto is truly a gem among autoflowering cannabis strains! Its rapid growth, delightful berry-like aroma, and beautiful purple buds make it a joy to cultivate. The sweet and fruity flavor is a treat for the senses, and the balanced high leaves me feeling creatively inspired and deeply relaxed. A must-try for any cannabis enthusiast, whether you're a seasoned grower or just starting out! -

Likes
12
Share


@all_about_420
Follow
Mit blutendem Herzen, aber als einzig richtige gärtnerische Konsequenz fiel einen Tag nach dem ersten Vorfall die finale Entscheidung zur Noternte. Da sich erneut Schimmelspuren zeigten, ging Sicherheit vor Optik: Noch bevor der Phänotyp sein volles, tiefrotes Farbpotenzial entfalten konnte, wurde die Schere angesetzt, um die massiven Blütenstände vor weiteren Verlusten zu retten. Trotz des verfrühten Schnitts liefert die Genetik von Sweet Seeds auf ganzer Linie ab: Der Blick durch das Mikroskop bestätigt ein extrem dichtes, klebriges Trichomkleid mit einem überwiegend milchigen Reifegrad und rund 1 % Bernstein. Die Terpene sind voll ausgeprägt und verströmen ein intensives Aroma. Nach dem initialen Wet-Trim hängen die gewaltigen Colas nun bei kontrollierten Parametern zur Trocknung. Der Fokus liegt jetzt voll und ganz auf einer sauberen Umluft und passenden RLF, um die gerettete Ernte unbeschadet durch den Curing-Prozess zu bringen.

Likes
4
Share

@Ninjabuds
Follow
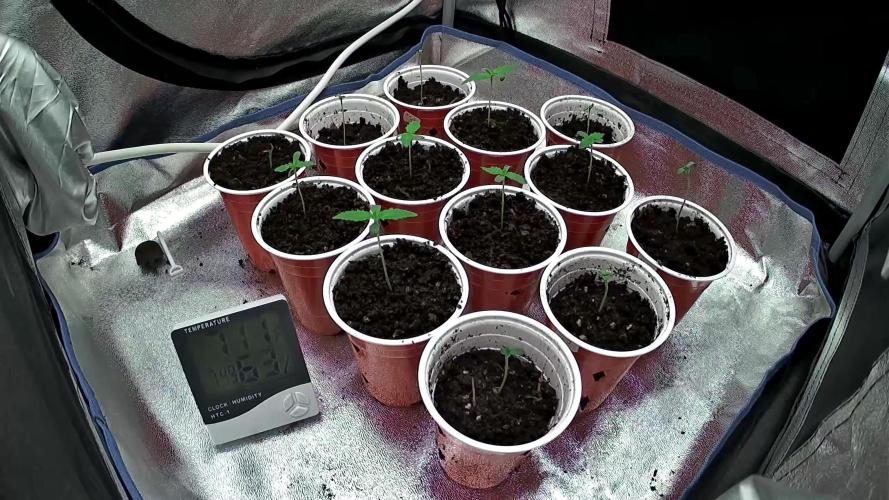
Lit Marker is my new houseplant, and they're slowly but surely growing into a little ray of sunshine! I love watching the leaves unfurl, it's like witnessing a brand new life. I’ve heard that Lit Markers thrive with a little morning sun and some gentle misting on their leaves. I’m still learning about them, so wish me luck on this plant-tending journey!

Likes
3
Share


@CaptonianMoneymaker
Follow
Grow very quickly little stretchy bud took off in bloom buds started small then just exploded after 4th week green house grow with 2 fans super clean buds patiently waiting on buds to dry
Likes
12
Share


@whenindoubtsmokeitout
Follow
The Moby Dick still shows that parchment like leaf structure with bleached marblings. considering that aside, she is pumping the most among them all.
May be simple genetics but it is alarmingly dry at the touch despite the high humidity and care.

Likes
54
Share


@Fatnastyz
Follow
12-13
Friday the 13th before Christmas. Kinda neat.
Well lets see how I set up this ride. Watered around 2.5 l. Weird, to full saturate my pot, without run off AND to feel the bottom of the pot wet-ish.
Anyways. 5ml cal/mag, 1 ml drops of balance, 3/8 tsp-ish recharge and 1 ounce EM1. Hopefully coasting and watching them swell. Scc still getting taller. Sheesh
12-15
Big plain water, I strike again 😂
Saw some yellow tips, at first I figured hungry, makes sense, top dress due. Let check the run off and see where we stand. NOPE, slight burn. GD!! Ppm 1580 ph 6.6.
so now they both around 900 ppm. Bulk time.
Coulda waited a week and then top dress.
Maybe next time I can think and check my run off before I top dress. Even if youre not supposed to in organic.
Ok rambling. 😁😂🤘
.


Likes
55
Share




Likes
26
Share


@GroloCup
Follow
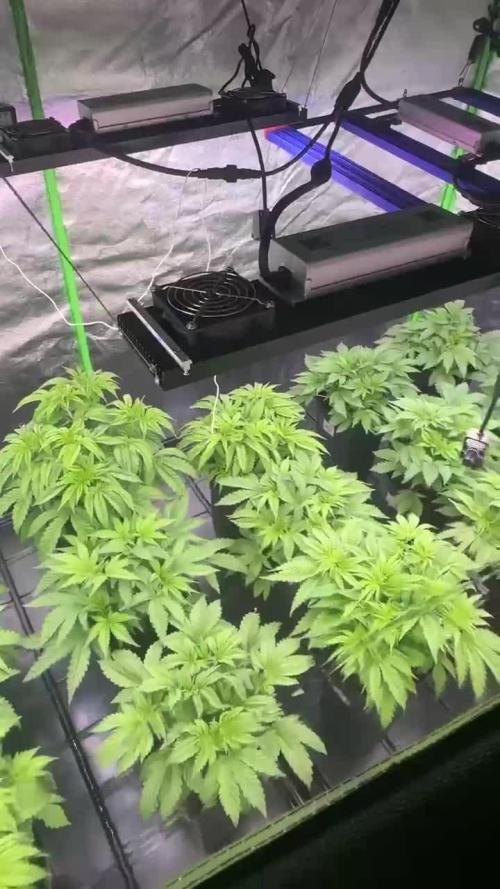
Another solid week of this lady just vegging along. MegaCrop is fueling her growth and she's really guzzling down the water, nearly 16 oz every 18 hrs. If there was a mini hydro category in this grow off I'd decimate all 🤣... Stay tuned I'd say we'll be seeing pistils within a few days, then the fun begins!!

Likes
3
Share


@Philippovic
Follow
Am Ende wird doch alles gut… kann man so sagen! :)
Nach einer Woche ohne Wasser hat die Lady nochmal richtig zugelegt und an Duft gewonnen.
Jetzt 2 Wochen trocknenund ab in die Grovebags
Processing
Likes
3
Share


@Jamminbear
Follow
10/7/18- LST and preparing for topping # 3 for 8 colas. Everything looking healthy so far
10/10/18- Topped #3- probably should have waited maybe an extra day.
Water 1/2 gallon with urb and Aloe water.
Likes
1
Share


@Ogcheeb
Follow
The soil was still feeding them strong no nutirents but they were added very soon.

Likes
18
Share


@Teo_bkk
Follow
I've overwatered 😬 Moved outside on the balcony a few hours to take some direct sun with a fan pointing the pots trying to dry it as much as I can.

Likes
70
Share


@Belverde
Follow
Welcome guys
We are at the final conclusion with this famous strain, the STRAWBERRY COUGH 🍓🍓🗣️
After more than two months of treatment I was able to test it in the best conditions
But first I quickly pick up on what I did after the cut 👇
The whole plant is placed in a cupboard upside down, with the leaves still attached..
After about seven / ten days, when the leaves were pretty dry, the flowers crunchy, but before the branches break cleanly ... I cleaned all the buds thoroughly, I cut them off the branches and put them back inside of a brown bag..for about a day / two
Later I placed everything in a classic glass jar
For 24h I left it closed ⏳
Later I started opening it several times a day
More or less, after about three weeks, I usually close the jar permanently and wait a few more weeks to start using the flowers 🔥
Back to the strain 👇
The inflorescences are slightly airy in Sativa style, but very thick and with a good amount of trichomes
Aroma is delicate but present, as is the flavor..
It is a type of weed that can appeal to more or less everyone 👌
The high is also very pleasant, a soft sativa that keeps the mind quite clear and one feels motivated..
The test was done by smoking it (no tobacco), and the taste is good if everything is done correctly, but I find many more "strawberry" notes using vaporizers
In all cases it is a genetics that I can recommend to everyone 💯
For more info on the cycle, I refer you to the past weeks, where I tried to report everything that happened, in the best possible way.
Thanks to @supersiberia for the seeds 👍👍
And like as always thanks to @growdiaries for this virtual dream garden 🙏
Good crops to all 😎
FC ✌️
🇮🇹


Likes
32
Share


@MadeInGermany
Follow
COMMENTED BY
MadeInGermany MadeInGermany 5 minutes ago
Unfortunately, I had to find out that my account is used for fake pages in social media.
I am only active here on growdiaries.
I am not on facebook instagram twitter etc All accounts except this one are fake.
Flowering day 49
since time change
to 12/12 h.
Hey everyone :-).
We are slowly getting closer to the last few weeks :-)
There are still 2-3 weeks and The buds develop very well towards the end :-).
It is slowly starting to use up its nutrients.
This week it was poured 3 times with 1 l each time.
Everything was cleaned and checked.
Have fun with the update.
Stay healthy 👍
You can buy this Strain at :
www.Zamnesia.com
Type:
Runtz
☝️🏼
Genetics:
Zkittlez x Gelato
👍
Vega lamp: 2 x Todogrow Led
Quantum Board 100 W
💡
Bloom Lamp : 2 x Todogrow Led
Cxb 3590 COB 3500 K 205 W
💡💡☝️🏼
Soil : Bio Bizz Coco
☝️🏼
Nutrients : Green House Seeds Company Powder Feeding Bio
☝️🏼🌱
Water: Osmosis water mixed with normal water (24 hours stale that the chlorine evaporates) to 0.2 EC. Add Cal / Mag to 0.4 Ec Ph with Organic Ph - to 5.8
Likes
16
Share

@osmrducks
Follow
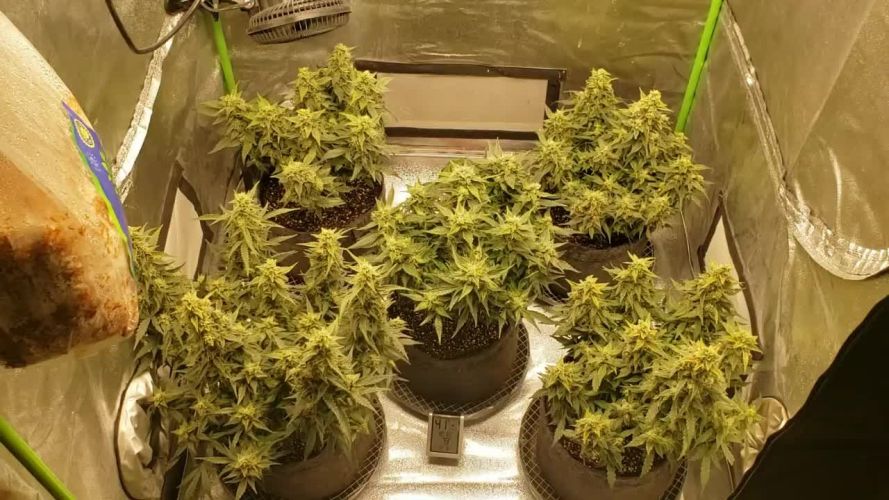
Day 57: Girls looking good and healthy. Got the HLG turned up 100% pumping 500 watt to em! We shall see. Still only given around 500ppm nutes.
Day 58: Got mostly cloudy with just a couple amber it looks like. I'm thinking I need to start flushing. Albeit, only on one plant. I will wait a few days more until I make a decision.
Day 59: Still looking beautiful! Buds are getting thicker! Decided I will give MOAB till week 10 and check the tric's at that time. Prob start flushing at that time. Only time will tell.
Day 60: Girls looking good. 👊 Not gonna lie, getting nervous as I do not want to cut em too soon or too late. This is a tough spot. The one has a ton of red hairs. It looked as if there was just a couple of amber that I found the other day. I was looking on the outside of the buds, also. So I know the inside is where I need to look. Just not wanting to jack with them too much. I will check again at end of week.
Day 61: Busy. No updates.
Day 62: These girls are starting to smell amazing!! I don't see any noticeable growth here lately. I'm hoping they start to bulk even more though as I think I am still seeing some clear trichomes.
Day 63: Welp, all is well and no new updates. I been feeding pretty heavy so I will back off and just water tomorrow.