


Likes
Comments
Share


Likes
21
Share


@Love2Bud_UK
Follow
16/07 gave her the chop after 8 days flush and 2 days darkness. Aiming for at least 10 days drying time. My scales couldn't read her wet weight without being cut up, which in not doing yet.

Likes
26
Share


@pifflestikkz
Follow
Day 51
20/08/24 Tuesday
Feed today using de-chlorinated tap water pH 6. With Plagron PK13-14 and power buds.
Noticing the stretch stop, and now packing out there bud sites 💪💚
ACOP , Melonade Runtz have Xmas tree structure where as orange bud is pure tall sativa structure... The Overdose is a compact indica looking dwarf but the bud sites are packing out a punch 👊🤣
Day 54
23/08/24 Friday
Watering only today using de-chlorinated tap water pH 6,
I'm watering in 350ml no run off. 400ml I'm seeing tiny run off.
Day 56
25/08/24 Sunday
Water today using de-chlorinated tap water pH 6. Added bud candy and rhino skin 1ml per litre


Likes
18
Share


@blendmedmedman
Follow
the start was kind of slow about 5 days for the seed to pop, I was kind of worried but soon after she came up. she grew short like most indicas do, she started to frost up in her 3rd week of flowering, her frost continued to coat her buds while they where getting fatter and denser. she started to smell real nice around the 4th week so if smell is a factor u will want to get a carbon filter. she is sticky and dank, real strong smell. she is not a big producer but you could increase yields by putting a net on her as well as a bigger pot, 5 gals. and let her go. I did not top her as I was unsure how this strain would re act. she grows pretty bushy around the 5th week in and you may want to defoliate in the first 2 weeks in flower. she was not much of a drinker, about every other day. the germination was good as I only popped 1 out of 3 so I have 2 more to work with later. I probably will grow this strain again as she was easy and with little effort I got a ounce of some dank dens buds. I do kick myself for not running 1 more of the seeds but I am happy with the weed I have. I have more weed today than I did the other day. big thanks @fastbuds for letting me do some testing. the fades of purple light green and yellows made my day.

Likes
13
Share


@Lazuli
Follow
Trichomes are cloudy, i give only rainwater now the past 5 days the runoff stays around 1000ppm so shes done eating for sure, i think this will be her final week.
Buds are rockhard and smell amazing

Likes
26
Share


@BlackDragon22
Follow
Sulla più piccola sono arrivate le mosche bianche per sfortuna, spero che non invadono le altre, non da nemmeno segni di sviluppo la Cherry, peccato.. Le altre in grande forma, soprattutto il mostro di skittles! Ho annaffiature solo 2 volte con noci questa settimana il resto solo acqua, non voglio stressante troppo, ormai è ora della fioritura per loro ❤️
Spero che non continuino a nutrirsi delle mie piccole..per ora gestibile, stiamo a vedere. Le infiorescenze iniziano a ingrandirsi, il profumo anche, meravigliose.


Likes
9
Share


@DisTentAint4Campin
Follow
I can't complain she hasn't skipped a beat since I took over only problem im seeing is very leggy and not vigorous branches but I have a strong feeling things will be different next week stay tuned my fellow plant janitors 👨🌾
Likes
11
Share


@Willy_Balls
Follow
23.08
These girls with co2 and so much light exploded in growth and are really packed in the tent. Never had such density. I will defoliate hard after this week and hope it will turn out fine.
Fingers crossed cause the yield can be huge.

Likes
1
Share

@qoodwater
Follow
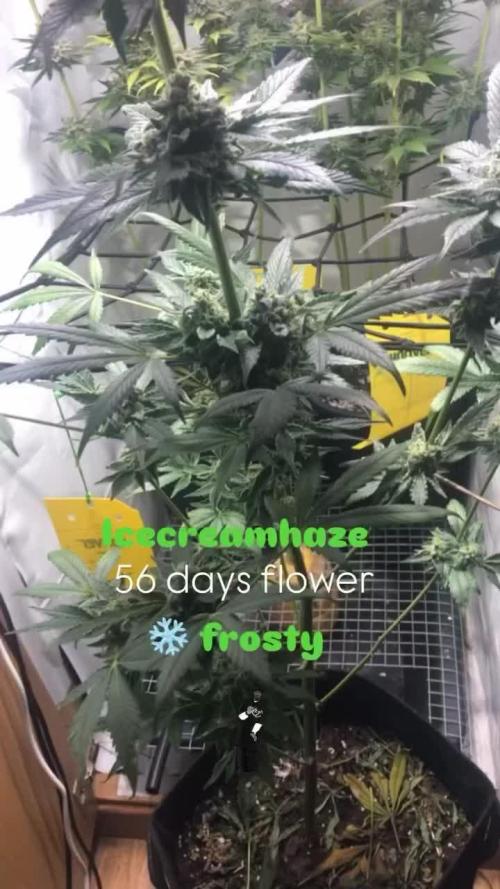
Harvest day! 70% orange pistils! Perfect for harvesting!
Thanks for watching

Likes
9
Share


@JustGrowWithIt420
Follow
Was a pretty nice strain and decently easy to grow.
The end product came out better than I expected!!🔥👊💯

Likes
3
Share

@MicroHidroGrow
Follow
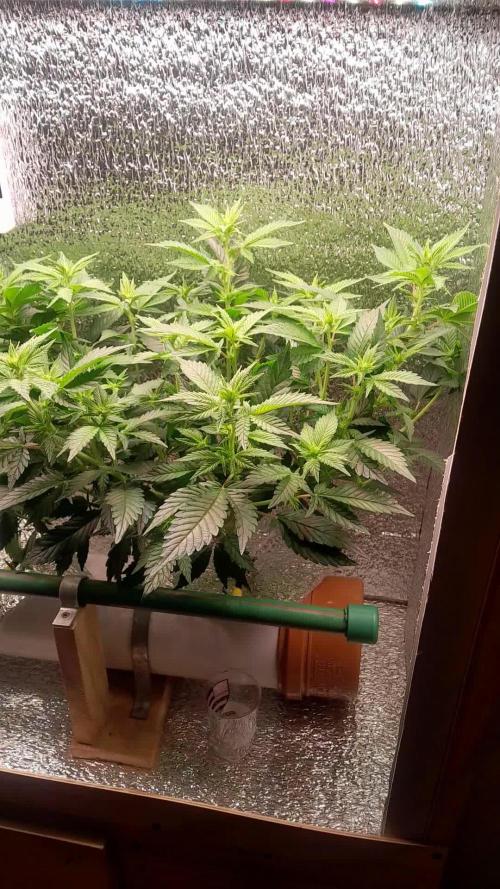
Ya segunda semana fe flotación y las plantas pegaron un buen estirón. El espacio está bien cubierto. Estuve cortando algunos brotes bajos y las plantas reacciaron muy bien. Por el espacio que veo disponible en altura, puedo darle más tiempo de crecimiento a la próxima camada. De todos modos ya estoy ideando un indoor un poco más grande y con algunos detalles más. La humedad por las noches se vuelve muy alta, por lo cual voy a tener que agregar alguna forma de extraer aire durante las noches.


Likes
39
Share


@Silverback_Guerilla
Follow
11/16:
I had to move a bunch of seedlings into the closet and decided to just go ahead and run the lights at 24/0 for these last several days. I've got the lights to within 8 inches on all of the flowering plants and as little as 6 inches on a couple of them😈. It's been cold out, so I've been able to keep my temps nice and low. I also have a 6500k floodlight on in there to "winterize" the environment a little more.
11/18:
(bugles sounds) Introducing....The Frost Queen and Princess!
I harvested the last two Orange Sherbets today...Wow, just wow!😍
11/20:
Today I harvested the last two Wedding Cheesecakes and all three Gorilla Cookies. Kind pressed for time, so I just did a cursory trim before taking some photos and washing them.
The Gorilla Cookies are every bit as dense as the Wedding Cheesecakes. The gigantic WC has a few seeds here and there, so if I don't spot any spent nanners on her, I'm gonna assume the pollination was done by the short/bent Strawberry Pie that I deliberately left a few male flowers I spotted on. That would make for some kind of special auto hybrid right there..
Well. that's a wrap on this crop. I'll do harvest reports on each strain as soon as they've cured a little bit, but I can tell you already that I'm gonna love most of them. Aromas are incredible!
Likes
9
Share

@CheeRz
Follow
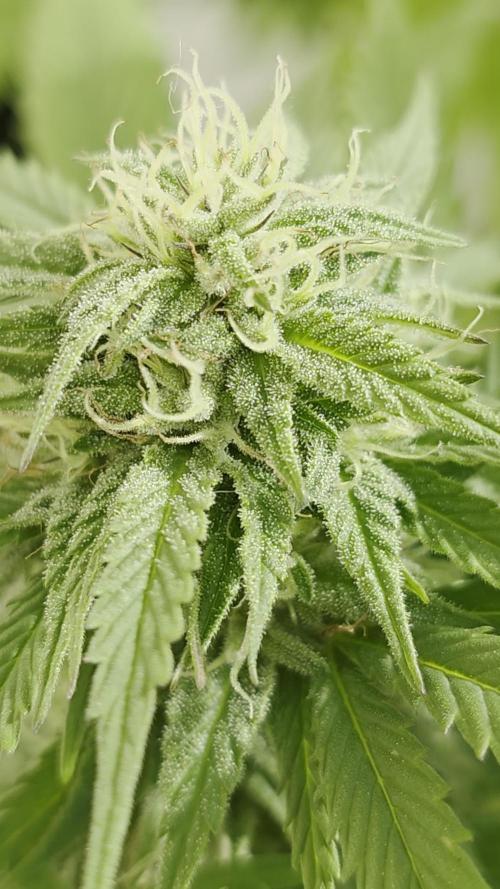
Autumn is coming, and the temperature has dropped significantly, reaching just 14°C during the day and 9°C at night. 🍂🍂🍂🍁🍁🍁
Likes
14
Share


@Endzo
Follow
Girls officaly went into pre-flower and all are confirmed female. The Orion F1 is the strongest of the bunch. All three have grown almost double the size of the other 2 strains. Epsilon is 2nd strongest growing robust and strong and the Apollo F1 have been anything but tall. Apollo F1 is a stubby bush with almost no space between nodes. I will have to defoilate here pretty heavy over the next week or so and hope the stretch comes on strong with them. Making sure to feed them supplemental nitrogen this grow after noticing a hole in N from my past feedings. Everything is on the up and up and moving along great.


Likes
3
Share

@AcidBurn_41
Follow
17.09.25
BT#19
Servus ✌️ zusammen
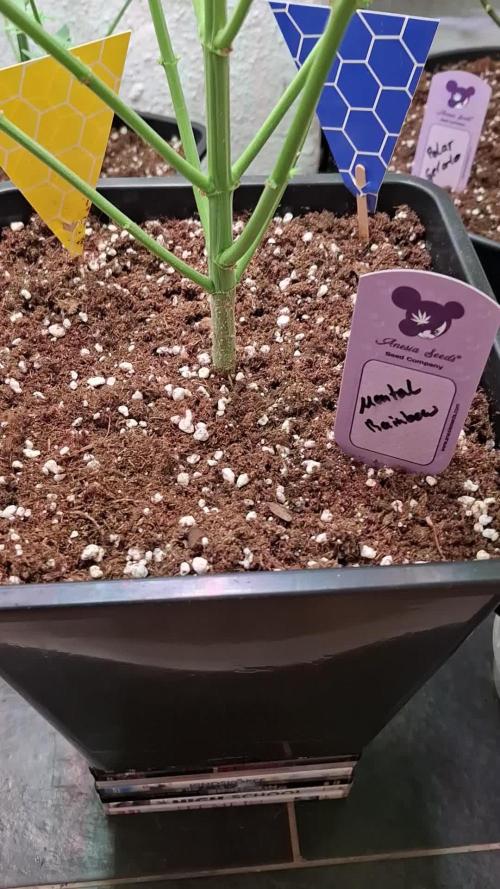
Einen Wunderschönen guten Abend 😁 die Mental Rainbow legt eine Performance an den Tag.
Die Stigmen werden immer mehr die Lady ist in der Blütephase angekommen .
Der Hesi Blüh Complex steigt um 1ml pro L der Hesi TNT Complex geht runter um 1ml/L
Dann gab es heute noch Hesi Boost 2ml/L.
Der PPFD wert liegt Aktuell bei 600 der PH wert im Medium wie Gießwasser 6,5.
Wünsche allen ne gute Nacht bis nächste Woche zur selben Zeit.
Stay High and chill 🙂
Mögen all eure Ladys Gesund und prächtig wachsen und euch mit schmackhaften Stuff versorgen 🤟
■■■■■■■■■■■■■■■■■■■■■■■■■■■■■■■
17.09.25 BT#19
Hello ✌️ together
A wonderful good evening 😁 the Mental Rainbow is putting on a performance.
The stigmas are getting more and more and the lady has reached the flowering phase.
The Hesi Bloom Complex increases by 1ml per L, the Hesi TNT Complex goes down by 1ml/L
Then today there was Hesi Boost 2ml/L.
The PPFD value is currently at 600 and the PH value in the medium and irrigation water is 6.5.
Wish everyone a good night until next week at the same time.
Stay high and chill 🙂
May all your ladies grow healthy and splendid and provide you with tasty stuff 🤟
Likes
7
Share


@BlumenBot
Follow
Probably need to do some cleanup here soon. She's getting very bushy but I'm maintaining a level canopy, the outside shoots are catching up to the centers and I will let her grow about 6-8", clean up the bottom and flip to flower, maybe 2 to 3 weeks left in veg
1/1/23 - cleaned her up a lot, took out lots of shoots that will never see the top light and spread out the canopy. Very square shape.