


Likes
Comments
Share


@FireAntTheGrower
Follow
Lava Cake , I had to grow it because from what I hear people say Lava Cake isn’t all that. I actually like it. We did my girl and I smoke test it . lol said make her horny smh 🤦🏾♂️ not only that I got female growmies saying Lava Cake her favorite strain. Sweet and earthy .

Likes
24
Share


@BillMonroe
Follow
The plant is looking great! Very bushy with many tops. A rather flat canopy. Still need to do some more training to flatten things out a little more.

Likes
4
Share


@losgrowershermanos
Follow
1 - Gelato 41 - Somente água (only water)
2 - Big Buddy - Somente água (only water)
3 - Gelato 41 - Somente água (only water)
4 - Ak-47 - Somente água (only water)
5 - Generic Auto - Somente água (only water)
Processing
Likes
17
Share


@Chevywood
Follow
So cut the down the nutrients so looks like it’s no more nitrogen toxicity .. and I see the calyx's are getting swollen so harvest is coming soon .. does anyone have an idea of what week she would be finish ? This are unknown seeds
Likes
103
Share


@JuanHaze_Arg
Follow
Descubrí que le pasaba. Le faltaba fertilizantes. Le eche un día el top auto y apenas se seco el sustrato le metí el monster bloom. Y la planta se levantó de maravilla y freno el amarillo un poco. Arranca la 5 semana de floración. Se empiezan a formar los coquitos.
15/05 se riega con 2 litros de agua
Agua de riego PH: 6.5 EC: 0.5
Agua de drenaje PH: 7.2 EC: 1.194
De sales estamos bien pero no está bien el ph. Próximo riego con 5.8 para tratar de llevarlo a 6.5
17/05 se riega con 1litro de agua con 0.4 ml de top auto + 0.3 ml de big one a un ph 5.8 para bajar el ph al sustrato. EC 0.6
18/05 los cocos parecen engordar aunque la planta se este amarillando toda.
Se dimmerizo la luz a un 80% tengo una sensación que la está quemando.
19/05 se riega con 2 litros de agua + 6ml de Detox. Para lavar las raíces por si hay algún bloqueo. Apenas se seque el sustrato empiezo a aplicar top bloom.
Agua de riego PH: 6.04 EC: 0.333
Agua de drenaje PH: 6.88 EC: 1.268
Made in Argentina 🇦🇷

Likes
5
Share

@Ninjabuds
Follow
Growace.com air cube discount code NINJABUDS
ELUFAH.com and amazon Elufah products discount code NINJABUDS
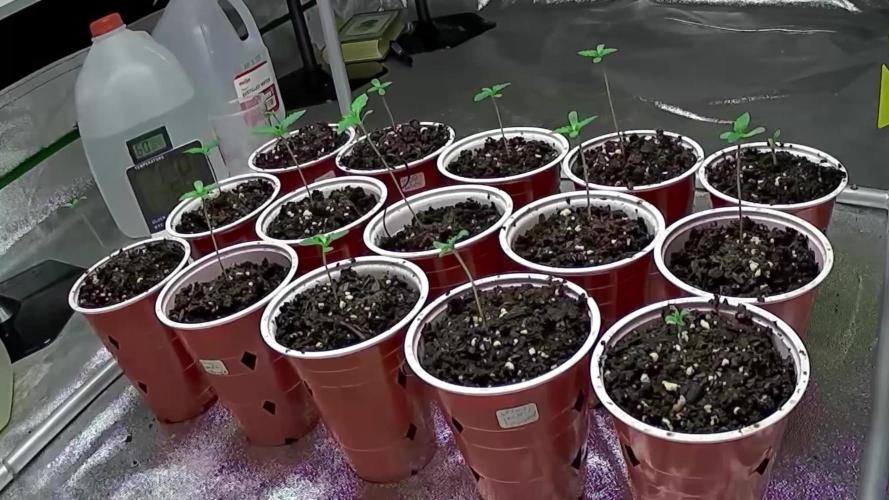
I finally choose witch 6 plants I am going to keep and I transplanted them into the air cubes
Black sugar 2.0 was a hard one to choose both of the seedlings were both healthy and strong
Also I set up the grow pro’s under canopy lights getting them ready for when the plants are ready for those to kick on


Likes
24
Share


@Glasgowsmoker91
Follow
This week has been another good week, fed a little cal mag to the girls and so shall see how they do with this and done some more LST, slowly but surely getting there only a few more weeks now until harvest time :) belle is the height they are at the minute.
Pineapple Express - 12”
Purple lemonade - 7”
Zkittlez - 10”
Next time I show you how my LST is going :)
Happy growing guys


Likes
24
Share

@Grasshopper96
Follow
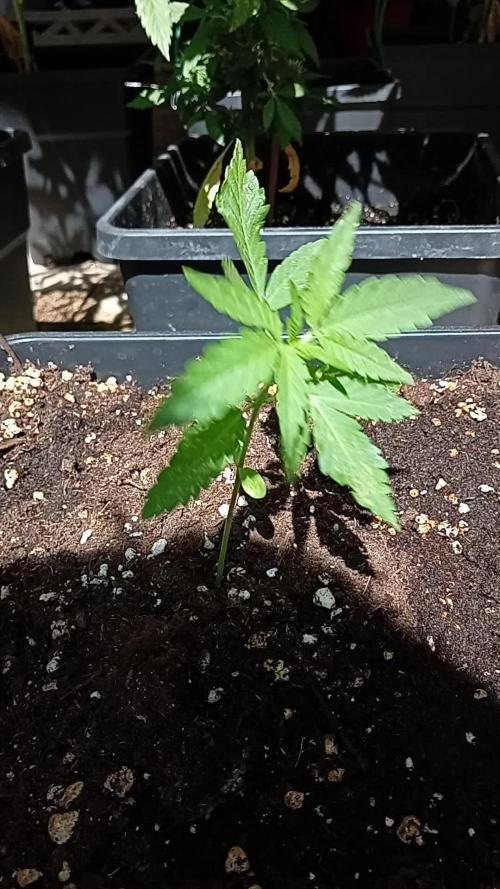
Mi scuso per l'assenza dall' postare ma lavorare con il caldo è pesante quindi stiamo facendo orari strani per lavorare con il fresco della sera, le gorilla cookies superstiti (solo 3) vanno alla grande, il caldo estivo a loro piace più che a me 😅
Le mie piante prendono luce diretta volutamente solo dalle 15 in poi fino alle 21 circa, altrimenti il caldo le brucierebbe
Con cosa posso pacciamare la terra senza spendere troppo?
Likes
1
Share


@Greenpalace_420
Follow
La 4 semana de crecimiento las niñas están estupendas con un montón de baras y ramas para tofos lados y súper
Robustas ya dentro de 1 semana y media entramos en floración señores

Likes
4
Share


@TeamQuality420
Follow
Dec 26th- took clones from the plants labelled them accordingly. As well took the first couple inches of my plant out on the bottom layer ; took as many fan leaves as I could see .
Any shoots that were too small were removed to prevent lack of growth on the top half of the canopy .
They will receive water for 2days or so . Dried out and then given the pre flower routine!
These plants havent had a single deficiency nor have they been over stressed in any way .


Likes
14
Share


@GoodTimesOrganics
Follow
Hi liebe Community und Willkommen zurück im Sensi Seeds Wettbewerb! 💚
Chocolate Rainbow 🍫🌈
Nach der achten Wachstumswoche insgesamt ist nun die zweite Blütewoche auch schon wieder vorbei.
🌱(Wachstumstag 75 | 🌷Blüte Tag 21)
Da das Höhenwachstum bei diesem Strain generell moderat war, klingt der Stretch nun auch wie vermutet ab.
In der dritten Blütewoche hat die Pflzzear nur noch 3cm zugelegt und beginnt jetzt mit der vollen Blütenausbildung.
Die Trichome entwickeln sich allmählich und es sind schon schöne Harzansätze sichtbar.
Sie ist sehr schön Breit gefächert und dass auch mit super ausgeglichenen Höhenabständen.
Die Höhe liegt nun insgesamt bei knapp 82cm.
Alles ist nun auf Blüte getrimmt, diese Woche gab es nur Wasser.
Die Bedingungen im Growschrank sind für die Blütephase top!
Die Videos findet ihr nun auch bei Insta und YouTube!
________________________
🌡️ Temp: 26
🌚 Temp: 18°C bis 19°C
💧 RH: 58%
🌬️ VPD: 1,07 kPa
☀️ ppfd: 630 mpm


Likes
4
Share


@TS_Greens23
Follow
The orange 🍊 sherbet has finally made it to her own tent,,,and although she lost a couple branches in some early stage LST,,she’s looking healthy and showing signs of a good recovery,,she’s under the TS 1000 now,,after being under SF 1000 since she was popped,,,I’m interested to see if she might start making some ground on The Apricot Auto,,who she was bunking with ,,now that she has the Centre Stage,,😁🔥🥦👍💚💚💚💚💚
Likes
21
Share


@Bluemels
Follow
Tag 90: Da die Runtz nun schon deutlich weniger Wasser benötigt und auch schon viele braune Stempel/Stigmen hat, habe ich mich kurzfristig dazu entschlossen schon jetzt keinen Dünger mehr zu geben.


Likes
2
Share

@mTuff
Follow
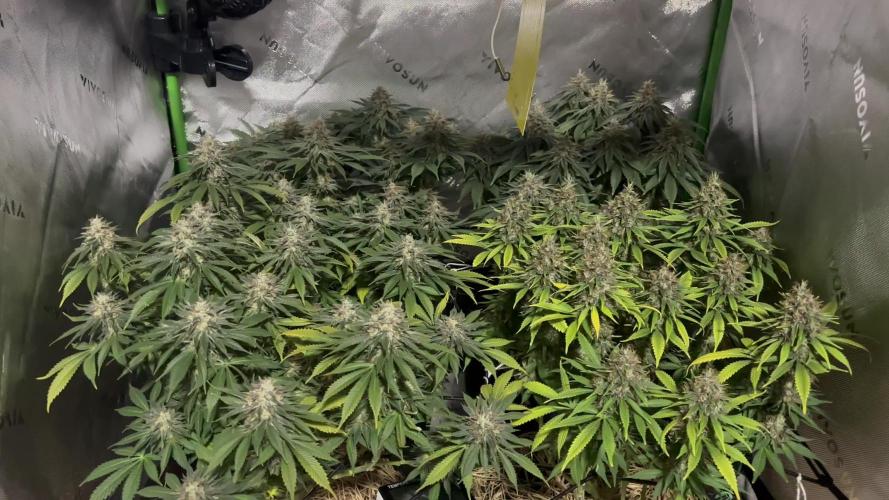
Três das quatro plantas estão com sementes, acabei colhendo uma delas e as outras três vou colher semana que vem :(, para minha sorte eu tenho um lindo clone da única que não se tornou hermafrodita :(, foi muito difícil controlar o clima não sei aonde errei

Likes
4
Share

@Olduffybastard88
Follow
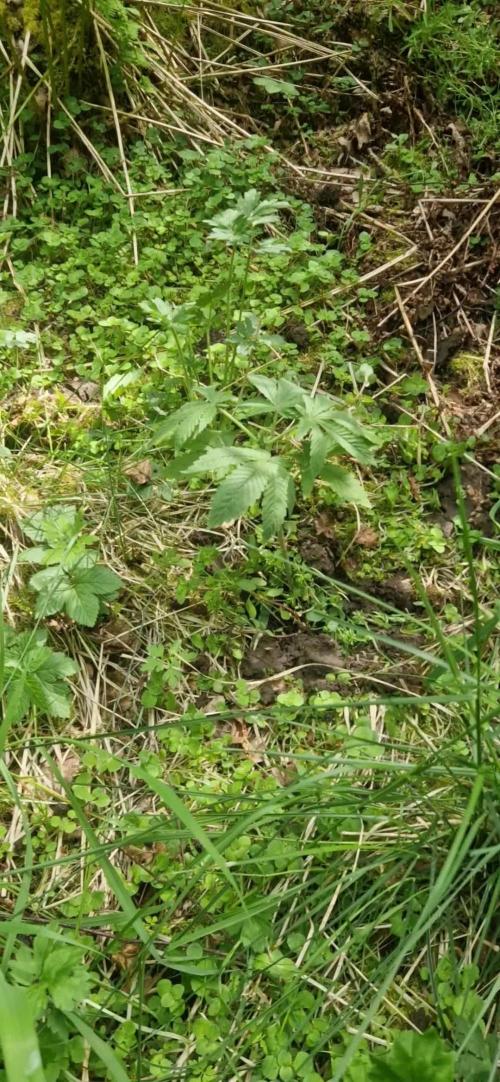
Loving there new homes after a week being transplanted time to leaves these girls to veg the summer away if they keep up at this rate going to have very large and stalk plants

Likes
21
Share


@gr3g4l
Follow
la semana empiezan mostrando un estado muy bonito y gozan de humidificador nuevo.
Primeras comprobaciones de temperatura y humedad con el humidificador al mínimo, como puede verse en la foto del dia antes, dia 15, apenas no ha cosumido nada de agua por lo que aumentaremos el caudal y tiempo en el temporizador analógico. Así aumentaremos también un poco más la humedad sin tantos altos y bajos
Pasados unos 5 dias volví a podar dejando únicamente un nudo por planta y un doblado de ramitas.
A los 21 dias volví a podar del primer nudo de cada rama, hojas y yemas.