


Likes
Comments
Share


@greengenetics420
Follow
11.05.24
Es scheint, dass die Thripsbehandlung mit BAC Vital erfolgreich war - es wurden keine Schädlinge mehr beobachtet. Durch mehrmaliges Besprühen konnte ich die Luftfeuchtigkeit etwas erhöhen. Heute wurden die Pflanzen in 2-Liter-Töpfe umgetopft, in denen sie nun weiter wachsen können, bis sie schließlich in die 30-Liter-Töpfe kommen. Ich habe ihnen einen kräftigen Schluck Wasser mit Terra Aquatica Root Booster, Terra Aquatica Seaweed und Glückspilze Mykorrhiza Soluble gegeben.
12.05.24
Die Pflanzen haben das Umpflanzen gut überstanden und zeigen keine Stressreaktionen. Die Blätter stehen prall gegen die Sonne.
13.05.24
Die Kleinen zeigen bereits wieder starkes Wachstum, daher habe ich sie heute mit der Pinzette getoppt. Ich denke, sie werden in den nächsten 3 Tagen den Stress abbauen und dann beginnen, die unteren Triebe nach oben zu entwickeln. Da wir eine Fläche von 120x120 mit geschlossenem Kronendach erreichen wollen, ist es wichtig, dass die Pflanzen frühzeitig in die Breite wachsen.
16.05.24
Die Pflanzen zeigen generell ein gutes Allgemeinwachstum, obwohl die Umgebungsbedingungen nicht ideal sind. Temperatur und Luftfeuchte sind zu hoch, woran ich arbeite, aber die aktuellen Außentemperaturen erschweren das.

Likes
3
Share
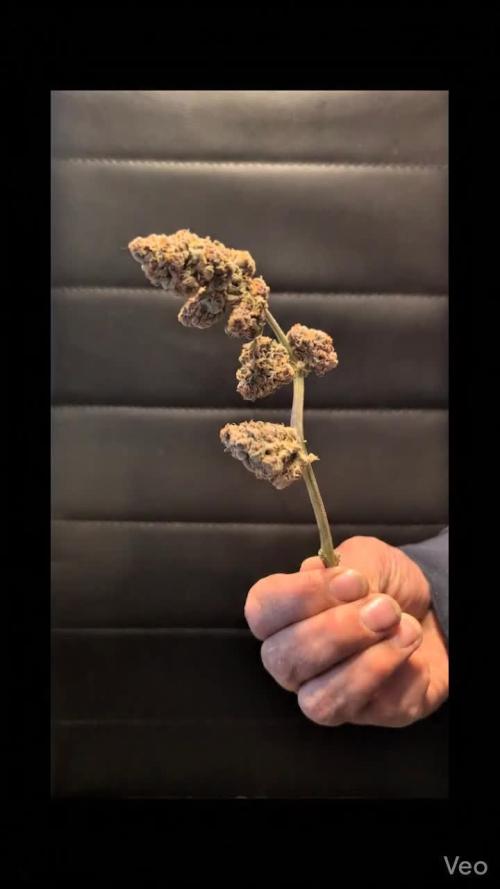

@BEM_Genetix
Follow
Sehr schöne Geste buds. Nicht all zu groß, aber das ist genau was ich für den Cup wollte, normal große, Feste buds voll mit Trichome und Terps die einfach wild sind. Zum Geschmack kann ich nichts sagen, nach der Mary Jane wird es eine review geben
Likes
6
Share


@Lickey
Follow
Looking good height wise. But humidity is high at 68% and she is getting blackening / darkening of lower leaves that continue to fall off.

Likes
13
Share


@TheeLemon
Follow
Left it alone since flipping. Nice amount of stretching. Almost covering the netting now.
Getting a little crowded, I should have done more defoliation


Likes
30
Share


@Mrs_Larimar
Follow
2023-03-15
The Mimosas were a bit Challenging to Grow, because they produced lots of Leaves.
If you give her a Strict trimming and Maybe a SCROG, she provides of that
I did not do that this TIme, so i had to remove 3-times lots of Leaves
Besides That she has a great TerpeneProfile, like I already menationed
Buds were supersticky ( good for Extracts of Rosin)
Iam courious to her Taste and Effects

Likes
30
Share


@LeafTucker
Follow
Well, she is 70 days today. She has started to fade. Leaves are yellowing, and showing some red. She is still producing white pistols, and new flower growth daily. Her Trichromes are mostly cloudy with very little Amber on the flower. She has swollen a great deal through the week. I gently pulled her secondary branches away from the primaries to allow more light penetration. I check her maturity about every 60 hours. She was watered with pH'd water last week, and she is getting tap water this week. She should be completely flushed before harvest. Got my humidity packs, humidity sensors, jars, and drying closet ready. It just up to her now. Not so much impatient as I am excited for my first harvest. With her, and a Bubba Kush getting ready to finish together, I am so stoked. Will have a video uploaded later. Thanks for stopping by, much love, and happy farming.
Processing
Likes
15
Share


@No_Clout
Follow
06/03/19 - These plants have grown so fast, normally at this stage my previous plants have been much smaller, only 14 days old and got a 8-9 wingspan on the fan leaves, I’m really happy I’ve turned to mills as I’ve had no faults with them yet, I did see a slight cal defiency on one of them but this was my own fault not the nutrients, I heard I dident have to add cal mag as their A&B had extra in it, but as I’m in coco I made a mistake but I’m hopeing that it’s gonna be a quick fix and they will be back to normal in the next few days 🤞🏻
09/03/19 - the gelatos seem like their doing fine, had a few brown specs but nothing progressed and it looks like their doing good.
12/03/19 - started to LST/leaf braid today as their already big enough for it and should be switching to flower at the end of next week

Likes
18
Share


@BudMedic
Follow
Love love this strain!! Humboldt Seed Org is my top breeder choice right now. Keeping those California genetics alive and clean!


Likes
5
Share


@SirBudAlotts
Follow
This week does not have that much work...
Just ensure that all the Temps and humidity remains consistent. Main factors...
She sprouted perfectly..I can not complain about a thing!

Likes
4
Share
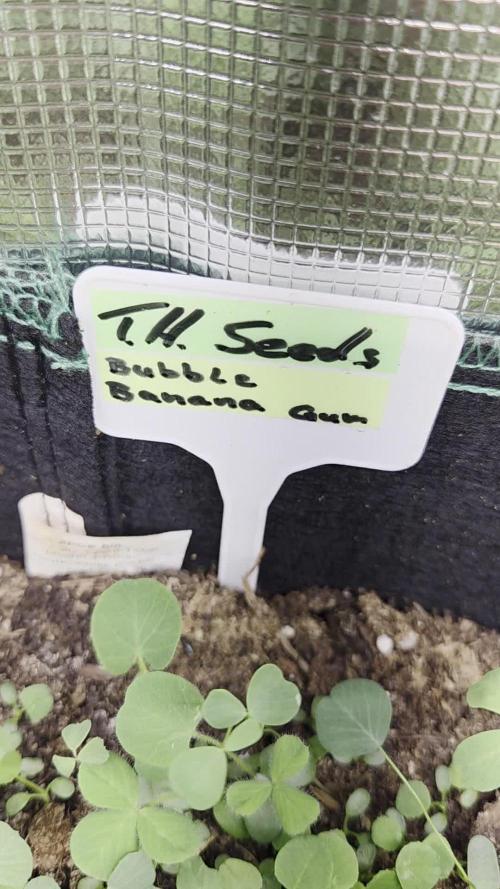

@Borberad
Follow
Woche 2
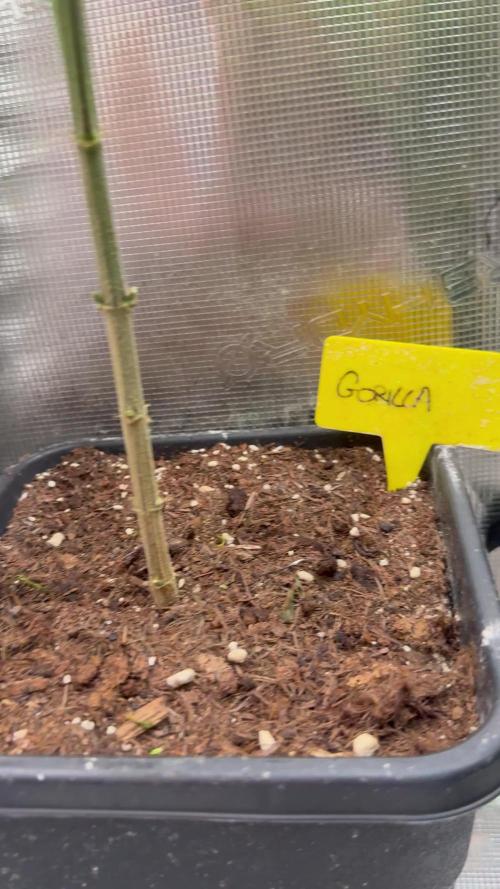
Wächst kräftig und mit kurzen internodien. Bisher gab's zum Wasser etwas Calmag und Hesi Root, zusammen ca. 400 - 600 microsiemens.


Likes
14
Share


@Insta_SmokeyGrow
Follow
She’s getting updated more often on Instagram the tags @smokeygrow_ …..This week iv let her do her own thing she’s loving the Phlizon pl1000 hopefully get her under the 2020 240w pro soon the colours on this girl are unreal really showing her full potential I seriously think this is one of the nicest colours iv seen in the actual nugget it’s self 🍓🥤 what do you think 💭

Likes
11
Share


@TheMadHasher
Follow
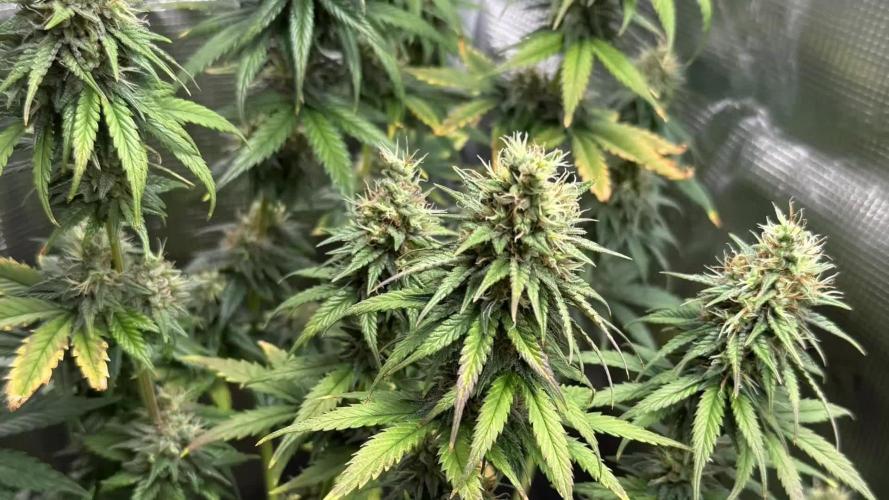
Whats up everybody cheers to another week of growth for everyone!
This week the ladies buds started showing signs of progress. You can see them produce more and more resin every day thanks to the cold weather its really easy to keep a pretty dry environment. Can’t wait to do my final defo next week! Until then stay green!



Likes
15
Share


@I_Identify_As_A_Dan
Follow
Week 5 for Peyote Zkittlez by seedsman,
She's really starting to push in size, just from last weeks update she's been topped twice more at the top. I also transplanted her from 5L to 25L yesterday as she was drinking water everyday in the 5L pot so clearly time for a new home. 😎
Probably going to be keeping her indoor until some of my autos outdoors finish up in a month or so. Just going to giver her a few more days to adjust to the new pot then ill be pulling her as wide as i can side ways.

Likes
16
Share


@CampExotic
Follow
Ready to flip soon! Using 6.9 Autopots for this run. I think a smaller pot would have been just as cool for this 4x4. These plants are trees.


Likes
26
Share


@BlackDragon22
Follow
Incredibili gli odori di questa gorilla punch, non si notano le leggere sfumature viola che invece erano più visibili con le foto di notte fatte in precedenza. Super colla anche per lei è cime belle e compatte, anche se nel complesso non è tanta per la quantità, ma la qualità è superiore. Grazie fast buds, a presto per altre foto e ulteriori aggiornamenti amici miei!
Likes
26
Share


@Rock_n_Roll_Randy
Follow
FINALLY STARTING THE PHOTOPERIODS AND I HOPE MY TIMING IS GOOD FOR CHOPPING THE AUTOFLOWERS..........SEEDS PUT INTO THE SOIL ON JUNE 22ND.
RUNNING OUT OF ROOM IN THE 8X8 TENT SO I PUT ALL THE PHOTOPERIODS IN THE 5X5 WITH A TSW2000. SOME FAN LEAVES ARE BIGGER THAN MY HAND NOW.
SORRY TO EVERYONE WHO TRIES TALKING TO ME....I STILL CANT TALK TO ANYONE BECAUSE I TRIED CHANGING MY EMAIL ON HERE AND IT MESSED EVERYTHING UP. I CANT LIKE ANYTHING OR COMMENT ON ANYTHING. THE WORST IS I CANT JOIN CONTESTS
STRIVE NUTRIENTS IS THE BEST IVE EVER USED. A MUST TRY AND I BUY IT MYSELF. GOT A SAMPLE LAST YEAR AND ITS SO GOOD I BOUGHT MORE. ITS A 2 PART POWDER NUTRIENT THAT DISSOLVES IN MINUTES AND YOU MIX THE SAME STRENGTH OF THE 2 PART NUTRIENTS FROM WEEK 2 UNTIL THEY ARE FINISHED (BESIDES THE FLUSH), NO MORE BULLSHIT OF SWITCHING TO BLOOM FERTILIZER. THATS MY FAVORITE THING BESIDES THE RESULTS.
CHECK EM OUT AND BELIEVE EVERYTHING YOU READ BECAUSE ITS NO BULLSHIT, AWESOME FRIENDLY AND HONEST PEOPLE