


Likes
Comments
Share


@4_Pro2Bono_0
Follow
Harvest 2 weekend ago and dried at ~60° at 60 RH. Took about 12 days total.

Likes
4
Share


@HydrokronicZA
Follow
Roots starting to grow out of net pot. Top feed system keeping the plants growing strong as roots develop


Likes
20
Share


@Canna_Enthusiast
Follow
The bud development is going great, did some light defoliation to reduce the humidity and increase the airflow.
The tips are turning a bit yellow, the light was a bit close due to the recent grow.
Moved the light up a bit.
Too make sure it’s not a nute burn I also decreased the Nutrients solution compared to last week.

Likes
35
Share


@BrediniGreeny
Follow
1st WddngCake is under a SpiderFarmer SF 1000D 100W but an older model. The 2nd WddngCake is under a MarsHydro FC-E1500 LED 150W.
They also receive on the sides UV (total per day 2 and 1/2 h ) exposure and IR (total per day 2h)
From a Secret Jardin Cosmorrow UV 40W and one Secret Jardin Cosmorrow IR 40 W.
UV 1h in the morning starting with main light, 1h in the afternoon and 1/2 h just before the main light goes off.
IR 1/2 h in the morning before any lights even start then letting it another 1/2 h with all the other lights.Total 1h
IR 1/2 in the evening right before all the lights go out and let it smooth out 1/2 alone without the other lights. Total 1h
1/13/25
The girls are starting the week ok.
1/14/25
1st WddngCake,
She is older, is happier after the flush, still has a little bit of alkaline soil but i don't want to stress her out to much.
Gave her a little BioBizz CalMag aprox 3,5 ml ; TopMax 5ml and 5 ml BioBlom . All mixed in 3,3 l PHed Water at PH 5.0 ppm 290. Runoff PH 6,8 :( ppm 1100.
Also took like a handful of inter buds leafs :D . I think she will be ok. Seeing signs of buds fattening, new pistils. Frosty :D
2nd WddngCake
Is very strong starting to fatten up the buds because she is younger and just now entering that stage.
Like I already said her smell still resembles a tropical sweet creamy hoppy IPA.
I think she is good, no major problems. Gave her 3,3 l of PHed water.
Also mixed in CalMag 2,6 ml; 4 ml TopMax and 5 ml BioBloom. PH 5,4 ppm 207.
Runoff PH 6,08 and ppm 302. I think is a good sign that i flushed a lot of nutrients from the soil and she also used a lot of them.
Should keep and eye on that. Took 5 inter buds leafs off.
1/15/25
They are doing ok, both are fattening their buds and coming around good.
The 2nd WddngCake better then the 1st one because I didn't make so many mistakes with her 😬
The tent is smelling great the Temp is at 23 C at night 20 C and RH at 50% (+- 3%) .
1st WddngCake stand at 47 cm and the 2nd WddngCake at 74 cm at their highest. New Photos! 😍😃
1/17/25
Back with some updates. The girls are doing wonderful. Shades of pinkish darkish greenish on both.
The 1st Wddng Cake Auto,
is older and showing this colors also on the very small sugar leafs.
Gave her 4,2 l of PHed water, going in PH 5,6 and ppm 95. The Runoff is at PH 6,4 ppm 205 and I feel like now she is a little bit happier.
Soil PH at 7,3 but not measuring precisely have a cheap tho rod measure stabby thing.
The 2nd Wddng Cake Auto
is younger, starting to forming her full flowers, bursting with mass .
She also displays the colors mentioned above on the leafs closer to the main buds and also here and there on other sugar leafs.
Gave her 4,2 l PHed water , going in PH 5,4 ppm 110. Runoff at PH 6,5 ppm 195 .
Her soil PH is also at PH 7,3 kinda of. :))
I can see she is happier. I think is because i didn't make mistakes at the start.
I also had 2 other Autos that aren't on here. But none of them grew like this one. Until now :)).
Also took from both some leafs here and there. I think like a hand full total. Half a handful a plant. :D
In the new photos you can see the "between the fingers roll" 😁 like i call it. That I only do twice in the life of an Auto, not to stress her to much.😨
Temp in the tent at 24 C when day +-2 C. At night time 21 C +- 1 C . Rh 50% +- 3% all of the time.
Ventilators on for wind, and the grow must go on 👽🙌
1/18/25
So just 1 day until end of the week. I just got a Microscope.
Very good actually recommend Andonstar AD203 Portable, 4' Screen also metal holder.
A microSD Card 32Gb is also included and the data cable.
Has a battery. Handels good. for the money i am surprised 😍.
1st Wddng Cake
Took some pictures of the thricomes and I see a lot of milky one, some clear ones too. No amber ones.
I think the harvest window is open but , I don't have time to harvest now.
I also prefer also to let it a few days. Also must see for an extra tent to do 2 "days" of darkness.😥
2nd Wddng Cake
is doing good, starting to fade in nuances of pink dark green just on the leafs of the top. and just a little bit of yellow.😢
But tomorrow she will get another feed to push her further the 2 weeks or so she has got to go😍
Seems i forgot to set the clock of the Microscope:))), i just went to town because it was half battery full :)))).
Also Pictures from under the Microscope 😍😁
1/19/25
Sooo end of week. I think we are fine. All the things that should be happening are happening :)).
Sorry i messed up the timelines. But the older one smaller one will be 10 weeks old in 2 days.
And the younger one is gonna be 9 weeks in 3 days. Or something like that. Chaotic start like i said :)).
1st Wedding Cake Auto is starting to open her harvest window. Very much thanks to all that answered my grow question.
She got 4,9 l of water PH 5,4 ppm 92; Soil Ph aprox 7; Runoff PH 6,6 ppm 305.
I will keep an eye on her because she will be done in like about a week or maybe 2. Must see how next week goes.
Continue to give PH water no nutes 😁
She is aprox 10 weeks old.
2nd Wedding Cake Auto changed color more on the leafs. Purple dark green. Some little bit of yellow. But today i feed her.
She got 4,2 l water with CalMAg 3,5 ; Activera 5 ml ; Algamic 5 ml; Bio Heaven 5 ml; BioBloom 5ml; TopMax 6ml.
Going in PH 5,7 ppm 315; Soil aprox PH 7; Runoff PH 6,9😢 ppm 610.
She is younger then her sister so i think 3 - 4 weeks. We will see. 😆
New pics 😁

Likes
47
Share


@Jimmy89
Follow
Had another major defoliation this week to uncover more flowering sites and to help lower the humidity, given a top dress of bat guano too and upped some of the nutrients. Still have more shades of green in there than I would like, as said before all clones from the same mother.. all photos taken day 25 of flower
Likes
14
Share


@dekss
Follow
semana 9 ya esta semana se corta la mejor muy resinosa
las otras 2 que entraron en floracion les di 0.04 de monster bloom y respondieron bien cogollos muy compactos y dulces

Likes
19
Share


@Comfrey
Follow
Day 80
This morning I started defoliating Tropicana. She will be in the darkness for the next days. I already harvested a part of the head flower and let it dry trimmed. Because of extreme weather conditions and very high humidity I got a little bud rott. I found it out quit early I think. So I hope nothing will not happen any more. Just harvesting relaxed and drink a Tropicana tee.
Day 81
I decided to cut her down in the evening. The humidity in the basement room is high and I don‘t want to risk here anything anymore. Waiting for my first homegrown weed to be vaped.
Day 82
Tropicanas flowers hanging to dry in my basement. I check them once per day with a strong light.
Day 83
Same same. The smell is wonderful like a bit of gas combined with a fruity flower bouquet. Our neighbors in the house like the smell, too. 🙏
Day 84
I could try my first homegrown weed. It‘s absolutely tasty and have a very smooth vape. I was very surprised cause it‘s not cured yet. A longer vape report will follow when it‘s dried and cured.
Day 88
All flowers, sugar- and tee leafs are trimmed and filled in glasses for curing. I open twice per day for 20 minutes. Boveda packs 58% inside.
I will fill out the rest of the diarie when my buds are dried, cured and vaped. So far this was a very exciting journey for me. Growing cannabis and even legal on our balcony. Feels still a bit unreal, but it’s real!
Thank you for reading my diary! Thanks to all the people who worked on legalizing cannabis in Germany, especially to the „Deutscher Hanfverband (DHV)“!
I will give more updates and write a vape report after curing several weeks. Maybe with some Tropicana Cookies baked in Comfreys garden kitchen.
Likes
2
Share
@SouthernOhioGrow
Follow
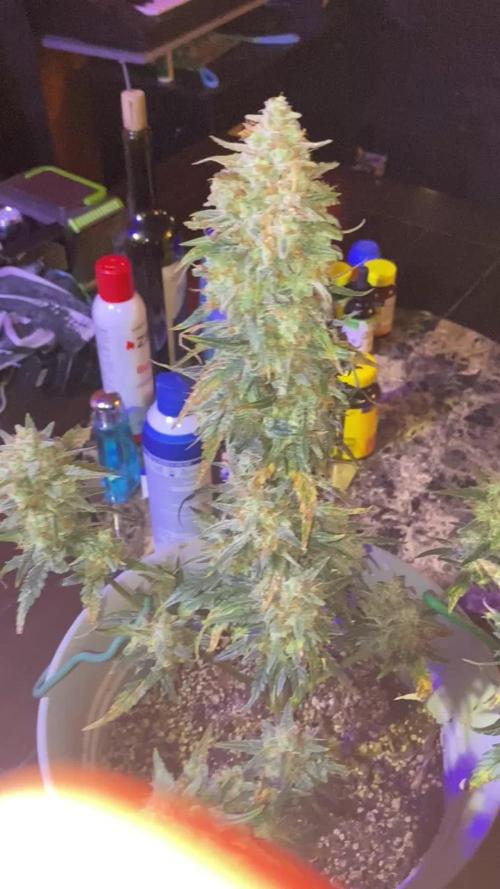
This was a real easy grow I hope the smoke is what it's hyped up to be...one frostbanger on the way next...


Likes
103
Share


@DeepWaterGrower
Follow
🗓️ WEEK RESUME // DAY 71-77 (from dry seed)
⚡- Light: 30 cm / 150 watt;
⌛- Schedule: 14/10;
🌡️- 20.5° C - 65% RH average;
📑- PH 6 - EC 0.4;
💧- 6° change DWC. Flush until harvest!
🌸- Buds are heavy, all of them!
🌱- According to trichomes and pistills this lady is ready on day 74!
✅ HARVEST
- From seed to harvest: 74 days (2 days germination + 23 days veg + 49 days flo).
- Chopped after 4 days flush, no dark time;
- Wet trim, removed fan leaves. This plant had a ridiculous calyx-to-leaf ratio, it was just big buds!
- Now begins the drying stage, two weeks more or less.
👯♀️- She shared the box with:
Biscotti - Zamnesia: https://growdiaries.com/diaries/183150-grow-journal-by-deepwatergrower

Likes
143
Share


@Tropicannibis_Todd
Follow
Well my friends , this closes out another great grow 👈
Final thoughts is that Weedseedsexpress came through , the Black Domina, Sleepy Joe OG, and the Permanent Marker were all fire ....
I would recommend all 3 strains ....

Likes
12
Share


@SSKNFbyHAZE
Follow
** COST **
TO RUN
- Used previous ⛺️ setup : 0.00USD
- Monthly electricity : 36.73USD <-- other ladies sharing ⛺️
- 1 Gallon Fabric pot : 0.10USD
- Bonsai wire : Apx. 0.03USD
- Reused soil from last run : 0.00USD
FOR NUTRIENTS
- Jadam Microbial Solution : 0.00USD
- Fermented Plant Juice : 0.00USD
APPLYING
- JMS : 30ml / 1 Litter
- FPJ : 30ml / 1 litter
TOTAL COST : 36.91USD
Throughout the week, I give compost tea, and fermented plant juice once each ^^
These 2 plants have almost same birthdays, but there are in really different stage of flowering.
I am guessing drought shock had their growth stage all messed up ^^;
Hope you guys have a wonderful day today ^^v
*** Please Like, comment & share ***
Highly appreciated -----/-----<@

Likes
1
Share

@JorgeNitales420
Follow
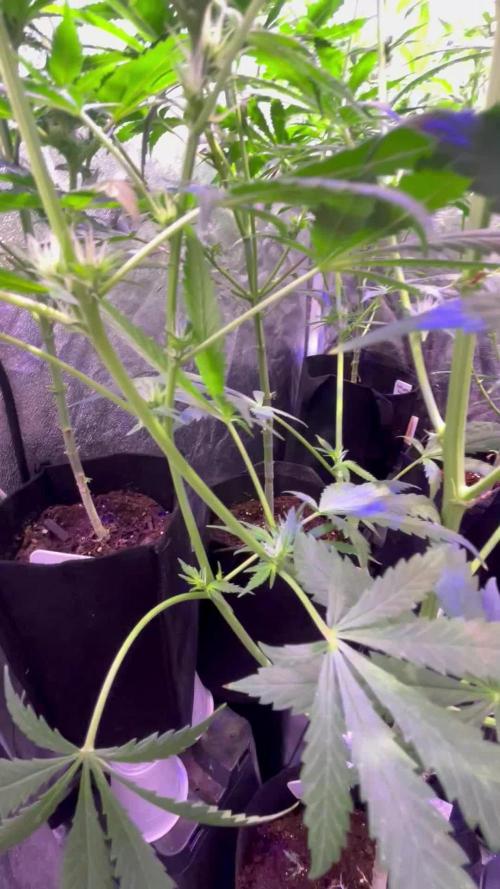
4th week of flower, things started to bulking up
Delofiated a bit to even the canopies as much as I can
These mf mimosa is still growing💀💀💀 cant do much about it, thinked about doing some super cropping to even the canopy but as i dont have an automatic watering system its not a good idea to put a scrog net, as im not gonna be able to water them at all
Likes
15
Share


@JeyGanesha
Follow
Seconda settimana di fioritura...anche la Apple strudel sta bene.inizio a sentire dei buonissimi profumi di fiori di ganjah 😂😁😉💪💚💛
Stanno entrando nella 3 settimana di fioritura
Processing
Likes
27
Share


@Silverback_Guerilla
Follow
2/10:
I watered today with about 3/4 gallon each, plus cal-mag, signal, bembe, armor si, a little open sesame, and their final dose of endoboost.
The short one never did stop making the hook leaves on all her new growth, but she seems happy..budding faster than anybody else..
2/11:
Wife home sick today....postponing construction project to raise the lights.
2/12:
Today, I tackled the project to raise my ceiling another foot. In addition to that project, I installed and hooked up my new AC Infinity 6" intake fan. It's pulling in fresh air from the soffit vent on the eave of the attic, and currently feeding the garden with 46f fresh air. I'm able to easily maintain daytime temps in the lower 70f's now. I am able to drive the nighttime temps as low as I want. The only issue is that the outdoor RH varies quite a bit, so I ordered a 30-pint dehumidifier to put in the top of the closet.
I sprayed everybody with boomboom spray to try and mitigate the light burn damage that is likely to ensue.
2/13:
The taller one is still stretching a little bit, but the 2-footer is just budding up.
2/14:
I fed them today with about 3/4 gallon each including grow big, big bloom, tiger bloom, cal-mag, signal, bembe, humic acid, and I switched over from Open Sesame to Beastie Bloomz. Raised the lights another couple of inches. I did some training on them and defo'd a little bit.
2/15:
Installed the new dehumidifier and rigged the continuous drain on it...works great.
2/16:
I rotated the edge plants and removed some old leaves. I added another 22w 3000k 4' bar light under the canopy.
2/17:
I rearranged the garden and defoliated a little bit. That's it for week 8-


Likes
19
Share

@therealgrowmie
Follow
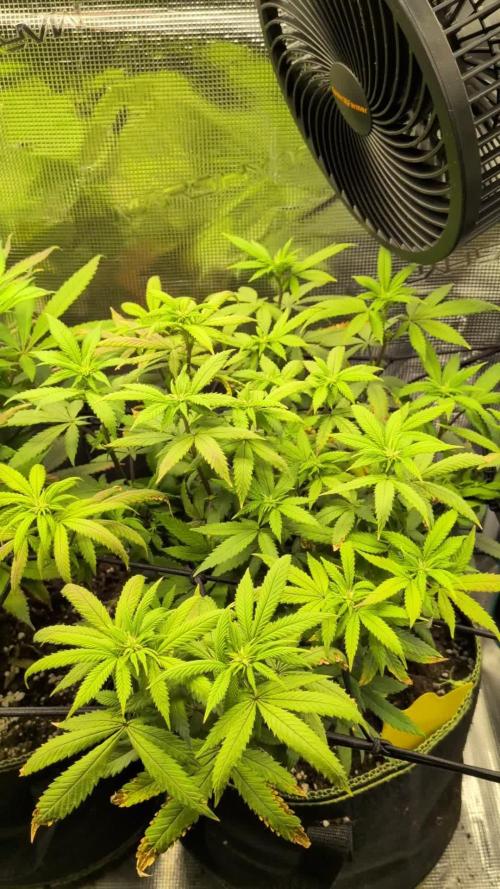
We made it to flower, fam — even though the plants almost died along the way 😅. But the train is rolling now. I’m still tucking branches under the net to keep the canopy even, and I’ve started giving mild feeds again.
The plants started to look a bit limey in colour, which made me ease back into feeding carefully. I’ve begun adding nutrients again in small amounts to see how they respond while keeping watering consistent so the roots can take things up properly.
From here on out it’s all about guiding the stretch and keeping things stable.
Stats so far:
💧 Watering: Every third day
🌡️ Temp: 26–28°C
💦 Humidity: 65% RH
📈 VPD: ~1.18 kPa
💡 Light: ~700 PPFD
Likes
3
Share

@MaltaHerbman
Follow
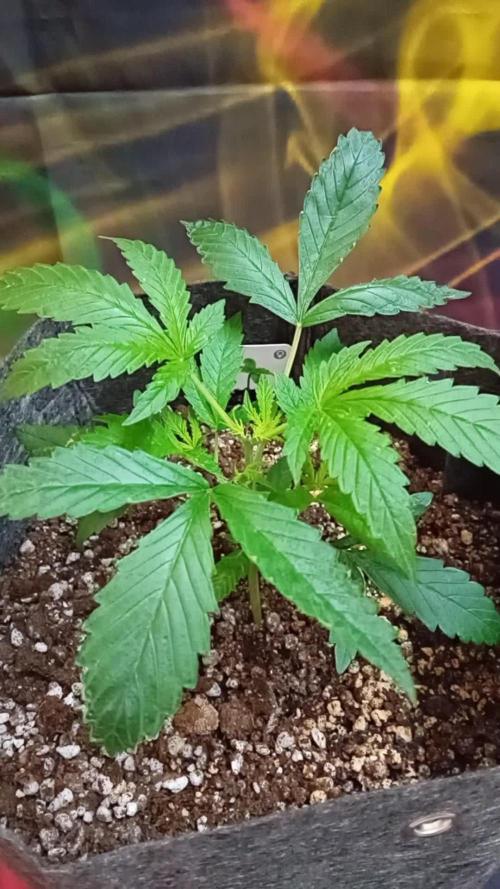
Day 21 Topping.
Day 26 Training.
As 3rd week here and the Pablo Escobar aswering very good,she growing very fast and have done topping.Had add some the ppm too with plagron.Thanks for Watching

Likes
8
Share


@ZanderZone777
Follow
It's week 9 of flower and she's been fed her last bit of nutrients. I'll start flushing with BushDoctor's SledgeHammer 2 tsp a gallon. Then just straight water until the chop :)