


Likes
Comments
Share


@usere
Follow
defoliation all fan leaves that cover other top sites and improve airflow and light penetration one each other. I will remove more leaves during week 5. watering schedule is the same, one times i watered with molasses about 2ml/l.


Likes
10
Share


@CANNASIM
Follow
We are at week 3 now. A lot of development, i have not used liquid nutes this week, it is raining a lot so no water needed, thus no liquid nutrients.
I have top feed of dry nutrients mix, basically a mixture of a super soil recipe that usually is used within to make a hot soil:
I mix all tue ingredients together and use it gradually about 40g as a powder, in the top of the soil.
- Azomite 500g
- Natural fosfate 500g
- Biochar 1kg
- Bokashi 1kg
-Kelp meal 500g
-Mamona meal 1kg
-chicken meal 1kg
-Potassium silicate 500g
-Gypsum farm 500g
-Diatomaceous earth 500g
Mix all keep it in a soil bag, this pure mix and use it once every month.
The companion plants have emerged and will protect the soil humidity mainly.

Likes
18
Share
@SpunkyTerps4200
Follow
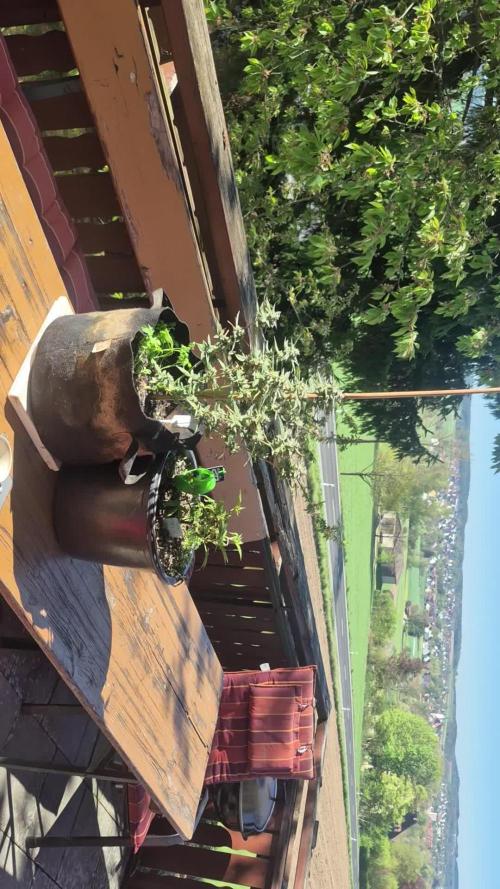
Ez plant to grow.. in love with the struckture of it.. could have packed more weight but wualiry is thier .. smoke review coming soon!! Check out my Instagram only_dankzz4200 and youtube
https://youtube.com/@thedankzz420?si=brMw2mSIw-nOJkpb


Processing
Likes
36
Share


@The_Projexx
Follow
Whats going on ladies and gents we on the start of week 3 !! CH#2 did not make the cut so she has been removed from the tent and replaced with a mystery strain in the dome that will be revealed soon enough ! That being said CH#1 has been turned into a cloning project for future breeding projects that I have lined up . We are boosting up the nutrients from 0.5 ml/l to 1.0 ml/l CH#1 is responding well to the nutrient regime she is just really stretched out but I will be transplanting her soon enough and that problem will be fixed . Other then that no real complaints from this cat this week , just sailing it smooth .
A big thank you to everyone who comes out and checks out the diary . A special thank you goes out to all my followers who come out daily and weekly to check out the updates much love and respect for you folks !
-Happy Growing!

Processing
Likes
1
Share


@Mr_nugs_lover_David
Follow
Super super frosty and sticky nugs, very dense and compact, big calyx, stinks, beautiful strain to grow the 2 plants of wedding cake Auto I have got the same aroma, this girl is being fed using nothing but a good soil prepared organically with complete organics by guanokalong and also seaweed powder, and also I added florians livings organics which is such an awesome organic super food for the plants that makes the strains performer better when when it comes the time to smoke you don't feel all that chemical stuff. Thank you so much everybody hope you enjoy! 💚🌱🎂✌️

Likes
5
Share


@TheChronicHunter
Follow
This is a pretty casual diary — just tracking for my own purposes mostly.
Been trying some new strategies to increase temperature and humidity in the tent.
She’s just flipping over to flower now — I wasn’t sure weather I would top the plant... but I decided to this one time just in the edge of flower — didn’t want to do it earlier to avoid inducing flower


Likes
8
Share


@Leafy420
Follow
Day 14
After a week from the bottom feed
The pots feels light again
My finger was dry
So i think its time for they first halve dose feed
23c, Ppm 700, ph 6,25
Gave each a dose of 100ml water
Day 16
Last night I saw roots so today I transplanted
Wich didn't really went as plant because something (Hopefully only soil) dropped right before I placed "Jane" into her new home :(
Besides that it went okay
Gave them a good dose of water
Now wait till it dries and then they get their first full feed dose
Day 20
This night they got they first full feed
500ml each
4ml grow A&B
4ml b52, bud candy and voodoo
With a low ph to bring down the ph in soil
Wich is a lil high I qeuss
22,7c 1000ppm 5,8 ph
Day 21
Today we did some LST
Now they lay, next up is sit and then we roll
So far they are cooperating
Day 22
All are now bend and secured and doing well :D
Day 23
Soil was dry gave them some calmag 1ml/l each 700ml 6.10ph

Likes
42
Share


@Only4passion
Follow
Beginning of week 10 !!
it’s almost done I’m really happy she’s great looking plant and again smells amazing 🤩 next step I’m going to place this lady in the dark for 2 days before harvest 👌

Likes
6
Share


@JackSkellington
Follow
😫PRIMO OVERFERT SENZA AVER DATO NULLA ASSURDO...solo acqua e sono cariche scure ora sono palesemente in over...
procederò ancora per altri 10 giorni di acqua
il topping a funzionato bene da come si vede nel video ora faro riposare per 15 giorni e poi lancio in flow
14/05/2021
la jungla sembra crescere ora dovrò fare un pò di pulizia defogliare dalle foglie piu grandi e lollipoppare per bene....
sono solo un pauroso di togliere le foglie grandi (foglie primarie)
al momento zero fertilizzanti ancora troppo scure
18/05/2021
la sera del 18 a un giorno da un mese di vegetazione in growbox ho lollipoppato e potato i rami i inutili....
ho dovuto anche fare una rotazione di piante in quanto non sono uniformi nel crescere....
ho riempito il bidone da 30 litri e mi sono accorto che le baby ora bevono molto
pur troppo sono ancora in forte stress e overfert non capisco da cosa provenga in quanto non ho usato nei fertillizzzante....
vedremo oggi 21 come staranno ora posto le foto del 19 maggio giorno in cui fanno un mese e sono ancora 40cm aime qualcosa sta rallentando la crescita
e arrivato il filtro a carboni e pesessantissimo speriamo che la mia box lo regge

Likes
13
Share


@Silky_smooth
Follow
She is growing back out nicely and in a week or so I am starting on revealing her rootsystem
First start has begun….🙏❤️

Likes
2
Share


@CalGonJim
Follow
7/28 2:34AM EC 1070. Ph 6, Brain broken, from mildly retarded to moderatly retarded now....too bad.
PPDF was too much!!!!! dialed back watts and lowered lights. now at about 300. PPDF should be 200 - 300
7/29 10:04AM I found this channel on Rumble but pot stuff scares people...so dont be a dick, I try really hard not to be... sometimes i am but its my favorite channel now.... SeigeOutdoors
Likes
50
Share


@Mr_Motalovah
Follow
Hello growers and tokers! 👋 👩🌾 🧑🌾.🔥💨
There has been much change this week!!
First there was a big defoliation done, I cleaned the bottom of the plants.
All the growth that wouldn't amount to anything because the light doesn't penetrate that low.
Also took off the biggest fan leaves to give more room for light.
Then finally switched to 12/12..
After just 36 hours after the defoliation there was a major change.
New growth everywhere, colas started stretching upwards fast.
By far the tallest girls in the tent. Her colas are stacking up nice and tight if she keeps that up we'll have some nice dense colas. 😁
Great reaction to the defoliation and 12/12 switch.
I'm still watering every other day, After the defoliation I watered with only Enzymes 2ml/L to clean the roots a bit then started with the nutrientes again.
I dropped the amount of grow nutrients from 3ml/L to 1ml/L and started adding bloom nutrientes 2ml/L for now.
I'll slowly be upping the bloom nutrientes and after week 2 I'll no longer add grow nutrients.
That's it for this week. Stay tuned to see how they flower.
Stay safe!

Likes
33
Share


@AshBrand
Follow
4/1/21 - Both plants were transplanted into 5 gallon fabric pots with Ocean Forest soil by Fox Farm Nutrients. I will be using plain water for the next two weeks to allow the plants to get acclimated. (See video)
4/2/21 - Watered both plants with water (ph 6) noticed the grow room is a little humid throughout parts of the day but I will be installing the fan today. Both plants seem to be adjusting well.
4/3/21 - Plants are doing good. Watered them with ph 6 water. Noticing some yellow on the bottom leaves.
4/4/21 - The ends of the leaves are turning a light yellow from nutrient burn as a result of the ocean forest soil. Started low stress training today, added two clips per plant (see photo)
4/5/21 - The soil is still moist from yesterday, I’m not going to water today. They are still in the low stress training clips. You can really see the nutrient burn today. (See video)
4/6/21 - I watered the plants today with water (ph 6). Not much change in appearance from yesterday.
4/7/21 - Plants are looking great, the nutrient burn is starting to fade a little. I will be starting a new week tomorrow. (Continuing with water, and low stress training)
Likes
16
Share


@Chubbs
Follow
What up fam, weekly update on these gorgeous girls. They're showing preflowers now which I'm definitely happy as that means the stretch is almost over. I did add a 2nd scrog net its 6ft high. Over all I couldn't be happier with how they've grown. Happy Growing.
Processing
Likes
34
Share


@DudeGrowsWeed
Follow
Sour Diesel Haze is coming along. I'm starting to see what looks like a little bit of foxtailing to me. I'm going to start flushing her, then harvest in about 10 days.


Likes
15
Share


@Babylongrower42
Follow
Hello boys, how was the week?
27-APR-22 - First day of flowering, I've made a defoliation before switching the lights to 12-12
28-APR-22 - Watering no nuts pH 6.5
29-APR-22 - Nothing but manual LST
30-APR-22 - Made an AACT with Sheep dung, Biobizz (Fish-mix, Grow, Alg-a-mic and Top-max), 1 tbsp Humic acids, and ophicina organica alquifish mel to lower the pH after bubbling...
01-MAY-22 - Watering with the AACT ph'd 6.8
02-MAY-22 - Nothing but manual LST
03-MAY-22 - Nothing but manual LST
Likes
45
Share


@HinduGod
Follow
THE SUN GOD HAS BEEN VERY VERY BAD!!!😡 ONLY 2 DAYS OF SUN DURING DIS WEEK LONG STRETCH. TOOK A COUPLE OF THE BIG FAN LEAVES OFF ON DAY 46. DID SOME LST ON A COUPLE OF LOWER BRANCHES ON DAY 48.
PLEASE COME AGAIN!!!!!!
Likes
4
Share


@IamCy
Follow
Here we go into flower. If what they say is true, we're in for a nice color show.

