




Likes
17
Share


@HowtoBubatz
Follow
It’s the third week of vegetation, and both plants are growing like crazy! 🌿
They’re super healthy and pushing forward with lots of energy. I’ve been feeding them with the BioBizz nutrient schedule for veg and adding Root Juice to boost their root development. 🌱💧
I’m trying different LST (low-stress training) techniques with both plants.
For one, I’ve applied LST to the entire plant, bending the main stem to get more light exposure across the canopy. 🌿🔄
The other plant is a bit different—I’ve only used LST on the lower branches to encourage better side growth while letting the main stem do its thing. 🌱📈
Both plants are responding really well, and I’m excited to see how these different techniques impact their development. Things are looking promising! 😁✨

Likes
7
Share


@blaze_fpv
Follow
End of Week 9 flower! Smell ist getting crazy. Buds are not quite big but rock solid! Gonna keep this running for another 3 days and then start a 48h period of darkness before chopping the plants. Been reducing the temperature from 26 to 22deg over the last week.

Likes
80
Share


@Mrs_Larimar
Follow
Friday, March, 5th
Today I cleaned them alittle up, ( bottom Area)
They got their first Feeding with N too
and I gave them Silica as Todressing
Because they are very bendy and smooth
This will be last Week in Vegetation... Maybe i take them the next days in Flower ( remember its aSativa)
and i wanted to take them early into Flower, but after the Dogcropping last Week they had to recover
A little LST is going to come and done....

Likes
3
Share

@KannaGrowing
Follow
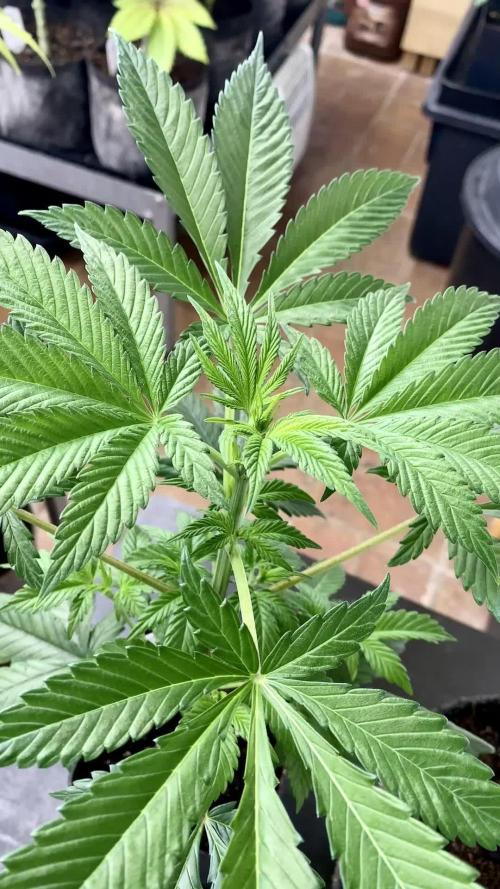
Os mostramos una comparativa con la cepa en modo vegetativo y en floración.
Estamos entrando en la última etapa del cultivo y poco a poco vamos eliminando fertilizantes conforme veamos que ya no lo necesitan.
Reducimos la potencia de las luminarias al 50%.

Likes
29
Share


@Myrcene_Dream
Follow
-Began flowering at the beginning of the week
-Watering every second day
-Will give a small top dress soon of Gaia Green all purpose
Likes
29
Share


@Naujas
Follow
great, everything is going really smoothly, @Zamnesia Runtz auto, copes perfectly with leaf spot and LST, started to bloom, so I think it will soon stop growing upwards, and I won't have to hurt it anymore :) @Plagron This is the first time I've used nutritional fertilizers, but I already understand that it definitely won't be the last :) good luck to everyone :).

Likes
22
Share


@Robbaus
Follow
Ho smesso coi fertilizzanti base per la crescita della pianta, sono ancora un po' troppo verdi per essere alla dodicesima settimana. Tranne una Tropicanna Banana che è sempre stata una settimana avanti alle altre. Spero che nel mese che manca i fiori si gonfino come si deve, ho sempre un po' di paranoie soprattutto visti gli ultimi due giri che non ho avuto il risultato sperato. Però stavolta la situazione promette meglio, tra due settimane dovrebbero esplodere definitivamente. Sicuramente in questa settimana è aumentato a dismisura l'odore che emanano, si sente distintamente in tutta casa. E che profumo 😊🤤🍀

Likes
11
Share

@Organic473
Follow
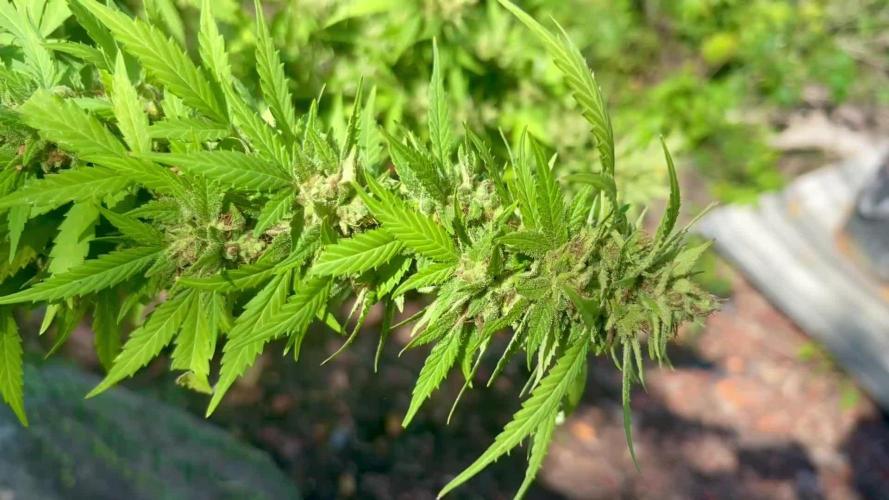
She needs a serious defoliation. I am closely monitoring the full moon coming as we are in the dry season, they rainfall may be lower hopefully. Everything else is good with her for now.
Likes
6
Share


@PattersonFarms
Follow
The room smells like sweet citrus. This grow was pretty easy but I was expecting a higher yield. Overall she was a good plant! Now time to fire up the curing chamber.
Likes
5
Share

@GREENPHOENIX6262
Follow
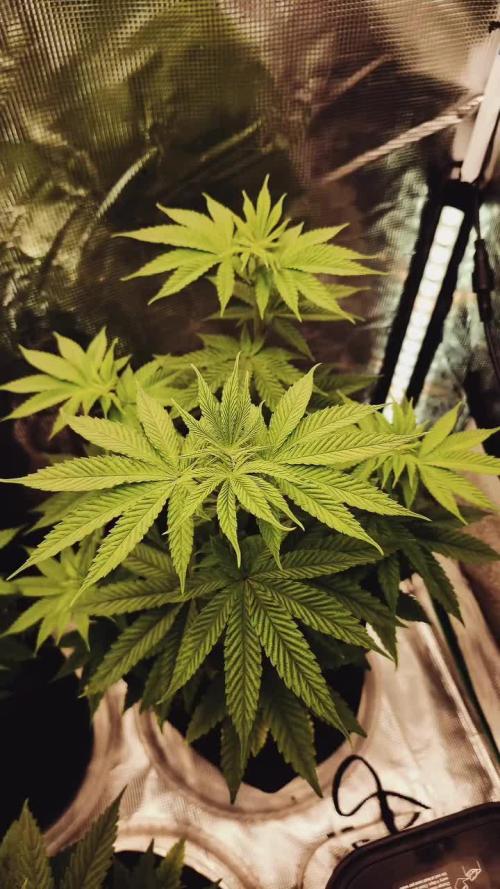
09/07 - I have decided to flip them into flower to avoid wasting anymore time - They seem to have stopped vegging early and to negate any negative draw back they have been flipped - Again the purpose of this grow is not for yield just yet, these three mothers are strictly for research, technique efficiency and final product outcome.
😎😎😎😎😎😎😎😎😎😎😎😎
09/12 - After flipping into flower the plants have recovered completely - PPM's and EC's are holding at 1.3 and PH 6.5 - Gave them a lite 3 day clean water flush followed by their first flower feed - Running 2 AC Infinity fans for increased air circulation. Stay tunned 😎😎😎😎😎😎😎😎
Likes
6
Share

@Klyaksa
Follow
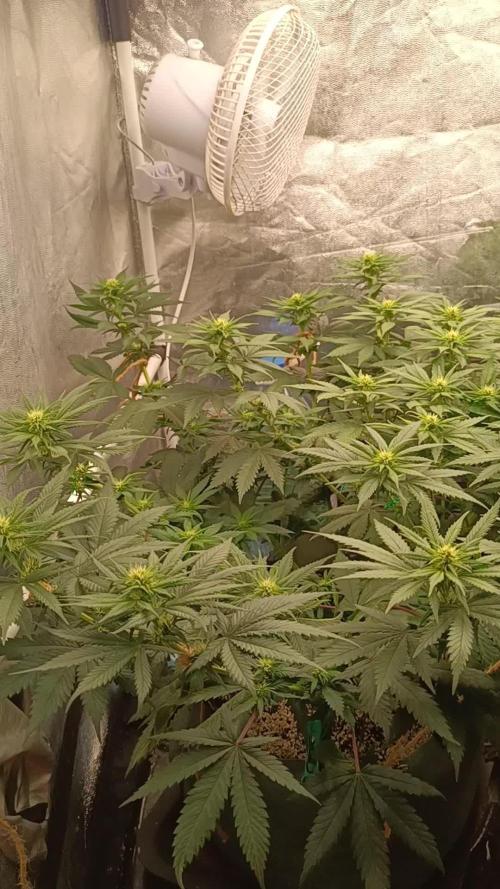
На видео 50 день от каски и 15 день 12/12.
Потихоньку разгибаю,подвязываю, суперкропинг больше не делал,нет надобности.Выглядят хорошо,начинает появляться запах:)
На полу вода и в разных мисках тоже,я так поднимаю влажность хоть на несколько %
В таких условиях,пить стали очень много,поливаю уже раз в 3 дня,кормлю пока что редко в основном пьют воду,едят мало
На фото 52 дня от каски и 17 день 12/12,выглядят нормально, NLB очень большие и мощные💪
Mazar тоже выровнялся,симпатичный
Все зацветают по графику и без проблем
В боксе 60х60 сломался обдув,2 дня буду как то выкручиваться пока новый приедет
На втором видео 55 день от каски и 20 день 12/12,завтра чучуть подстригу всех


Likes
Comments
Share


@Uneasy
Follow
The stretch period is considered to be over. I did the last leaf cleaning. I won't touch it anymore. I did super croping because the branches got too long.

Likes
4
Share


@Trinidad
Follow
8th.05.25 68
Been so busy I don't even know what day it it. Last night I gave the chem dawg defoliation and add bloom booster and calmag to revervoir. Pumps where out so root rot was developing on all of them, however I think I caught it in time. Smell on tropicana cookies moved from sour citrus to sweet cirtus. Trichomes are clear and starting to trun milky. They are ripening nicely. I don't know how much longer I can hold out. I started counting days as the seeds were placed in water however I should start my count after germination so actually days are less than what I think. Still learning. I must say chem dawg was my least favorite because of longer grow time and less thc which is about 20% compared to other. But after seeing the stucture and how she is shapping up i must say i am quite impressed. No wonder she is a cassic strain. We shall see how things progress.
Likes
10
Share

@LandraceCBDLover
Follow
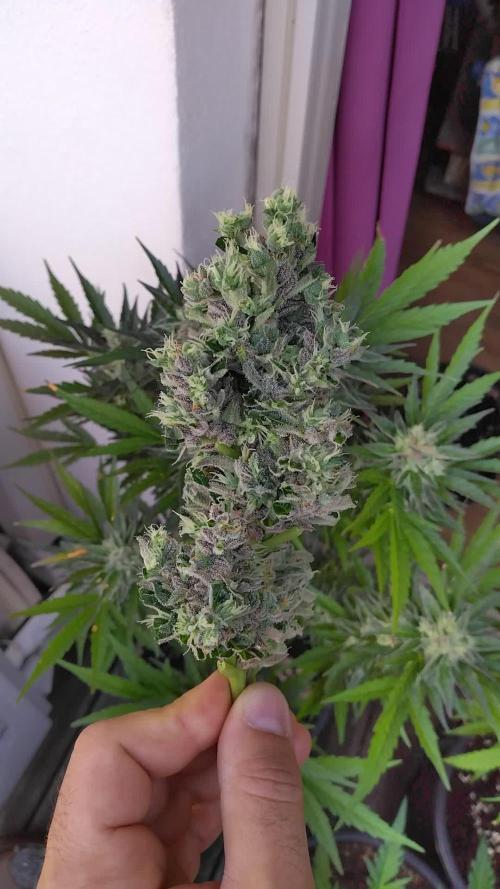
Comme la semaine dernière, on peut observer une importante refloraison sur une des deux Mazar (la n°2 est plus discrète), et sur l'Afghani#1.
Les trichomes ne sont plus ambrés. Patiente donc....
J'ai eu l'impression que la tête principale de la Mazar était en train de moisir. Du coup séchage et fumage ;)
Les landraces (Sinaï et Libanaise) continuent leurs floraisons tranquillement 🐫



Likes
7
Share


@Cultivatorcarlos
Follow
everything in the second week of flower went well. she really stretched and the buds quickly started getting fat. also every watering i would notice a very strong odor of weed.
december 22nd 2021: gaver her last half of gallon used in last feeding. also nothing was tested. ph tested at 6.6 last feeding and it usually comes out a little higher after a few days.
january 1st 2022 i noticed the first trichomes.

Processing
Likes
32
Share


@Ganjagrandaddy
Follow
Day 42/56+: Wooooohooo these girls are doing great. The smells and look a
in the room are hypnotic now. Seeing all of those fat, chunky heads bobbing around in the vortex that my Big Bertha fan pushes out is a joy. They are taking around 10L to get to a run off , every 3 days or so in the L.O.S
FFT#1 is creating some nice long shaggy looking colas that smell nice and sickly sweet now. She is looking like she is ready to swell now too. hopefully the next 2 weeks will show the colas to be the chunks they want to be. she is a squat lady and would def have been better to have been left to grow taller. . In a very limited space/ box , trained more horizontal as she is now and you could have a very productive bonsai style grower.
FFT#5 wow I love this girl. She is a full on show off now. She is pushing her terpines up my nose from just going above her now. If I venture to actually touch her buds , she becomes so excited that she doesnt want to let me go again. so tacky. she isnstartimgntomcplour her pistils little but is still looking fresh and bountiful. Her structure has been easy to work with in veg but is now so thick and woody that any bending her to my will would involve a team of us. lol
FFT#7 Plods on with her domineering attitude to her space and is so productive now . her buds are not as long at this point as the #5 but are so many in number that her yield should be a good one. I would say she is probably going to go for longer than the other 2 testers before finishing but she is certainly worth the wait. Her smell is so fruit sweet now too. she has the biggest stem popping out of the soil and is a very thick structures girl. I would love to see her grown outside in a natural environment and think she would be a monstrous outdoor plant. Definitely the quickest grower for height even though she is tied down tighter than an insane monk. I will definately be producing more of these girls to play with their development potential and feel that you would have to make sure that you have the room for one of these to get her best out of her.
so far these new strains are a winner for me. I am looking forward to going through the rest of the strains now. I plan 3 more in the next run so will scour the current tester grows for the likely victims to do next. These are winners already

Likes
200
Share


@Ferenc
Follow
Day 96, 15th of December 2020:
Wao and wao... this is what I can say.
A bit late I was on holiday I usually start the week with the first day but now with the last one.
So let's start with the "black sheep" of this group as she is alone here RQS Wedding Gelato.
Easy growing issue free little bushy lady. Absolutely great choice of grow. Pretty much ready for Christmas but she can be cut even now lol....
And now let's speak about the Original Sensible Seeds' girls...
Well Black Ghost OG similarly to RQS Wedding Gelato is calm little bushy and issue free lady.... no problem all good ready for Christmas....
Runtz Gum the thick chick with heavy big buds and excellent appearance is really amazing. I placed a stick there and fixed her to look better... It was not necessarily but i have done it.
She needs more time pretty much done ny Christmas or a bit after....
Gelato from Original Sensible Seeds is similar in terms of acting such as streching and all that ...
The same situation applies not much to really say we wait ;)
I am really happy to have these ladies....
Well, Do-Si-Dos OG is the craziest one ever... lol.... not only due her crazy kind of streching style but the trichome developement that comes along to the fan leaf "holder" stem is pretty crazy....
Those buds are like a diamonds sticky and she would be ready to harvest but need to wait because I need to go....
I really had to fix her by placing a stick there I broke one stem but fixed as it did not come off... so crazy especially now because of the weight of the buds... now she looks even more beautiful...
I think she is the most challenging grow ever.
Original Sensible Seeds genetics is unique really high quality just look at them.
Royal Queen Seeds as well but this is my second grow from them my first was a Green Gelato which is the same calm littlw bushy plant. Amazing very good for newbies ;)
I am going on holiday again and back on 28th of December so after harvest starts.
Girls will be cut after.
The 7th weeks starts with tomorrow 16th of December....
Only flushing and no more nutritient will be used.
Soon full report comes. Lamp is the same 11 hours on and 13 off....
The last 4 days they will get 4 days darkness and only ventilation will be working no even more water ;)


Likes
56
Share

@Ganjagrandaddy
Follow
Day 21 flowering: Here we are after the stretch period has slowed down and I am now the proud grower of some great looking sweet seeds buds. All of the girls are producing really good looking, healthy budlets with a couple having some very dark purple to them too.
I have spent some time re training them to a more open frame so the light can reachbthe developing lowers better and the airflow can be made more fluent below decks too.
G girl#1 has some very nice tops forming up now with node spacing that should bring them to a more joined up affair. her size is good and I think I could have allowed her to grow more height for her canopy. She has a fair few mains going on too.
G Girl# #2 8s still way out in front in bud development and her size is on par with #1. She has remained fairly squat in size and again I feel she could have been allowed way more height. Her node spacing is perfect for creating very fat donkey colas now and they are beginning to reach each other on the stems. opening her out and only removing the damages and very big fan leaves has definately been a must do job . she is ripe for bud rot with those chunky buds and so much foliage to trap the warm air too.
G Girl#3 remains the stunted sister of the grouping in her 30L pot but I do think thisbis a pheno thing and not just the smaller pot. she has a slightly lighter colour to her leaves too. She has wider node spacing than the others but this could be more about perspective of size too.
G Girl#4 is turning into the stars of the show for me. I wanted to try the tie down 5th node method that I have seen done by another grower i share info with. seeing the result and how it allows the lowers to form with very little slow down for recovery as topping does. The lowers have still shot out to become mains rhe same way but her size has kept going. Her node spacing is good and again I expect some nice thick colas to form. I am getting a diesel whiff from close up so far but expect the smells to start anytime now.
I am very happy with this strain so far and find it very easy to work with. They seem very happy with their soil and I did add shogun boost and pk warrior to their major feed yesterday too.
Sweet Cheese is looking good. I am glad i left her to go natural too and seeing her managable height , I think this is the way to go in future with her strain.
All told , this week has been good and I expect the next 5 or 6 to be even better.
Be safe Growmies.
Thanks for stopping by.

Likes
20
Share


@DaddyPrime2
Follow
Day 14. Weather is finally warm enough to put them out completely. Was kind of concerned with even getting them to this point. I started them fairly early.
Day 15.
May 9th, 2024
They lasted all night outside finally and will stay. I did add some worm casting on top of the soil. I plan to add some veg nutes soon. Will be using roots organics terp tea line.
May 11th
#3 is 3.5 inches
#2 2.25 inch
#1 2 inch
Likes
2
Share

@TheBulldozerSicily
Follow
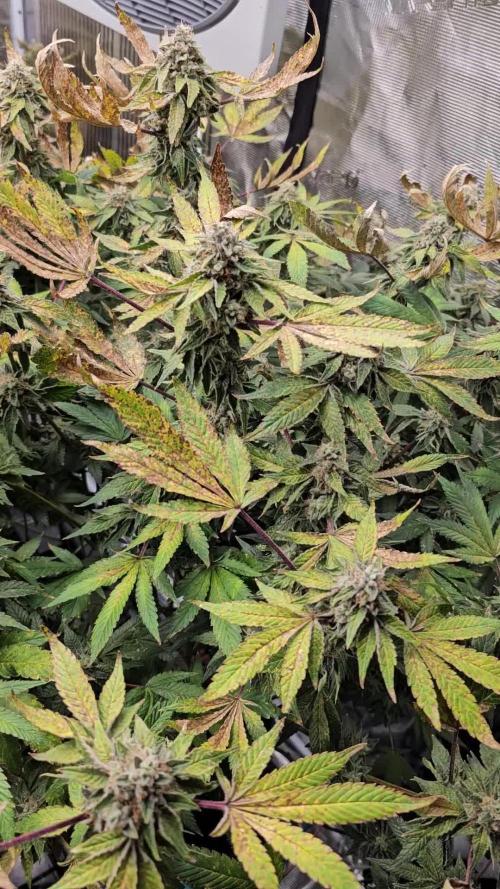
Le sfighe sempre a fine ciclo, riprendendo l'over fert ieri ho trovato 2 tubicini dell'irrigazione tappati, quindi non circolando l'acqua 2 piante sono seccate un po, adesso ho sistemato e l'acqua continua a circolare ma mi sa che sono ancora in blocco... attendo qualche altro giorno per vedere se ci sarà una ripartenza, altrimenti raccoglierò questo fine settimana o il prossimo.